|
NARAH


Thanks Yedralina for your invitation to translate your tutorials into english

This tutorial was written with CorelX19 and translated with CorelX17, but it can also be made using other versions of PSP.
Since version PSP X4, Image>Mirror was replaced with Image>Flip Horizontal,
and Image>Flip with Image>Flip Vertical, there are some variables.
In versions X5 and X6, the functions have been improved by making available the Objects menu.
In the latest version X7 command Image>Mirror and Image>Flip returned, but with new differences.
See my schedule here
 italian translation here italian translation here
 french translation here french translation here
 your versions here your versions here
For this tutorial, you will need:
Material here
Thanks for the tube AnaRidzi and for the masks Narah and Alina.
The rest of the material is by Yedralina.
(The links of the tubemakers here).
Plugins:
consult, if necessary, my filter section here
Filters Unlimited 2.0 here
Mura's Meister - Copies here
Mura's Meister - Cloud here
Toadies - What are you here
L&K's - L&K's - Zitah here
L&K's - L&K's - Katharina here
Xero - Fritillary here
Kang 4 - Bubblecross Wave here
Filters Toadies and Kang can be used alone or imported into Filters Unlimited.
(How do, you see here)
If a plugin supplied appears with this icon  it must necessarily be imported into Unlimited it must necessarily be imported into Unlimited
Note on Filters
In this tutorial, we will use filters that give different result when used alone, or importer into Unlimited.
Furthermore, the result may differ according to the version of Unlimited used.
I translated the tutorial both version of Unlimited
(the software version and the version that doesn't need installation, consisting of files in 8bf format).
The version that gave the result similar to the original tutorial was the version composed of files in 8bf format.
In this regard, I would like to reassure people who write that they are afraid to "uninstall and reinstall the software".
This is not che case, but simply replacing in the Files Locations the Filter folder (found in Windows Programs)
with the folder of files in 8bf format, which is located in the folder where you unzipped the files.
(and sometimes is the reverse: ie replace the non-software version with the software version).
here you can find the files in 8bf of the filter (to be unzipped in a folder of your choice).

You can change Blend Modes according to your colors.
In the newest versions of PSP, you don't find the foreground/background gradient (Corel_06_029).
You can use the gradients of the older versions.
The Gradient of CorelX here
Place the brushes in Brush folder. Attention, please, every brush is composed by two files,
you must place both the files in the folder.
See my notes about Brushes here
Place the preset in the Presets Folder
Open the masks in PSP and minimize them with the rest of the material.

Set your foreground color to #ceba99,
and your background color to #563a1f.
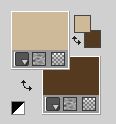
Set your foreground color to a Foreground/Background Gradient, style Linear.

1. Open CanalAlpha_Narah.
Window>Duplicate or, on the keyboard, shift+D to make a copy.

Close the original.
The copy, that will be the basis of your work, is not empty,
but contains the selections saved on the alpha channel.
Effects>Plugins>Mura's Meister - Cloud, default settings.
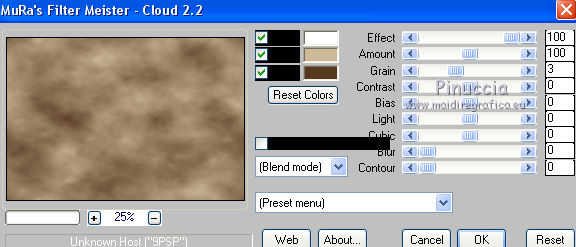
remember that this plugin works with the colors of your Materials,
but keeps in memory the first settings used after the opening of PSP.
So, if you have already used the plugin, press Reset to be sure to have your colors.
The result is random and therefore it will not be the same as mine.
If you want to change the appearance of the clouds, click on the preview window,
until you'll see the result you like better.
2. Layers>Duplicate.
Image>Resize, to 50%, resize all layers not checked.
Effects>Plugins>Filters Unlimited 2.0 - Toadies - What are you, default settings.
this is the result using the version of Unlimited composed of files in 8bf format,
the same as the original tutorial result
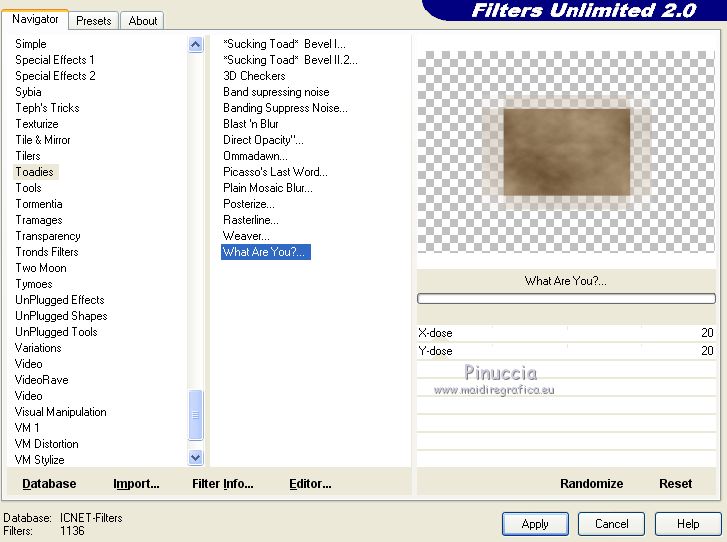
if you use the software version, you'll have this
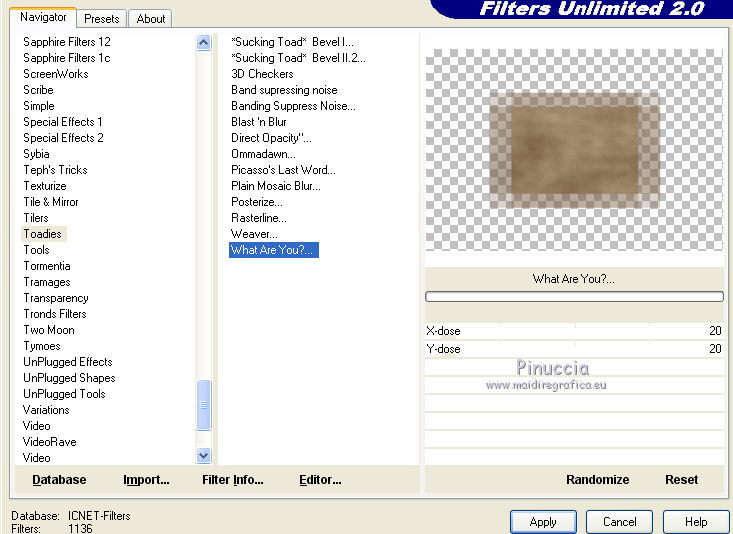
Effects>Plugins>Filters Unlimited 2.0 - Tile & Mirror - Distortion Mirror (vertical), default settings.
this is the image as it appears in the original tutorial,
and using the version of Unlimited composted of files in 8bf format.
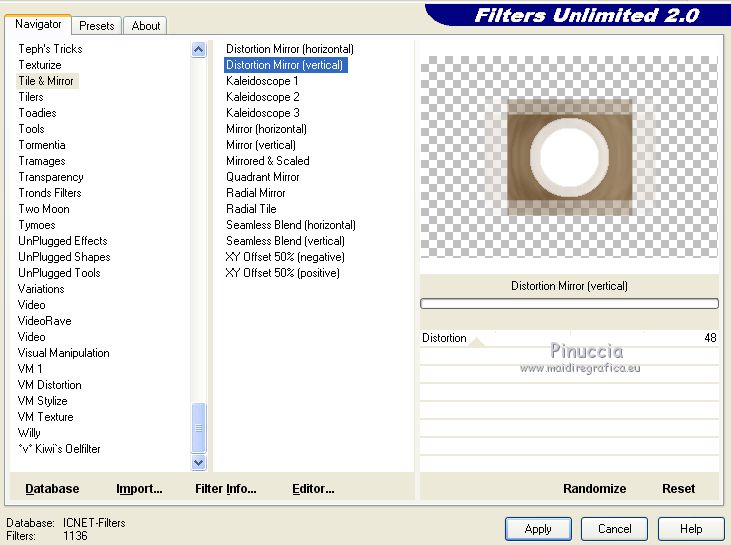
This is the window you'll get when using the software version of Unlimited
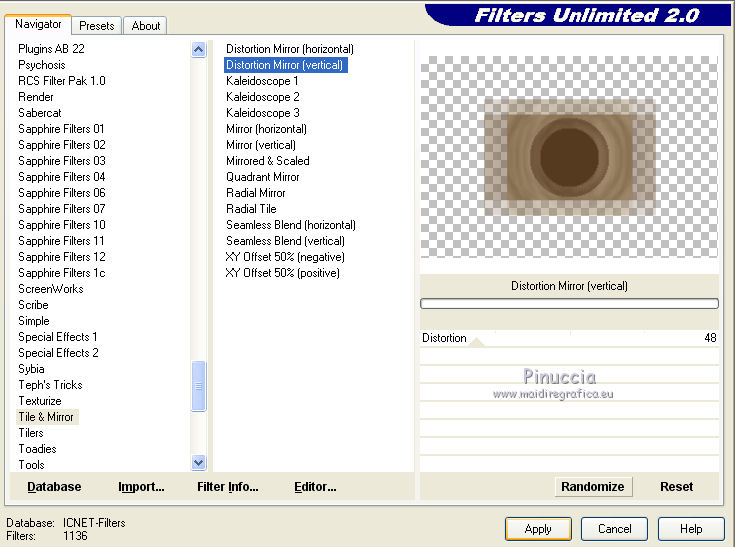
You decide whether to replace the version in the File Locations.
Alternatively, before applying the filter (solution also valid for Toadies filter),
you could set your background color to white:
you will get a result closer to that of the original tutorial
3. Effects>Plugins>L&K's - L&K's Zitah, default settings.
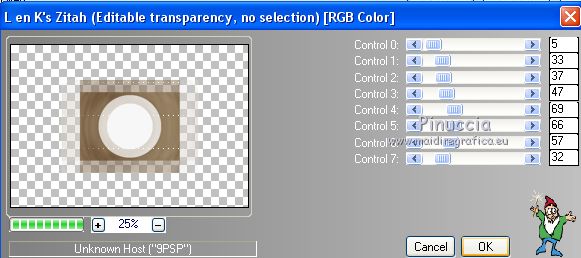
Effects>Edge Effects>Enhance More.
Change the Blend Mode of this layer to Luminance (legacy).
Objects>Align>Left.
If you're using an previous version that doesn't make the menu Objects available,
activate your Pick Tool  (K key on the keyboard) (K key on the keyboard)
and set Position X to 0,00 (Position Y is right)

M key to deselect the Tool.
Effects>3D Effects>Drop Shadow, colore black.
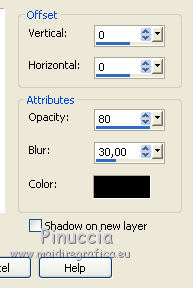
4. Activate your background layer.
Selections>Load/Save Selection>Load Selection from Alpha Channel.
The selection #1 is immediately available. You just have to click Load.

Selections>Promote Selection to layer.
Layers>Arrange>Move Up.
Attention, please, if you are set your background color to white,
before applying the next filter, set again your background color to #563a1f.
Effects>Plugins>L& K's - L& K's Katharina.
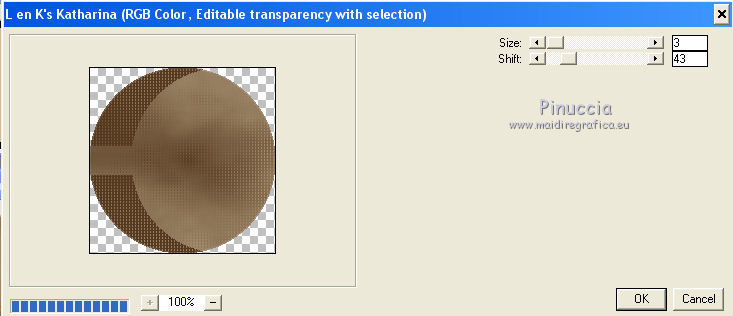
Keep selected.
5. Selections>Modify>Select Selection Borders.

Flood Fill  the selection with your gradient. the selection with your gradient.
Selections>Invert.
Effects>3D Effects>Drop Shadow, same settings.

Selections>Select None.
Image>Free Rotate - 90 degrees to right.

6. Activate again your background layer.
Layers>New Raster Layer.
Flood Fill  with your background color. with your background color.
Layers>New Mask layer>From image
Open the menu under the source window and you'll see all the files open.
Select the mask Alina Mask 3.

Layers>Merge>Merge Group.
Image>Mirror.
Layers>Duplicate.
Image>Resize, to 90%, resize all layers not checked.
Layers>Arrange>Move Up.
Layers>Duplicate.
Image>Resize, to 90%, resize all layers not checked.
Layers>Arrange>Move Down - 2 times.

7. Activate your Brush Tool 
look for and select one of the supplied brushes,
for me I choose the brush calas, size 300 pixels
(for my second version I used the brush 2015-4Dekor1)

Layers>New Raster Layer.
Layers>Arrange>Bring to Top.
Apply the brush on the circle, with your foreground or background color, as you like better
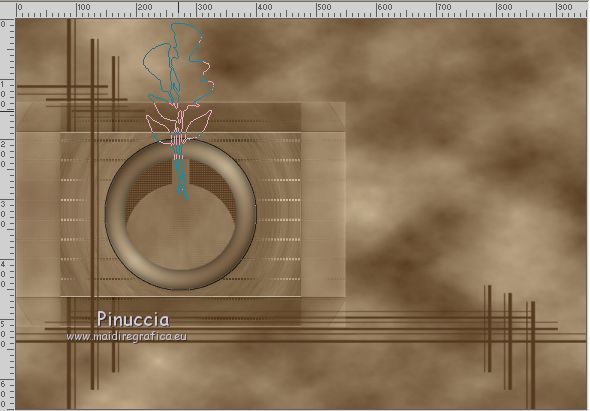
Effects>Edge Effects>Enhance.
8. Activate again your background layer.
Selections>Load/Save Selection>Load Selection from Alpha Channel.
Open the Selections menu and load the selection #2.

Selections>Promote Selection to layer.
Effects>Plugins>Xero - Fritillary.
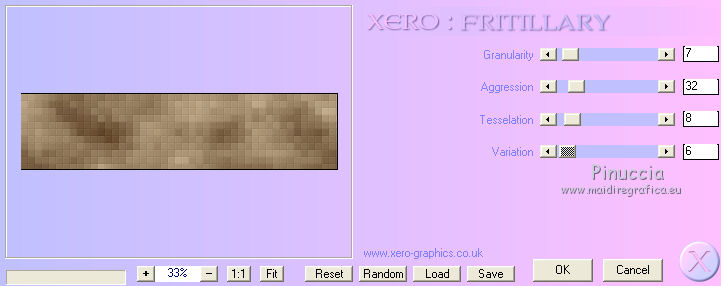
Effects>Edge Effects>Enhance.
Selections>Invert.
Effects>3D Effects>Drop Shadow, same settings.

Selections>Select None.
9. Activate the layer Promoted Selection (the circle)

Layers>Duplicate.
Layers>Arrange>Bring to Top.
Image>Resize, to 20%, resize all layers not checked.
Effects>Plugins>Mura's Meister - Copies.
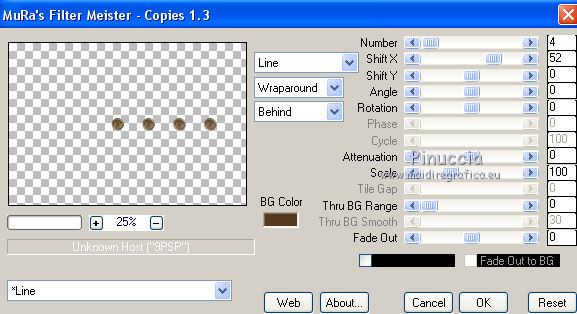
Image>Resize, to 80%, resize all layers not checked.
Objects>Align>Center in Canvas
or activate your Pick Tool  (K key on the keyboard) (K key on the keyboard)
and set Position X: 306,00 et Position Y: 305,00.

M key to deselect the Tool.
Effects>Reflection Effects>Rotating Mirror, default settings.

Image>Free Rotate, same settings

Pick Tool 
and set

Adjust>Sharpness>Sharpen.
Effects>3D Effects>Drop Shadow, color black.

10. Layers>New Raster Layer.
Reduce the opacity of your Flood Fill Tool to 50
Set your foreground color to Color,
and flood fill  the layer with your foreground color. the layer with your foreground color.
Layers>New Mask layer>From image
Open the menu under the source window
and select the mask NarahsMasks_1584

Layers>Merge>Merge Group.
K key to activate your Pick Tool 

Effects>User Defined Filter - select the preset Edge_Enhance_More and ok.

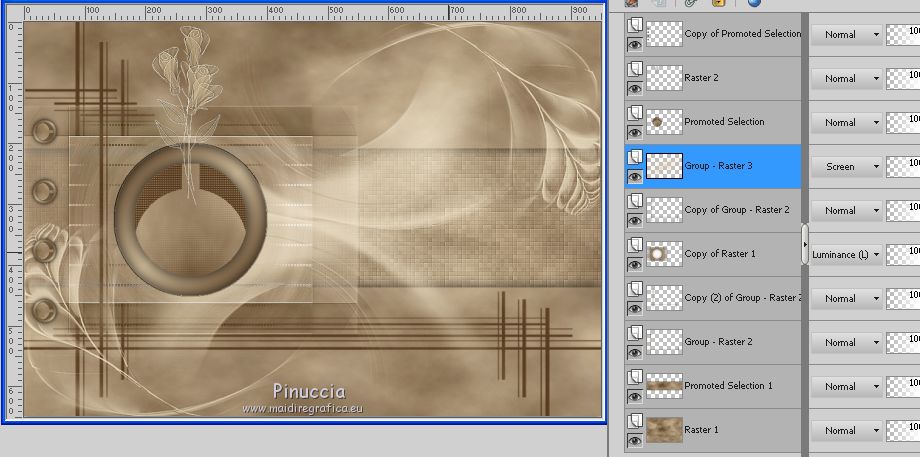
Change the Blend Mode of this layer to Screen.
Layers>Duplicate.
Image>Mirror.
Image>Flip.
Layers>Merge>Merge Down.
Layers>Arrange>Move Down - 3 times (under the circle layer)
12. Image>Add borders, 2 pixels, symmetric, dark color.
Image>Add borders, 2 pixels, symmetric, light color.
Image>Add borders, 20 pixels, symmetric, dark color.
Image>Add borders, 2 pixels, symmetric, light color.
Image>Add borders, 2 pixels, symmetric, dark color.
Image>Add borders, 2 pixels, symmetric, light color.
Selections>Select All.
Image>Add borders, 40 pixels, symmetric, whatever color.
Selections>Invert.
Set again your foreground color to Gradient,
and the opacity of your Flood Fill Tool to 100.
Flood Fill  the selection with your background color. the selection with your background color.
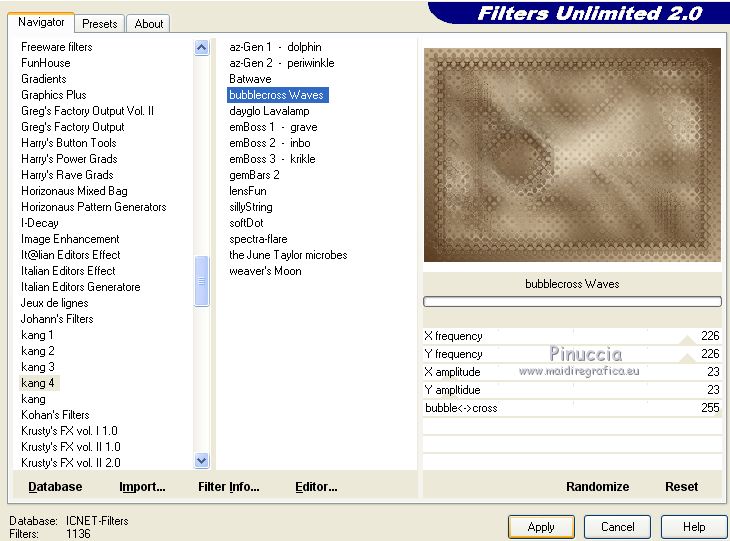
Effects>Plugins>Filters Unlimited 2.0 - Kang 4 - Bubblecross Waves, default settings.
Effects>Edge Effects>Enhance.
Selections>Select None.
13. Open the woman tube and go to Edit>Copy.
Go back to your work and go to Edit>Paste as new layer.
Image>Mirror.
Image>Resize, to 120%, resize all layers not checked.
Effects>3D Effects>Drop Shadow, color black.

14. Open the tube Deco00270©Yedralina and go to Edit>Copy.
Go back to your work and go to Edit>Paste as new layer.
Don't move it.
Change the Blend Mode of this layer to Overlay, or as you like better.
15. Image>Resize, 1000 pixels width, resize all layers checked.
Sign your work on a new layer.
Layers>Merge>Merge All and save as jpg.
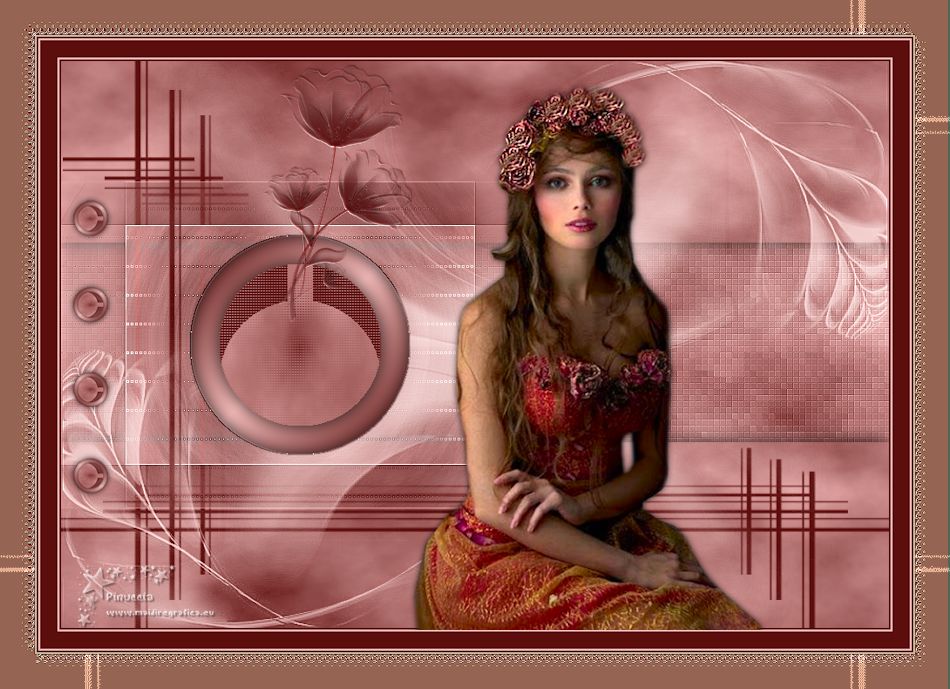
Version with tube by Luz Cristina

If you have problems or doubts, or you find a not worked link, or only for tell me that you enjoyed this tutorial, write to me.
15 February 2021
|


