|
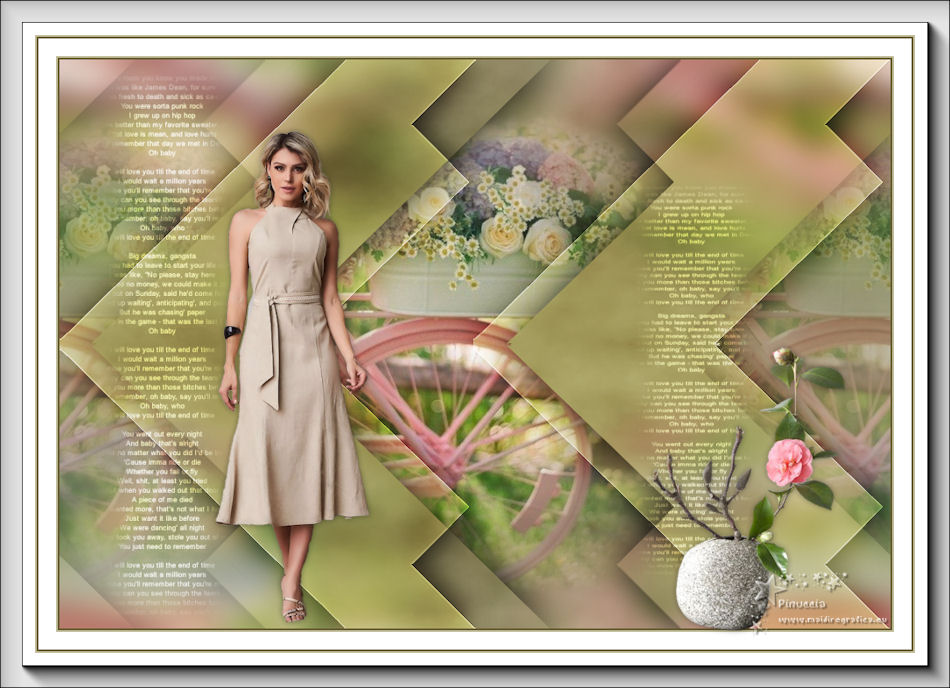
SIEMPRE ESPECIAL


Thanks Yedralina for your invitation to translate your tutorials into english

This tutorial was written with CorelX19 and translated with CorelX17, but it can also be made using other versions of PSP.
Since version PSP X4, Image>Mirror was replaced with Image>Flip Horizontal,
and Image>Flip with Image>Flip Vertical, there are some variables.
In versions X5 and X6, the functions have been improved by making available the Objects menu.
In the latest version X7 command Image>Mirror and Image>Flip returned, but with new differences.
See my schedule here
 italian translation here italian translation here
 french translation here french translation here
 your versions here your versions here
For this tutorial, you will need:
Material here
For the used tubes (not supplied) thanks:
Nena Silva (vvs-woman1936), K@rine (_k@rine_ Dreams_Misted_Flowers_2902_Avril_2014)
and Cibi (Deco_vase_camelia_CibiBijoux).
(The links of the tubemakers here).
Plugins:
consult, if necessary, my filter section here
Filters Unlimited 2.0 here
Simple - Left Right Wrap (bonus) here
Simple - Haft Wrap here
Mura's Meister - Cloud here
AAA Frames - Foto Frame / optional AAA Filters - Custom here
Filters Simple can be used alone or imported into Filters Unlimited.
(How do, you see here)
If a plugin supplied appears with this icon  it must necessarily be imported into Unlimited it must necessarily be imported into Unlimited

You can change Blend Modes according to your colors.
Place the brush in Brush folder. Attention, please, the brush is composed by two files, you must place both the files in the folder.
See my notes about Brushes here

Set your foreground color to #655b33,
and your background color to #bfbb97.
1. Open CanalAlpha_Siempre Especial.
Window>Duplicate or, on the keyboard, shift+D to make a copy.

Close the original.
The copy, that will be the basis of your work, is not empty,
but contains the selections saved to alpha channel.
Effects>Plugins>Mura's Meister - Cloud, default settings.
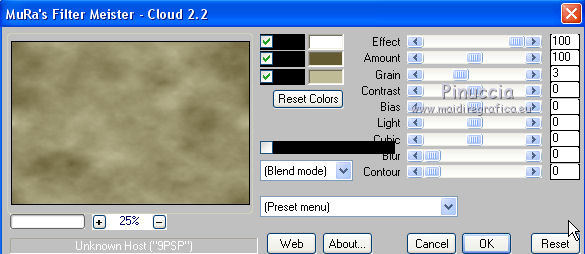
Remember that this filter works with the colors of your material palette,
but it keeps in memory the first setting used after the the opening of Psp.
So, if you have already used the plugin, press Reset to be sure to have your colors.
The result of this effects is random, so it won't be the same as mine.
If you want to change the appearance of the clouds, click on the preview window,
until you'll see the result you like better.
2. Selections>Select All.
Layers>New Raster Layer.
Open your misted and go to Edit>Copy.
Go back to your work and go to Edit>Paste into Selection.
Selections>Select None.
Effects>Plugins>Simple - half Wrap
This effect works without window; result
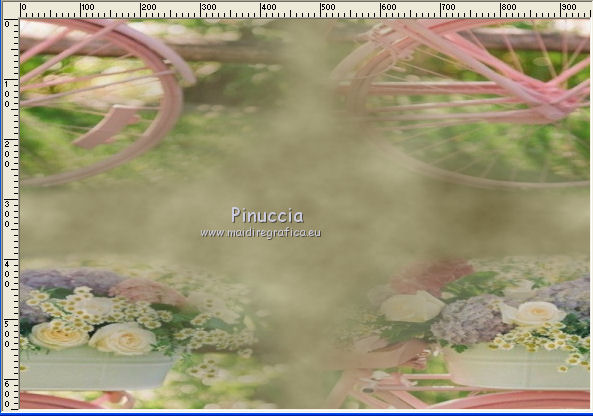
Adjust>Blur>Gaussian Blur - radius 15.

3. Layers>New Raster Layer.
Selections>Load/Save Selection>Load Selection from Alpha Channel.
The selection #1 is immediately available. You just have to click Load.
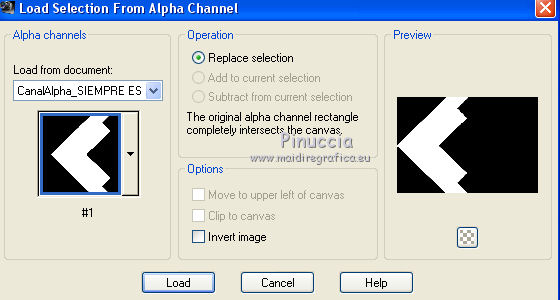
Edit>Paste into Selection (the misted is still in memory).
Selections>Invert.
Effects>3D Effects>Drop Shadow, color black.
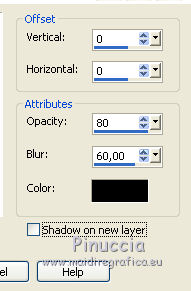
4. Selections>Invert.
Layers>New Raster Layer.
Reduce the opacity of your Flood Fill Tool to 70%.
Flood Fill  the selection with your light background color. the selection with your light background color.
Selections>Select None.
Change the Blend Mode of this layer to Overlay.
Effects>Edge Effects>Enhance.
Layers>Duplicate.
Objects>Align>Right,
or K key on the keyboard to activate your Pick Tool 
and set Potition X: 473,00 (keep Position Y: 0,00).

Effects>3D Effects>Drop Shadow, same settings.

Activate the layer below of the original.
Edit>Repeat Drop Shadow.
5. Activate the layer below, Raster 3.
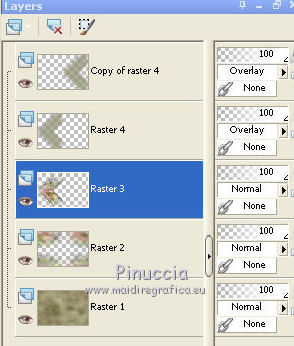
Objects>Align>Center in Canvas,
or with your Pick Tool 
set Position X: 234,00 (keep Position Y: 0,00)
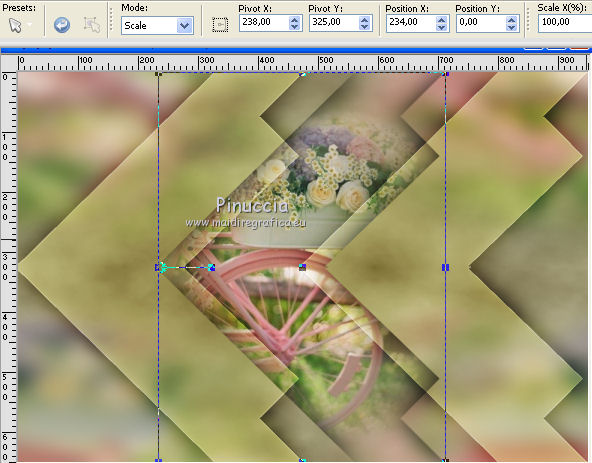
M key to deselect the Tool.
6. Layers>Duplicate.
Effetti>Plugins>Simple - Left Right Wrap,
this effect also works without windows:
this is the result (I closed the layers to show it)
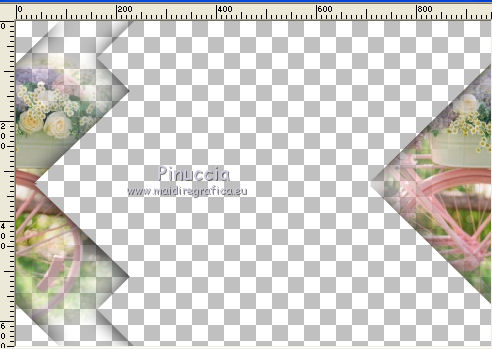
if you want to use the effect in Unlimited, you'll get the correct result if you user the software version of the filter.
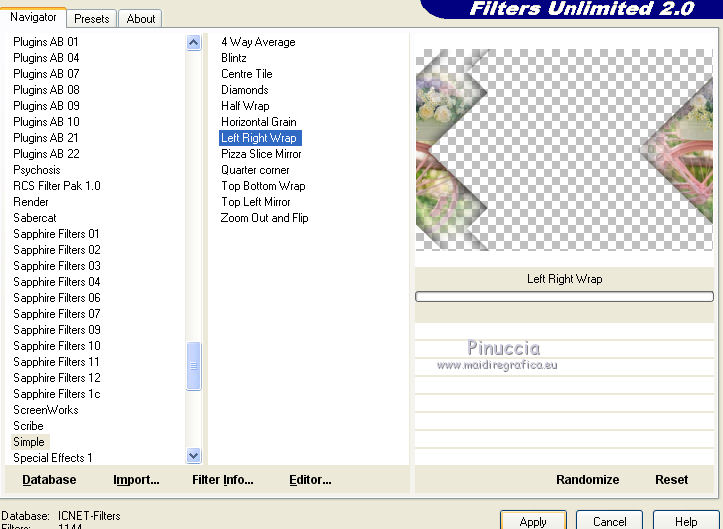
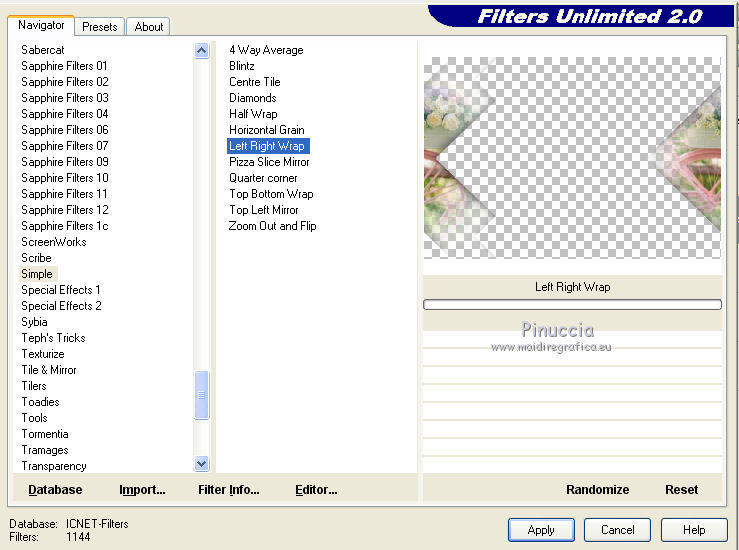
If, on the other hand, you use the version of Unlimited that is not installed
because it is made up of files in 8bf format, the result will be different.
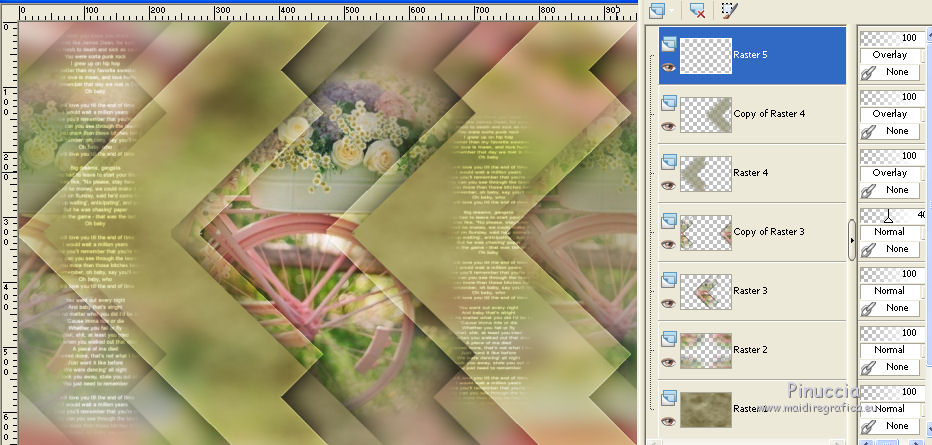
Reduce the opacity of this layer +/-40%, according to your colors.
7. Activate the top layer.
Layers>New Raster Layer.
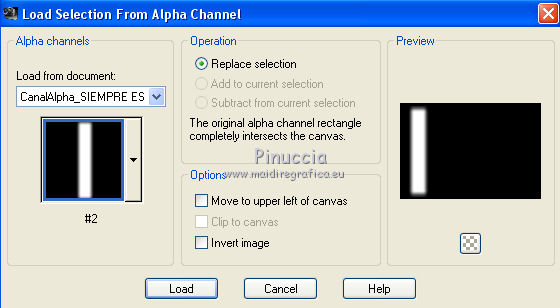
Selections>Load/Save Selection>Load Selection from Alpha Channel.
Open the selections menu and load the selection #2.
Activate your Brush Tool 
look for and load the brush Texte Brush, or another at your choice,

Set your foreground color to white #ffffff.
Apply the brush into the selection, clicking with your left mouse botton,
for using your white foreground color.
Effects>Reflection Effects>Rotating Mirror, default settings.

Selections>Select None.
Change the Blend Mode of this layer to Overlay.
Edit>Copy.
Stay on this layer.
8. Selections>Load/Save Selection>Load Selection from Alpha Channel.
Open the selections menu and load the selection #3.
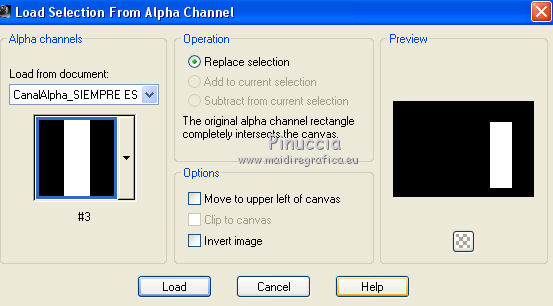
Edit>Paste into Selection (the brush you copied)
9. For the borders, set again your foreground color to #655b33.

Image>Add borders, 2 pixels, symmetric, foreground color.
Image>Add borders, 2 pixels, simmetric, background color.
Image>Add borders, 20 pixels, symmetric, color white.
Image>Add borders, 2 pixels, symmetric, foreground color.
Image>Add borders, 2 pixels, simmetric, background color.
Image>Add borders, 40 pixels, symmetric, color white.
10. Effects>Plugins>AAA Frames - Foto Frame.
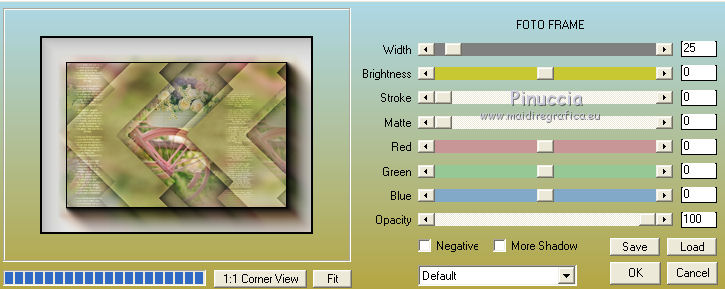
You can change the settings Red, Green or Blue, according to your colors.
11. Open your main tube and go to Edit>Copy.
Go back to your work and go to Edit>Paste as new layer.
Image>Resize, if necessary (for me 70%), resize all layers not checked.
Adjust>Sharpness>Sharpen.
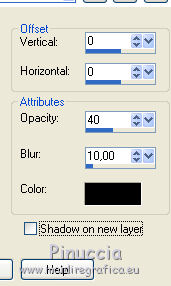
Effects>3D Effects>Drop Shadow, color black.
12. Open your deco tube and go to Edit>Copy.
Go back to your work and go to Edit>Paste as new layer.
Image>Resize, if necessary (for me 65%), resize all layers not checked.
Adjust>Sharpness>Sharpen.
Effects>3D Effects>Drop Shadow, same settings.

13. Image>Resize, 1000 pixels width, resize all layers checked.
Sign your work on a new layer.
Layers>Merge>Merge All.
14. Optional: Effetti>Plugins>AAA Filters - Landscape, click on Landscape and ok.
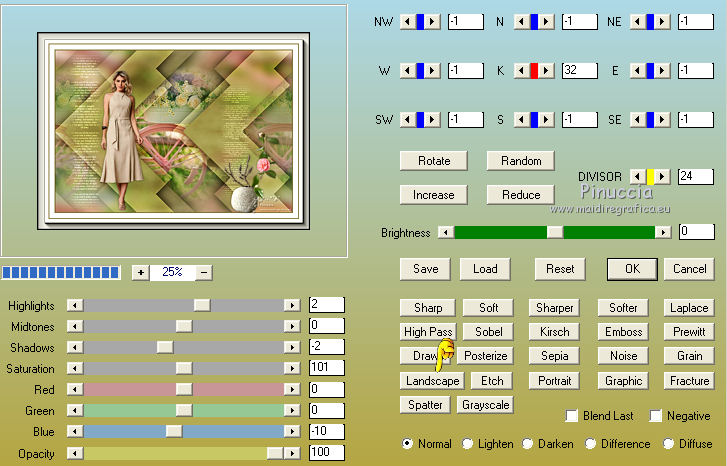
Save as jpg.
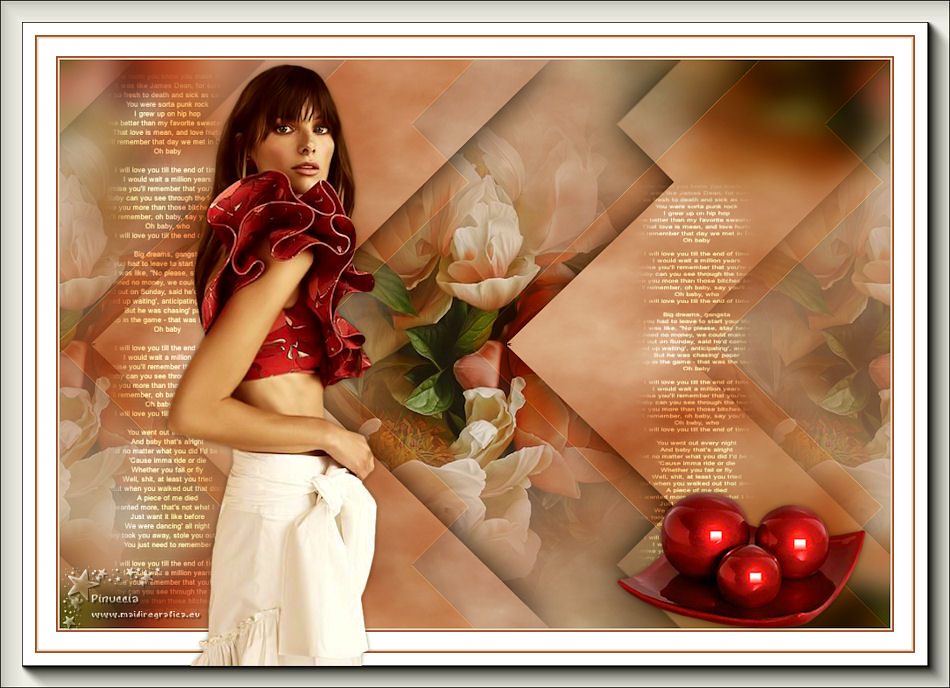
For this version I used tubes by Luz Cristina (5207-luzcristina) and Syl (SvB Rode ballen op een schaal).

If you have problems or doubts, or you find a not worked link, or only for tell me that you enjoyed this tutorial, write to me.
2 May 2021
|

