|
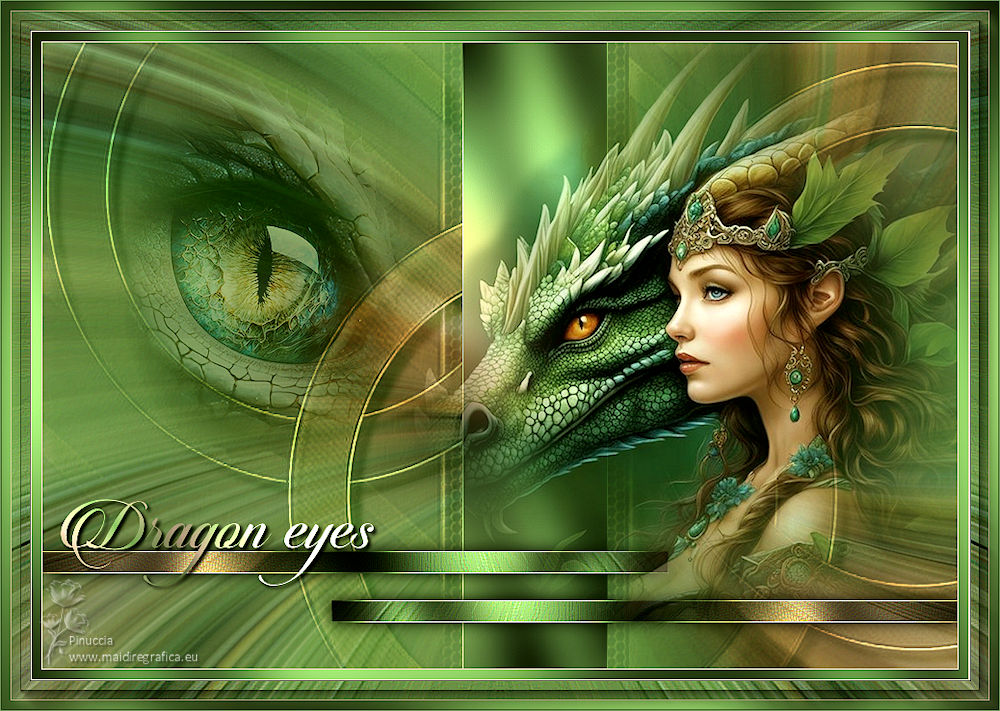
DRAGON EYES


Thanks Yedralina for your invitation to translate your tutorials into english

This tutorial was written with PSP2020 and translated with PSPX9 and PSP2020, but it can also be made using other versions of PSP.
Since version PSP X4, Image>Mirror was replaced with Image>Flip Horizontal,
and Image>Flip with Image>Flip Vertical, there are some variables.
In versions X5 and X6, the functions have been improved by making available the Objects menu.
In the latest version X7 command Image>Mirror and Image>Flip returned, but with new differences.
See my schedule here
 italian translation here italian translation here
 french translation here french translation here
 your versions here your versions here

For this tutorial, you will need:

(The links of the tubemakers here).

consult, if necessary, my filter section here
Filters Unlimited 2.0 here
Graphics Plus - Cross Shadow here
AAA Frames - Foto Frame / AAA Filters - Custom here
Filters Graphics Plus can be used alone or imported into Filters Unlimited.
(How do, you see here)
If a plugin supplied appears with this icon  it must necessarily be imported into Unlimited it must necessarily be imported into Unlimited

You can change Blend Modes according to your colors.

Copy the preset Emboss 3 and Emboss 6 in the Presets Folder
Open the mask in PSP and minimize it with the rest of the material.
Colors

Set your foreground color to color 1 #74a05c,
and your background color to color 2 #f3d7cd.
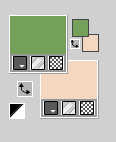
Set your foreground color to a Foreground/Background Gradient, style Linear.
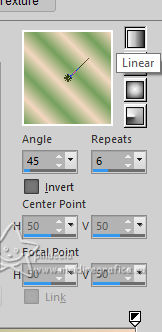
To begin, set your foreground color with une of your dark colors, at your choice (1 or 3).
1. Open CanalAlpha_DRAGON EYES
This image, that will be the basis of your work, is not empty,
but contains the selections saved to alpha channel.
If you have problems with the alpha channel, use the selection from disk.
Flood Fill  the transparent image with your dark foreground color. the transparent image with your dark foreground color.
2. Selections>Select All.
Open the misted 2677©Yedralina 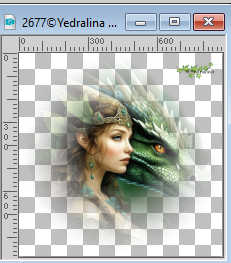
Erase the watermark and go to Edit>Copy.
Minimize the tube.
Go back to your work and go to Edit>Paste into Selection.
Selections>Select None.
3. Effects>Image Effects>Seamless Tiling, default settings.

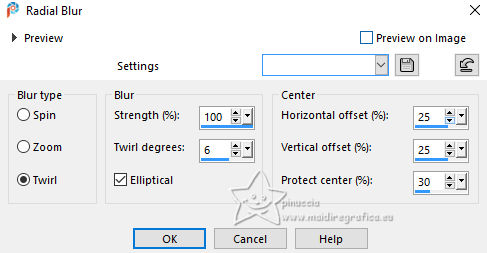
4. Adjust>Blur>Radial Blur.
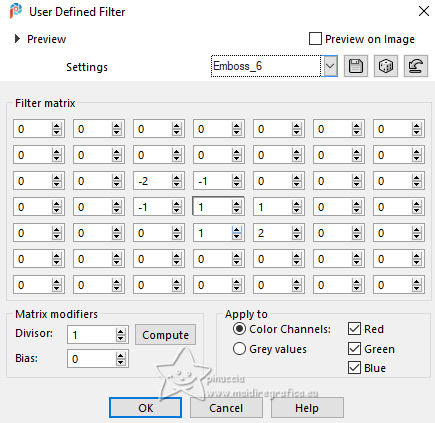
5. Effects>User Defined Filters - select the preset Emboss 6 and ok.
6. Layer>New Raster Layer.
Flood fill  with your light background color. with your light background color.
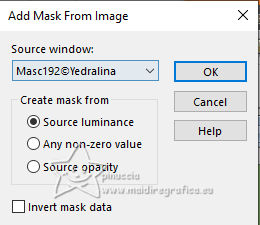
Layers>New Mask layer>From image
Open the menu under the source window and you'll see all the files open.
Select the mask Masc192©Yedralina.
Layers>Duplicate.
Layers>Merge>Merge Group.
7. Effects>User Defined Filter - select the preset Emboss 3 and ok.

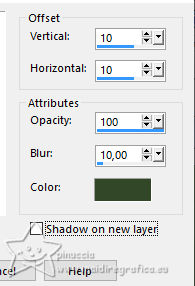
8. Effects>3D Effects>Drop Shadow, color 3 #334729.
Change the Blend Mode of this layer to Overlay.
9. Activate your background layer, Raster 1.
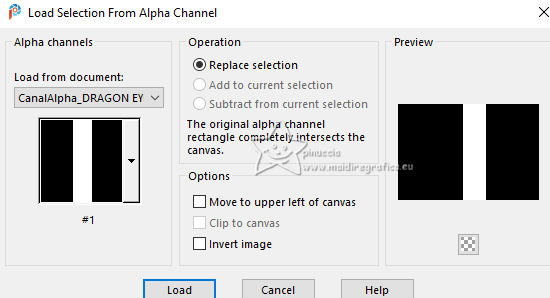
Selections>Load/Save Selection>Load Selection from Alpha Channel.
The selection #1 is immediately available. You just have to click Load.
Selections>Promote Selection to Layer.
Layers>Arrange>Bring to Top.
10. Adjust>Blur>Gaussian Blur - radius 15.

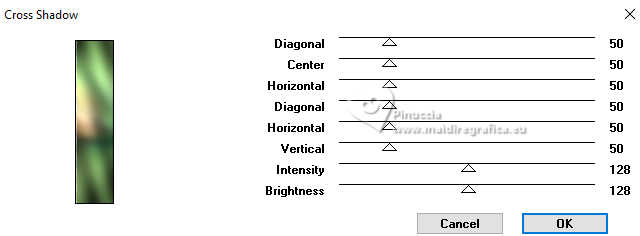
11. Effects>Plugins>Graphics Plus - Cross Shadow, default settings.
Selections>Select None.
Effects>Edge Effects>Enhance.
12. Ouvrir le misted 2663©Yedralina 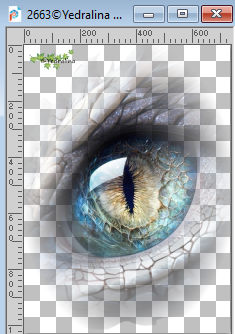
Erase the watermark and go to Edit>Copy.
Go back to your work and go to Edit>Paste as new layer.
Image>Mirror>Mirror horizontal.
Image>Resize, if necessary - for the supplied tube I resized to 40%, resize all layers not checked.
Move  the tube to the left side. the tube to the left side.
Change the Blend Mode of this layer to Soft Light.
For my example: Layers>Duplicate.
Layers>Merge>Merge Down
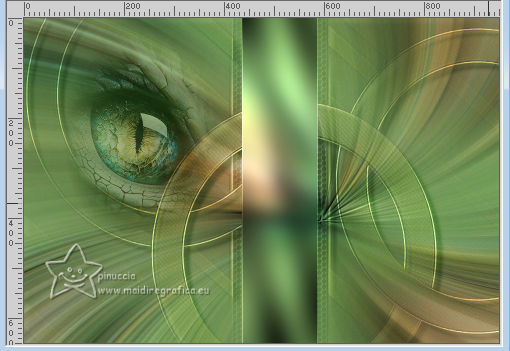
13. Activate again the layer Raster 1.
Selections>Load/Save Selection>Load Selection from Alpha Channel.
Open the selections menu and load the selection #2
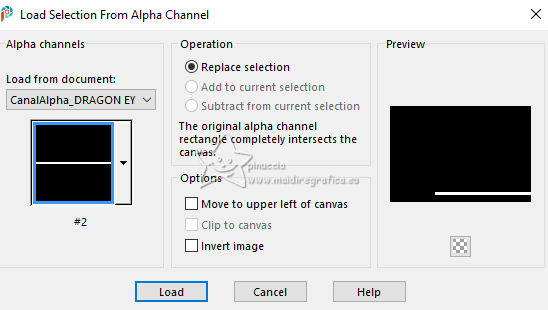
Selections>Promote Selection to Layer.
Layers>Arrange>Bring to Top.
14. Effects>Plugins>Graphics Plus - Cross Shadow, default settings - 2 times.
Selections>Select None.
Effects>Edge Effects>Enhance More.
15. Layers>Duplicate.
Image>Mirror>Mirror horizontal.
16. K key to activate your Pick Tool 
keep Position X: 0,00 and set Position Y: 528,00.

M key to deselect the Tool.
17. Layers>Merge>Merge Down.
18. Effects>3D Effects>Drop Shadow, color black.

19. Activate again the tube 2677©Yedralina e vai a Edit>Copy.
Go back to your work and go to Edit>Paste as new layer.
Image>Mirror>Mirror horizontal.
Image>Resize - for the supplied tube I resized to 75%, resize all layers not checked.
Move  the tube to the right. the tube to the right.
for my example: Layers>Duplicate.
Layers>Merge>Merge Down
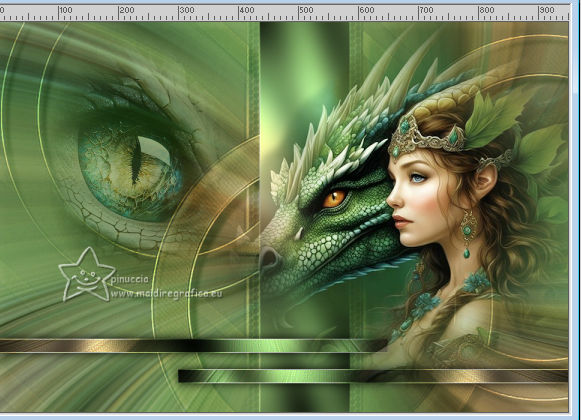
20. Layer>New Raster Layer.
21. Selections>Load/Save Selection>Load Selection from Alpha Channel.
Open the selections menu and load the selection #3
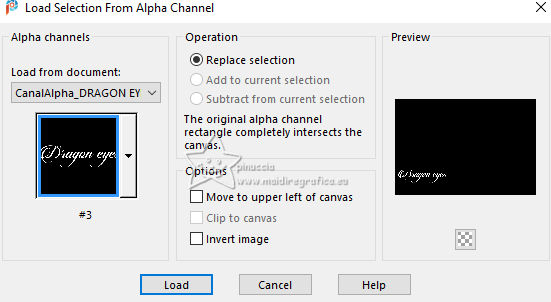
22. Set your foreground color with the Gradient your prepared before.
 
Flood Fill  the selection with your Gradient. the selection with your Gradient.
23. Effects>3D Effects>Drop Shadow, color black.

Selections>Select None.
24. Effects>Plugins>Graphics Plus - Cross Shadow, default settings - 2 times.
****
if you prefer,
you can use the text Titulo_DRAGON EYES 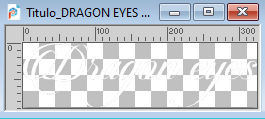
or write a text into your langue, with the supplied font.

****
25. Activate your background layer, Raster 1.
Edit>Copy.
Edit>Paste as new image, and minimize this image.
26. Go back to your work.
Image>Add Borders, 1 pixel, symmetric, background color 
Selections>Select All.
27. Image>Add Borders, 10 pixels, symmetric, foreground color 
Selections>Invert.
28. Effects>Plugins>Graphics Plus - Cross Shadow, default settings.
29. Image>Add Borders, 1 pixel, symmetric, background color 
Selections>Select All.
30. Image>Add Borders, 20 pixels, symmetric, foreground color  . .
Selections>Invert.
31. Edit>Paste into Selection (your background image minimized at step 25 is still in memory).
32. Effects>Reflection Effects>Rotating Mirror.

Effects>Edge Effects>Enhance More.
33. Image>Add Borders, 1 pixel, symmetric, background color 
Selections>Select All.
34. Image>Add Borders, 10 pixels, symmetric, foreground color 
Selections>Invert.
35. Effects>Plugins>Graphics Plus - Cross Shadow, default settings.
36. Image>Mirror>Mirror Horizontal.
Selections>Select None.
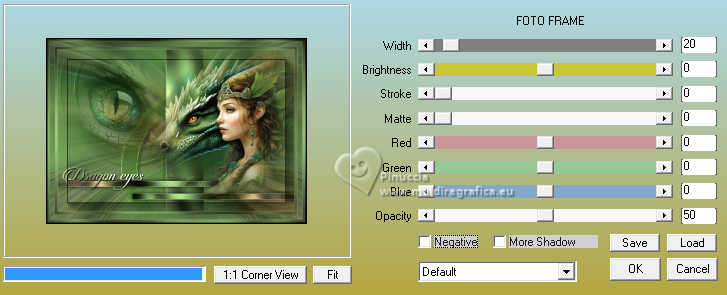
37. Effects>Plugins>AAA Frames - Foto Frame.
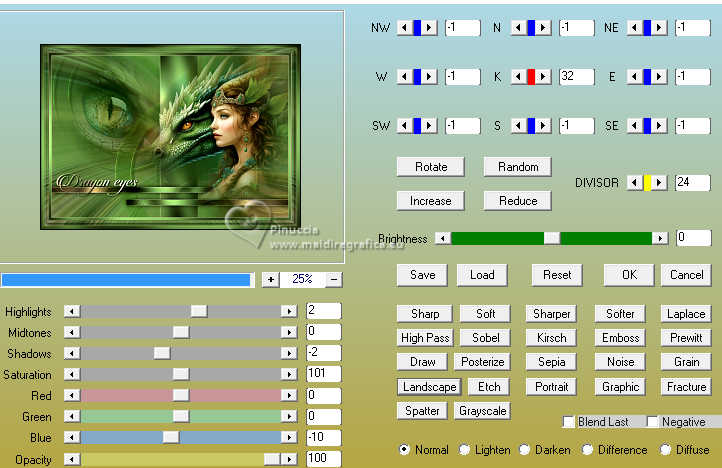
38. Effects>Plugins>AAA Filters - Custom - Landscape
39. Image>Add Borders, 1 pixel, symmetric, foreground color 
40. Sign your work and save as jpg.
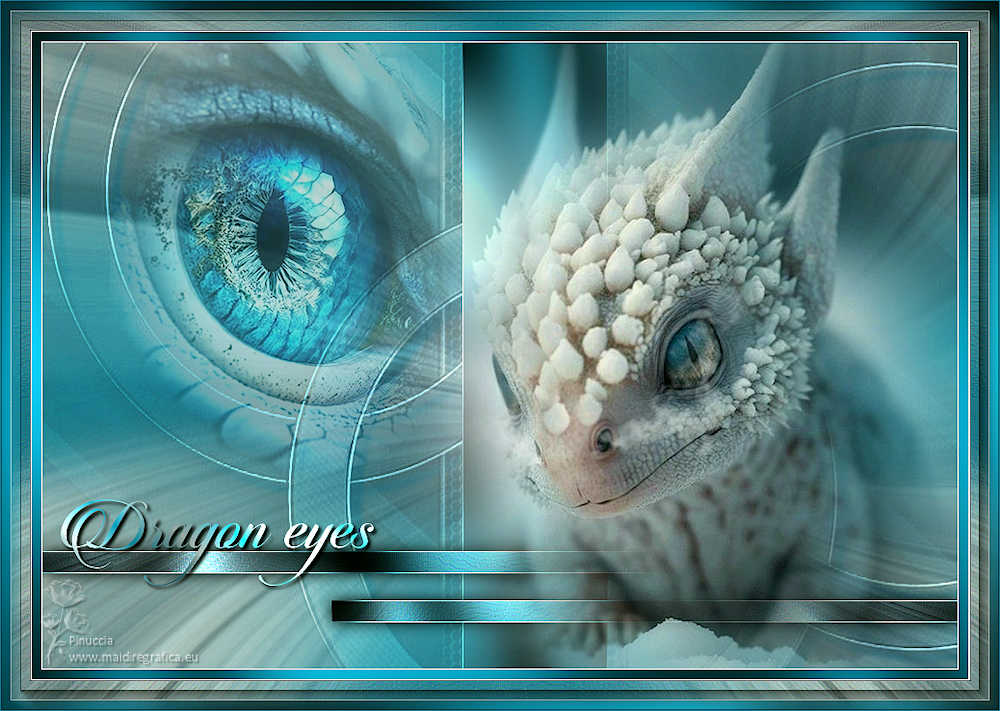
Second version

If you have problems or doubts, or you find a not worked link, or only for tell me that you enjoyed this tutorial, write to me.
14 June 2024

|

