|
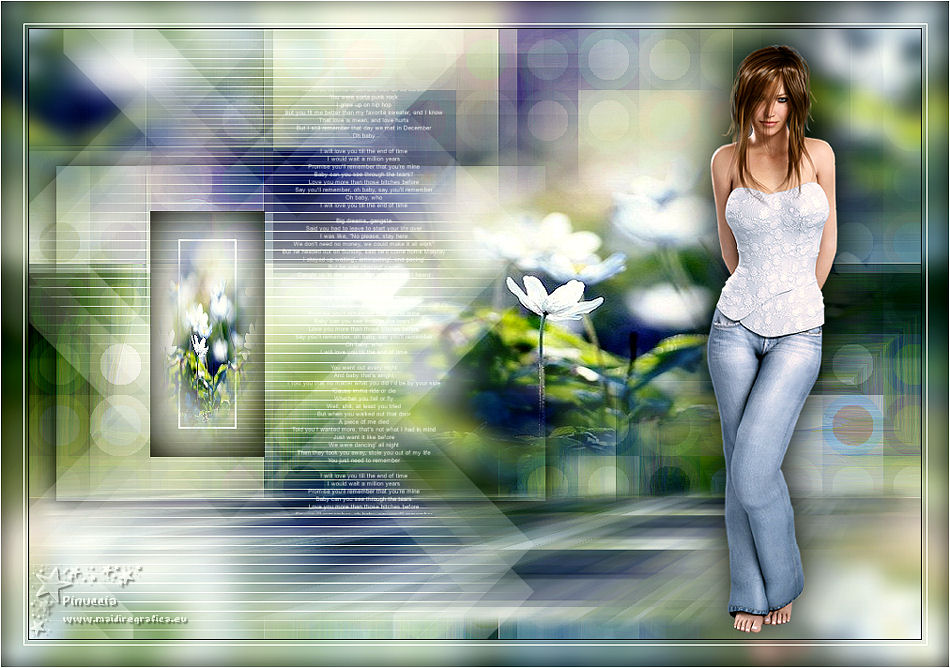
AHÍ ESTÁS TÚ


Thanks Yedralina for your invitation to translate your tutorials into english

This tutorial was written with CorelX19 and translated with CorelX17, but it can also be made using other versions of PSP.
Since version PSP X4, Image>Mirror was replaced with Image>Flip Horizontal,
and Image>Flip with Image>Flip Vertical, there are some variables.
In versions X5 and X6, the functions have been improved by making available the Objects menu.
In the latest version X7 command Image>Mirror and Image>Flip returned, but with new differences.
See my schedule here
italian translation here
french translation here
your versions here
For this tutorial, you will need:
Material qui
Image in jpg (found on Internet)
Optional: un misted.
For my example I used the same image jpg (1976©Yedralina)
For the main tube thanks Castorke (castorke_tube_dames__206_082013).
(The links of the tubemakers here).
Plugins:
consult, if necessary, my filter section here
Filters Unlimited 2.0 here
Mehdi - Sorting Tiles here
Mura's Meister - Perspective Tiling here
AP 01 [Lines] - Lines SilverLining here
Toadies - What are you here
LOtis Filters - Mosaic Toolkit v.2.022 here
AAA Filters - A Framer here
AAA Filters - Custom here
Filters Toadies can be used alone or imported into Filters Unlimited.
(How do, you see here)
If a plugin supplied appears with this icon  it must necessarily be imported into Unlimited it must necessarily be imported into Unlimited

Copy the brush in Brush folder. Attention, please, the brush is composed by two files, you must place both the files in the folder.
See my notes about Brushes here
Copy the mask in the Masks Folder.
The colors will be determined by the chosen image.
Only a dark color will be needed at the end of the work.
In my case #101913.
1. Open the jpg image.
Layers>Duplicate.
Layers>Load/Save Mask>Load Mask from Disk.
Look for and load the mask 20-20.
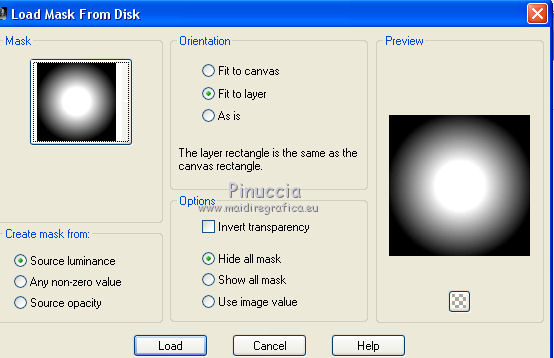
Layers>Duplicate.
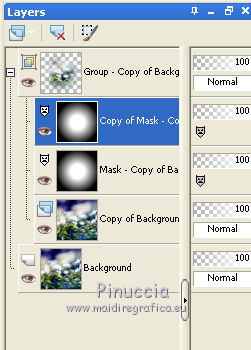
Layers>Merge>Merge Group.
Activate the bottom layer and go to Edit>Copy.
Minimize the image (you will also use the mask layer later)
2. Open the alpha files Ahi_estas_tu_alpha.
Window>Duplicate or, on the keyboard, shift+D to make a copy.

Close the original.
The copy, that will be the basis of your work, is not empty,
but contains the selections saved on the alpha channel.
Selections>Select All.
Edit>Paste into Selection (the jpg image in memory).
Selections>Select None.
Effects>Plugins>Mehdi - Sorting Tiles.
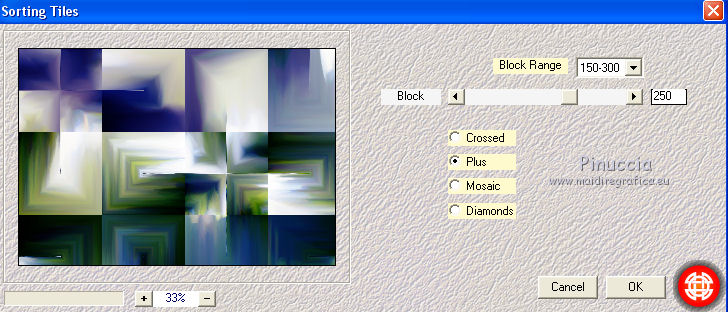
Effects>Edge Effects>Enhance More.
Effects>Plugins>LOtis Filters - Mosaic Tookit v.2.022.
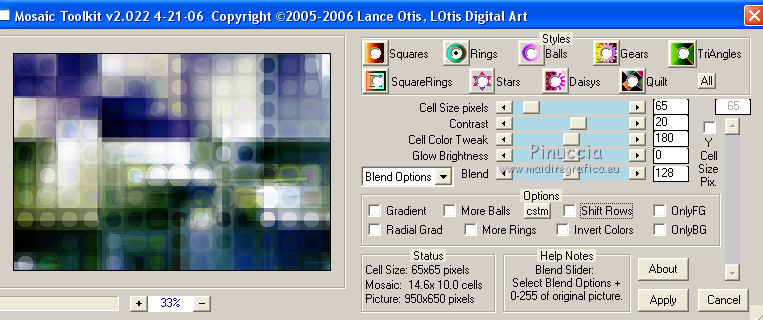
Layers>Duplicate.
3. Effects>Image Effects>Seamless Tiling.

Effects>Plugins>Filters Unlimited 2.0 - Toadies - What are you, default settings.
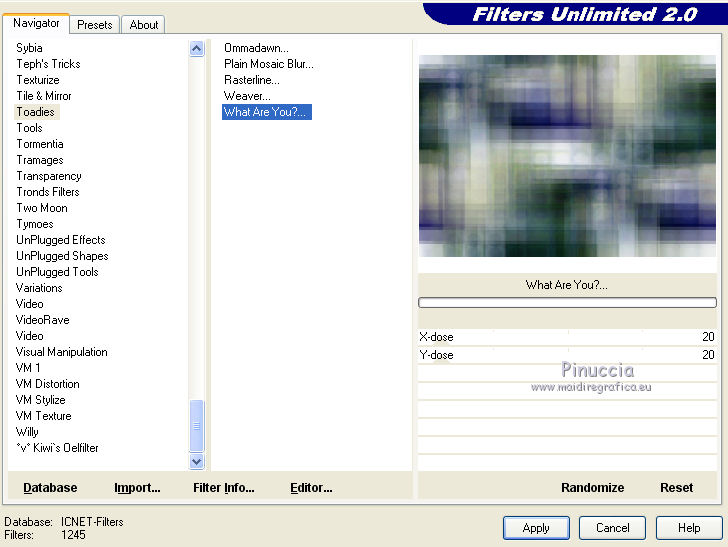
Effects>Image Effects>Seamless Tiling.

Change the Blend Mode of this layer to Soft Light.
Activate the bottom layer, Trama 1.
4. Selections>Load/Save Selection>Load Selection from Alpha Channel.
The selection #1 is immediately available. You just have to click Load.
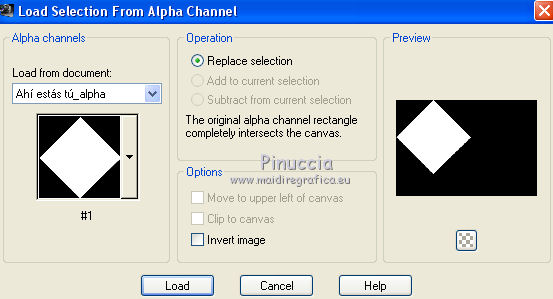
Selections>Promote Selection to Layer.
Layers>Arrange>Bring to Top.
Adjust>Blur>Gaussian Blur - radius 20.

Effects>Plugins>AP [Lines] - Lines SilverLining.
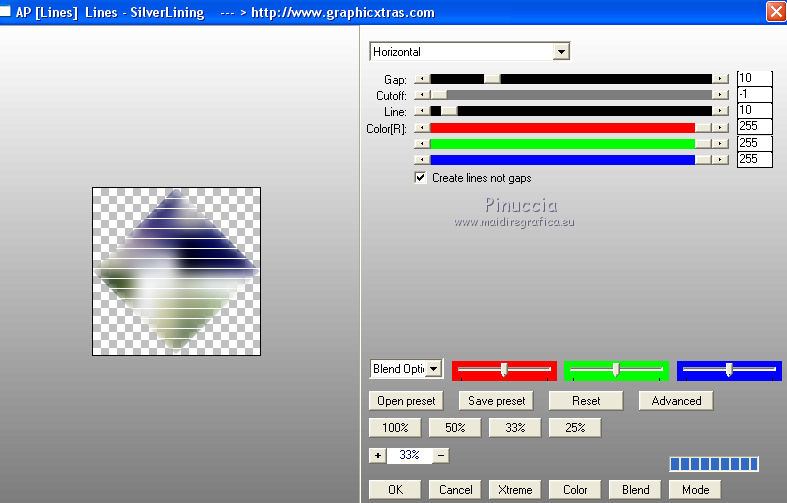
Selections>Invert.
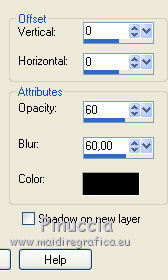
Effects>3D Effects>Drop Shadow, color black.
Selections>Select None.
Effects>Image Effects>Seamless Tiling.

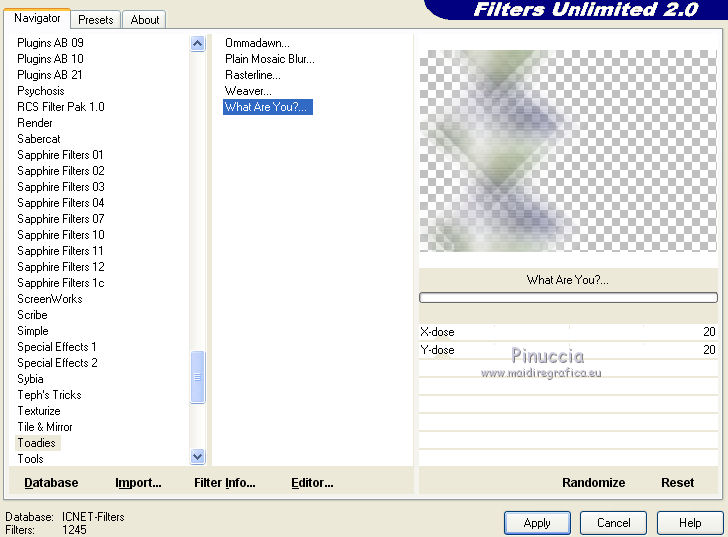
Effects>Plugins>Toadies - What are you.
Change the Blend Mode of this layer to Hard Light.
5. Layers>New Raster Layer.
Selections>Select All.
Activate the image that you have minimized.
Activate the top layer of the mask and go to Edit>Copy.
Go back to your work and go to Edit>Paste into Selection.
Selections>Select None.
Effects>Image Effects>Seamless Tiling.

Adjust>Blur>Gaussian Blur - radius 10.

Layers>Arrange>Move Down.
6. Layers>New Raster Layer.
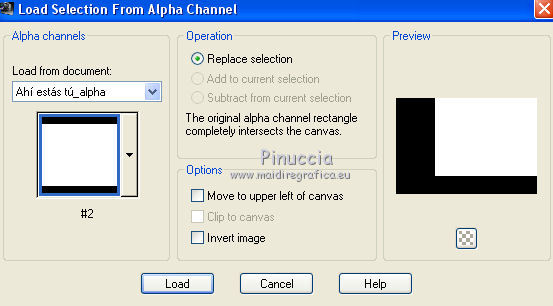
Selections>Load/Save Selection>Load Selection from Disk.
Open the Selections menu and load the selection #2.
Edit>Paste into Selection (the misted in memory).
Selections>Select None.
Adjust>Sharpness>Sharpen.
7. Layers>New Raster Layer.
Layers>Arrange>Move up.
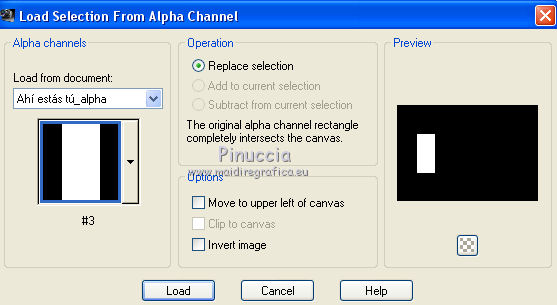
Selections>Load/Save Selection>Load Selection from Disk.
Open the Selections menu and load the selection #3.
Edit>Paste into Selection (the misted in memory).
Adjust>Sharpness>Sharpen.
Selections>Invert.
Effects>3D Effects>Drop Shadow, color black,
shadow on new layer checked.
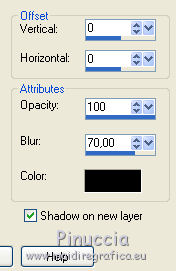
Stay on the shadow's layer.
8. Layers>New Raster Layer.
Selections>Invert.
Selections>Modify>Contract - 30 pixels.
Set your foreground color to white.
Flood Fill  the selection with color white. the selection with color white.
Selections>Modify>Contract - 2 pixels.
Press CANC on the keyboard 
Selections>Select None.
Activate your top layer.
Layers>Merge>Merge Down - 2 times.
Layers>Duplicate.
9. Image>Resize, to 55%, resize all layers not checked.
Objects>Align>Left,
or activate your Pick Tool  (tasto K) (tasto K)
and set Position X to 0,00

Selections>Load/Save Selection>Load Selection from Disk.
Open the Selections menu and load the selection #4.
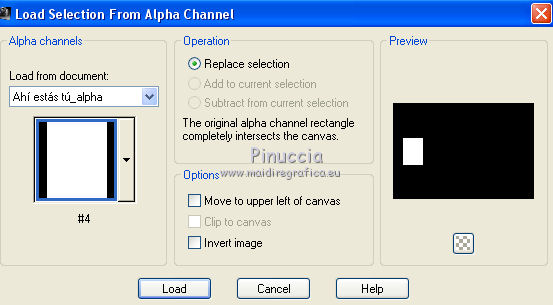
Press CANC on the keyboard.
Selections>Select None.
Layers>Arrange>Move Down - 3 times; it should be over the layer Raster 1.
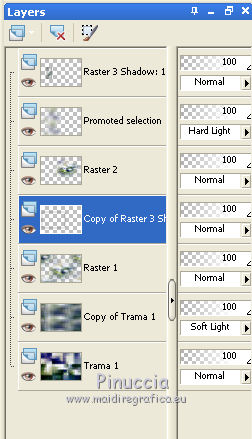
10. Activate the layer Copy of Trama 1.
Selections>Load/Save Selection>Load Selection from Disk.
Open the Selections menu and load the selection #5.
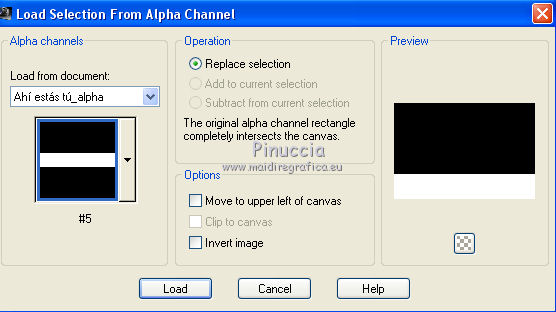
Selections>Promote Selection to layer.
Layers>Arrange>Move up.
Keep selected.
Effects>Plugins>Mura's Meister - Perspective Tiling.
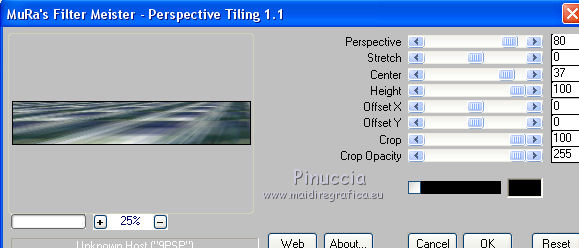
Selections>Load/Save Selection>Load Selection from Disk.
Open the Selections menu and load the selection #6.
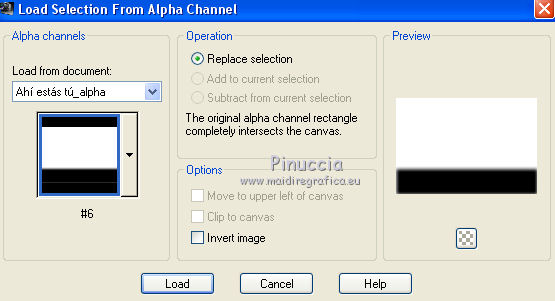
Press 8-9 time CANC.
Selections>Select None.
Layers>Arrange>Move Down.
11. Layers>New Raster Layer.
Layers>Arrange>Move up - 4 times.
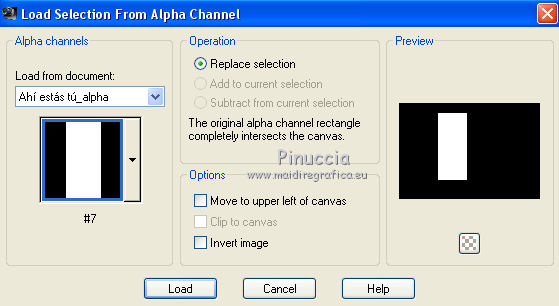
Selections>Load/Save Selection>Load Selection from Disk.
Open the Selections menu and load the selection #7.
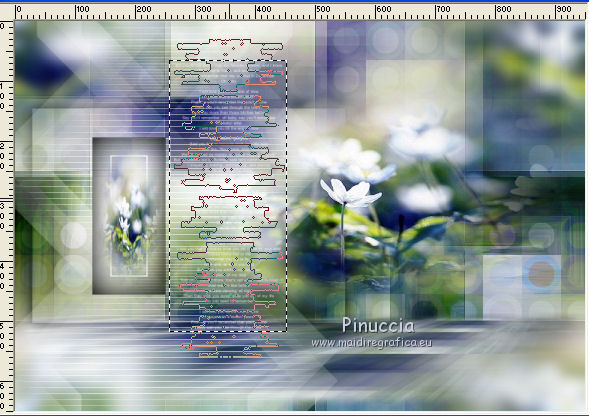
Activate your Brush Tool 
Look for and select the brush text brush

Apply the brush on the selection, clicking with your left button,
to use your white foreground color.
Selections>Select None.
12. Activate your top layer.
Open your main tube and go to Edit>Copy.
Go back to your work and go to Edit>Paste as new layer.
Image>Resize, if necessary, resize all layers not checked.
Move  the tube to the right side. the tube to the right side.
Effects>3D Effects>Drop Shadow, at your choice.
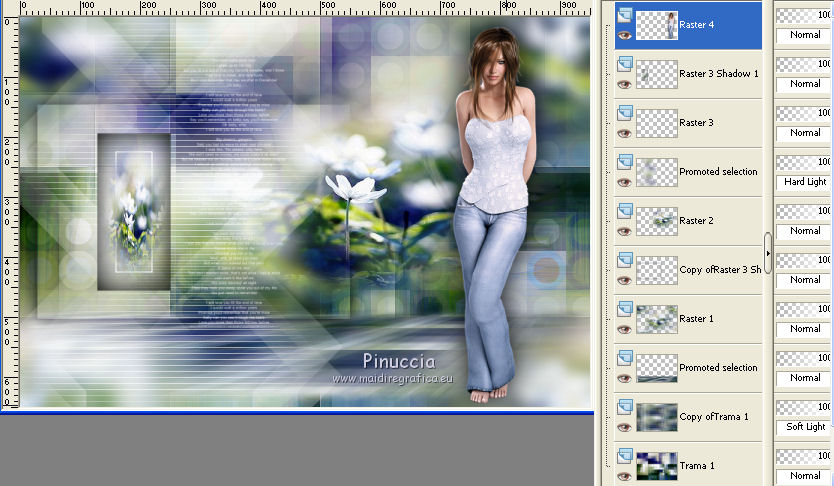
13. The tag and the layers
14. Image>Add borders, 1 pixel, symétrique with a dark color of the tag, or black.
Selections>Select All.
Edit>Copy.
Image>Add borders, 30 pixels, symmetric, whatever color.
Selections>Invert.
Edit>Paste into Selection.
Adjust>Blur>Gaussian Blur, radius 10.

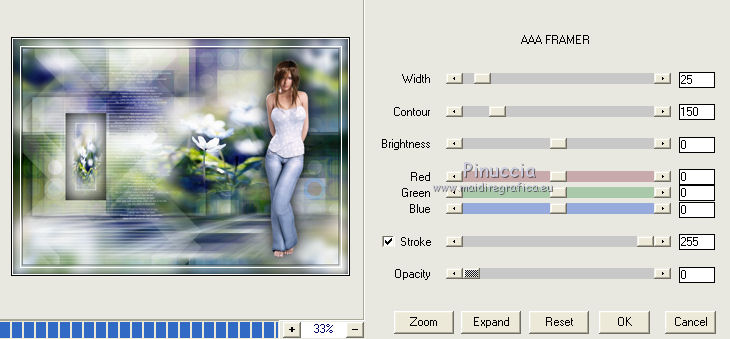
Effects>Plugins>AAA Filters - AAA Framer.
Selections>Select None.
15. Image>Resize, 1000 pixels width, resize all layers checked.
Sign your work on a new layer.
Layers>Merge>Merge All.
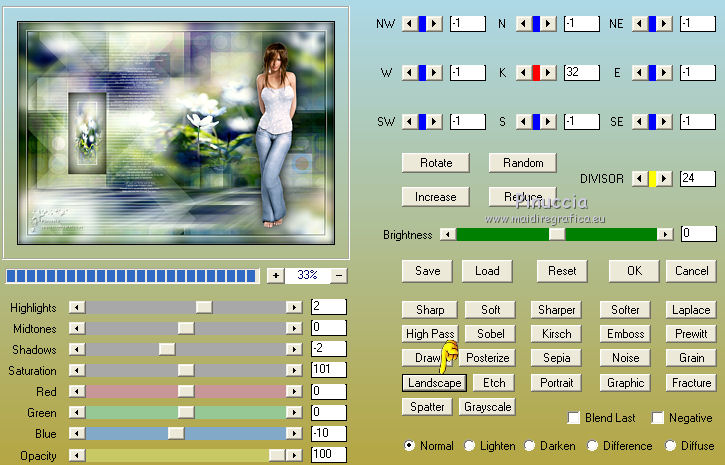
Optional: Effects>Plugins>AAA Filters - Custom - click on Landscape and ok.
Save as jpg.
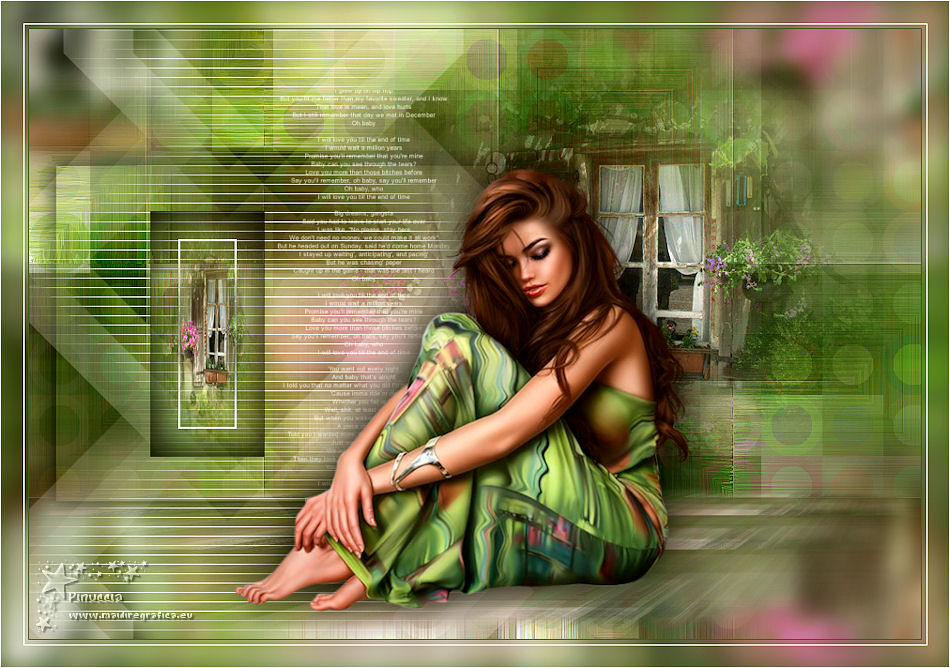
Version with tube by Beatriz

If you have problems or doubts, or you find a not worked link, or only for tell me that you enjoyed this tutorial, write to me.
14 Avril 2020
|

