|
SPECIAL LOVE


Thanks Gerrie for your invitation to translate your tutorials.

This tutorial was translated with PSP2020 but it can also be made using other versions of PSP.
Since version PSP X4, Image>Mirror was replaced with Image>Flip Horizontal,
and Image>Flip with Image>Flip Vertical, there are some variables.
In versions X5 and X6, the functions have been improved by making available the Objects menu.
In the latest version X7 command Image>Mirror and Image>Flip returned, but with new differences.
See my schedule here
 Italian translation qui Italian translation qui
 French translation here French translation here
 Your versions ici Your versions ici

For this tutorial, you will need:

Thanks for the tubes Fun and Patry and for the animation Simone
(you find here the links to the material authors' sites)
consult, if necessary, my filter section here
Filters Unlimited 2.0 qui
Greg's Factory Output vol.II qui
Filters Greg's Factory Output can be used alone or imported into Filters Unlimited.
(How do, you see here)
If a plugin supplied appears with this icon  it must necessarily be imported into Unlimited it must necessarily be imported into Unlimited

You can change Blend Modes according to your colors.

Copy the selection in the Selections Folder.
1. Set your foreground color to #b30c06,
and your background color to #000000.
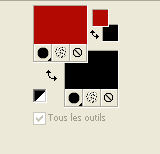
2. Open a new transparent image 650 x 550 pixels.
3. Flood Fill  the transparent image with your foreground color. the transparent image with your foreground color.
4. Effects>Plugins>Greg's Factory Output Vol.II - Pool Shadow, default settings.
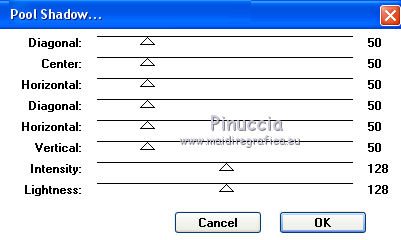
5. Layers>New Raster Layer.
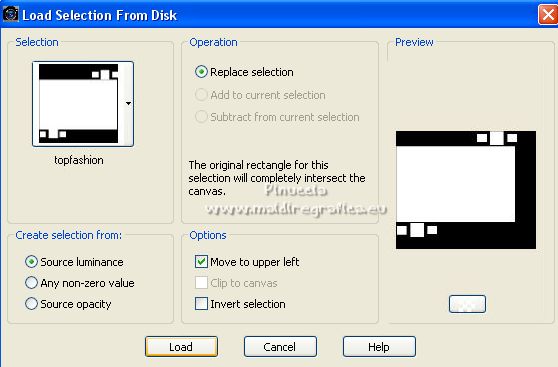
Selections>Load/Save Selection>Load Selection from Disk.
Look for and load the selection topfashion
attention: it is checked Move to upper left.
6. Open the tube Turnanewleaf 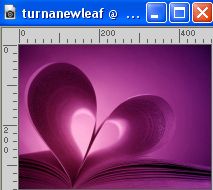
Edit>Copy.
Go back to your work and go to Edit>Paste into Selection.
Selections>Select None.
7. Change the Blend Mode of this layer to Multiply.

Selection>Select None.
8. Open the tube Fun_100_JAN09 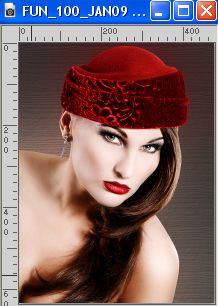
if you use another tube, resize to 450 hight.
Edit>Copy.
Go back to your work and go to Edit>Paste as new layer.
Image>Resize, to 70%, resize all layers not checked.
Image>Mirror.
Move  the tube at the bottom right. the tube at the bottom right.

9. Effects>3D Effects>Drop Shadow, at your choice.
10. Open the face tube pspA76 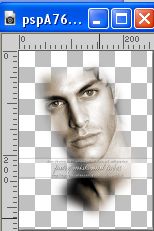
if you use another tube, resize to 300 pixels height.
Edit>Copy.
Go back to your work and go to Edit>Paste as new layer.
Place  the tube in the center. the tube in the center.
Change the Blend Mode of this layer to Soft Light, and reduce the opacity to 75%.

11. Effects>3D Effects>Drop Shadow, at your choice.
12. Open the wordart He_GTY_4 
Edit>Copy.
Go back to your work and go to Edit>Paste as new layer.
Place  the text to your liking. the text to your liking.
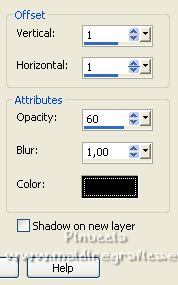
13. Effects>3D Effects>Drop shadow, color black.
14. Sign your work on a new layer.
15. Image>Add borders, 1 pixel, symmetric, color black.
16. Edit>Copy.
17. Open Animation Shop and go to Edit>Paste>Paste as new animation.
18. Edit>Duplicate, and repeat until you have an animation composed by 20 frames.
Click on the first frame to select it.
Edit>Select All.
19. Open the animation SimoneAni186, also composed by 20 frames.
Edit>Select All.
Edit>Copy.
Activate your work and go to Edit>Paste>Paste into selected frame.
Place the animation in the center of the image.
20. The example with this animation at the upper of the tutorial.
To use the second animation BlingHeartDropRedPTR (version at the bottom of the tutorial)
follow the same steps, but duplicate until to get an animation composed by 12 frames.
And after: Animation>Frame Properties and set to 20.
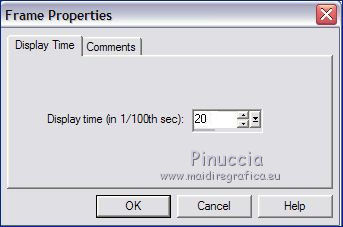
Check the result clicking on View animation 
and save as gif.
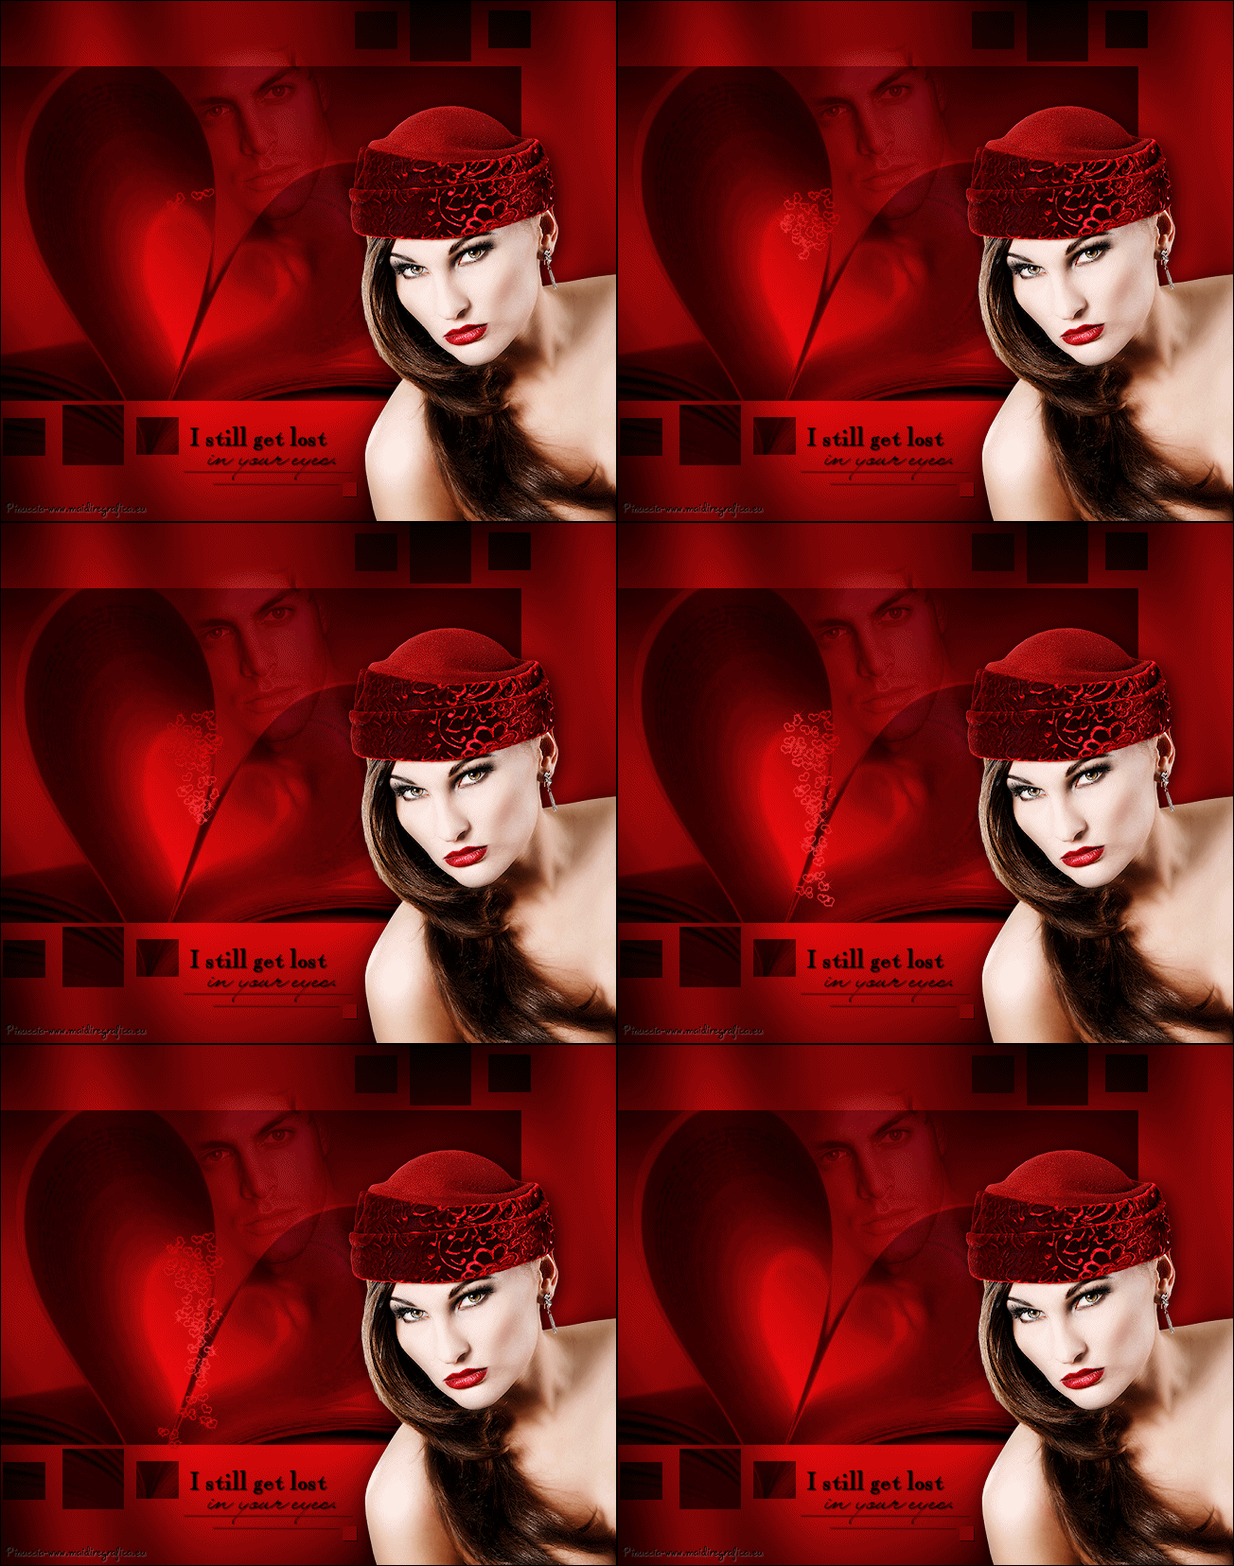
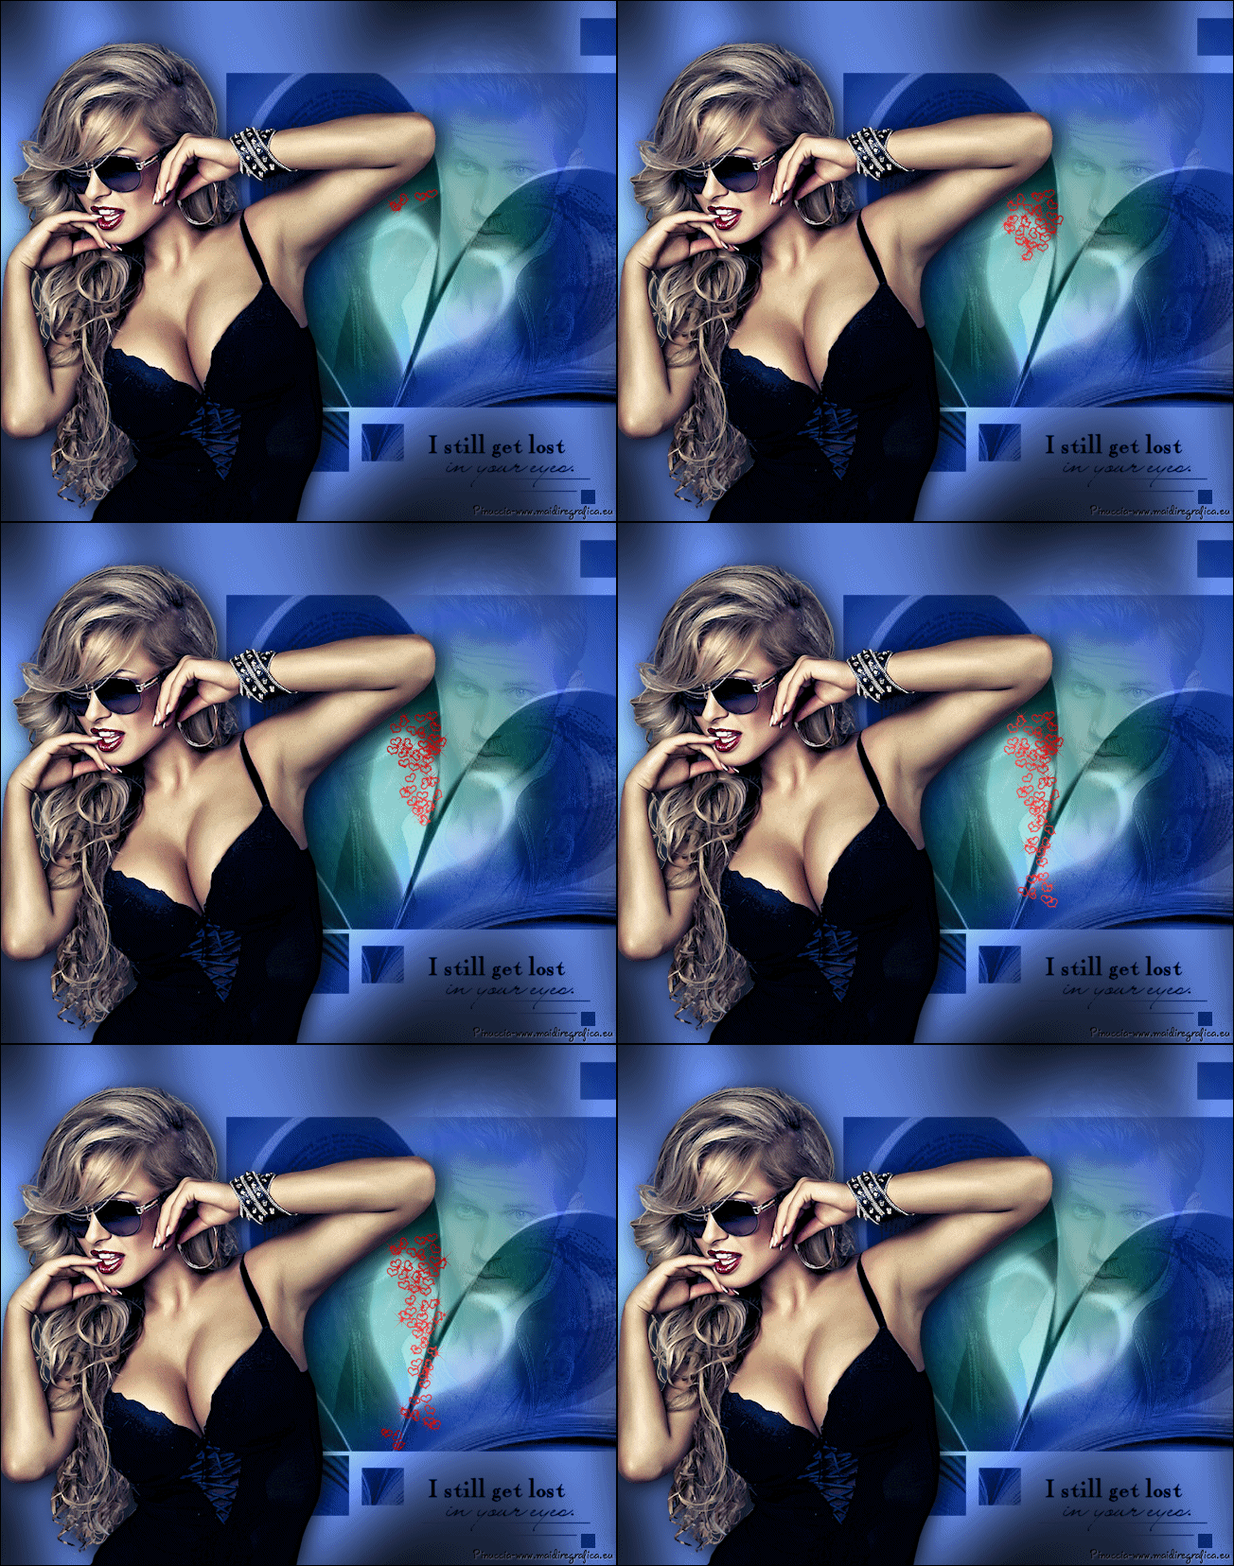
For the tubes of this version thanks Gabry and Azalée.

If you have problems or doubts, or you find a not worked link, or only for tell me that you enjoyed this tutorial, write to me.
5 February 2023

|

