|
CHRISTMAS EVE

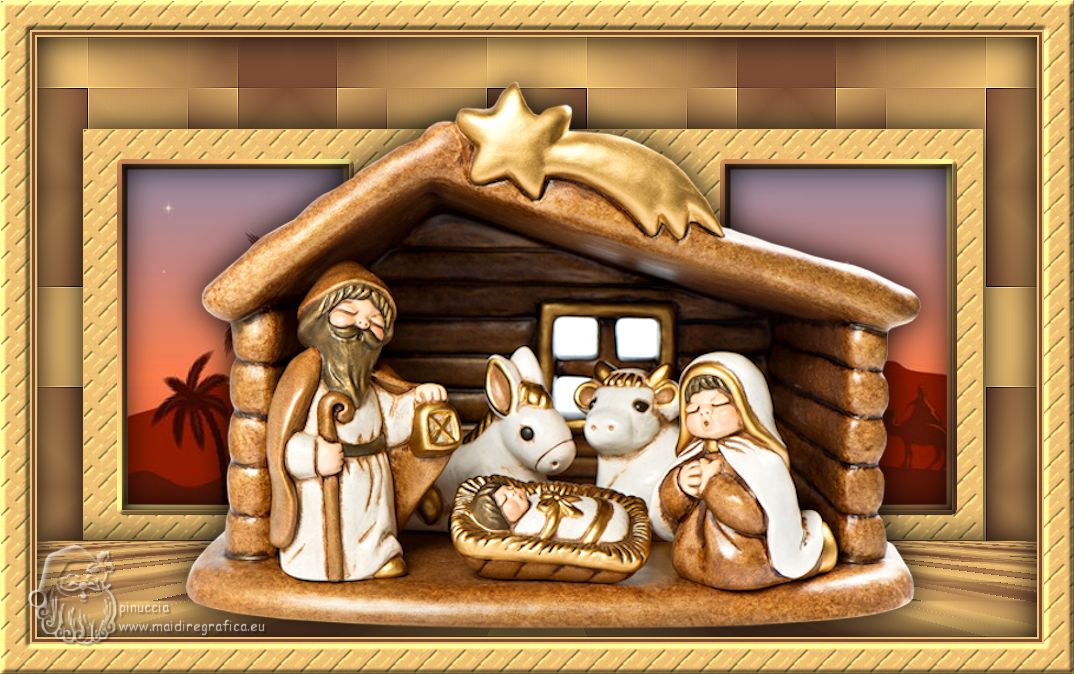
Thanks ingelore for your invitation to translate your tutorials.

This tutorial was translated with PSPX, PSPX2, PSPX3, but it can also be made using other versions of PSP.
Since version PSP X4, Image>Mirror was replaced with Image>Flip Horizontal,
and Image>Flip with Image>Flip Vertical, there are some variables.
In versions X5 and X6, the functions have been improved by making available the Objects menu.
In the latest version X7 command Image>Mirror and Image>Flip returned, but with new differences.
See my schedule here
 Italian translation qui Italian translation qui
 French translation here French translation here
 Your versions ici Your versions ici
For this tutorial, you will need:
Tube at your choice (the tube used in the original tutorial is a licensed tube)

For the tube used and not supplied thanks Krys.
(you find here the links to the material authors' sites)

consult, if necessary, my filter section here
Filters Unlimited 2.0 here
Mehdi - Sorting Tiles here
Mura's Meister - Perspective Tiling here
Simple - Zoom out and flip, Top Left Mirror here
Filters Simple can be used alone or imported into Filters Unlimited.
(How do, you see here)
If a plugin supplied appears with this icon  it must necessarily be imported into Unlimited it must necessarily be imported into Unlimited

You can change Blend Modes according to your colors.
In the newest versions of PSP, you don't find the foreground/background gradient (Corel_06_029).
You can use the gradients of the older versions.
The Gradient of CorelX here

Copy the Texture in the Textures Folder.
Open the mask in PSP and minimize it with the rest of the material.
1. Choose two colors from your tube.
Set your foreground color to the light color,
and your background color to the dark color.
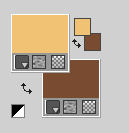
Set your foreground color to a Foreground/Background Gradient, style Linear.

2. Open a new transparente image 1000 x 600 pixels.
Flood Fill  the transparent image with your Gradient. the transparent image with your Gradient.
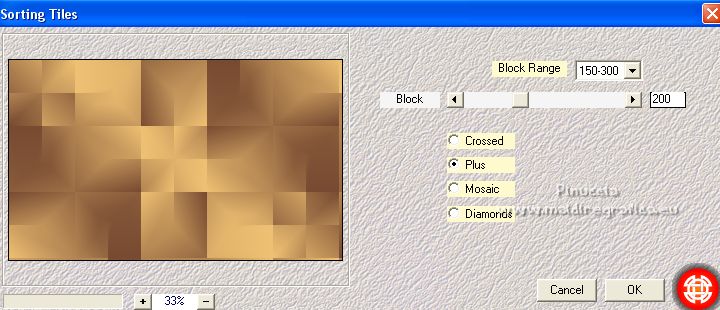
Effects>Plugins>Mehdi - Sorting Tiles.
Effects>Reflection Effects>Rotating Mirror.

Effects>Plugins>Simple - Zoom out and flip.
2. Effects>Plugins>Simple - Top Left Mirror.

Effects>Edge Effects>Enhance.
Layers>New Raster Layer.
Set your foreground color to Color.
Flood Fill  the layer with your light foreground color. the layer with your light foreground color.
Layers>New Mask layer>From image
Open the menu under the source window and you'll see all the files open.
Select the mask maske112©ILR.jpg

Effects>Edge Effects>Enhance.
Layers>Merge>Merge Group.
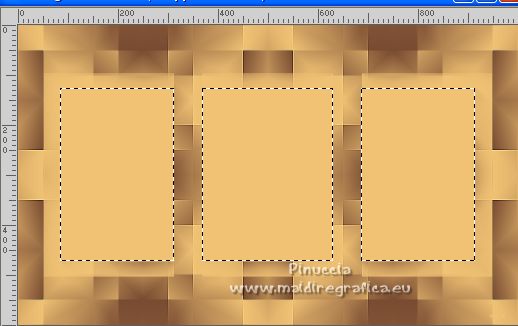
3. Activate your Magic Wand Tool 
and click on the rectangles to select them.
Layers>New Raster Layer.
Effects>3D Effects>Cutout.

Layers>New Raster Layer.
Layers>Arrange>Move Down.
Open feliz-natal-nascimento-de-jesus1 
Edit>Copy.
Go back to your work and go to Edit>Paste as new layer.
Place  the image on the selection. the image on the selection.
Selections>Invert.
Press CANC on the keyboard 
Selections>Invert.
4. Selections>Modify>Select Selection Borders.

Layers>New Raster Layer.
Set your foreground to Gradient.
Flood Fill  the selection with your Gradient. the selection with your Gradient.
Effects>3D Effects>Inner Bevel.

Selections>Select None.
Activate the layer of the mask.

Selection Tool 
(no matter the type of selection, because with the custom selection your always get a rectangle)
clic on the Custom Selection 
and set the following settings.

Layers>New Raster Layer.
Set your foreground color to Color.
Flood Fill  the layer with your light foreground color. the layer with your light foreground color.
Effects>Texture Effects>Texture - select the texture tuile

Selections>Select None.
Effects>3D Effects>Drop Shadow, color black.

5. Activate the layer Raster 1.
Layers>Duplicate.
Layers>Arrange>Bring to Top.
Effects>Plugins>Mura's Meister - Perspective Tiling.

Effects>3D Effects>Drop Shadow, same settings.
Open your tube - for me Krysnoel_137 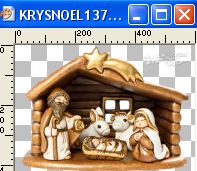
Edit>Copy.
Go back to your work and go to Edit>Paste as new layer.
Image>Resize, if necessary, resize all layers not checked.
Adjust>Sharpness>Sharpen.
Place  correctly the tube. correctly the tube.
Effects>3D Effects>Drop Shadow, same settings.
6. Layers>New Raster Layer.
Selections>Select All.
Effects>3D Effects>Cutout, same settings.

Selections>Select None.
Image>Add borders, 2 pixels, symmetric, light color.
Image>Add borders, 3 pixels, symmetric, dark color.
Image>Add borders, 2 pixels, symmetric, light color.
Selections>Select All.
7. Image>Add borders, 30 pixels, symmetric, light color.
Selections>Invert.
Effects>Texture Effects>Texture, same settings.

Effects>3D Effects>Inner Bevel, same settings.

Selections>Select None.
Sign your work on a new layer.
Image>Add borders, 2 pixels, symmetric, dark color.
Save as jpg.
For the tube of this version thanks Krys
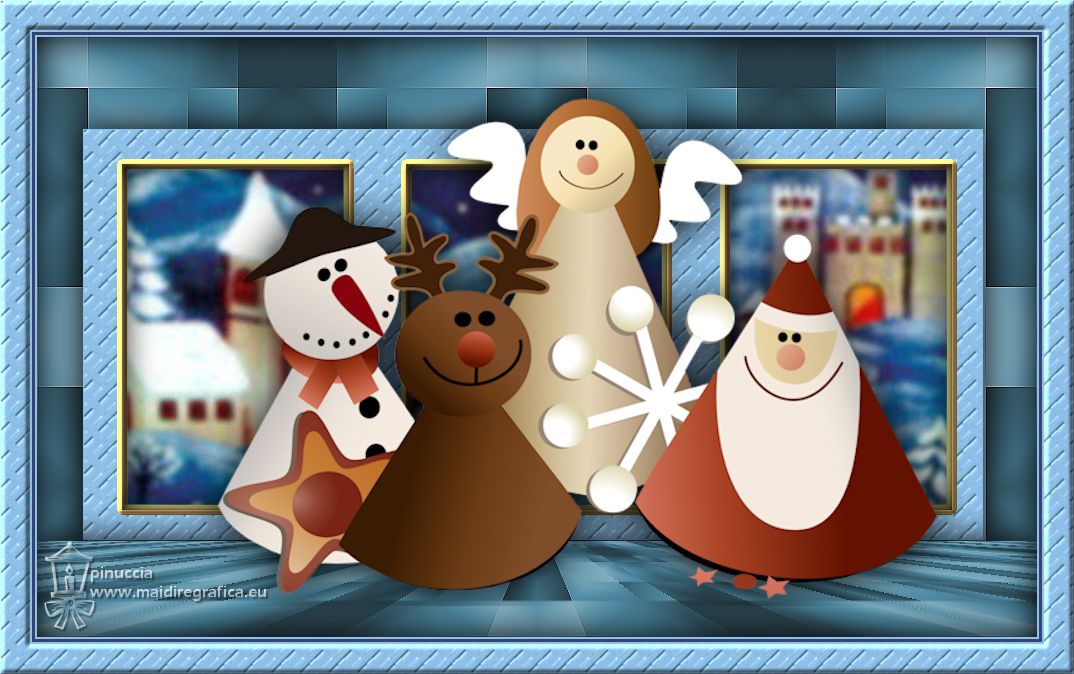
If you have problems or doubts, or you find a not worked link, or only for tell me that you enjoyed this tutorial, write to me.
23 November 2022

|

