|
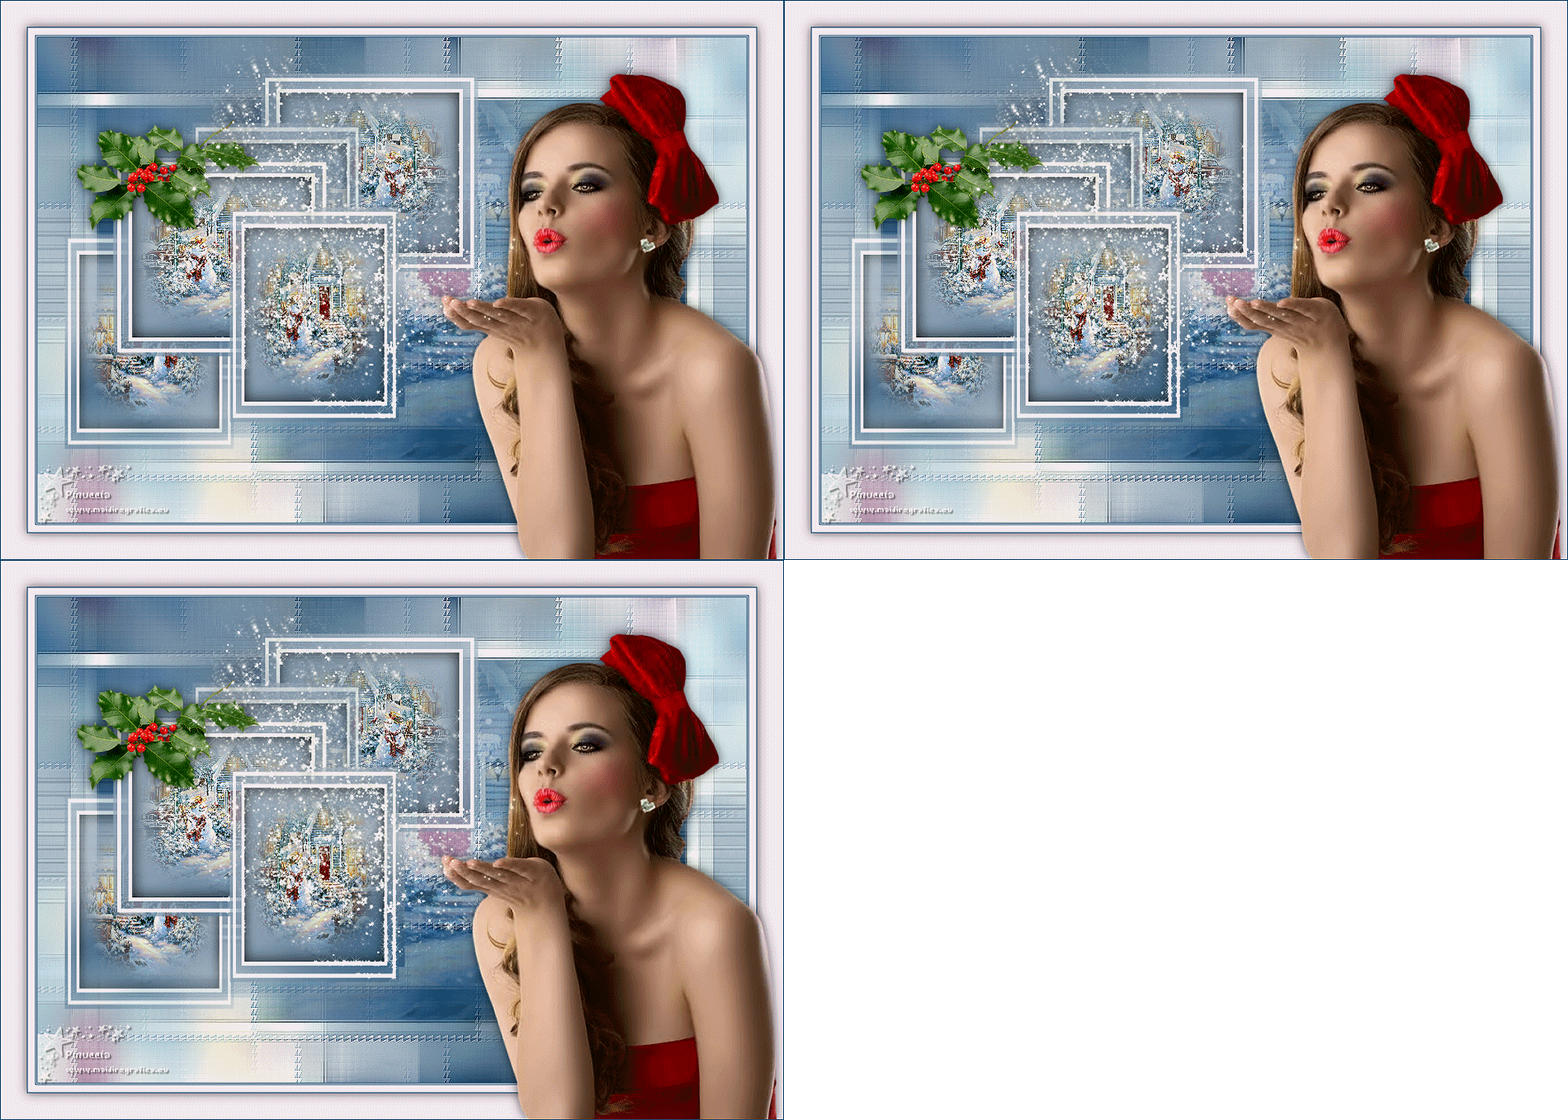
BRILLOS DE NAVIDAD


Here you find the original of this tutorial:

This tutorial was written with CorelX19 and translated with CorelX17, but it can also be made using other versions of PSP.
Since version PSP X4, Image>Mirror was replaced with Image>Flip Horizontal,
and Image>Flip with Image>Flip Vertical, there are some variables.
In versions X5 and X6, the functions have been improved by making available the Objects menu.
In the latest version X7 command Image>Mirror and Image>Flip returned, but with new differences.
See my schedule here

italian translation here
french translation here
your versions here
For this tutorial, you will need:
Tubes ŕ choix
Material here
For the tubes used and not supplied thanks:
woman by Mina (Mina@.Lady7.29.11)
misted by Sylvie (Mist_Christmas2_28.11.2015)
deco by Animabelle (86_tube_noel_p1_animabelle)
For the mask thanks Ildiko (ildiko_maszk_2016_29).
The rest of the material is by Yedralina.
(The links of the tubemakers here).
Plugins:
consult, if necessary, my filter section here
Filters Unlimited 2.0 here
Mehdi - Sorting Tiles here
AFS IMPORT - Tremorsc here
Simple - Half Wrap here
Alien Skin Xenofex 2 - Constellation here
AAA Frames - Foto Frame / AAA Filters - Custom (optional) here
Filters AFS IMPORT and Simple can be used alone or imported into Filters Unlimited.
(How do, you see here)
If a plugin supplied appears with this icon  it must necessarily be imported into Unlimited it must necessarily be imported into Unlimited
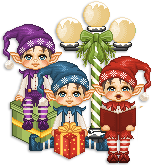
You can change Blend Modes according to your colors.
In the newest versions of PSP, you don't find the foreground/background gradient (Corel_06_029).
You can use the gradients of the older versions.
The Gradient of CorelX here
Copy the Selection in the Selections Folder.
Copy the presets in the Presets Folder.
Open the mask in PSP and minimize it with the rest of the material.
1. Set your foreground color to #e9e1f0,
and your background color to #234d7a
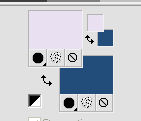
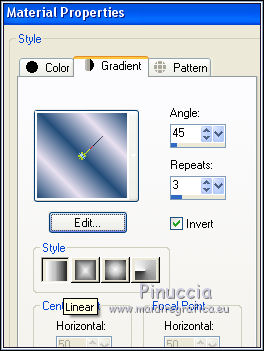
Set your foreground color to a Foreground/Background Gradient, style Linear.
Open a new transparent image 950 x 650 pixels.
Flood Fill  the transparent image with your Gradient. the transparent image with your Gradient.
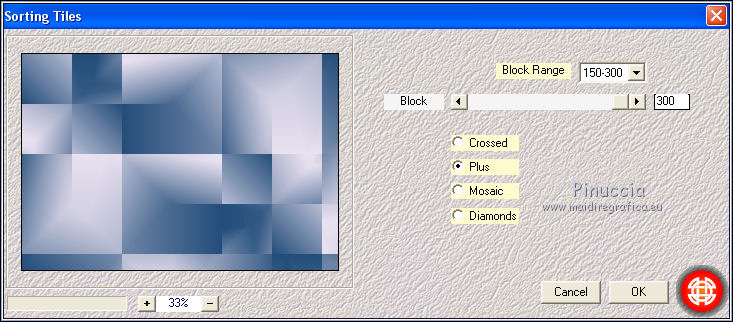
Effects>Plugins>Mehdi - Sorting Tiles.
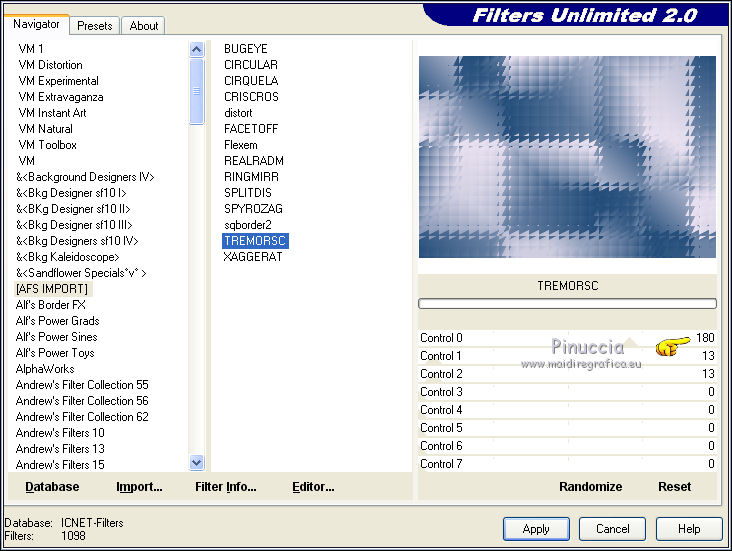
Effects>Plugins>Filters Unlimited 2.0 - AFS IMPORT - TREMORSC
Effects>Image Effects>Seamless Tiling, Side by Side.

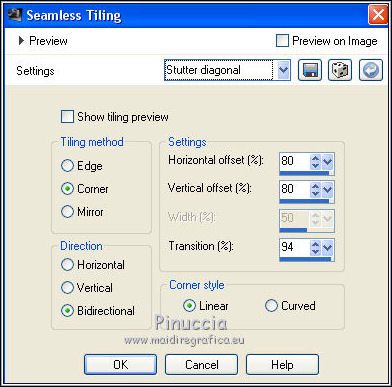
Effects>Image Effects>Seamless Tiling, Stutter diagonal.
Effects>Edge Effects>Enhance.
2. Layers>New Raster Layer.
Selections>Select All.
Open your misted and go to Edit>Copy.
Go back to your work and go to Edit>Paste into Selection.
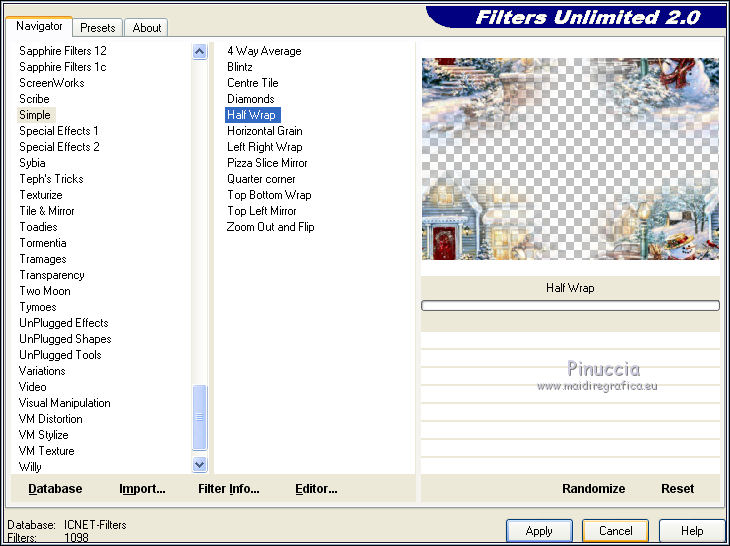
Effects>Plugins>Filters Unlimited 2.0 - Simple - Half Wrap.
Adjust>Blur>Gaussian Blur - radius 20.

Change the Blend Mode of this layer to Overlay, or as you like better.
3. Layers>New Raster Layer.
Selections>Load/Save Selection>Load Selection from Disk.
Look for and load the selection ©Yedralina-sel_626
Invert checked.
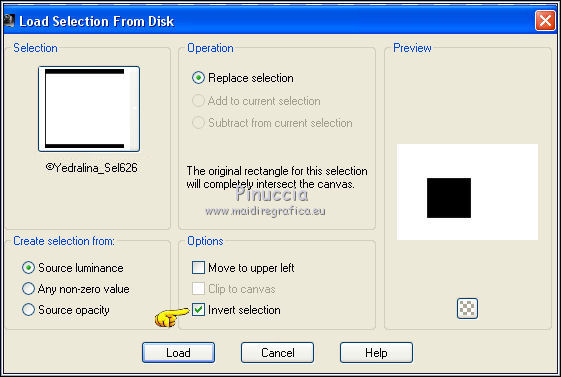
Edit>Paste into Selection (your misted is still in memory).
Change the Blend Mode of this layer to Soft Light.
Selections>Invert.
4. Activate the bottom layer.
Selections>Load/Save Selection>Load Selection from Disk.
Look for and load the selection ©Yedralina-sel_626
Invert not checked.
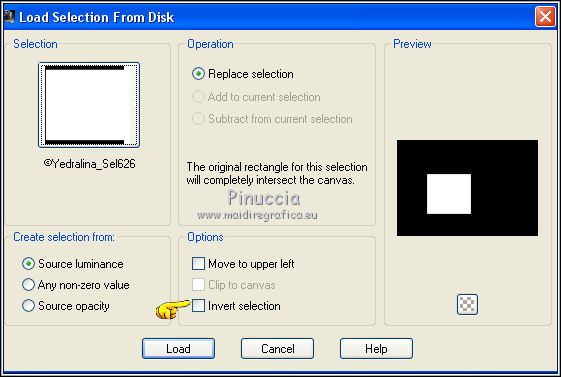
Selections>Promote Selection to layer.
Layers>Arrange>Bring to Top.
Adjust>Blur>Gaussian Blur - radius 20.

Selections>Modify>Contract - 5 pixels.
Layers>New Raster Layer.
Set your foreground color to white.
Flood Fill  the layer with color white. the layer with color white.
Selections>Modify>Contract - 5 pixels.
Press CANC on the keyboard 
Selections>Modify>Contract - 10 pixels.
Flood Fill  again with color white. again with color white.
Selections>Modify>Contract - 5 pixels.
Press CANC on the keyboard.
Edit>Paste into Selection (your misted is always in memory).
Adjust>Sharpness>Sharpen.
Selections>Invert.
Effects>3D Effects>Drop Shadow, color black.
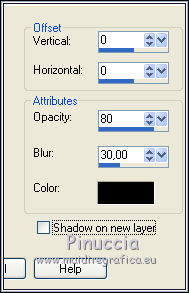
Selections>Select None.
Layers>Merge>Merge Down.
Layers>Duplicate.
5. K key on the keyboard to activate the Pick Tool 
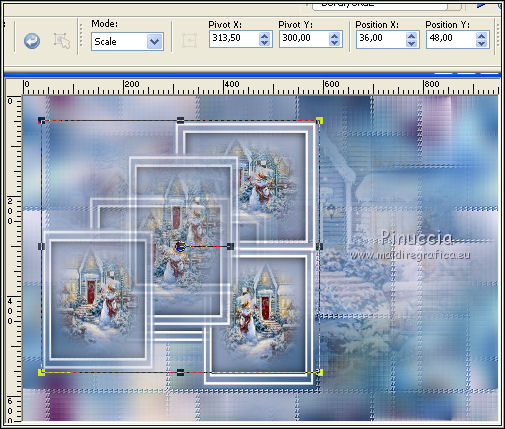
Open the presets menu and select the preset 270-©Yedralina
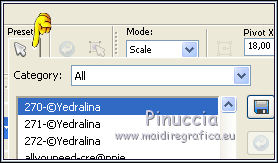
and you'll have this
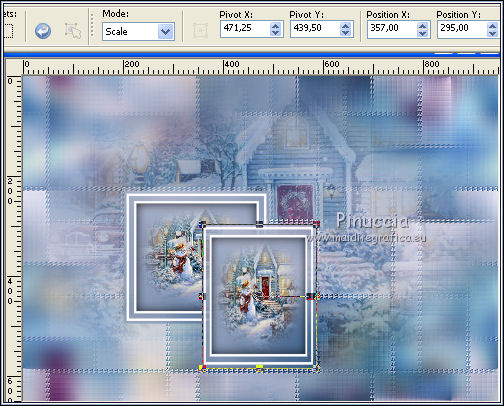
Layers>Merge>Merge Down.
Layers>Duplicate.
Effects>Image Effects>Seamless Tiling.
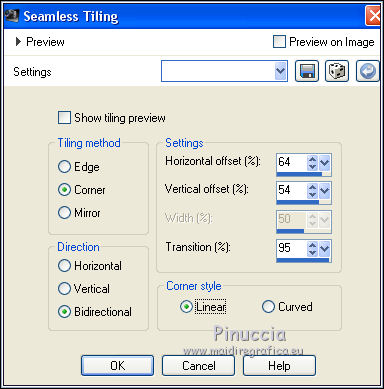
Image>Flip>Flip horizontal
this command, after having reflected the image, keeps it in the same position;
if you are working with a previous version:
Image>Mirror and set the same position with your Pick Tool 
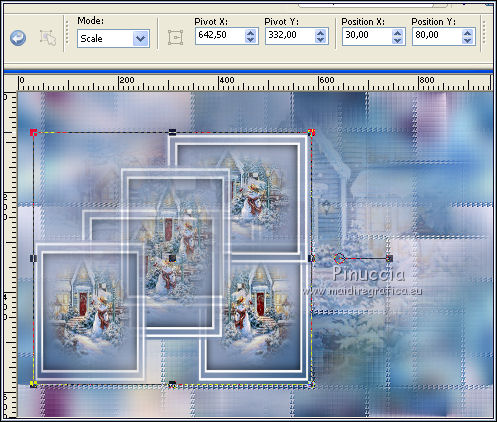
Pick tool 
Open the Presets menu and select the preset 271-©Yedralina
You'll have this
Layers>Arrange>Move Down.
Activate again the top layer.
Pick Tool 
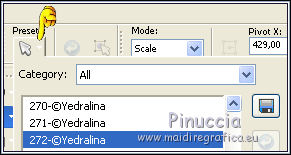
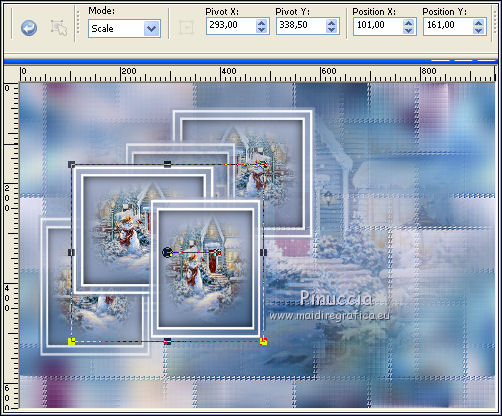
open the Presets Menu and select the preset 272-©Yedralina
and you'll have this
M key to deselect the Tool.
6. Layers>New Raster Layer.
Flood Fill  with your dark background color. with your dark background color.
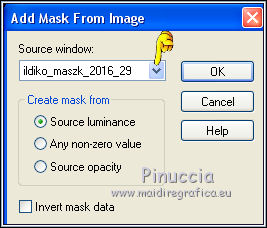
Layers>New Mask layer>From image
Open the menu under the source window and you'll see all the files open.
Select the mask ildiko_maszk_2016_29.
Layers>Merge>Merge Group.
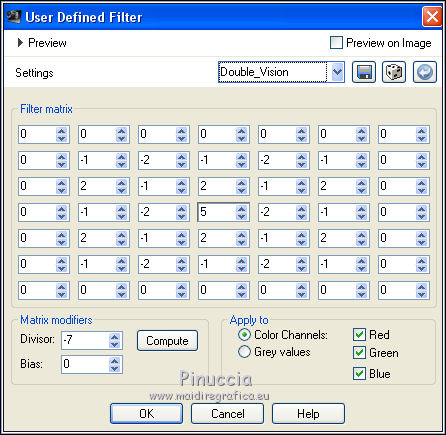
Effects>User Defined Effects - select the preset Double_vision and ok.
Layers>Arrange>Move Down - 2 times.
Repeat step 6 with color white:
Layers>New Raster Layer.
Flood Fill  with color white. with color white.
Layers>New Mask layer>From image
Open the menu under the source window
and select again the mask ildiko_maszk_2016_29.

Layers>Merge>Merge Group.
Effects>User Defined Effect, same settings.
Image>Mirror.
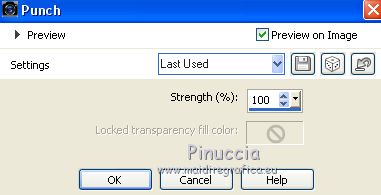
Effects>Distortion Effects>Punch.
Effects>Edge Effects>Enhance.
7. Open deco00225 and go to Edit>Copy.
Go back to your work and go to Edit>Paste as new layer.
Layers>Arrange>Move Down - 3 times.
Optionnel: Change the Blend Mode of this layer to Luminance (legacy).
8. Activate the top layer.
Copy/Paste as new layer a deco at your choice.
for me I resized to 60%.
Move  the tube on the frames. the tube on the frames.
Effects>3D Effects>Drop Shadow, at your choice.
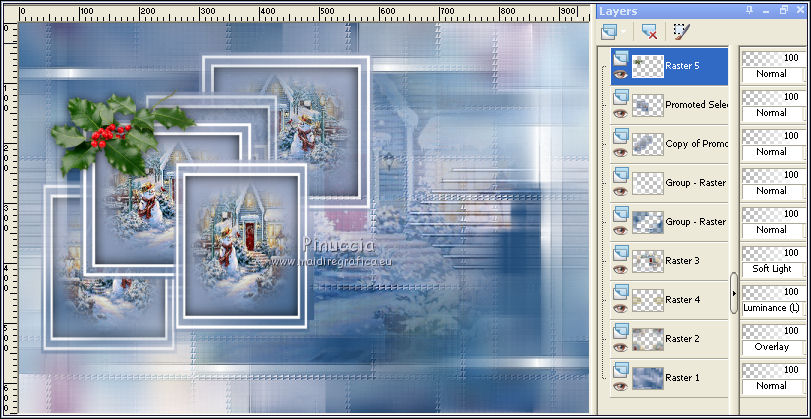
9. You should have this
10. Set again your foreground color to light color #e9e1f0.

Image>Add borders, 1 pixel, symmetric, dark color.
Image>Add borders, 1 pixel, symmetric, light color.
Image>Add borders, 1 pixel, symmetric, dark color.
Image>Add borders, 10 pixels, symmetric, light color.
Image>Add borders, 1 pixel, symmetric, dark color.
Selections>Select All.
Image>Add borders, 35 pixels, symmetric, light color.
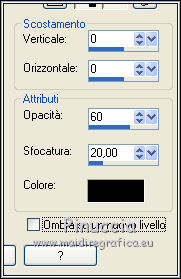
Effects>3D Effects>Drop Shadow, color black.
Selections>Select None.
11. Open your main tube and go to Edit>Copy.
Go back to your work and go to Edit>Paste as new layer.
Move  the tube to the right side. the tube to the right side.
Effects>3D Effects>Drop Shadow, at you choice.
Image>Add borders, 1 pixel, symmetric, dark color.
Image>Resize, 1000 pixels width, resize all layers checked.
Sign your work on a new layer.
Layers>Merge>Merge All.
OPTIONAL: Effects>Plugins>AAA Filters - Custom, click on Landscape and ok.
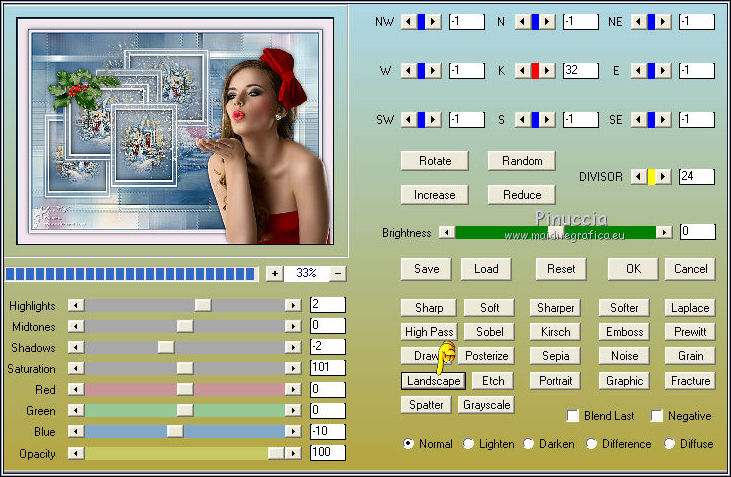
Save as jpg.
If you want add an animation, go on
Layers>Promote Background Layer.
Activate the Freehand Selection Tool 

and select the zone that you want to animate; for me
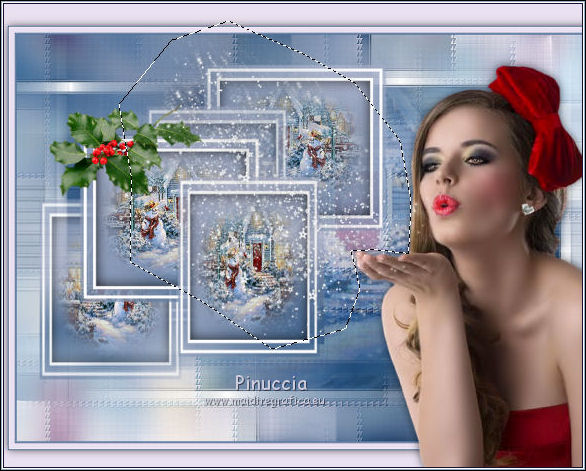
Layers>Duplicate - 2 times and stay on the top layer of the second copy.
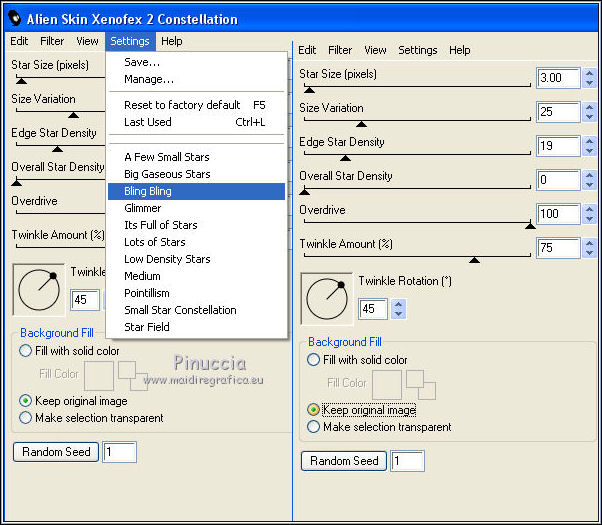
Effects>Plugins>Alien Skin Xenofex 2 - Constellation
preset Bling Bling with these settings
Activate the layer below of the first copy.
Effects>Plugins>Alien Skin Xenofex 2 - Constellation, click on Random Seed and ok.
Activate the layer below of the original.
Effects>Plugins>Alien Skin Xenofex 2 - Constellation, click on Random Seed and ok.
Selections>Select None.
Save as Animation Shop (*psp)

Open Animation Shop and open the image that you have saved,
and you'll have an animation composed by 3 frames.
Edit>Selection All.
Animation>Frame Properties and set the delay to 20
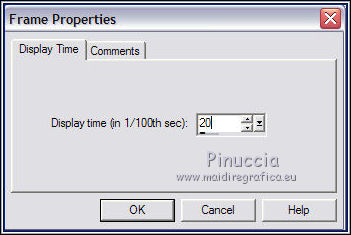
Check the result clicking on View Animation 
and save as gif
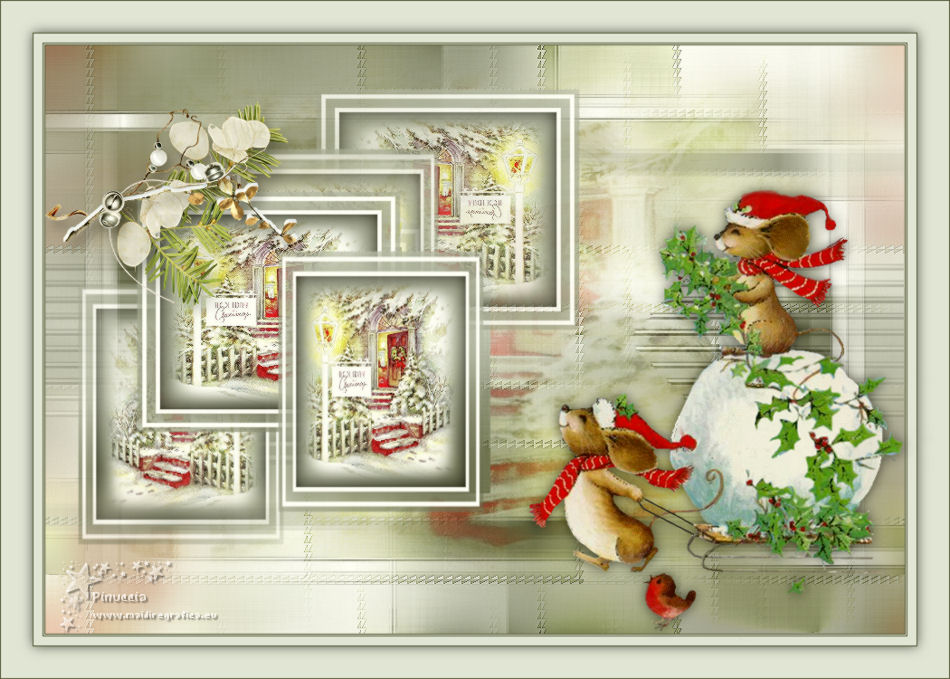
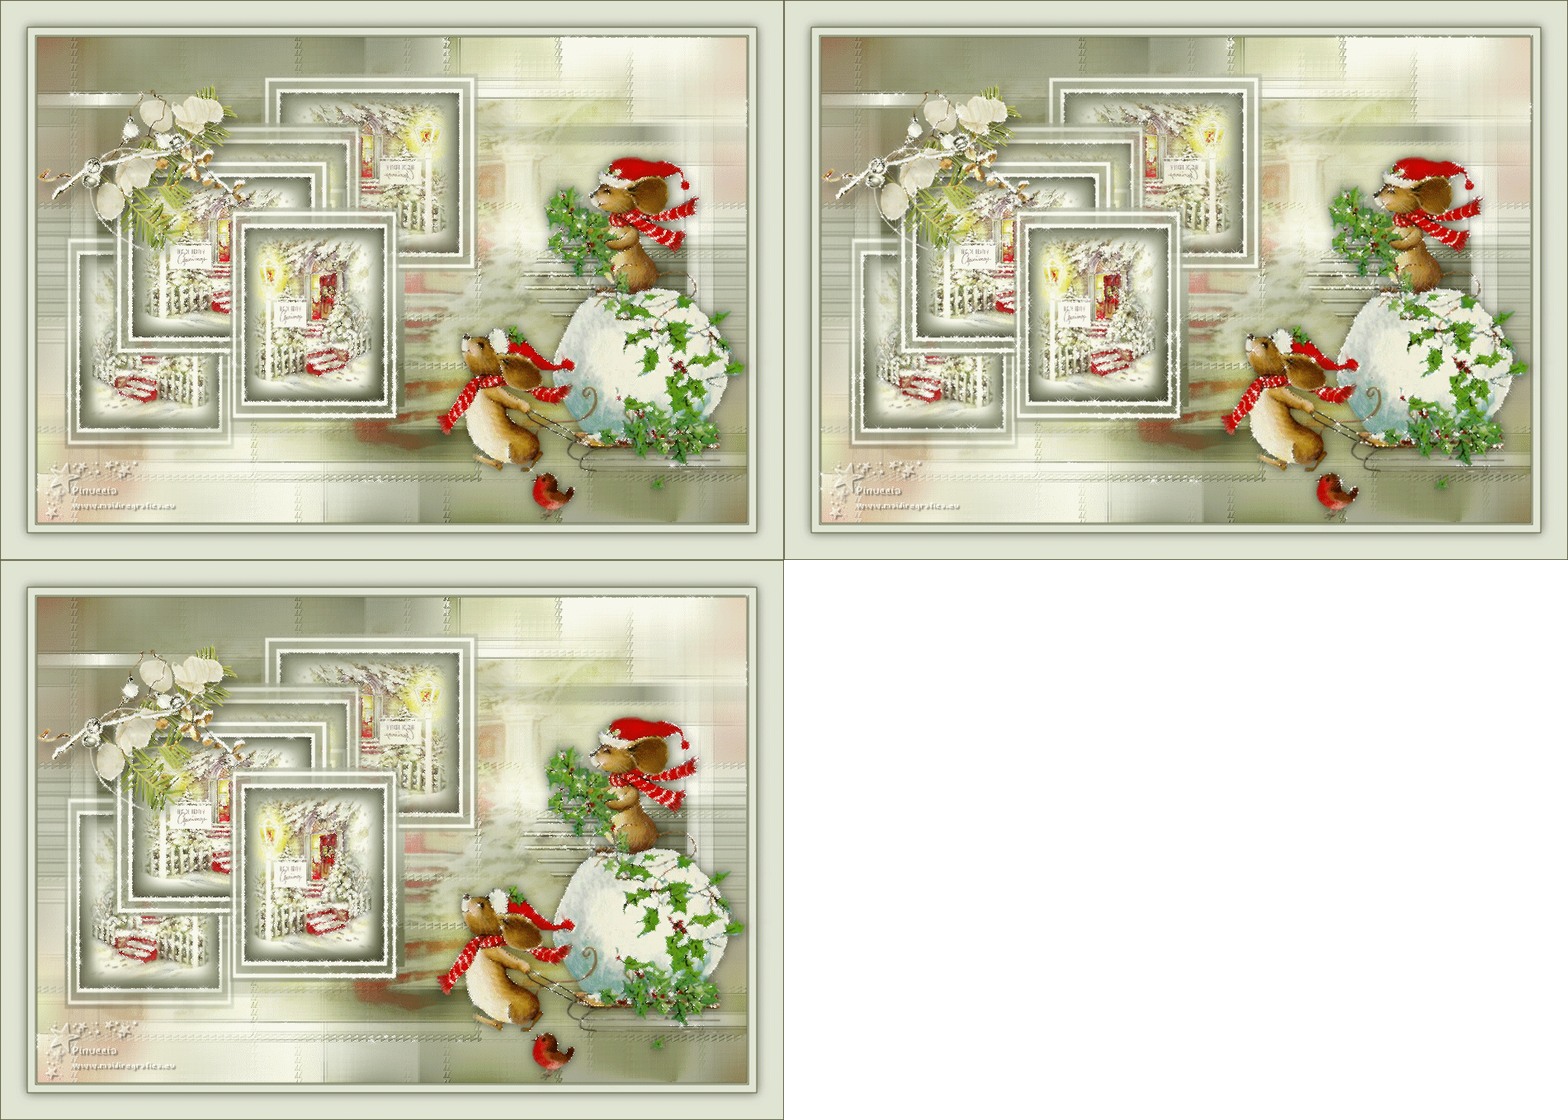
The tubes of this version are by Odette (promenade d'hiver pour ratons2)
Jewel (paysage Noel mist jewel 0019) and pleiadedetubesdemagnolias

If you have problems or doubts, or you find a not worked link, or only for tell me that you enjoyed this tutorial, write to me.
25 November 2018
|

