|
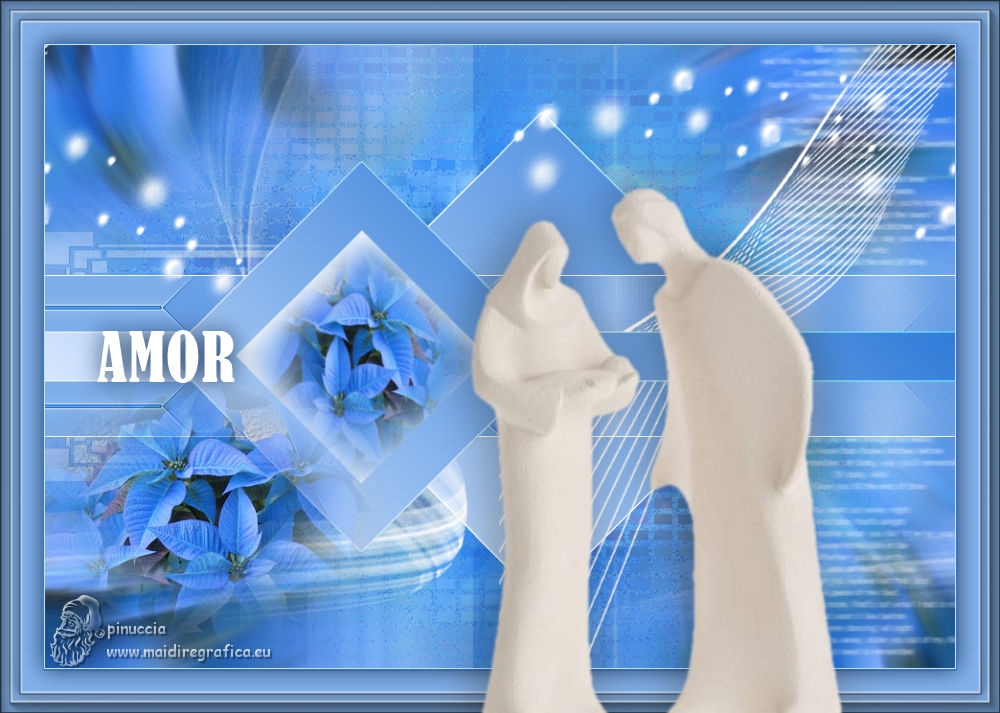
4-ADVIENTO 2024 - AMOR


Thanks Yedralina for your invitation to translate your tutorials into english

This tutorial was written with PSP2020 and translated with PSPX9 and PSP2020, but it can also be made using other versions of PSP.
Since version PSP X4, Image>Mirror was replaced with Image>Flip Horizontal,
and Image>Flip with Image>Flip Vertical, there are some variables.
In versions X5 and X6, the functions have been improved by making available the Objects menu.
In the latest version X7 command Image>Mirror and Image>Flip returned, but with new differences.
See my schedule here
 italian translation here italian translation here
 french translation here french translation here
 your versions here your versions here

For this tutorial, you will need:

The tubes are by Yedralina.
(The links of the tubemakers here).

consult, if necessary, my filter section here
Filters Unlimited 2.0 here
VM Distortion - Tumbler, Distortion by Transparency here
VM Instant Art - Tripolis here
Simple - 4Way Average here
Simple - Left Right Wrap (bonus) here
AAA Frames - Foto Frame here
Filters VM Distortion, VM Instant Art and Simple can be used alone or imported into Filters Unlimited.
(How do, you see here)
If a plugin supplied appears with this icon  it must necessarily be imported into Unlimited it must necessarily be imported into Unlimited


You can change Blend Modes according to your colors.
In the newest versions of PSP, you don't find the foreground/background gradient (Corel_06_029).
You can use the gradients of the older versions.
The Gradient of CorelX here
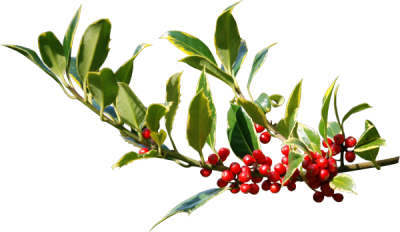
Copy the preset Emboss 6 in your Presets Folder.
Open the masks in PSP and minimize them with the rest of the material.
Colors

Set your foreground color to #317cd9,
and your background color to #d6e7fe.
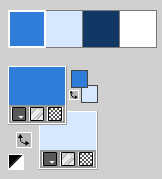
color 3: #133765
color 4: #ffffff.
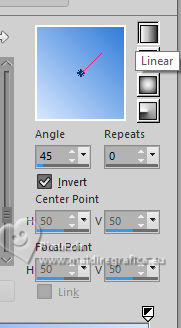
Set your foreground color to a Foreground/Background Gradient, style Linear.
1. Open Canal alpha_AMOR
This image, that will be the basis of your work, is not empty,
but contains the selections saved to alpha channel.
Flood Fill  the transparent image with yur foreground Gradient. the transparent image with yur foreground Gradient.
2. Effects>Plugins>Filters Unlimited 2.0 - VM Distortion - Tumbler, default settings.
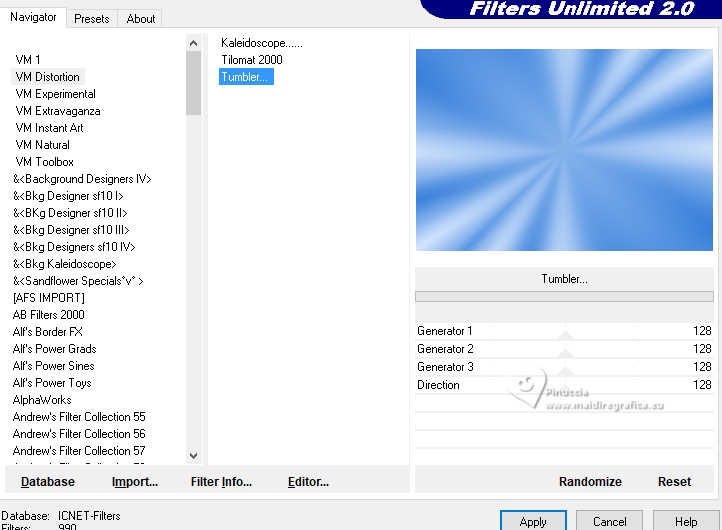
a little curiosity; the VM Distortion filter in Unlimited splits its effects;
this effect is at the top of the list.
The next effect, instead (VM Distortion - Distortion by Transparency), is at the bottom of the list
Effects>Plugins>Filters Unlimited 2.0 - VM Instant Art - Tripolis, default settings.
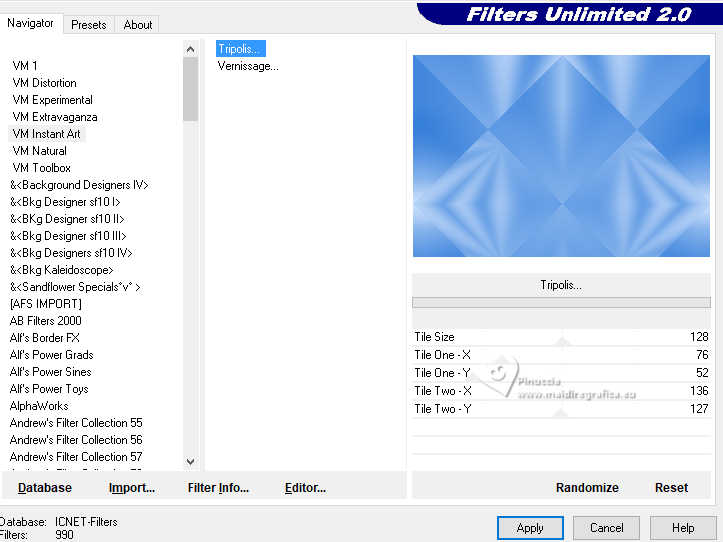
Effects>Image Effects>Seamless Tiling, default settings.

Effects>Plugins>Filters Unlimited 2.0 - VM Distortion - Distortion by Transparency, default settings.
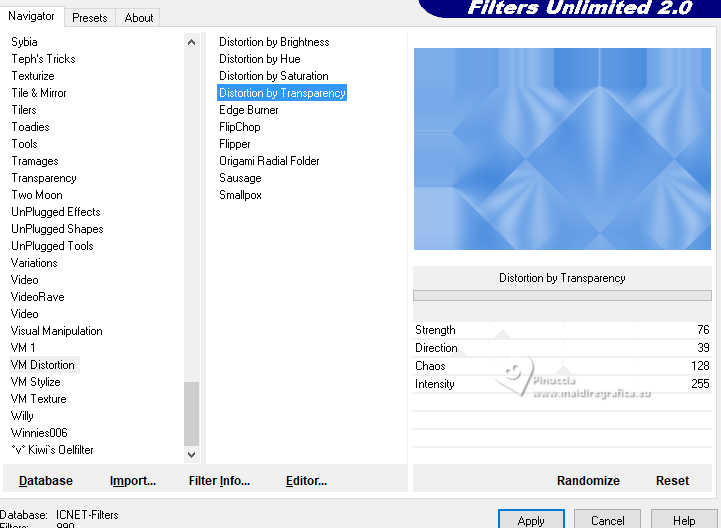
Effects>Reflection Effects>Rotating Mirror.

3. Selections>Load/Save Selection>Load Selection from Alpha Channel.
The selection #1 is immediately available. You just have to click Load.
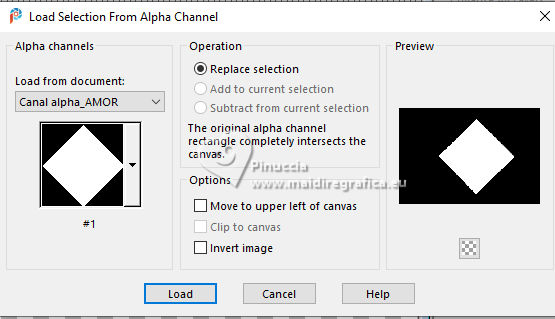
Selections>Promote Selection to Layer.
Flood Fill  the selection with your Linear Gradient. the selection with your Linear Gradient.
Effects>Edge Effects>Enhance More.
Layers>Duplicate.
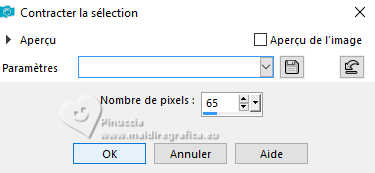
4. Selections>Modify>Contract - 65 pixels.
Open the misted 1476©Yedralina 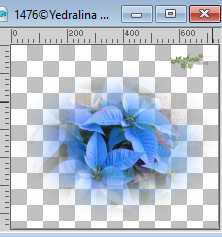
Erase the watermark and go to Edit>Copy.
Go back to your work and go to Edit>Paste into Selection.
Keep selected.
5. Layers>New Raster Layer.
Effects>3D Effects>Cutout - color white.
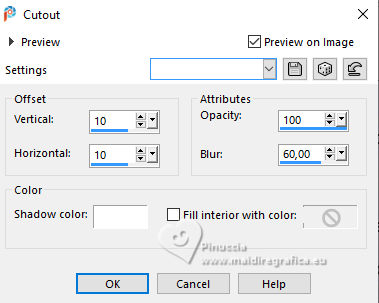
Effects>Edge Effects>Enhance More.
Layers>Merge>Merge Down.
Selections>Select None.
Image>Resize, to 80%, resize all layers not checked.
K key to activate your Pick Tool 
Position X: 126,00 - Position Y: 121,00.

M key to deselect the Tool
6. Activate your background layer, Raster 1.
Selections>Load/Save Selection>Load Selection from Alpha Channel.
Open the selections menu and load the selection #2
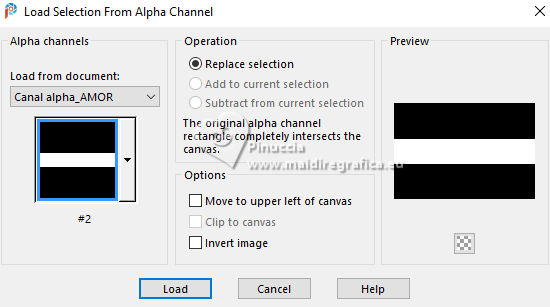
Selections>Promote Selection to Layer.
Layers>Arrange>Move up.
Selections>Select None.
Effects>Edge Effects>Enhance More.
7. Layers>New Raster Layer.
Selections>Load/Save Selection>Load Selection from Alpha Channel.
Open the selections menu and load the selection #3
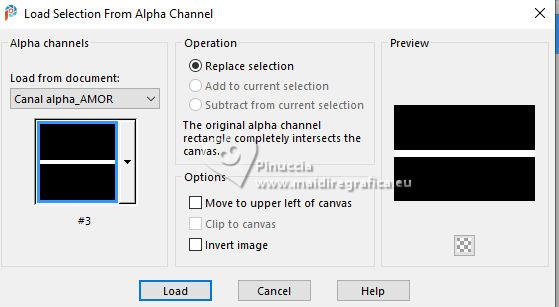
Flood Fill  the selection with your Linear Gradient. the selection with your Linear Gradient.
Selections>Select None.
Effects>Edge Effects>Enhance.
8. You should have this
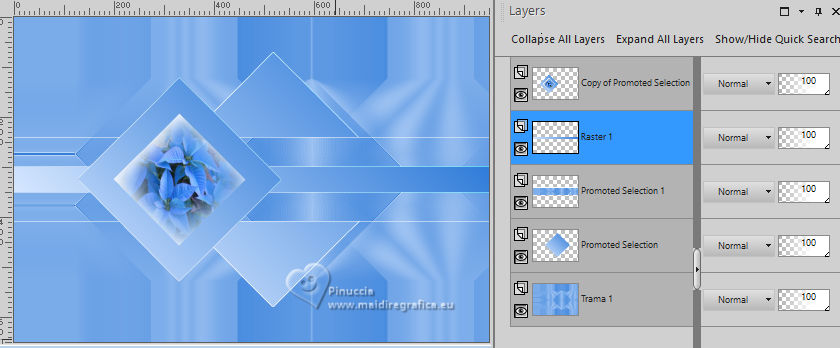
Activate the top layer, Copy of Promoted Selection.
9. Layers>New Raster Layer.
Selections>Select All.
Edit>Paste into Selection - the misted is still in memory.
Selections>Select None.
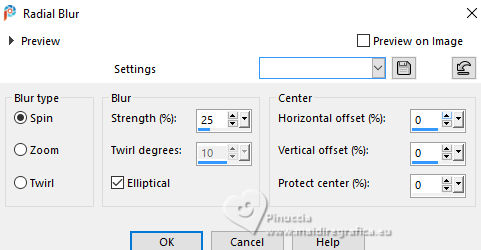
Adjust>Blur>Radial Blur.
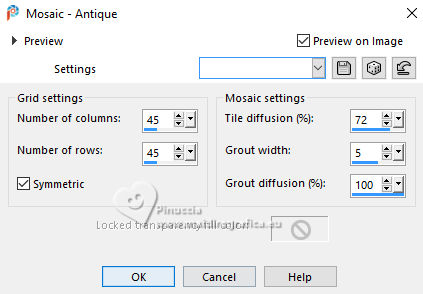
Effects>Texture Effects>Mosaic Antique.
Resize to your liking (expand or resize);
for me, I resized to 120%.
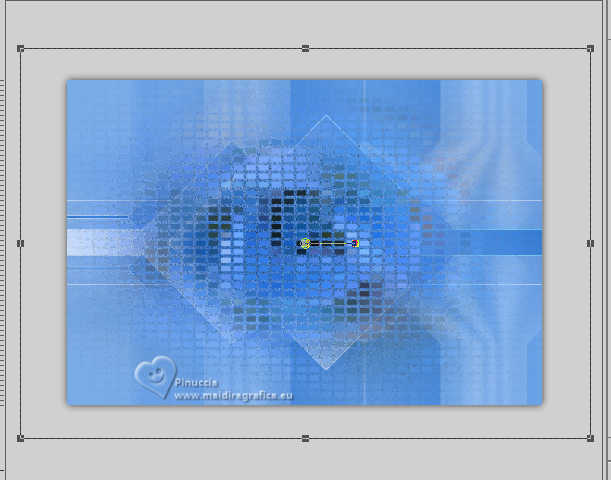
Change the Blend Mode of this layer to Hard Light.
Layers>Arrange>Move Down - 4 times (it is over the background layer).
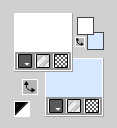
10. Set yur foreground color to white.
Layers>New Raster Layer.
Flood Fill  the layer with color white. the layer with color white.
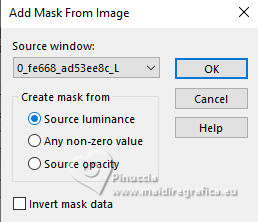
Layers>New Mask layer>From image
Open the menu under the source window and you'll see all the files open.
Select the mask 0_fe668_ad53ee8c_L
Layers>Merge>Merge Group.
Image>Resize, to 40%, resize all layers not checked.
Pick Tool (K) 
Position X: 0,00 - Position Y: 195,00.

M key to deselect the Tool.
Reduce the opacity of this layer to 45%.
Effects>Edge Effects>Enhance More.
11. Layers>New Raster Layer.
Flood Fill  the layer with color white. the layer with color white.
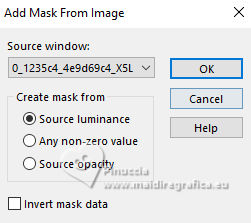
Layers>New Mask layer>From image
Open the menu under the source window
and select the mask 0_1235c4_4e9d69c4_X5L
Layers>Merge>Merge Group.
Layers>Arrange>Move Up - 2 times.
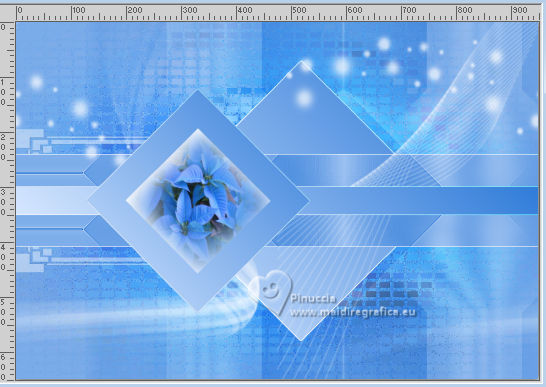
Effects>Plugins>Simple - Left Right Wrap
This effect works without window; result:
Effects>User Defined Filter - select the preset Emboss 6

12. Activate the layer of the first mask - Group Raster 3 (the third layer from the bottom).
Layers>New Raster Layer.
Selections>Select All.
Your misted should be still in memory; if it is not, activate it again and Edit>Copy.
Go back to your work and go to Edit>Paste into Selection.
Selections>Select None.
Effects>Image Effects>Seamless Tiling, default settings.

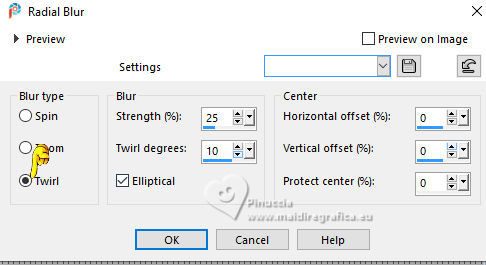
Adjust>Radial>Radial Blur, same settings, but Torsion checked.
attention, check the settings Twirl degrees
Image>Mirror>Mirror horizontal.
13. Layers>New Raster Layer.
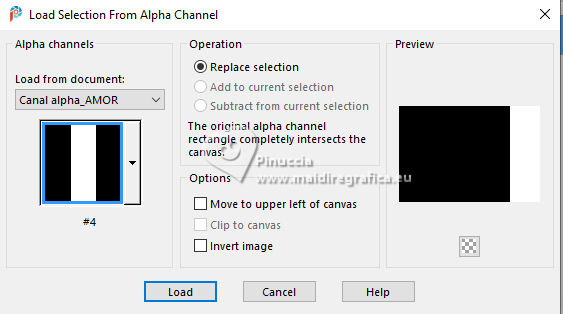
Selections>Load/Save Selection>Load Selection from Alpha Channel.
Open the selections menu and load the selection #4
Open deco 1 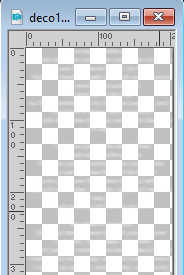
Edit>Copy.
Go back to your work and go to Edit>Paste into Selection.
Selections>Select None.
Layers>Arrange>Move Up.
14. Activate again your misted 1476©Yedralina and go to Edit>Copy.
Go back to your work and go to Edit>Paste as new layer.
Layers>Arrange>Bring to Top.
Image>Mirror>Mirror horizontal.
Image>Resize, to 55%, resize all layers not checked.
Adjust>Sharpness>Sharpen.
K key to activate your Pick Tool 
Position X: -37,00 - Position Y: 335,00.

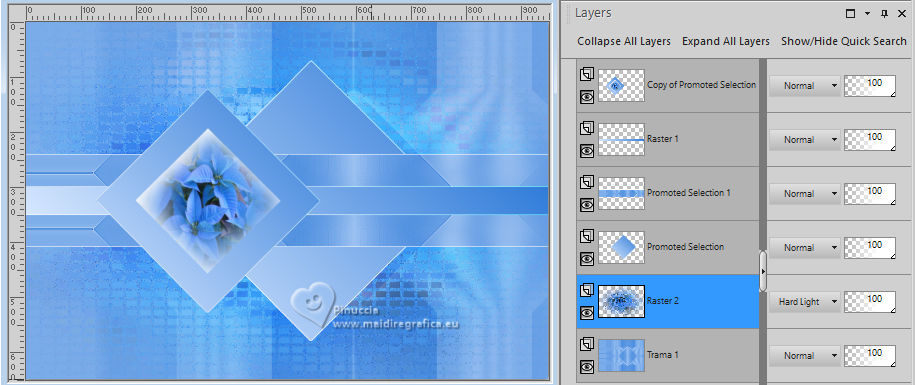
Your tag and the layers.
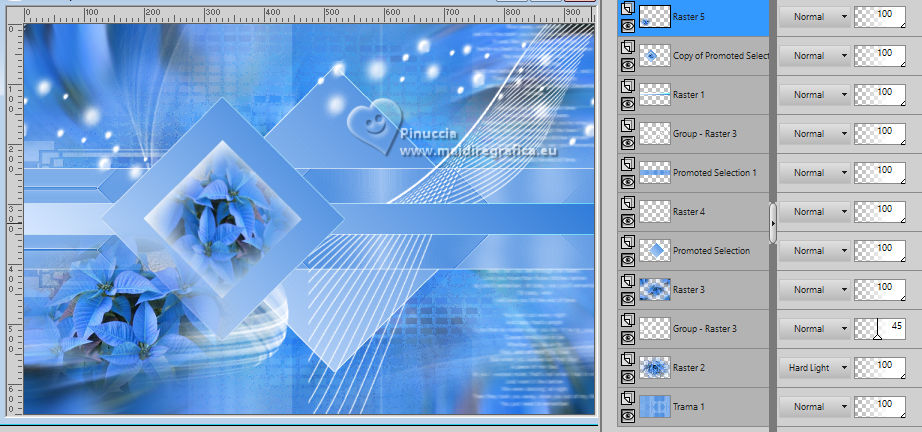
In my second work I moved the layer Raster 2 over the layer Raster 3
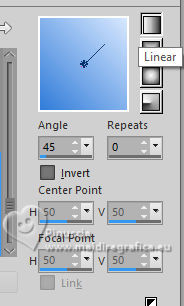
15. Set again your foreground color to the first color #317cd9,

and change the Gradient's settings, Invert not checked.
Image>Add borders, 1 pixel, symmetric, background color.
Image>Add borders, 1 pixel, symmetric, foreground color.
Selections>Select All.
16. Image>Add borders, 45 pixels, symmetric, whatever color.
Selections>Invert.
Flood Fill  the selection with your Gradient. the selection with your Gradient.
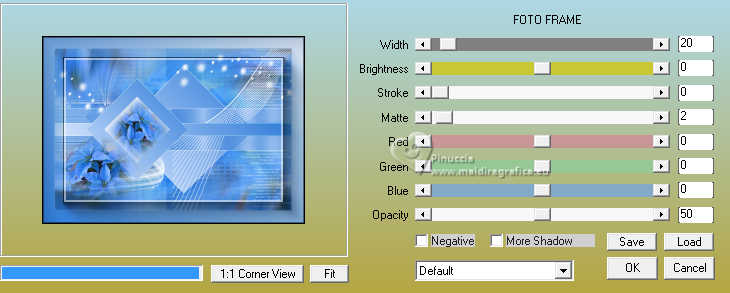
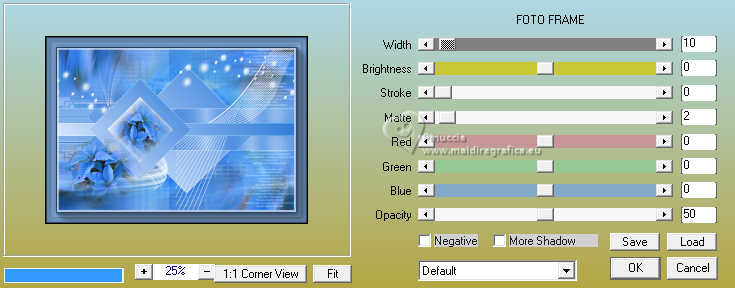
Effects>Plugins>AAA Frames - Foto Frame.
Keep selected.
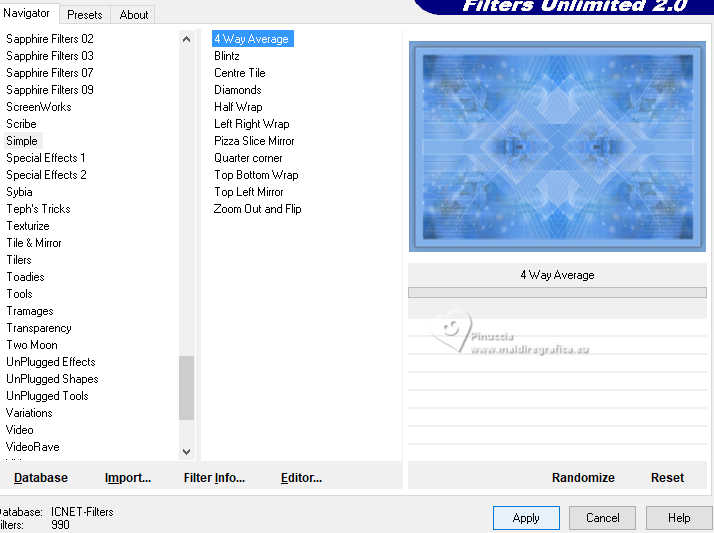
Effects>Plugins>Filters Unlimited 2.0 - Simple - 4 Way Average
Selections>Invert.
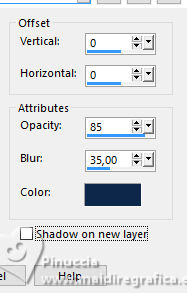
Effects>3D Effecs>Drop shadow, color 3 #0e284a.
Selections>Invert.
Effects>Plugins>AAA Frames - Foto Frame - width 10
Selections>Select None.
17. Open your main tube 1684©Yedralina 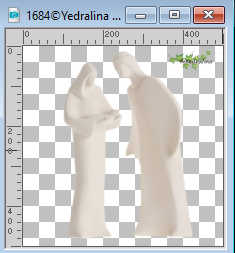
Erase the watermark and go to Edit>Copy.
Go back to your work and go to Edit>Paste as new layer.
Image>Resize, if necessary, for me to 120%.
Adjust>Sharpness>Sharpen.
Place  the tube to your liking. the tube to your liking.
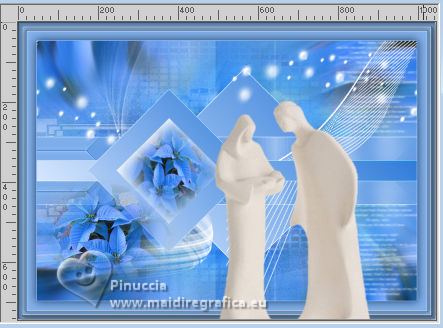
Layers>Duplicate.
Adjust>Blur>Gaussian Blur - radius 25.

Layers>Arrange>Move Down.
Change the Blend Mode of this layer to Moltiply
18. Image>Resize, 1000 pixels width, resize all layers checked.
19. Edit/Paste as new layer the text AMOR 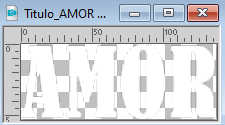
or write it in you language (the font is in the material)

Pick Tool (K) 
Position X: 97,00 - Position Y: 330,00.

Effects>3D Effects>Drop Shadow, color 3 #0e284a.

20. Sign your work on a new layer.
Layers>Merge>Merge All and save as jpg.
Per i tubes di questo esempio grazie Yedralina.


If you have problems or doubts, or you find a not worked link, or only for tell me that you enjoyed this tutorial, write to me.
8 December 2024

|

