|
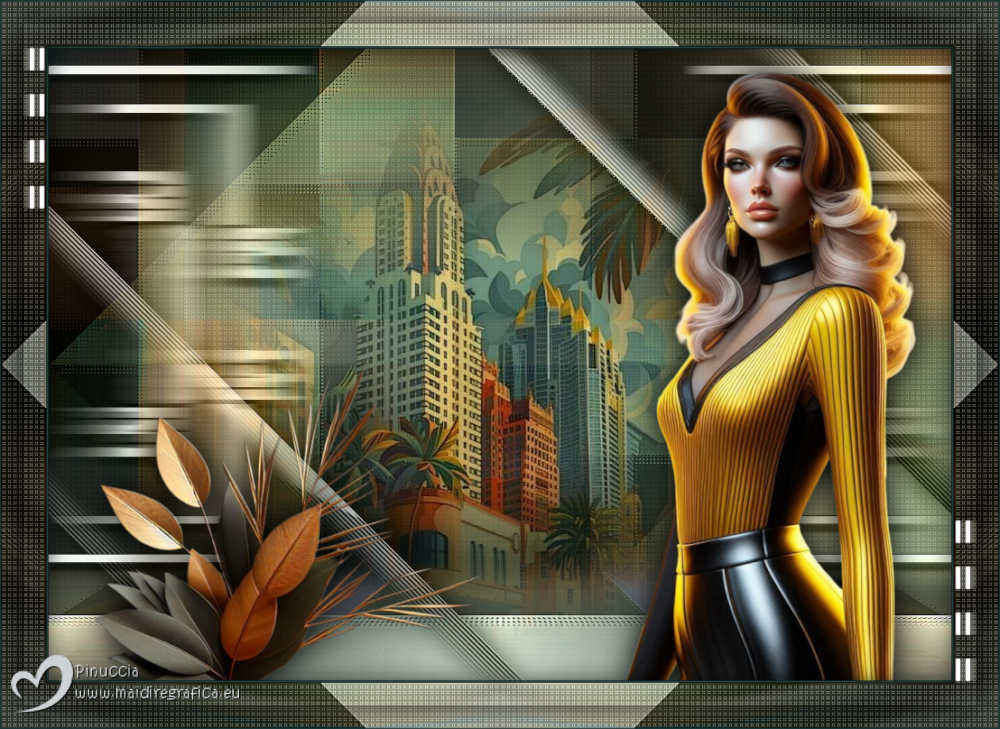
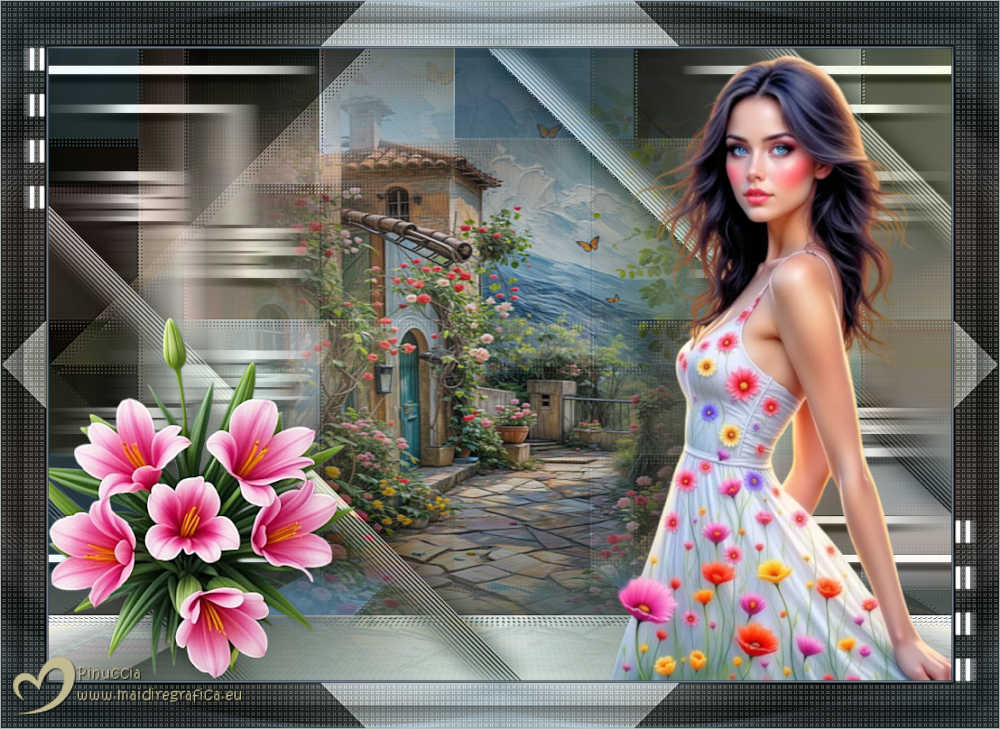
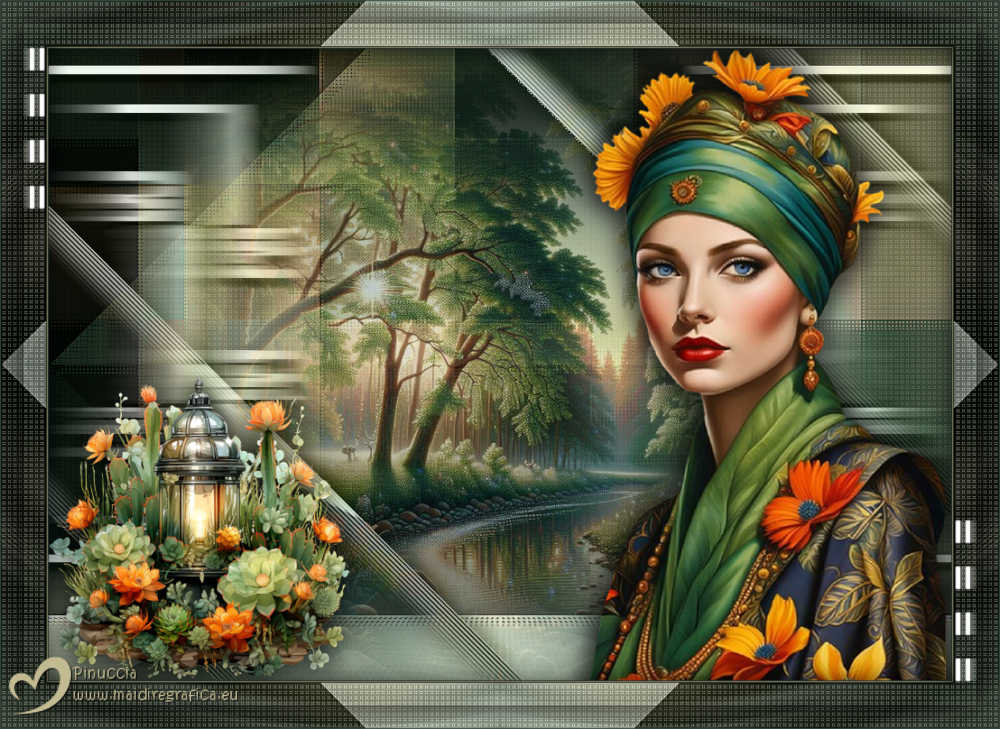
LONELINESS


Thanks Maria José for your invitation to translate your tutorial

This tutorial has been translated with PSPX9 and PSP2020, but it can also be made using other versions of PSP.
Since version PSP X4, Image>Mirror was replaced with Image>Flip Horizontal,
and Image>Flip with Image>Flip Vertical, there are some variables.
In versions X5 and X6, the functions have been improved by making available the Objects menu.
In the latest version X7 command Image>Mirror and Image>Flip returned, but with new differences.
See my schedule here
 French translation here French translation here
 your versions here your versions here
For this tutorial, you will need:

Material by Maria José
(you find here the links to the material authors' sites)

consult, if necessary, my filter section here
Filters Unlimited 2.0 here
Mehdi - Sorting Tiles here
RCS Filter Pak 1.0 - RCS-Digi-Lens - Wedges here
VM Natural - Weave Distortion here
CPK Designs - Glass here
DC Layer - SideMerge here
Mura's Meister - Perspective Tiling here
Carolaine and Sensibility - CS-LDots here
Simple - Top Left Mirror here
Filters RCS, VM Natural, CPK, DC Layer and Simple can be used alone or imported into Filters Unlimited.
(How do, you see here)
If a plugin supplied appears with this icon  it must necessarily be imported into Unlimited it must necessarily be imported into Unlimited


Choose 2 colors to your liking.
For the example:
Set your foreground color to #42685b
and your background color to #153436.

1. Open a new transparent image 1000 x 700 pixels.
Selections>Select All.
2. Open gráfico-1-MJ 
Edit>Copy.
Go back to your work and go to Edit>Paste into Selection.
Selections>Select None.
3. Effects>Image Effects>Seamless Tiling.

4. Adjust>Blur>Radial Blur.

5. Effects>Edge Effects>Enhance.
6. Effects>Plugins>Mehdi - Sorting Tiles.

7. Effets>Modules Exterens>RCS Filter Pak 1.0 - RCS Digi-Lens - Wedges

8. Adjust>Sharpness>Sharpen More.
Layers>Duplicate.
9. Effects>Plugins>VM Natural - Weave Distortion

Change the Blend Mode of this layer to Multiply.
10. Effects>Plugins>CPK Designs - Glass

11. Repeat Effets>Modules Exterens>RCS Filter Pak 1.0 - RCS Digi-Lens - Wedges, same settings

12. Adjust>Sharpness>Sharpen More.
13. Effects>Plugins>DC Layer - SideMerge

Information.
Up to now the colors of the filters results could be different if you use another starting image.
About this filter, the result is influenced by your background color.

Layers>Duplicate.
14. Effects>Plugins>Mura's Meister - Perspective Tiling.

15. Activate your Magic Wand Tool  , tolerance 0 and feather 50, , tolerance 0 and feather 50,

16. Click in the transparent part to select it.
Press +/-5 times CANC on the keyboard 
Selections>Select None.
don't forget to set again the feather to 0
Set the Blend Mode to Normal

17. Effects>Reflection Effects>Rotating Mirror.

18. Open misted-1-MJ 
Edit>Copy.
Go back to your work and go to Edit>Paste as new layer.
Reduce the opacity +/-75%, according to your misted.
19. Open deco-1-MJ 
Edit>Copy.
Go back to your work and go to Edit>Paste as new layer.
Don't move it.
Change the Blend Mode to Luminance (legacy) or other.
20. Ouvrir deco-2-MJ 
Edit>Copy.
Go back to your work and go to Edit>Paste as new layer.
21. Objects>Align>Top
Change the Blend Mode to Luminance (legacy) or other.
Your tag and the layers - adapt Blend Mode and opacity according to your work.

22. Open the tube femme-MJ 
Edit>Copy.
Go back to your work and go to Edit>Paste as new layer.
Image>Resize, to 67%, resize all layers not checked.
Move  the tube to the right side. the tube to the right side.
Effects>3D Effects>Drop shadow, at your choice.
23. Open the déco folhas-deco-MJ 
Edit>Copy.
Go back to your work and go to Edit>Paste as new layer.
Image>Resize, to 70%, resize all layers not checked.
Move  this tube at the bottom left. this tube at the bottom left.
Effects>3D Effects>Drop Shadow, at your choice.
24. Activate the layer Raster 1.
Effects>Plugins>Carolaine and Sensibility - CS-LDots

25. Image>Add borders, 1 pixel, symétrique, couleur d'arrière plan.
Image>Add borders, 1 pixel, symmetric, foreground color.
Image>Add borders, 1 pixel, symétrique, couleur d'arrière plan.
26. Selections>Select All.
Edit>Copy
Image>Add borders, 50 pixels, symmetric, color white.
27. Seletions>Inverst.
Edit>Paste into Selection - the image copied at step 17.
28. Adjust>Blur>Radial Blur, same settings.

29. Effects>Plugins>Carolaine and Sensibility - CS-LDots, last settings comme précédemment.

30. Effects>Plugins>CPK Designs - Glass, last settings.

31. Effects>Plugins>Simple - Top Left Mirror.

32. Adjust>Sharpness>Sharpen More.
Effects>3D Effects>Drop Shadow, color black.

33. Selections>Sélect All.
Selections>Modify>Contract - 25 pixels.
Repeat Effects>3D Effets>Ombre portée, same settings.
SeSélections>Désélectionner tout.
34. Ouvrir deco-bordas-MJ 
Edit>Copy.
Go back to your work and go to Edit>Paste as new layer.
35. Sign your work.
Image>Add borders, 1 pixel, symmetric, background color.
36. Image>Resize, 1000 pixels width, resize all layers checked.
Save as jpg.
For the tubes of these versions thanks
Virginia and Lady Valella

Luz Cristina; scrap WZ Designs


If you have problems or doubts, or you find a not worked link,
or only for tell me that you enlonelinessed this tutorial, write to me.
6 March 2025

|

