|
TOP AQUA HUES

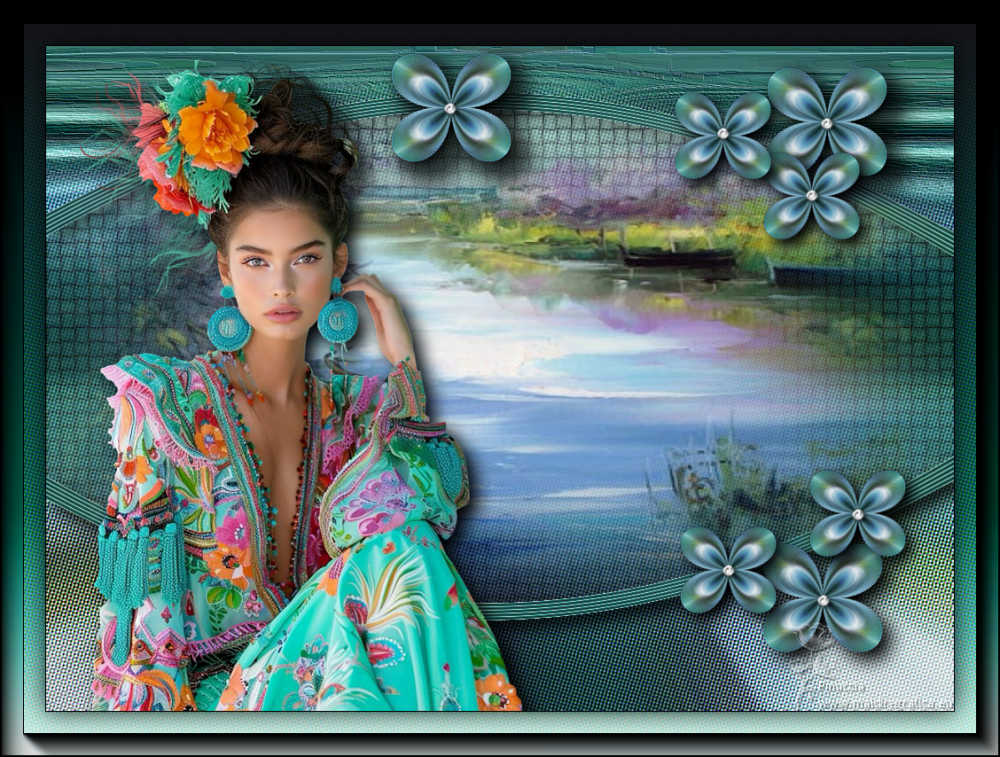
Thanks Lica Cida for your invitation to translate your tutorial

This tutorial was created with PSPX9 and translated with PSPX9 and PSP2020, but it can also be made using other versions of PSP.
Since version PSP X4, Image>Mirror was replaced with Image>Flip Horizontal,
and Image>Flip with Image>Flip Vertical, there are some variables.
In versions X5 and X6, the functions have been improved by making available the Objects menu.
In the latest version X7 command Image>Mirror and Image>Flip returned, but with new differences.
See my schedule here
 French translation here French translation here
 your versions here your versions here

For this tutorial, you will need:

Thanks for the tubes Cora.
(you find here the links to the material authors' sites)

consult, if necessary, my filter section here
Filters Unlimited 2.0 here
Flaming Pear - Flexify 2 here
AAA Frames - Foto Frame here

You can change Blend Modes according to your colors.

Copy the Gradient aqua-hues in the Gradients Folder.
1. Set your foreground color to Gradient and select the gradient aqua-hues, style Linear.
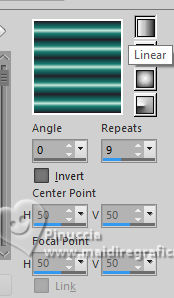
you can choose also another gradient to your liking
2. Open a new transparent image 1024 x 700 pixels.
Flood Fill  the transparent image with your Gradient. the transparent image with your Gradient.
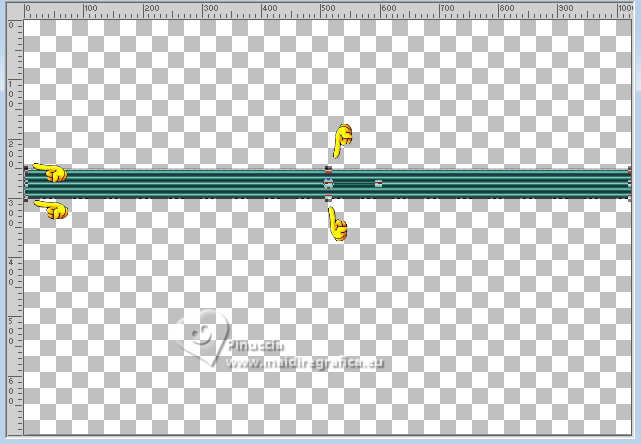
4. Activate your Pick Tool 
in mode Scale 
pull the top central node down, until 250 pixels
and the bottom central node up, until 300 pixels
if you don't see che rules: View>Rules
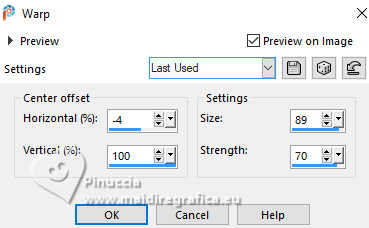
5. Effects>Distortion Effects>Warp
6. Layers>Duplicate.
Image>Mirror>Mirror vertical (Image>Flip).
Layers>Merge>Merge Down.
7. Activate your Magic Wand Tool  , tolerance and feather 0 , tolerance and feather 0
and click in the top zone to select it.
Layers>New Raster Layer.
Flood Fill  the selection with your Gradient. the selection with your Gradient.
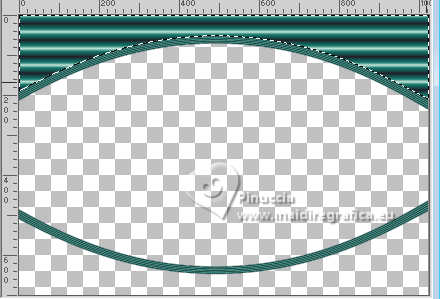
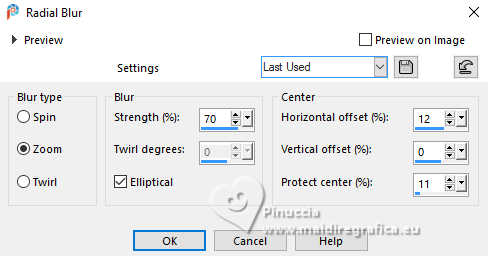
8. Adjust>Blur>Radial Blur.
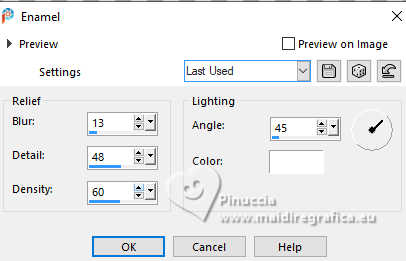
9. Effects>Artistic Effects>Enamel.
Selections>Select None.
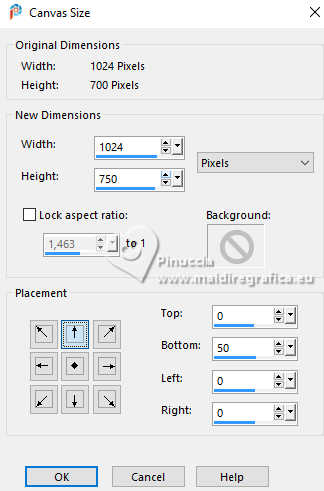
10. Image>Canvas size - 1024 x 750 pixels.
11. Activate the layer raster 1.
Activate your Magic Wand Tool  , tolerance and feather 0. , tolerance and feather 0.
Click in the center of the effect to select it.
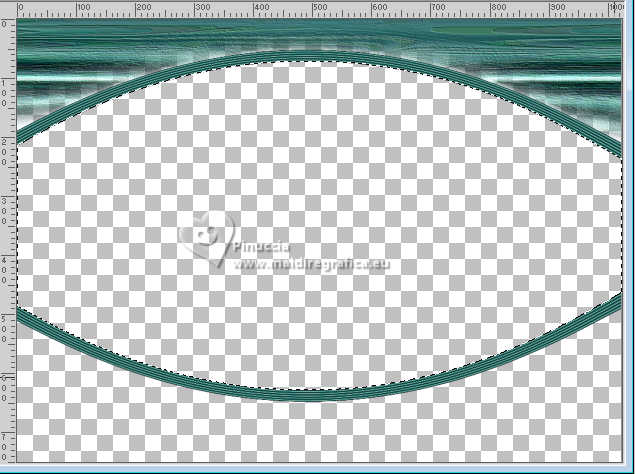
12. Layers>New Raster Layer (raster 3).
Reduce the opacity of your Flood Fill Tool to 50%.
Change the settings of your Gradient, Invert not checked.
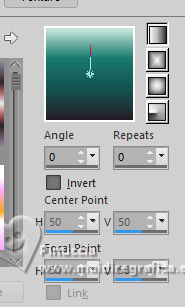
Flood Fill  the layer with your Gradient. the layer with your Gradient.
Don't forget to set again the opacity of your Flood Fill Tool to 100.
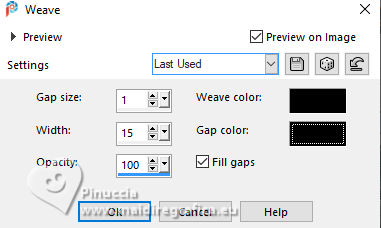
13. Effects>Texture Effects>Weave.
both colors: #000000
14. Layers>New Raster Layer (raster 4).
Open cora-nature-06 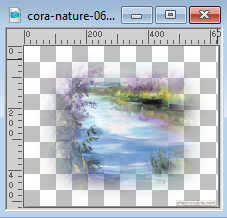
Edit>Copy.
Go back to your work and go to Edit>Paste into Selection.
Selections>Select None.
Image>Resize, to 120%, resize all layers not checked.
Adjust>Sharpness>Sharpen.
Selections>Select None.
Layers>Merge>Merge Down.
15. Activate the layer Raster 1.
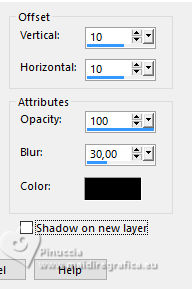
Effects>3D Effects>Drop Shadow, color #000000.
16. Layers>New Raster Layer.
Layers>Arrange>Send to Bottom.
Flood Fill  the layer with the last Gradient. the layer with the last Gradient.
(opacity 100)
17. Selections>Select None.
Edit>Paste into Selection - the tube cora-nature-06 is still in memory.
Selections>Select None.
18. Effects>Image Effects>Seamless Tiling.

19. Adjust>Blur>Radial Blur, same settings.

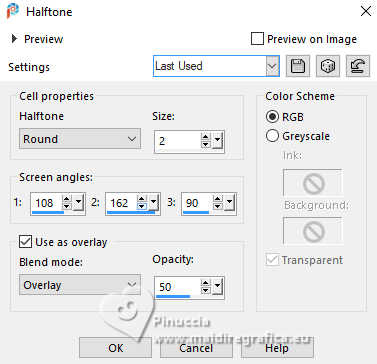
20. Effects>Artistic Effects>Halftone.
21. Effects>Plugins>Filters Unlimited 2.0 - Convolution Filter - Emboss Strong
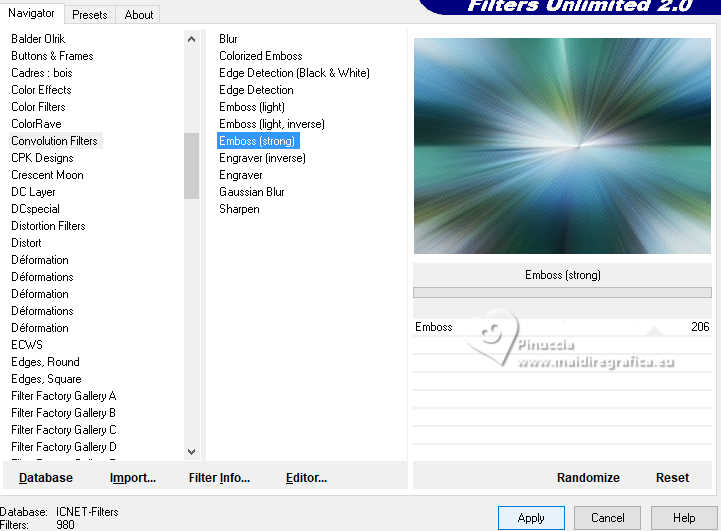
(if you want, you can change cet Effect avec the User Defined Filter Emboss 3)
22. Layers>Duplicate.
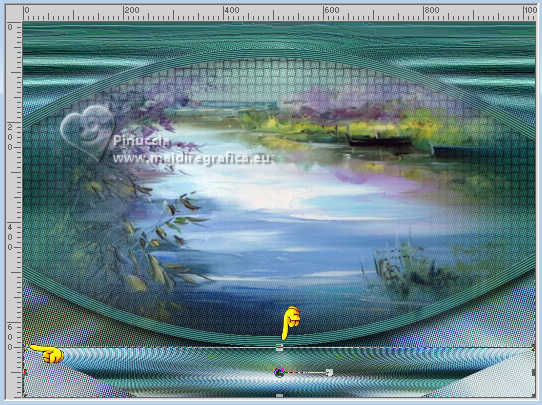
Effects>Geometric Effects>Perspective Vertical.
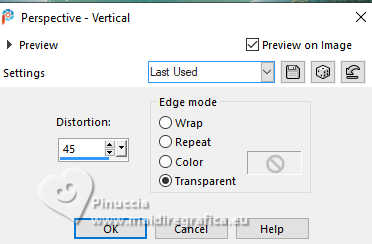
Activate your Pick Tool 
in mode Scale 
pull the top central node down until the ellipse's basis (650 pixels)
23. Effects>Plugins>Flaming Pear - Flexify 2.
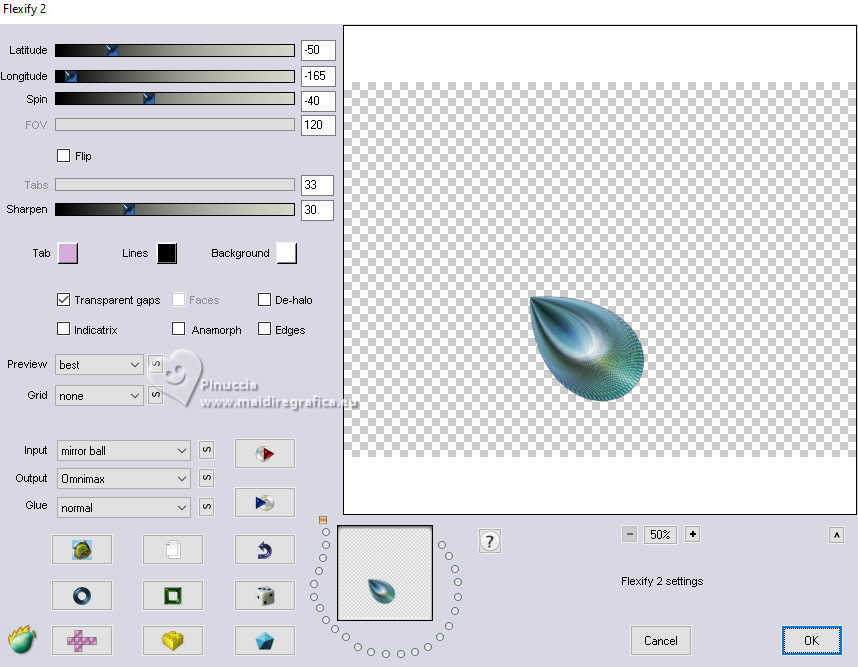
Layers>Arrange>Bring to Top.
Image>Resize, to 30%, resize all layers not checked.
Layers>Duplicate.
Image>Mirror>Mirror Vertical (Image>Flip).
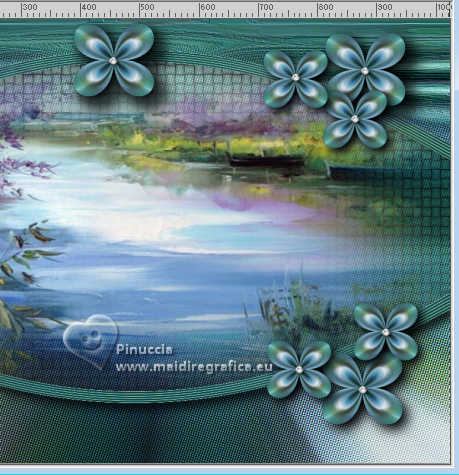
24. Move  the two petals as below. the two petals as below.

Layers>Merge>Merge Down.
Layers>Duplicate.
Image>Mirror>Mirror Horizontal.
25. Place  the two petals as below. the two petals as below.

Layers>Merge>Merge Down.
Effects>3D Effects>Drop shadow, same settings.
26. Layers>Duplicate, 2 times,
and place  correctly the flowers. correctly the flowers.
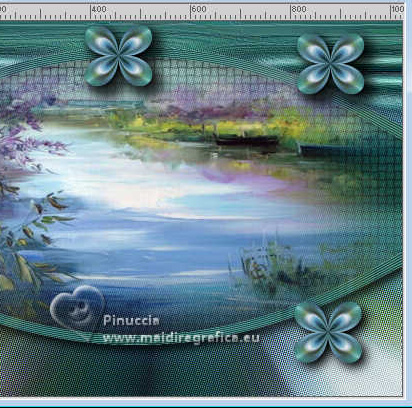
27. On the layers of the last copie:
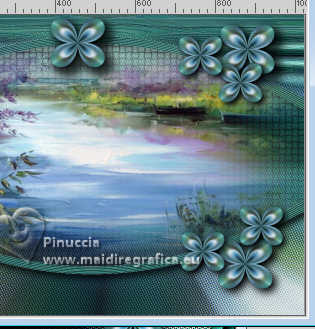
Layers>Duplicate.
Image>Resize, to 80%, resize all layers not checked.
Layers>Duplciate - 3 times
and place  correctly the flowers. correctly the flowers.
28. Open strass 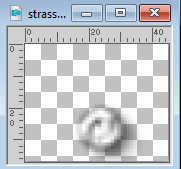
Edit>Copy.
Go back to your work and go to Edit>Paste as new layer.
Place  the tube in the center of every flower. the tube in the center of every flower.
29. Open the tube cora-femmes-240 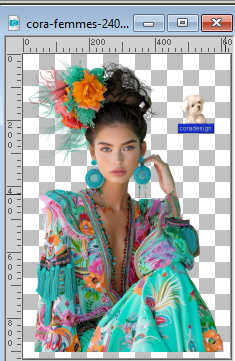
Erase the watermark and go to Edit>Copy.
Go back to your work and go to Edit>Paste as new layer.
Image>Resize, to your liking, for me to 85%, resize all layers not checked.
Move  the tube to the left side. the tube to the left side.
Effects>3D Effects>Drop shadow, at your choice - for me same settings.
30. Image>Add borders, 1 pixel, symmetric, color #000000
Selections>Select All.
Image>Add borders, 50 pixels, symmetric, color #ffffff.
Selections>Invert.
31. Invert the colors of the last gradient
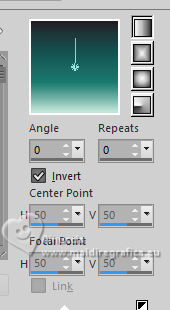
Flood Fill  the selection with your Gradient. the selection with your Gradient.
32. Effects>Artistic Effects>Halftone, same settings.

33. Effects>Plugins>AAA Frames - Foto Frame.
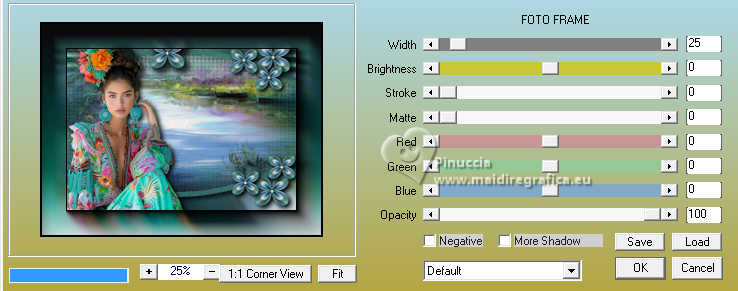
Repeat Foto Frame another time.
34. Selections>Invert.
Effects>3D Effects>Drop shadow, color #000000.

Selections>Select None.
35. Image>Add borders, 1 pixel, symmetric, color #000000.
Image>Resize, 1024 pixels width, resize all layers checked.
Add, if you wish, the author's watermark, without forgetting that of the translator.
Save as jpg.
For the tubes of this version thanks Luz Cristina and Mentali
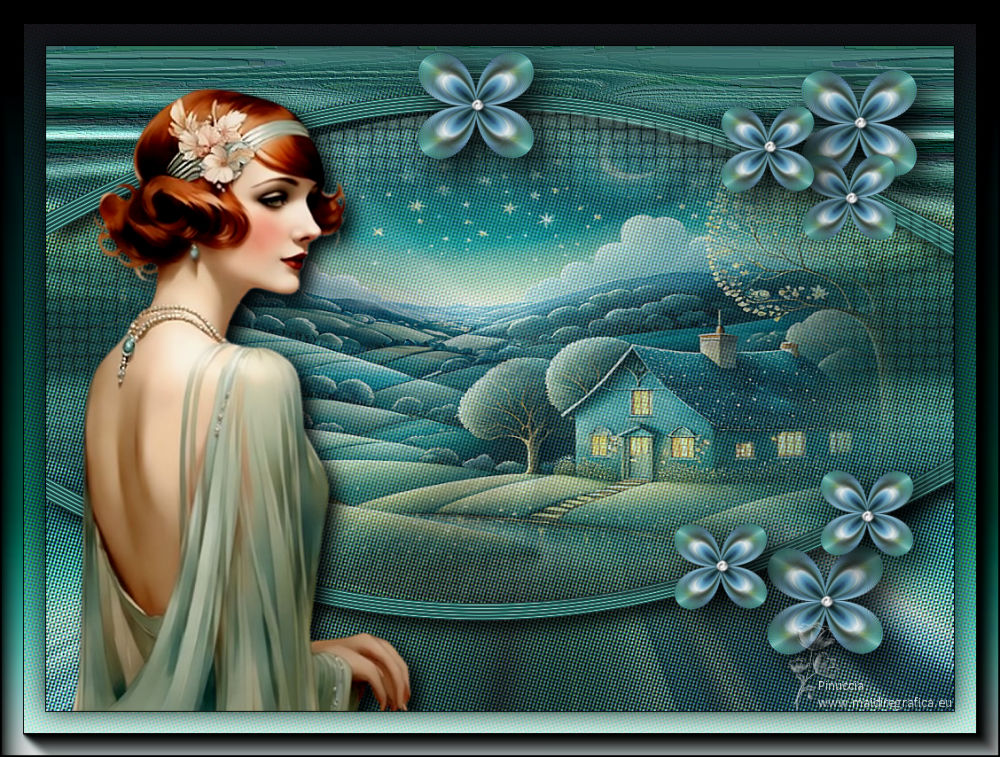
 Your versions here Your versions here

If you have problems or doubts, or you find a not worked link, or only for tell me that you enjoyed this tutorial, write to me.
29 October 2024

|

