|
JE T'AIME 

This tutorial, was created with PSPX9 and translated with PSP2020, but it can also be made using other versions of PSP.
For this tutorial, you will need:  Thanks for the tubes and the mask Beatriz and Silvie. (you find here the links to the material authors' sites)  consult, if necessary, my filter section here Filters Unlimited 2.0 here Graphics Plus - Cross Shadow here Toadies - What are you, Picasso's Another word here Mura's Meister - Copies here L&K's - L&K's Katharina here Carolaine and Sensibility - CS-LDots here AAA Frames - Foto Frame here Filters Graphics Plus and Toadies can be used alone or imported into Filters Unlimited. (How do, you see here) If a plugin supplied appears with this icon  You can change Blend Modes according to your colors.  Copy the Selections in the Selection Folder. Open the masks (un tube de Silvie will be used as mask) in PSP and minimize them with the rest of the material. 1. Set your foreground color to #c6a69e and your background color to #322f38. 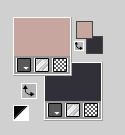 2. Open a new transparent image 950 x 600 pixels. Flood Fill  with your background color #322f38. with your background color #322f38.Layers>New Raster Layer. Flood Fill  with your foreground color #c6a69e. with your foreground color #c6a69e.3. If you didn't it before to begin, open the tube Beautiful_Swan74G_misted_Silvie_16.06.2024, that will use as mask in PSP and minimize it. Layers>New Mask layer>From image Open the menu under the source window and you'll see all the files open. Select the mask Beautiful_Swan74G_misted_Silvie_16.06.2024. 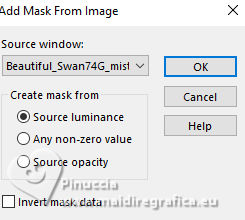 Effects>Edge Effects>Enhance. Layers>Merge>Merge Group. 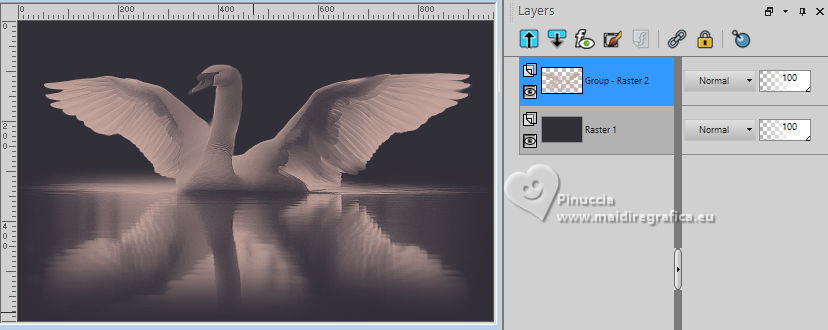 4. Effects>Image Effects>Seamless Tiling, default settings.  Effects>Reflection Effects>Rotating Mirror, default settings.  5. We have this 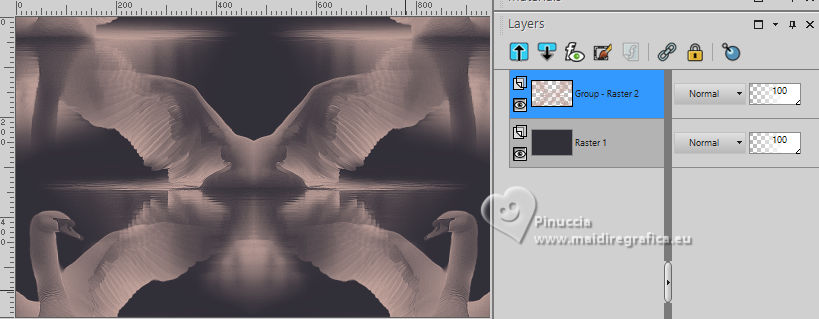 6. Layers>Duplicate. Effects>Geometric Effects>Perspective Horizontal. 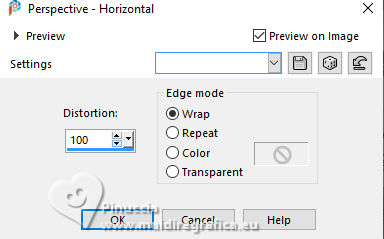 Layers>Duplicate. Image>Mirror>Mirror Horizontal. Reduce the opacity of this layer to 50%. Layers>Merge>Merge Down. Activate the central layer - Group-Raster 2. Adjust>Blur>Gaussian Blur - radius 25.  7. We have this 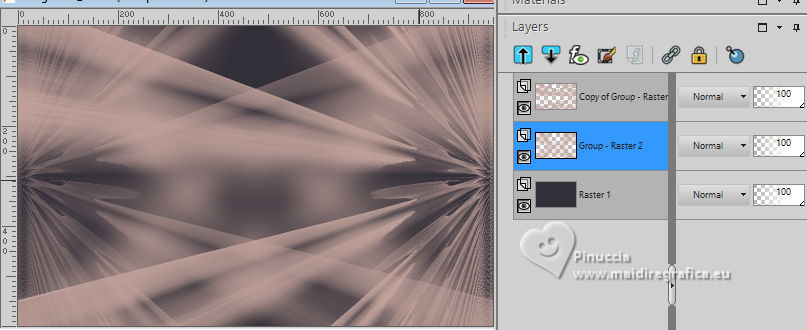 8. Activate your top layer. Layers>New Raster Layer. Selections>Load/Save Selection>Load Selection from Disk. Look for and load the selection jetaime_sel_1 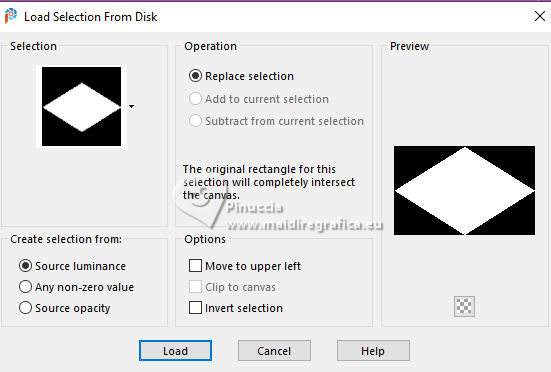 Flood Fill  with your foreground color #c6a69e. with your foreground color #c6a69e.Effects>Plugins>Graphics Plus - Cross Shadow. 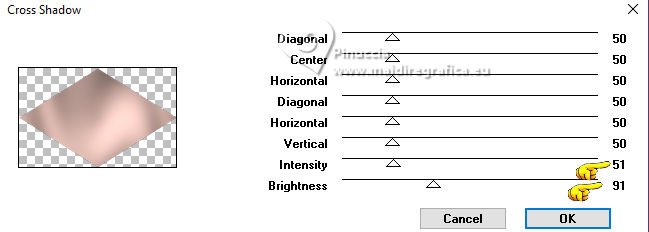 Note These values are approximate - it will depend on the colors chosen. In my 2nd version they were 51-81 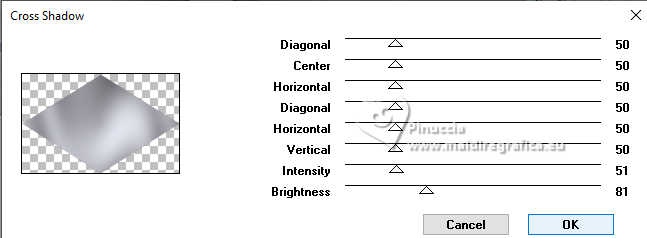 9. Effects>Plugins>Filters Unlimited 2.0 - Toadies - What are you, default settings. 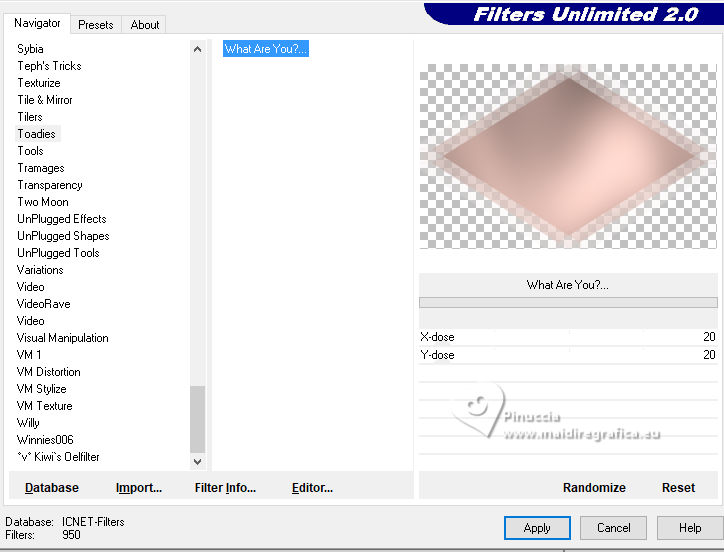 Usually the result of this effect changes if it is used in Unlimited or alone. This is the screen of the filter used alone 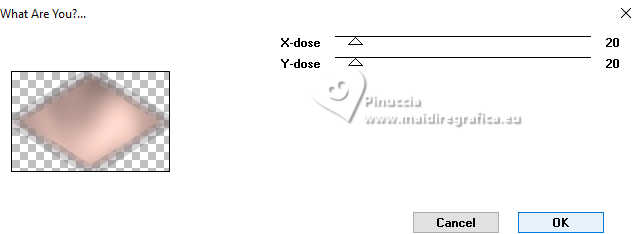 This is the comparison between the two solutions: on the left in Unlimited, on the right alone  Additional note about this filter: if you set the background color to white, you will get the same result as in Unlimited 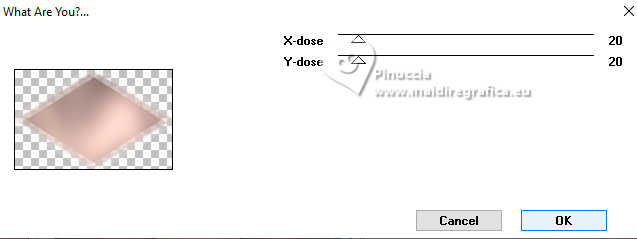 Selections>Modify>Select Selection Borders. 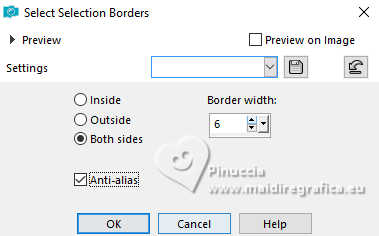 Layers>New Raster Layer. 10. Flood Fill  with your foreground color #c6a69e. with your foreground color #c6a69e.Effects>3D Effects>Inner Bevel. 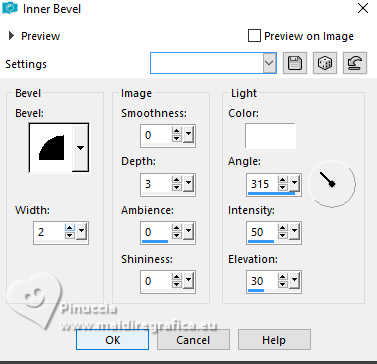 Effects>3D Effects>Drop shadow, color #000000.  Selections>Select None. Layers>Merge>Merge Down. 11. Layers>Duplicate. Image>Resize, to 60%, resize all layers not checked. Effects>Image Effects>Seamless Tiling, default settings.  Effects>Plugins>Caroline and Sensibility - CS-LDots, default settings. 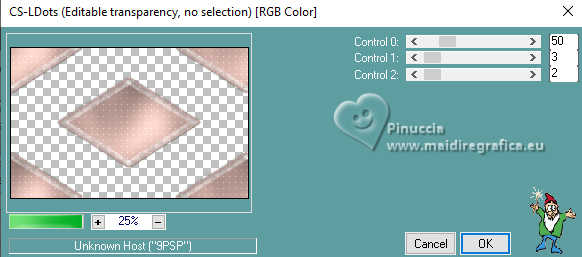 12. Adjust>Sharpness>Sharpen. Effects>Plugins>Filters Unlimited 2.0 - Toadies - What are you, default settings. 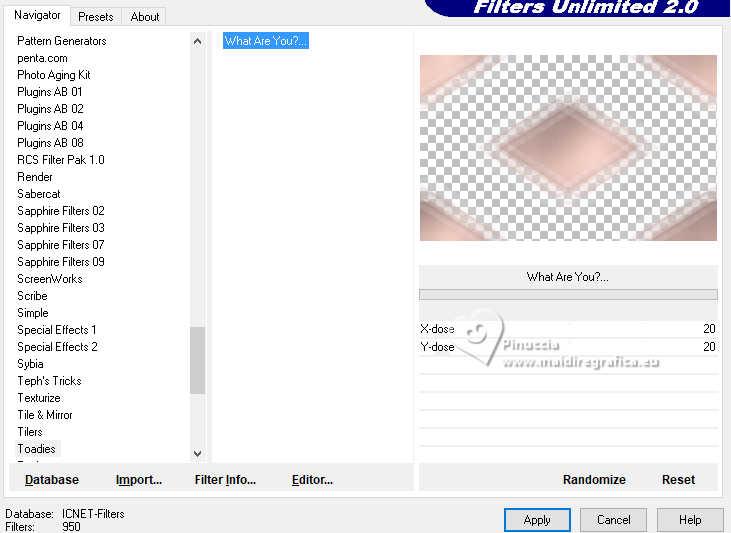 Repeat this Effect another time. Adjust>Sharpness>Sharpen. 13. We have this  14. Activate the layer Raster 1. Adjust>Brightness and Contrast>Brightness and Contrast  Effects>Plugins>Toadies - Picasso's Another Word, default settings.  Effects>Edge Effects>Enhance More. 15. Activate the layer Raster 2, the second from the top. Effects>Image Effects>Seamless Tiling, Side by Side.  Result  16. Stay on this layer, Raster 2. Effects>Texture Effects>Mosaic - Glass. 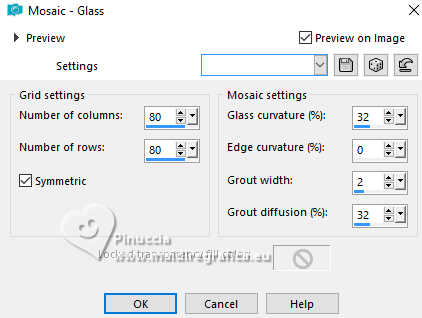 Activate the tube you used as mask, Beautiful_Swan74G_misted_Silvie_16.06.2024 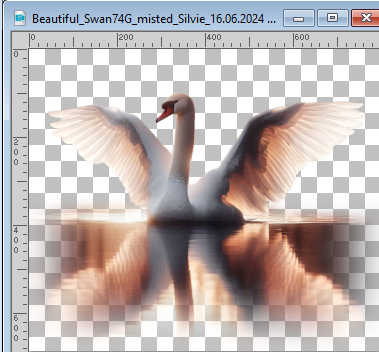 Edit>Copy. Go back to your work and go to Edit>Paste as new layer. Layers>Arrange>Bring to Top. Image>Resize, to 50%, resize all layers not checked. Effects>Plugins>Mura's Meister - Copies. 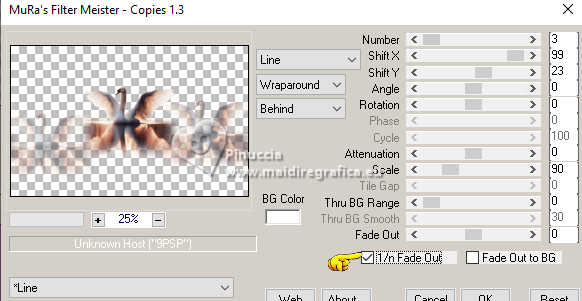 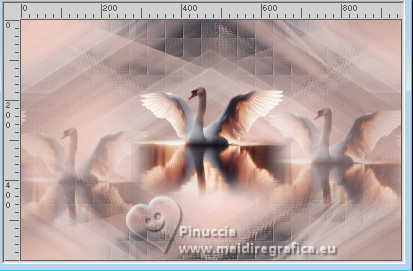 17. Effects>Edge Effects>Enhance. Layers>Arrange>Move Down. Objects>Align>Top - see the example. 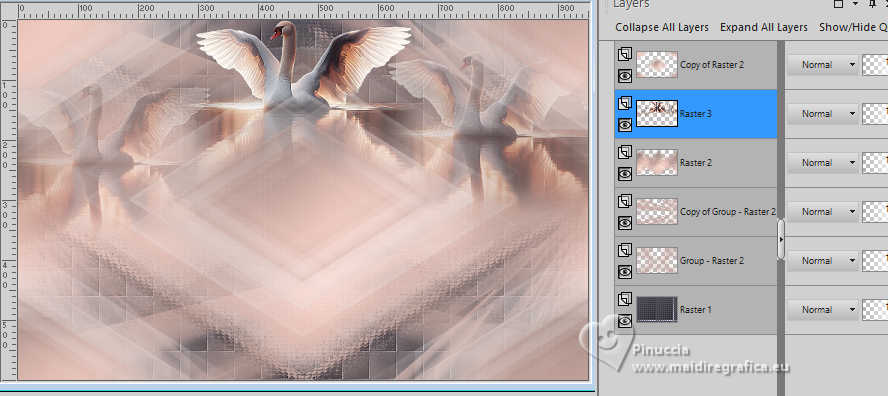 Effects>3D Effects>Drop Shadow, color #000000. 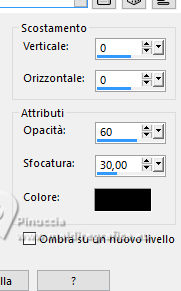 Layers>Duplicate. Image>Mirror>Mirror Vertical. Reduce the opacity of this layer to 42%. Layers>Merge>Merge Down. 18. We have this 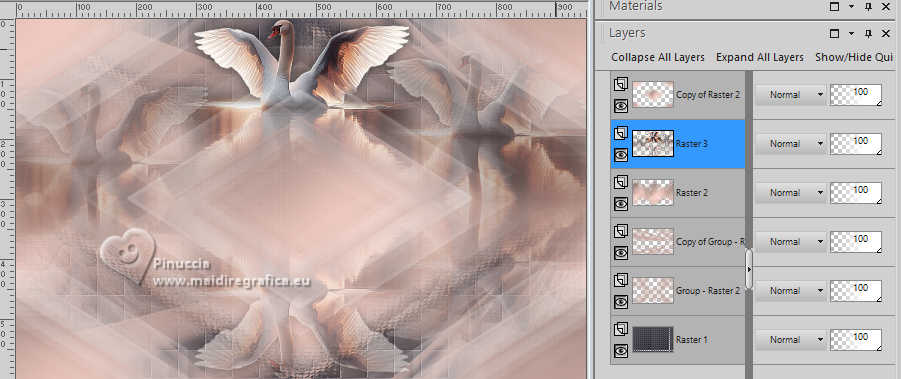 19. Edit>Copy Special>Copy Merged. Edit>Paste as new image, and minimize this image. Go back to your work. Image>Add borders, 1 pixel, symmetric, color #000000. Selections>Select All. Image>Add borders, 40 pixels, symmetric, color #ffffff. 20. Selections>Invert. Edit>Paste into Selection (the minimized image is still in memory). Adjust>Blur>Gaussian Blur - radius 10.  21. Effects>Plugins>L&K's - L&K's - Katharina. 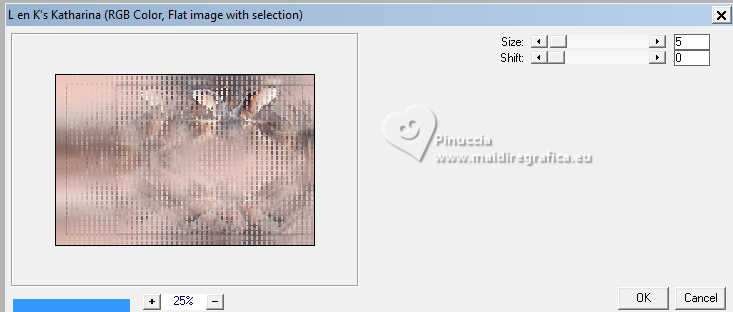 Effects>Reflection Effects>Rotating Mirror, default settings  Effects>Edge Effects>Enhance. 22. Effects>Plugins>AAA Frames - Foto Frame. 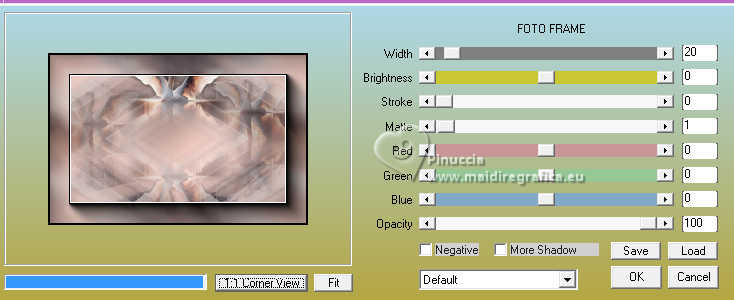 Effects>Reflection Effects>Rotating Mirror, same settings. 23. Selections>Select None. Open 4958-couple-LB TUBES 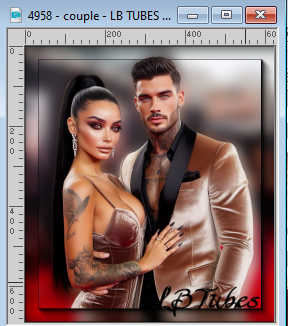 Edit>Copy. Go back to your work and go to Edit>Paste as new layer. Image>Resize, to 95%, resize all layers not checked. K key to activate your Pick Tool  Position X: 213,00 - Position Y: 80,00.  M key to deselect the Tool. 24. Effects>3D Effects>Drop Shadow, color #000000 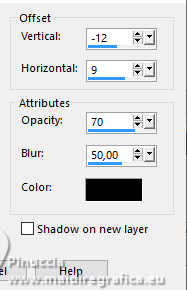 Adjust>Sharpness>Sharpen. Set your foreground color to #f8e9e3  Layers>New Raster Layer. Flood Fill  with your new foreground color #f8e9e3. with your new foreground color #f8e9e3.25. Layers>New Mask layer>From image Open the menu under the source window and you'll see all the files open. Select the mask Silvie_Mask_Deco0HH. 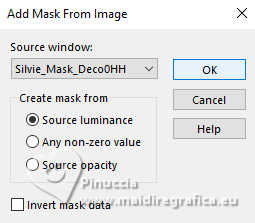 Effects>Edge Effects>Enhance. Layers>Merge>Merge Group. Image>Mirror>Mirror Horizontal. Layers>Duplicate. Image>Mirror>Mirror Vertical. Layers>Arrange>Move Down - 2 times (it should be under the main tube). 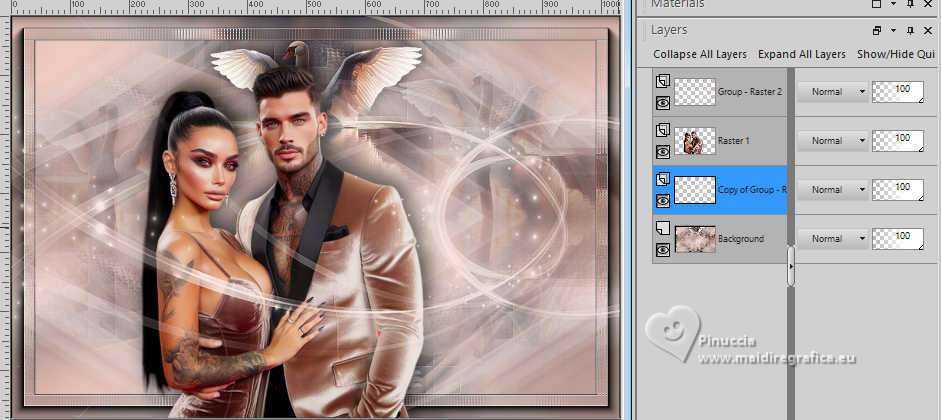 26. Activate your bottom layer. Open LTDStudio_Je t'aime_Deco 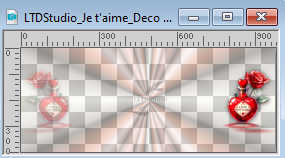 Edit>Copy. Go back to your work and go to Edit>Paste as new layer. Objects>Align>Bottom. Move  the tube down as below. the tube down as below. NOTE: you can colorize or change the Blend Mode. 27. Open LTDStudio_Je t'aime_Texto 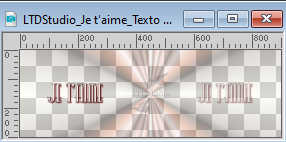 Edit>Copy. Go back to your work and go to Edit>Paste as new layer. Layers>Arrange>Bring to top. Move  to your liking, or see my example. to your liking, or see my example.28. Sign your work on a new layer. Add the author and the translator's watermarks. Layers>Merge>Merge All and save as jpg. For the tubes of this version thanks Luz Cristina and Silvie 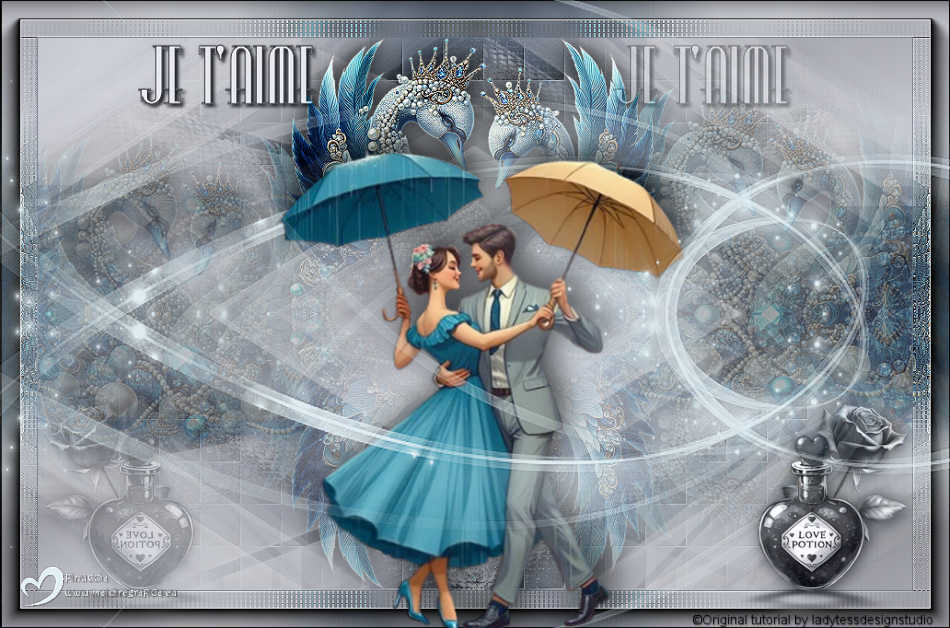   Your versions. Thanks Your versions. Thanks Kika  Irene  If you have problems or doubts, or you find a not worked link, or only for tell me that you enjoyed this tutorial, write to me. |