|
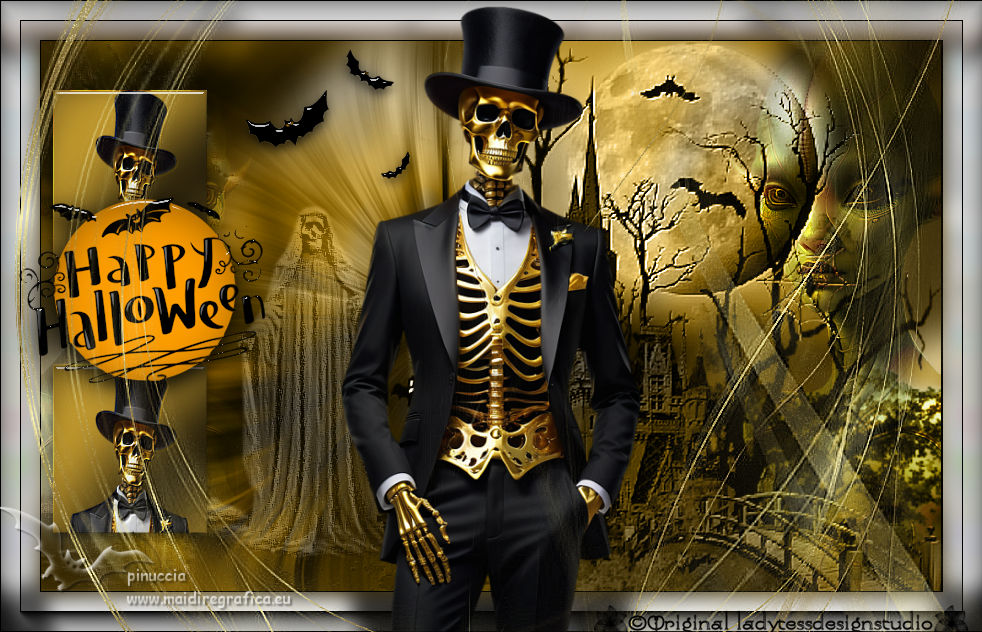
HALLOWEEN 2024 

This tutorial, was created with PSPX9 and translated with PSP2020, but it can also be made using other versions of PSP.
For this tutorial, you will need:  Thanks for the tubes and the mask Mentali and Narah. (you find here the links to the material authors' sites)  consult, if necessary, my filter section here Filters Unlimited 2.0 here Mehdi - Wavy Lab 1.1. here Eye Candy 4000 - Motion Trail here Mura's Meister - Copies here FM Tile Tools - Blend Emboss here Alien Skin Eye Candy 5 Impact - Glass here AAA Frames - Foto Frame here  You can change Blend Modes according to your colors.  Copy the selection in the Selections Folder. Open the golden pattern 006_verloop7a-ca and the mask in PSP and minimize them with the rest of the material. 1. Set your foreground color to #84671d and your background color to #2e240a. third color (for the Mehdi Filter #c1982b) 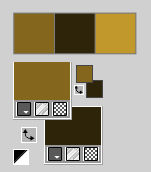 2. Open a new transparent image 900 x 550 pixels. Effects>Plugins>Mehdi - Wavy Lab 1.1. This filter creates gradients with the colors of your Materials palette. The first is your background color, the second is your foreground color. Change both last two colors with #c1982b. 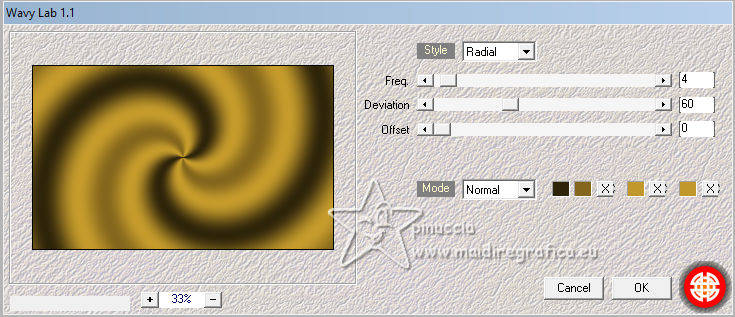 Layers>Duplicate. Adjust>Blur>Gaussian Blur - radius 40.  3. Layers>New Raster Layer. Selections>Select All. Open Misted_Halloween 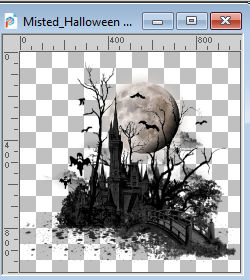 Edit>Copy. Go back to your work and go to Edit>Paste into Selection. Selections>Select None. Change the Blend Mode of this layer to Luminance (Legacy). 4. Effects>Image Effects>Seamless Tiling, default settings.  Adjust>Blur>Motion Blur. 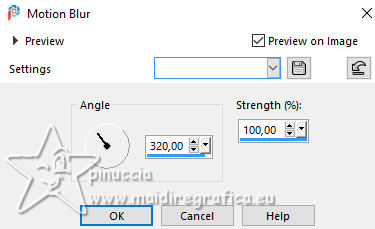 Again Adjust>Blur>Motion Blur, with these settings. 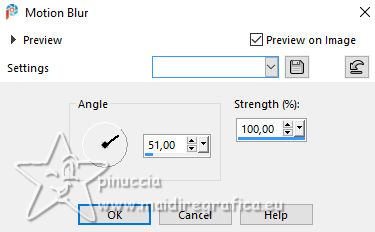 Layers>Merge>Merge Down. 5. Edit>Paste as new layer (the tubeMisted_Halloween is still in memory). Image>Resize, to 78%, resize all layers not checked. Move  the tube to the right. the tube to the right.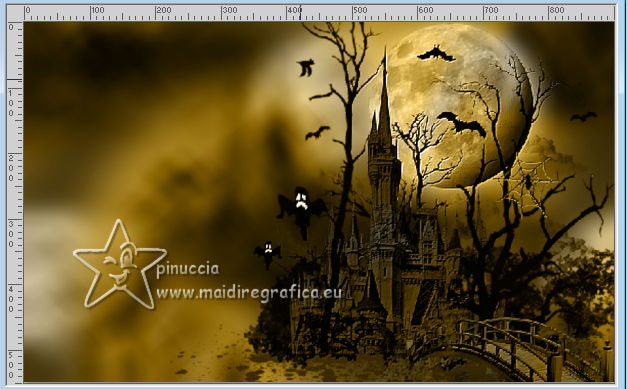 Change the Blend Mode of this layer to Luminance (L) Effects>Plugins>FM Tile Tools - Blend Emboss, default settings.  6. We have this 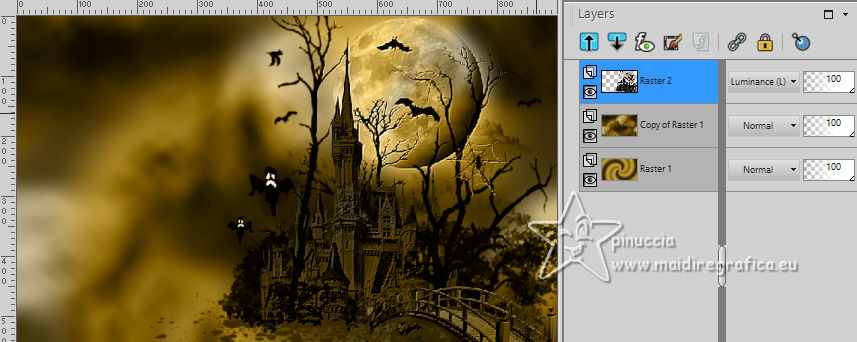 7. Layers>Duplicate. Image>Mirror>Mirror Horizontal. Adjust>Blur>Radial Blur. 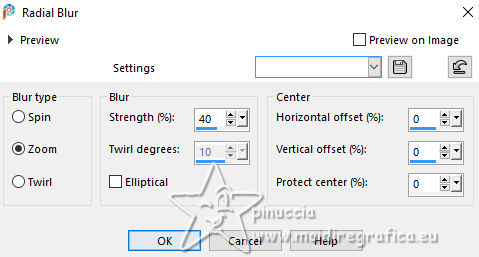 Layers>Arrange>Move Down. Change the Blend Mode of this layer to Luminance (L) Effects>Plugins>FM Tile Tools - Blend Emboss, default settings.  8. Effects>Geometric Effects>Circle.  Open mentali-halloween27 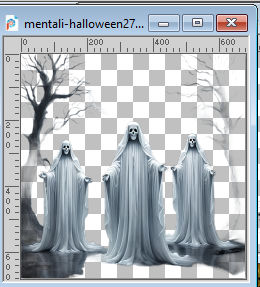 Edit>Copy. Go back to your work and go to Edit>Paste as new layer. Image>Resize, to 80%, resize all layers not checked. Objects>Align>Left. Change the Blend Mode of this layer to Luminance (L), and reduce the opacity to 32%. 9. Effects>Art Media Effects>Brush Strokes. 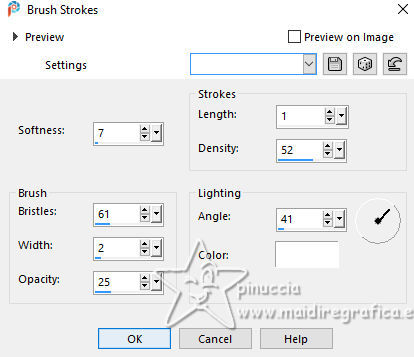 Effects>Plugins>FM Tile Tools - Blend Emboss, default settings. Activate your top layer. Selections>Load/Save Selection>Load Selection from Disk. Look for and load the selection Halloween2024_sel_1 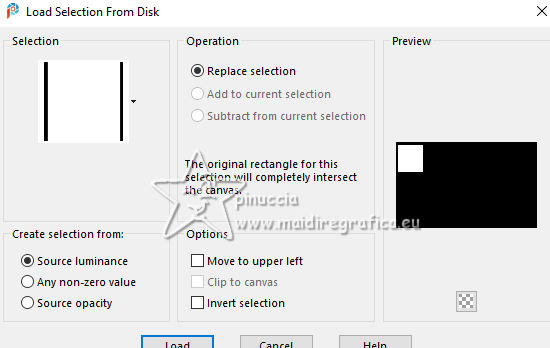 10. Activate the layer Raster 1. Selections>Promote Selection to layer. Layers>Arrange>Bring to top. Activer le tube mentali-halloween39 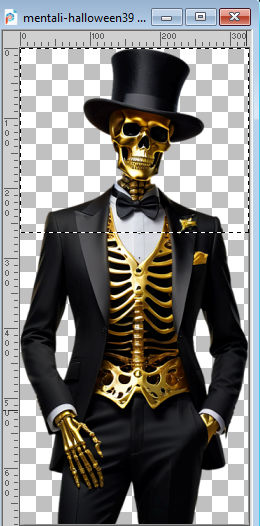 which has an active selection which has an active selectionEdit>Copy. Minimize the tube. Go back to your work and go to Edit>Paste into Selection. Effects>Plugins>FM Tile Tools - Blend Emboss, default settings. 11. Effects>Plugins>Alien Skin Eye Candy 5 Impact - Glass - CLEAR 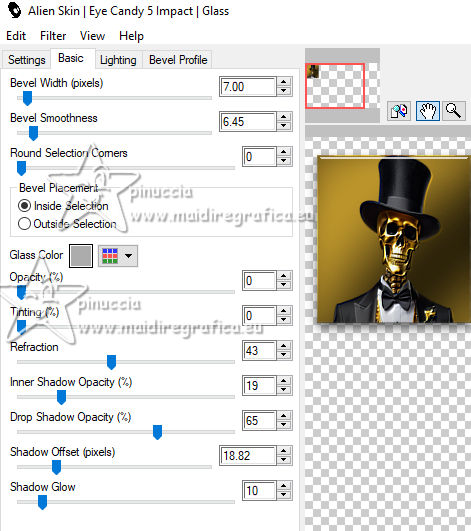 Selections>Select None. Effects>Plugins>Mura's Meister - Copies. 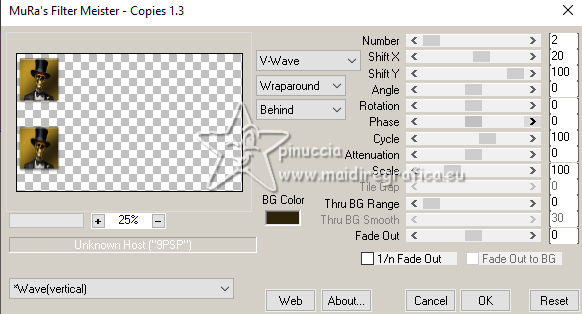 Objects>Align>Vertical Center Layers>Duplicate. Activate the layer below. Effects>Plugins>Eye Candy 4000 - Motion Trail. 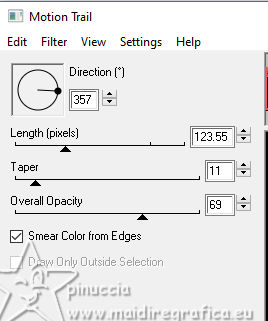 12. We have this  13. Change the Blend Mode of this layer to Dodge. Effects>Plugins>FM Tile Tools - Blend Emboss, default settings. Open mentali-fantastique140  Edit>Copy. Go back to your work and go to Edit>Paste as new layer. Image>Resize, to 80%, resize all layers not checked. K key to activate your Pick Tool  Position X: -80,00 - Position Y: -3,00.  M key to deselect the Tool. Change the Blend Mode of this layer to Overlay and reduce the opacity to 51%. Effects>Plugins>FM Tile Tools - Blend Emboss, default settings. 14. Layers>Duplicate. Image>Mirror>Mirror Horizontal. Change the Blend Mode of this layer to Overlay, opacity 100. We have this  15. Edit>Copy Special>Copy Merged. Edit>Paste as new image, and minimize this image. Go back to your work. Image>Add borders, 1 pixel, symmetric, color #000000. Selections>Select All. 16. Image>Add borders, 40 pixels, symmetric, color #ffffff. Selections>Invert. Edit>Paste into Selection (the minimized image is still in memory). Effects>Reflection Effects>Rotating Mirror.  17. Adjust>Blur>Gaussian Blur - radius 10.  Effects>Plugins>AAA Frames - Foto Frame.  Effects>Reflection Effects>Rotating Mirror, same settings. Selections>Select None. 18. Activate again mentali-halloween39 Selections>Select None and you can close the tube without saving changes Edit>Copy. Go back to your work and go to Edit>Paste as new layer. Image>Resize, to 92%, resize all layers not checked. Objects>Align>Bottom. 19. Open LTDStudio_Halloween2024_Texto 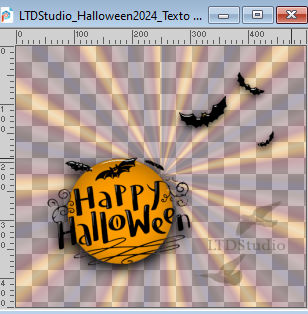 Edit>Copy. Go back to your work and go to Edit>Paste as new layer. Move  the text as in my example, or to your liking. the text as in my example, or to your liking.20. Layers>New Raster Layer. Set your foreground color to Pattern, and select the pattern 006_verloop7a-ca 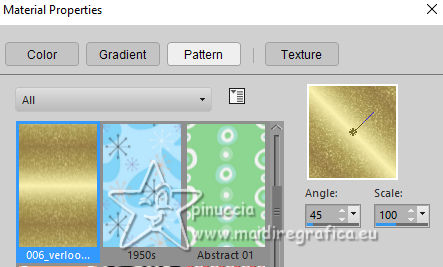 Flood Fill  the layer with the golden pattern. the layer with the golden pattern.21. Layers>New Mask layer>From image Open the menu under the source window and you'll see all the files open. Select the mask NarahsMasks_1543. 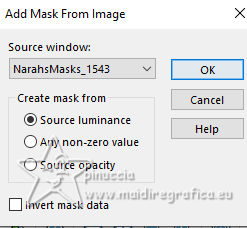 Effects>Edge Effects>Enhance More. Layers>Merge>Merge Group. Image>Mirror>Mirror Horizontal. 22. Activate your Erase Tool  and erase the 3 lines over the tube 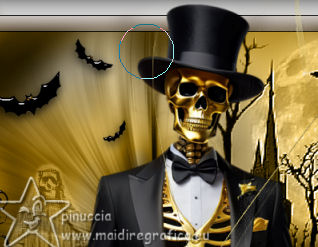   Sign your work on a new layer. Add the author and the translator's watermarks. Layers>Merge>Merge All and save as jpg. For the tubes of this version thanks Mentali, Silvie and Patries    Your versions. Thanks Your versions. Thanks Kika  If you have problems or doubts, or you find a not worked link, or only for tell me that you enjoyed this tutorial, write to me. |
