|
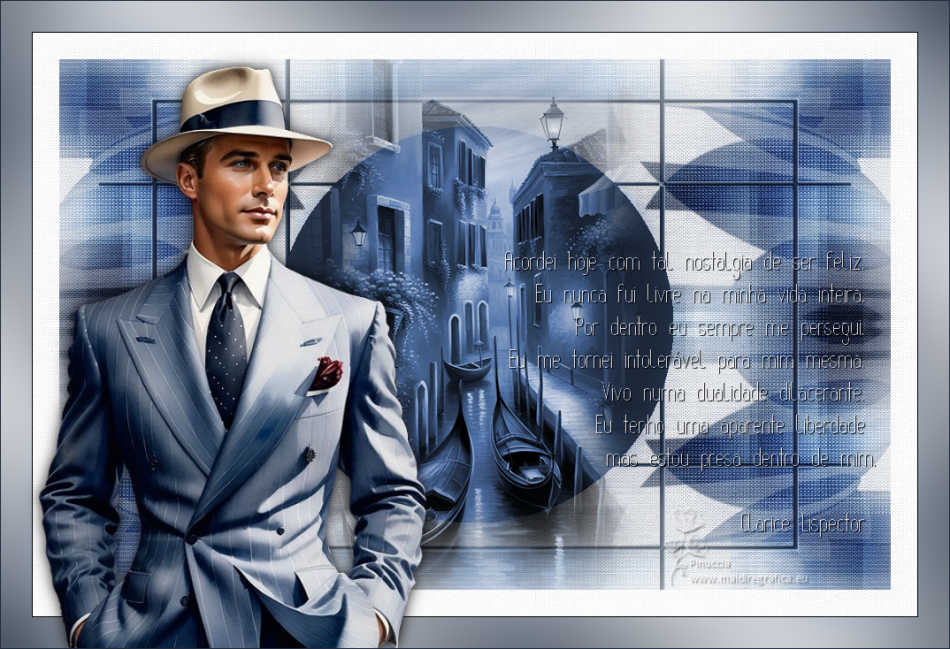
NOSTALGIA


Thanks Estela for your invitation to translate your tutorials into english

This tutorial, created with PSP2022, was translated with PspX7, but it can also be made using other versions of PSP.
Since version PSP X4, Image>Mirror was replaced with Image>Flip Horizontal,
and Image>Flip with Image>Flip Vertical, there are some variables.
In versions X5 and X6, the functions have been improved by making available the Objects menu.
In the latest version X7 command Image>Mirror and Image>Flip returned, but with new differences.
See my schedule here
 French Translation here French Translation here
 Your versions here Your versions here

For this tutorial, you will need:

Thanks for the tubes Kamil and Ema, for a mask Cameron.
The rest of the material is by Estela Fonseca.
(The links of the tubemakers here).
*It is forbidden to remove the watermark from the supplied tubes, distribute or modify them,
in order to respect the work of the authors

consult, if necessary, my filter section here
Filters Unlimited 2.0 here
Mehdi - Sorting Tiles here
Carolaine and Sensibility - CS-Texture here
&<Bkg Designer sf10I> - Cruncher (to import in Unlimited) here
Mura's Meister - Perspective Tiling here
AFS [IMPORT] - sqborder2 here
Mura's Seamless - Emboss at Alpha here
Unplugged Tools - REM Lotus here
Simple - Top Left Mirror here
Graphics Plus - Mental Border here
Nik Software - Color Efex Pro here
Filters AFS IMPORT, Mura's Seamless, Simple, Unplugged and Graphics Plus can be used alone or imported into Filters Unlimited.
(How do, you see here)
If a plugin supplied appears with this icon  it must necessarily be imported into Unlimited it must necessarily be imported into Unlimited

You can change Blend Modes according to your colors.
In the newest versions of PSP, you don't find the foreground/background gradient (Corel_06_029).
You can use the gradients of the older versions.
The Gradient of CorelX here

Open the masks in PSP and minimize them with the rest of the material.
1. Set your foreground color to #1f2c3d,
and your background color to #dadbdf.
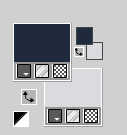
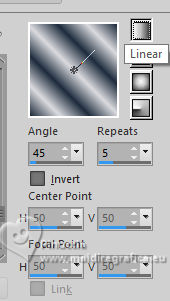
Set your foreground color to a Foreground/Background Graident, style Linear.
2. Open EF-Nostalgia-Alpha
Window>Duplicate or, on the keyboard, shift+D to make a copy.

Close the original.
The copy, that will be the basis of your work, is not empty,
but contains the selections saved to alpha channel.
3. Layers>Duplicate.
Image>Mirror>Mirror Horizontal.
Change the Blend Mode of this layer to Hard Light.
Layers>Merge>Merge Down.
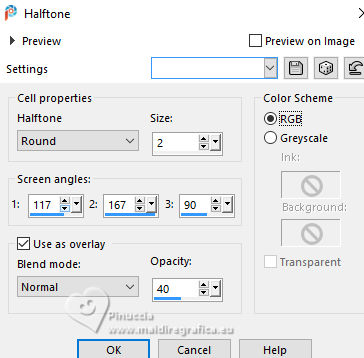
4. Effects>Artistic Effects>Halftone.
5. Effects>Plugins>Mehdi - Sorting Tiles.
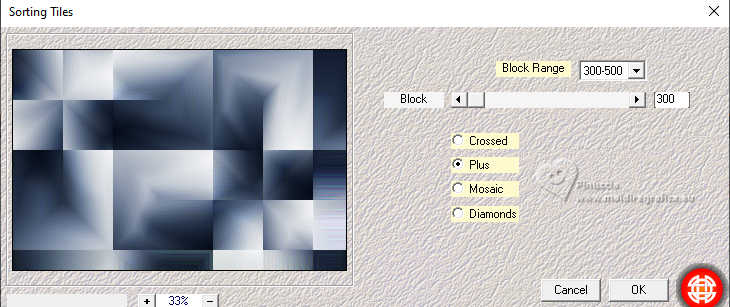
6. Layers>Duplicate.
Image>Free Rotate - 90 degrees to right.

7. Selections>Load/Save Selection>Load Selection from Alpha Channel.
The selection Selection #1 is immediately available. You just have to click Load.
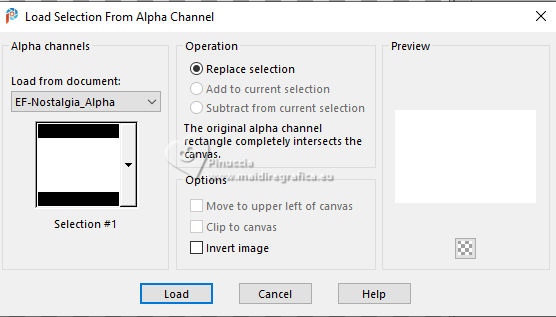
Image>Crop to Selection.
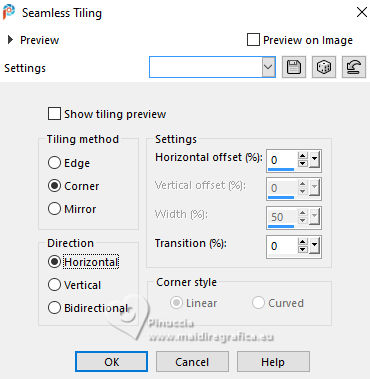
8. Effects>Image Effects>Seamless Tiling.
9. Effects>Plugins>Mehdi - Sorting Tiles.
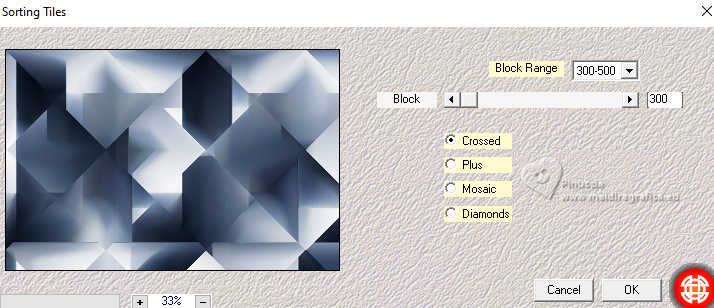
10. Activate your bottom layer, Raster 1.
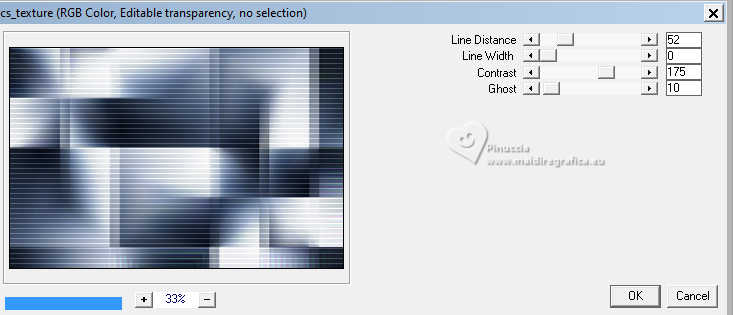
Effects>Plugins>Carolaine and Sensibility - CS-Texture.
11. Activate your top layer.
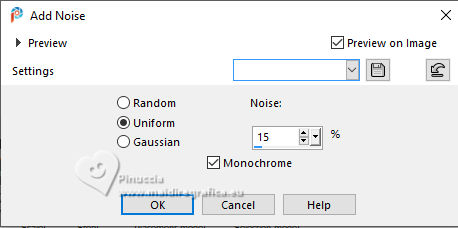
Adjust>Add/Remove Noise>Add Noise.
12. Change the Blend Mode of this layer to Soft Light.
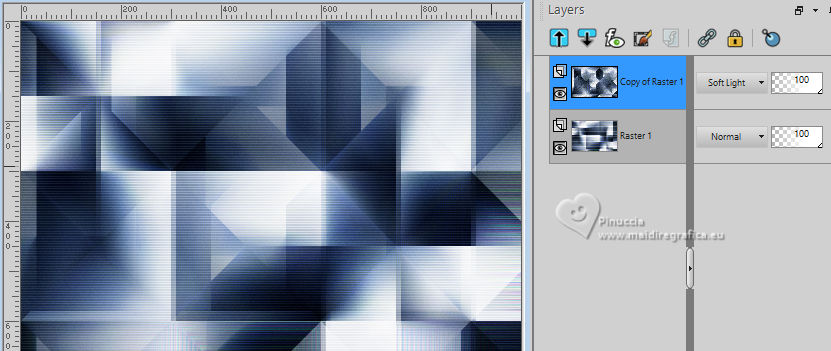
Layers>Merge>Merge visible.
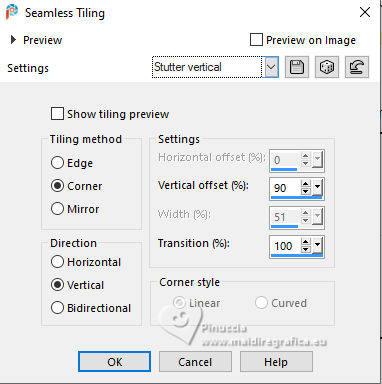
13. Effects>Image Effects>Seamless Tiling - Stutter Vertical.
14. Effects>Reflection Effects>Rotating Mirror.

15. Effects>Plugins>Simple - Top Left Mirror.
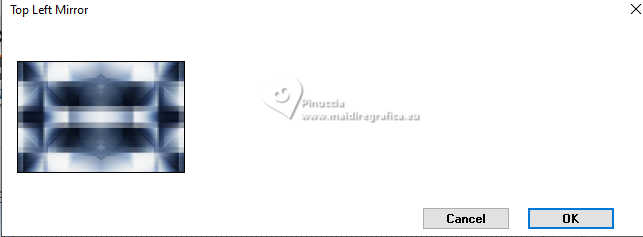
16. Effects>Plugins>Filters Unlimited 2.0 - &<Bkg Designer sf10I> - Cruncher, default settings.
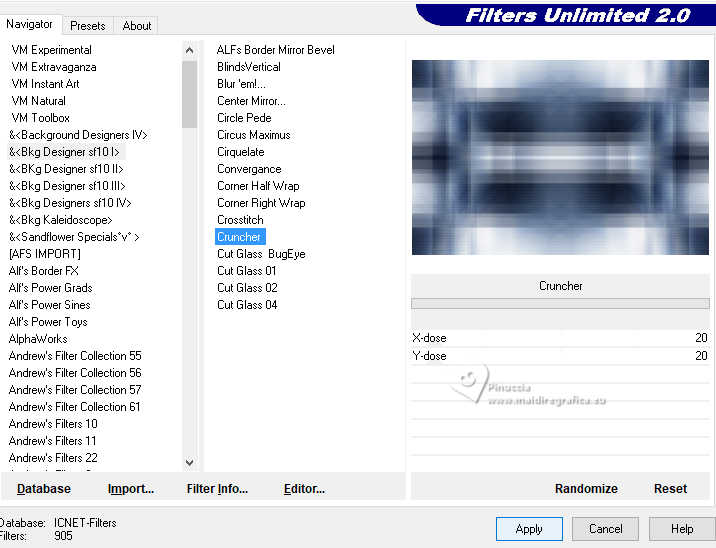
17. Selections>Load/Save Selection>Load Selection from Alpha Channel.
Open the selections menu and load the selection Selection #2
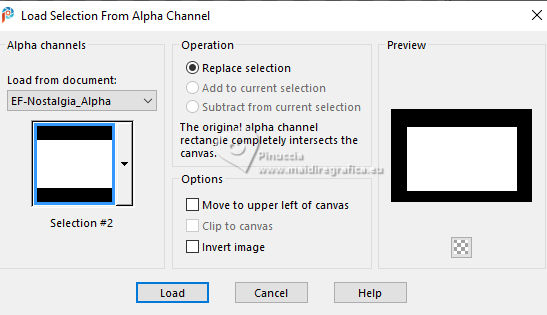
Selections>Promote Selection to Layer.
18. Effects>Plugins>AFS [IMPORT] - sqborder2, default settings.
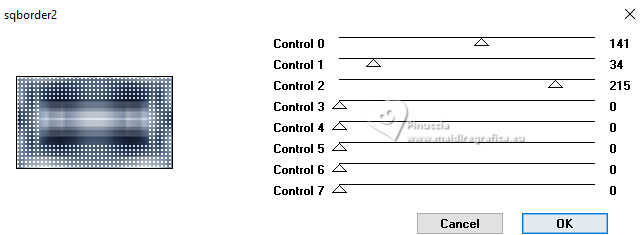
Selections>Select None.
19. Effects>Image Effects>Seamless Tiling.
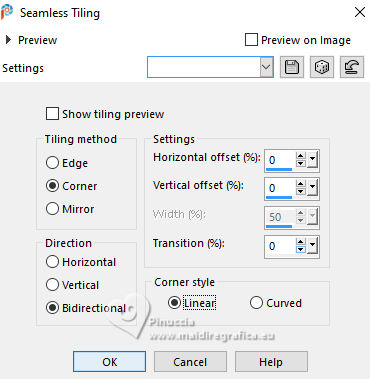
Change the Blend Mode of this layer to Soft Light.
20. Layers>New Raster Layer.
Flood Fill  the layer with your background color. the layer with your background color.
21. Layers>New Mask layer>From image
Open the menu under the source window and you'll see all the files open.
Select the mask EF-Nostalgia_Mask
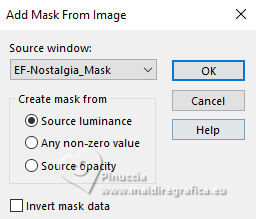
Layers>Merge>Merge Group.
22. Effects>Geometric Effects>Spherize.
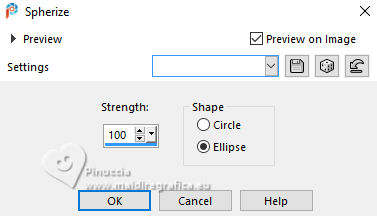
23. Effects>3D Effects>Drop Shadow, color black.

24. Layers>Merge>Merge visible.
25. Effects>Plugins>Filters Unlimited 2.0 - Graphics Plus - Metal Border
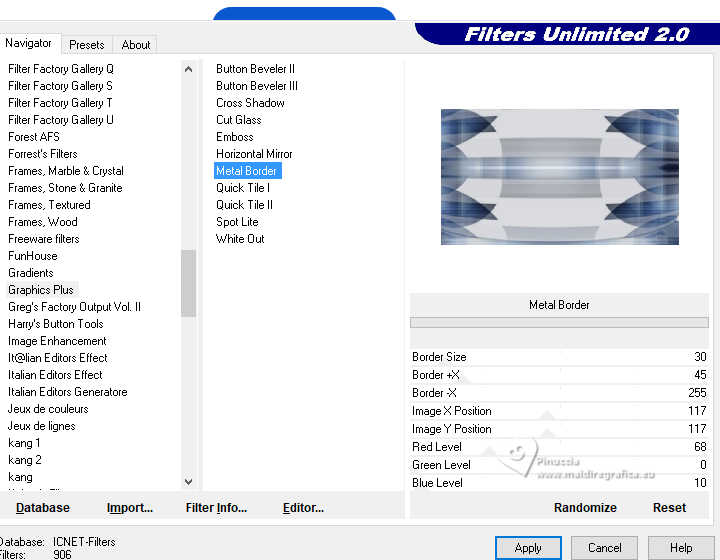
attention please, this effects must be used in Unlimited.
If you use it alone, the resultat will be very different
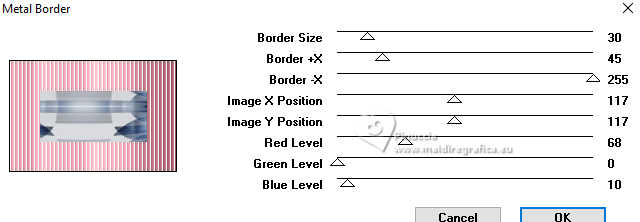
26. Effects>Plugins>Filters Unlimited 2.0 - Paper Textures - Canvas Size, default settings.
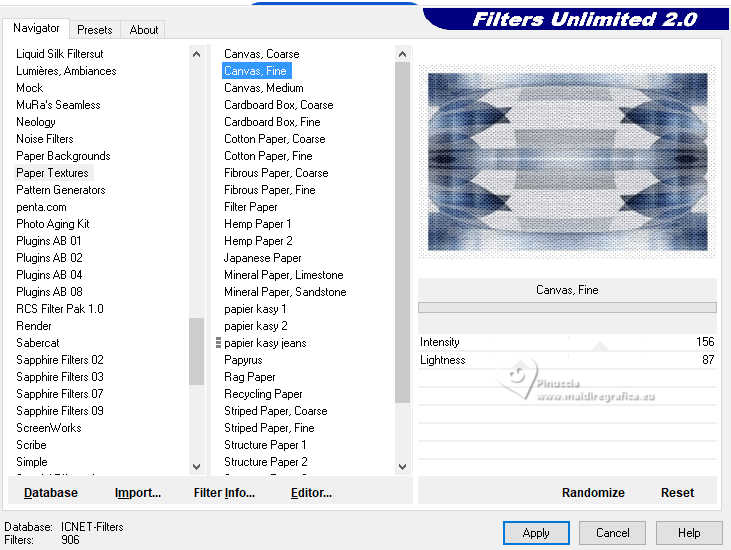
Layers>Duplicate.
27. Effects>Plugins>Mura's Meister - Perspective Tiling.
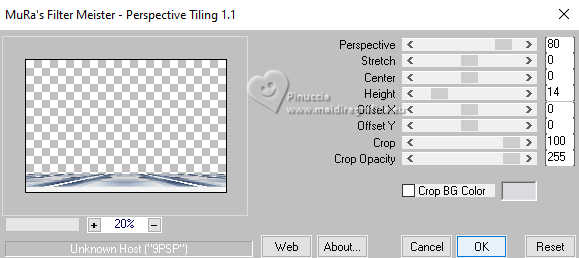
28. Effects>Image Effects>Offset.
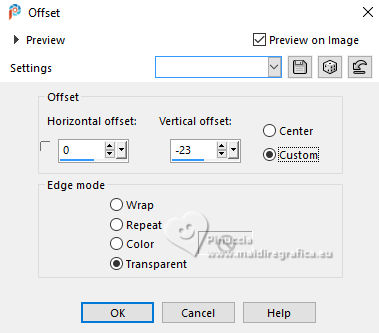
29. Layers>Merge>Merge Down.
30. Layers>New Raster Layer.
Set your foreground color to Color.
Flood Fill  the layers with your foreground color. the layers with your foreground color.
31. Layers>New Mask layer>From image
Open the menu under the source window
and select the mask patterncamerontags_bls
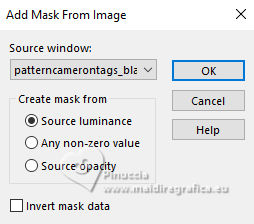
Layers>Merge>Merge Group.
32. Effects>Plugins>Mura's Seamless - Emboss at Alpha, default settings.
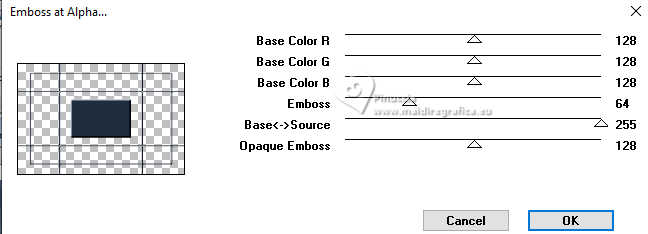
Image>Resize, to 85%, resize all layers not checked.
33. Effects>Image Effects>Offset.
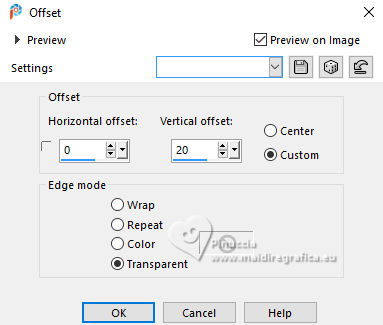
Layers>Merge>Merge Down.
34. Effects>Plugins>Filters Unlimited 2.0 - Unplugged Tools - REM Lotus, default settings.
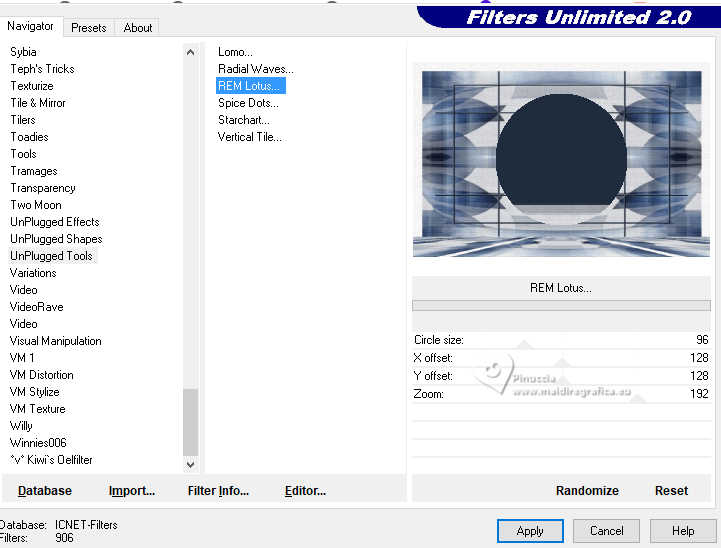
35. Effects>Plugins>Simple - Top Left Mirror.
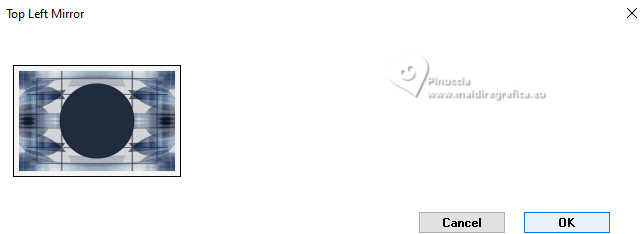
36. Effects>Plugins>Nik Software - Color Efex Pro - Glamour Glow
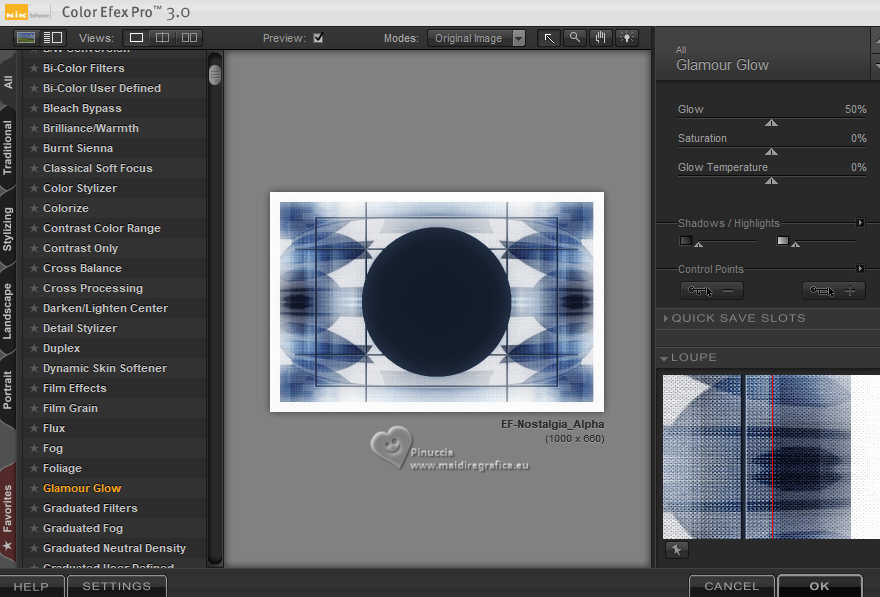
37. Open the tube EMA_Venetie_07032024 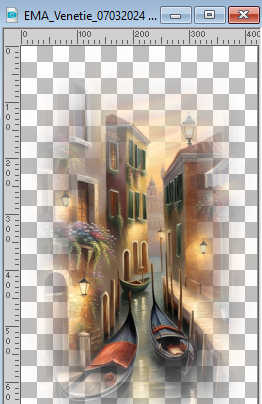
Edit>Copy.
Go back to your work and go to Edit>Paste as new layer.
Change the Blend Mode of this layer to Luminance.
38. Selections>Load/Save Selection>Load Selection from Alpha Channel.
Open the selections menu and load the selection Selection #3
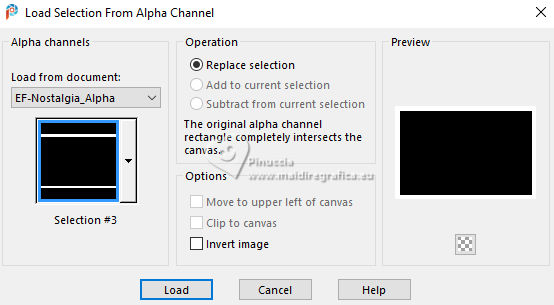
Press CANC on the keyboard 
Selections>Select None.
39. Image>Add borders, 1 pixel, symmetric, color black.
Selections>Select All.
40. Image>Add borders, 35 pixels, symmetric, whatever color.
Selections>Invert.
41. Set again your foreground color to Gradient.
Flood Fill  the selection with your Gradient. the selection with your Gradient.
42. Adjust>Blur>Gaussian Blur - radius 50.

Selections>Select None.
43. Open the tube man_useikamil 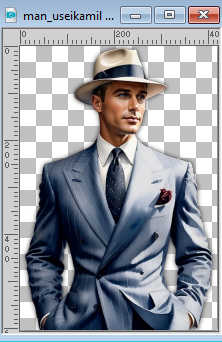
Edit>Copy.
Go back to your work and go to Edit>Paste as new layer.
Image>Resize, to 110%, resize all layers not checked.
Move  the tube to the left side. the tube to the left side.
44. Effects>3D Effects>Drop Shadow, color #000000.
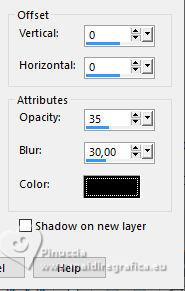
45. Open EF-Nostalgia_Texto 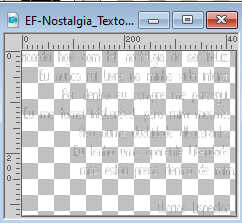
Edit>Copy.
Go back to your work and go to Edit>Paste as new layer.
Move  the text to the right side. the text to the right side.
(In the material, I added the english text).
46. Effects>3D Effects>Drop Shadow, foreground color.
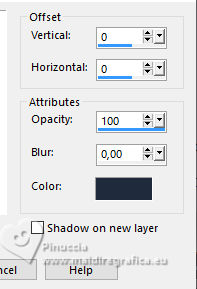
Change the Blend Mode of this layer to Hard Light and reduce the opacity to 81%.
47. Image>Add borders, 1 pixel, symmetric, color black.
Image>Resize, 1000 pixels width, resize all layers checked.
48. Sign your work and save as jpg.
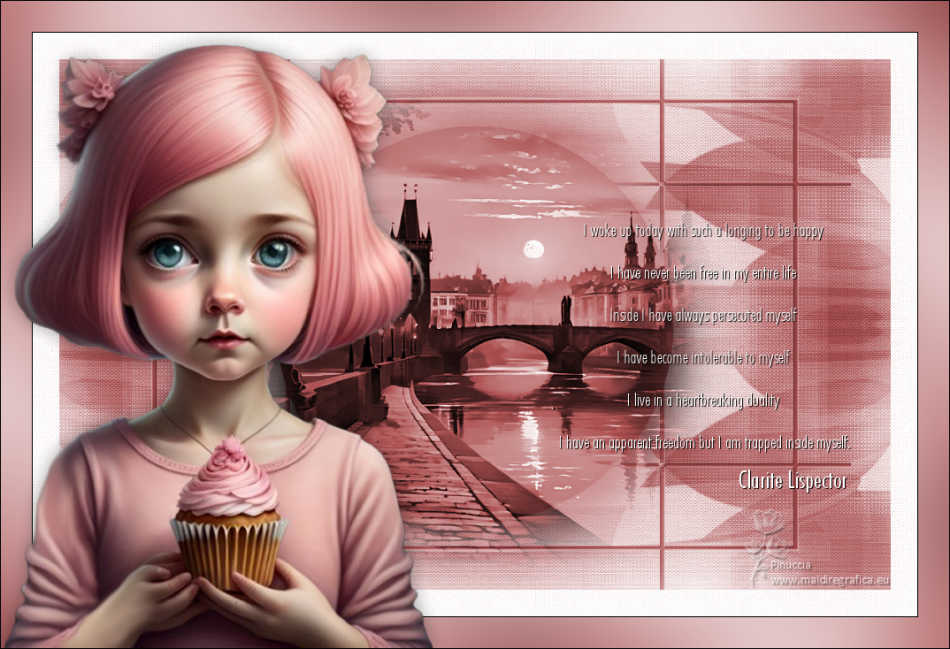
For the tubes of these versions thanks
our les tubes de ces versions merci
Laurette and Matteo
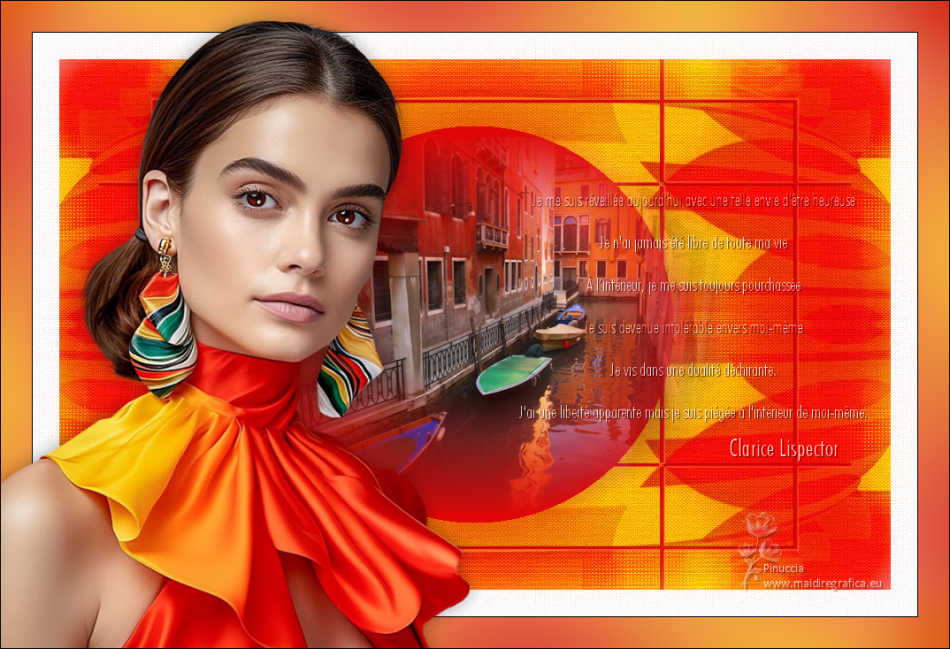
Luz Cristina and Mentali

If you have problems or doubts, or you find a not worked link,
or only for tell me that you enjoyed this tutorial, write to me.
8 September 2024

|

