|
EXCLUSION


Thanks Estela for your invitation to translate your tutorials into english

This tutorial, created with PSP2022, was translated with PspX7, but it can also be made using other versions of PSP.
Since version PSP X4, Image>Mirror was replaced with Image>Flip Horizontal,
and Image>Flip with Image>Flip Vertical, there are some variables.
In versions X5 and X6, the functions have been improved by making available the Objects menu.
In the latest version X7 command Image>Mirror and Image>Flip returned, but with new differences.
See my schedule here
 French Translation here French Translation here
 Your versions here Your versions here

For this tutorial, you will need:

For the tube and the landscape thanks Mentali.
The rest of the material is by Estela Fonseca.
(The links of the tubemakers here).
*It is forbidden to remove the watermark from the supplied tubes, distribute or modify them,
in order to respect the work of the authors

consult, if necessary, my filter section here
Filters Unlimited 2.0 here
&<Bkg Kaleidoscope> here
VM Instant Art - Tripolis here
Graphics Plus - Cross Shadow, Vertical Mirror here
Adjust - Variations here
Simple - Top Left Mirror here
DSB Flux - Radial Mosaic here
Xero - Radiance here
Filters VM Instant Art, Simple and Graphics Plus can be used alone or imported into Filters Unlimited.
(How do, you see here)
If a plugin supplied appears with this icon  it must necessarily be imported into Unlimited it must necessarily be imported into Unlimited

You can change Blend Modes according to your colors.
In the newest versions of PSP, you don't find the foreground/background gradient (Corel_06_029).
You can use the gradients of the older versions.
The Gradient of CorelX here

Open the mask in PSP and minimize it with the rest of the material.
1. Set your foreground color to #a1c8d6,
and your background color to #113e65.
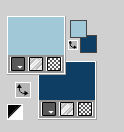
Set your foreground color to a Foreground/Background Gradient, style Linear.
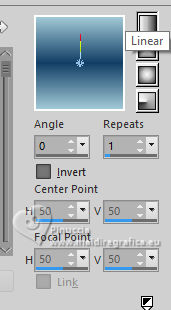
2. Open a new transparent image 1000 x 600 pixels.
Flood Fill  the transparent image with your Gradient. the transparent image with your Gradient.
3. Adjust>Blur>Gaussian Blur - radius 50.

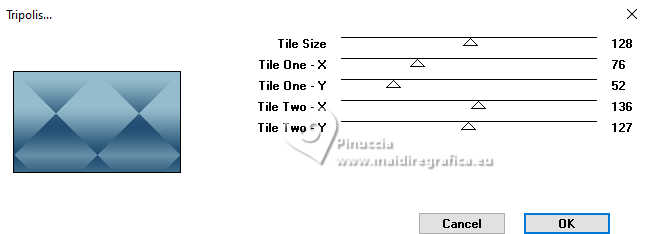
4. Effects>Plugins>VM Instant Art - Tripolis, default settings.
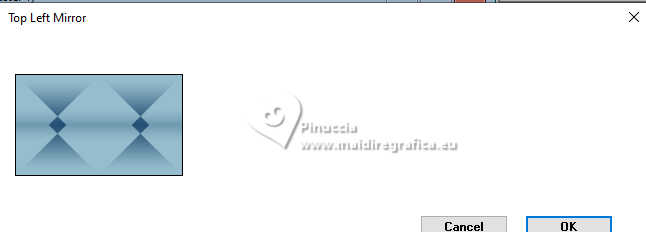
5. Effects>Plugins>Simple - Top Left Mirror.
6. Effects>Image Effects>Seamless Tiling, default settings.

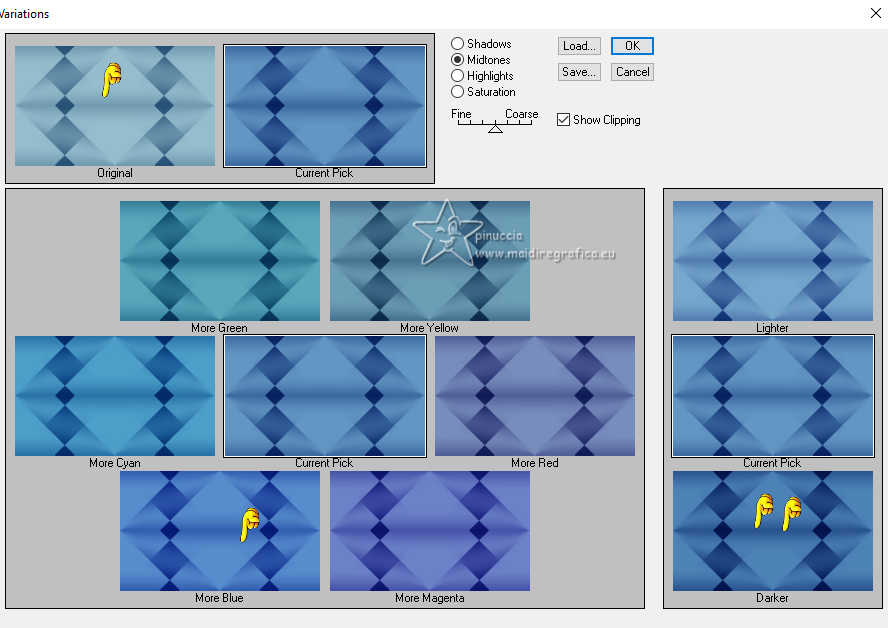
7. Effects>Plugins>Adjust - Variations,
1 click on Original, 1 click on More Blue and 2 click on Darken.
8. Layers>Duplicate.
Effects>Image Effects>Seamless Tiling, Side to side.

Adjust>Sharpness>Sharpen More.
9. Layers>Merge>Merge Down.
Effects>Image Effects>Seamless Tiling, default settings.

10. Effects>Plugins>DSB Flux - Radial Mosaic.
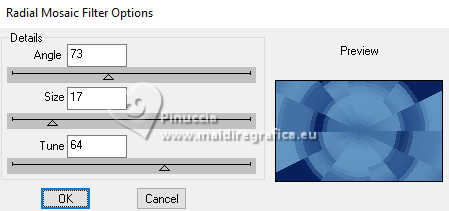
Adjust>Sharpness>Sharpen More.
11. Effects>Plugins>Filters Unlimited 2.0 - &<Bkg Kaleidoscope> - xtile Maker 1.0.
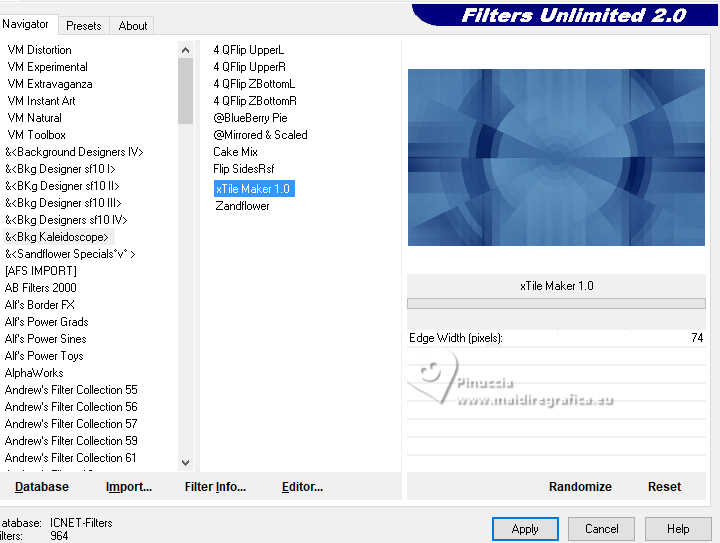
12. Effects>Reflection Effects>Rotating Mirror, default settings.

13. Effects>Plugins>Graphics Plus - Vertical Mirror.
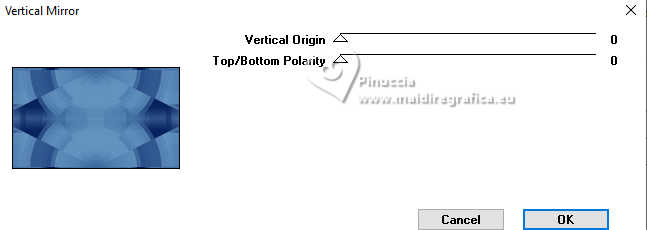
14. Adjust>Sharpness>Sharpen.
Effects>Texture Effects>Blinds - background color.
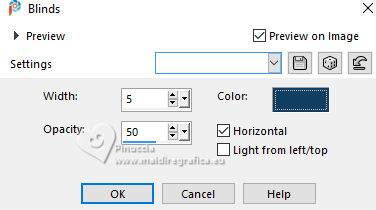
15. Set your foreground color to white #ffffff.
Layers>New Raster Layer.
Flood Fill  the layer with color white. the layer with color white.
Layers>New Mask layer>From image
Open the menu under the source window and you'll see all the files open.
Select the mask mask-exclusion
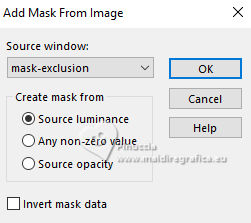
Effects>Edge Effects>Enhance More.
Layers>Merge>Merge Group.
Reduce the opacity of this layer to 65%.
16. Open the image texture 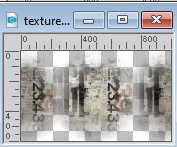
Edit>Copy.
Go back to your work and go to Edit>Paste as new layer.
Change the Blend Mode of this layer to Overlay and reduce the opacity to 57%.
17. Layers>Arrange>Move Down.
Effects>Image Effects>Seamless Tiling.

18. Effects>Plugins>Xero - Radiance, default settings.
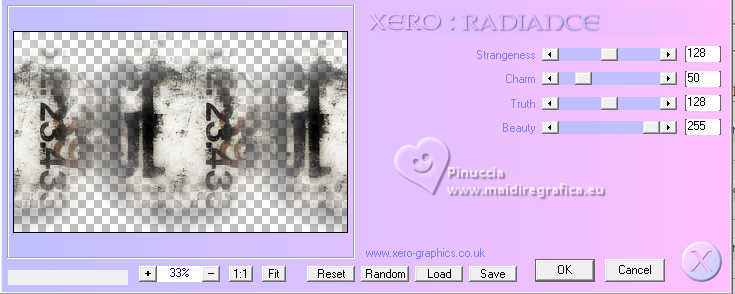
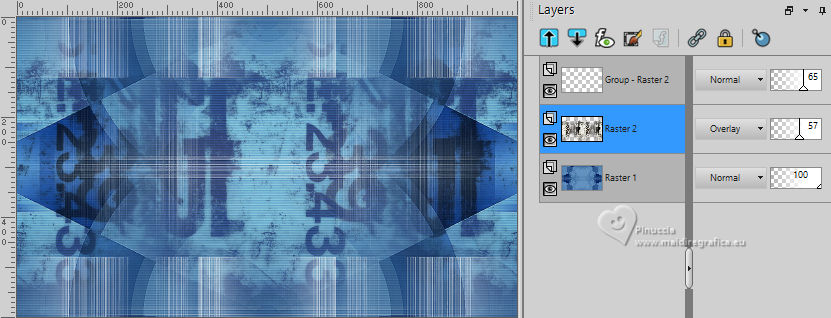
19. Layers>Merge>Merge visible.
20. Open EF-Exclusion_Deco_1 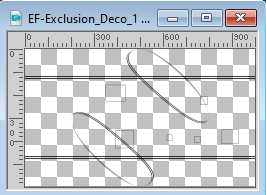
Edit>Copy.
Go back to your work and go to Edit>Paste as new layer.
21. Activate the layer Merged.
Open the tube mentali-misted3153 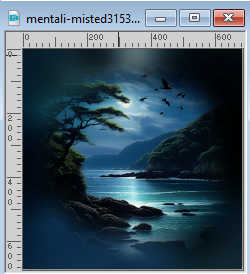
Edit>Copy.
Go back to your work and go to Edit>Paste as new layer.
It is at its place.
Note: I applied the mask 2020 on this tube to lighten its edges.
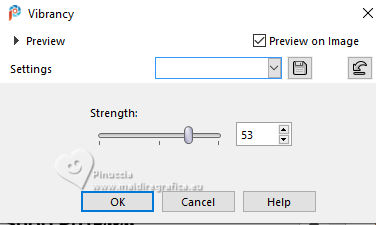
22. Adjust>Hue and Saturation>Vibrancy.
23. Activate your top layer.
Open the tube mentali-misted3168 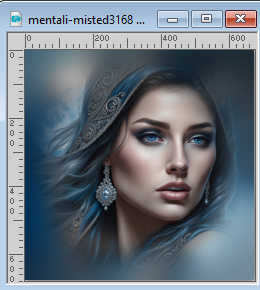
Edit>Copy.
Go back to your work and go to Edit>Paste as new layer.
Move  the tube to the right side. the tube to the right side.
Change the Blend Mode of this layer to Soft Light.
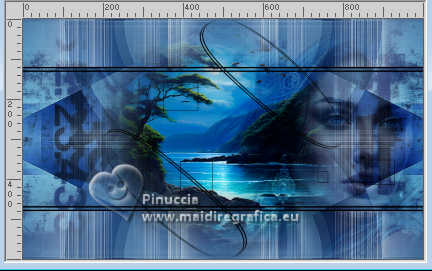
24. Open the tube Tube-373_EF 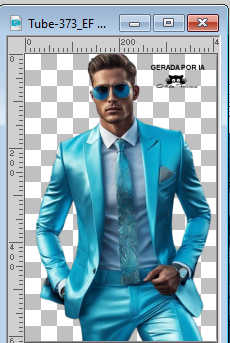
Erase the watermark and go to Edit>Copy.
Go back to your work and go to Edit>Paste as new layer.
Move  the tube to the left side. the tube to the left side.
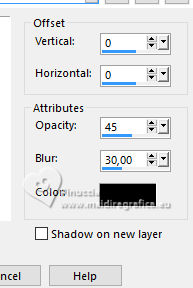
25. Effects>3D Effects>Drop Shadow, color #000000.
26. Open the tube EF-Exclusion_Texto 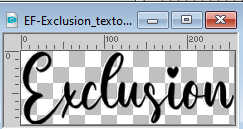
Edit>Copy.
Go back to your work and go to Edit>Paste as new layer.
Move  the tube to the right. the tube to the right.
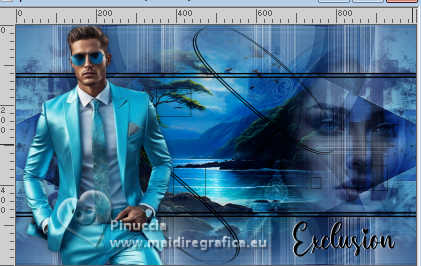
27. Layers>New Raster Layer.
Flood Fill  the layer with color white. the layer with color white.
Selections>Select All.
Selections>Modify>Contract - 2 pixels.
Press CANC on the keyboard 
28. Selections>Select All.
Image>Add borders, 43 pixels, symmetric, color white.
Selections>Invert.
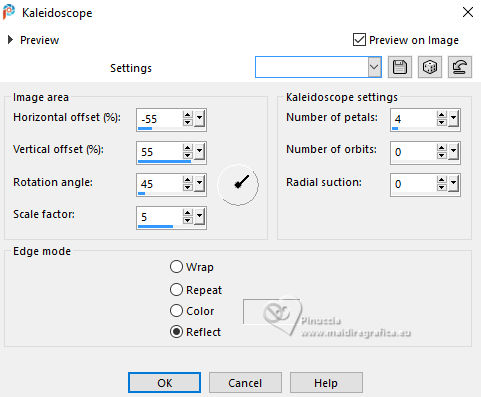
29. Effects>Reflection Effects>Kaleidoscope.
30. Adjust>Blur>Gaussian Blur - radius 50.

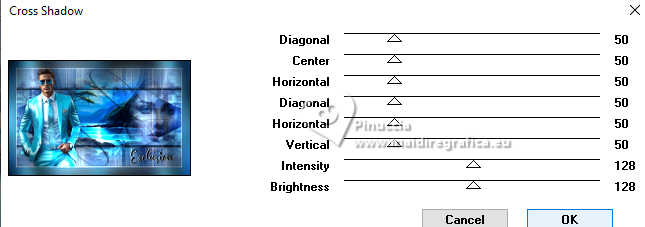
31. Effects>Plugins>Graphics Plus - Cross Shadow, default settings.
32. Effects>Texture Effects>Blinds, same settings.

Selections>Select None.
33. Open EF-Exclusion_Deco_2 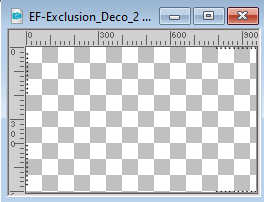
Edit>Copy.
Go back to your work and go to Edit>Paste as new layer.
K key to activate your Pick Tool 
Position X: 38,00 - Position Y: 39,00.

M key to deselect the Tool.
34. Sign your work.
Image>Add borders, 2 pixels, symmetric, color #ffffff.
Image>Add borders, 1 pixel, symmetric, color #000000.
35. Image>Resize, 1000 pixels width, resize all layers checked.
Save as jpg.
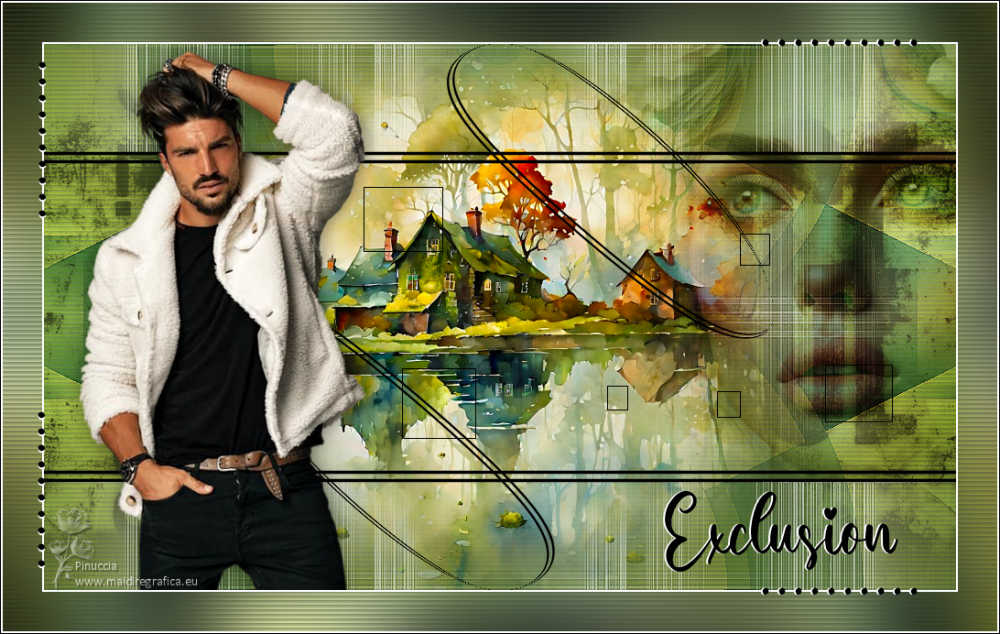
For the tubes of these versions thanks
Beatriz and Mentali
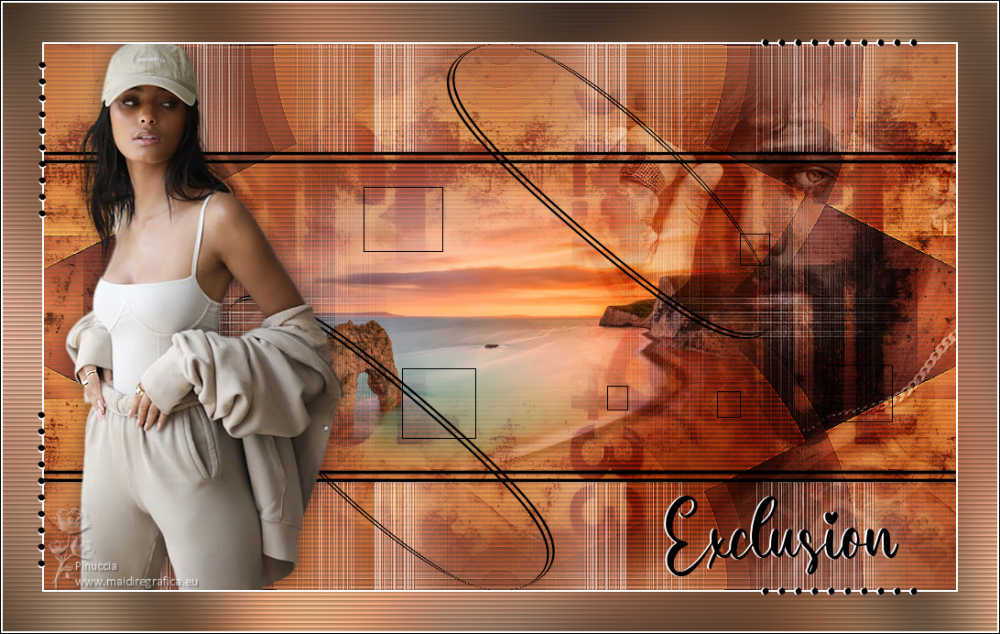
Beatriz, Luz Cristina and Mentali

If you have problems or doubts, or you find a not worked link,
or only for tell me that you enjoyed this tutorial, write to me.
8 October 2024

|


