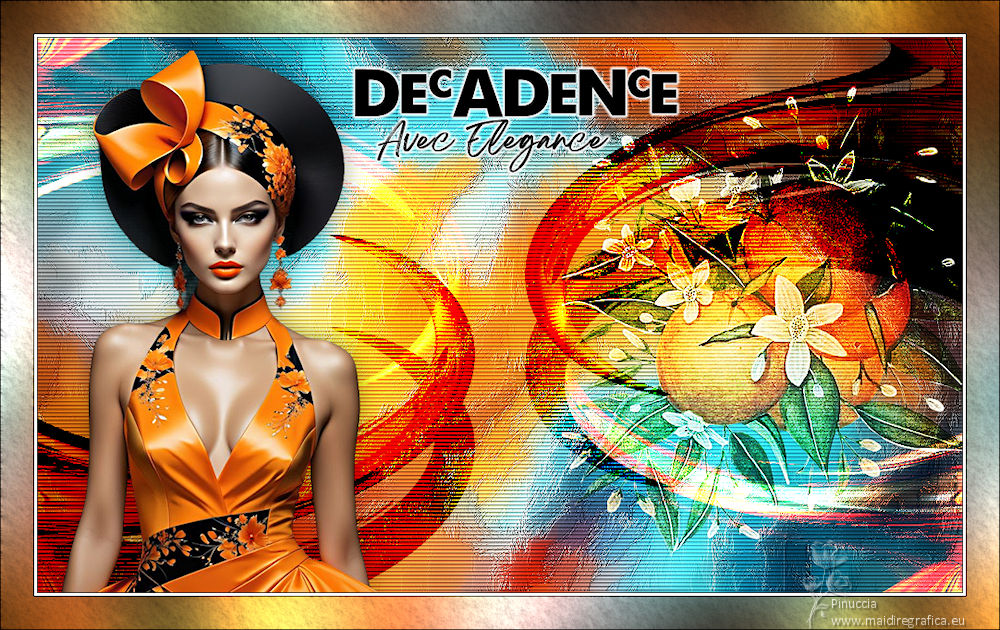
|
DECADENCE


Thanks Estela for your invitation to translate your tutorials into english

This tutorial, created with PSP2022, was translated with PspX7, but it can also be made using other versions of PSP.
Since version PSP X4, Image>Mirror was replaced with Image>Flip Horizontal,
and Image>Flip with Image>Flip Vertical, there are some variables.
In versions X5 and X6, the functions have been improved by making available the Objects menu.
In the latest version X7 command Image>Mirror and Image>Flip returned, but with new differences.
See my schedule here
 French Translation here French Translation here
 Your versions here Your versions here

For this tutorial, you will need:

Material by Estela Fonseca.
(The links of the tubemakers here).
*It is forbidden to remove the watermark from the supplied tubes, distribute or modify them,
in order to respect the work of the authors

consult, if necessary, my filter section here
Filters Unlimited 2.0 here
Graphics Plus - Cross Shadow here
Alien Skin Eye Candy 5 Impact - Gradient Glow here
AAA Filters - Textures here
Filters Graphics Plus can be used alone or imported into Filters Unlimited.
(How do, you see here)
If a plugin supplied appears with this icon  it must necessarily be imported into Unlimited it must necessarily be imported into Unlimited

You can change Blend Modes according to your colors.

Copy the mask in the Masks Folder.
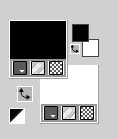
1. Set your foreground color to #000000,
and your background color to #ffffff.
2. Open a new transparent image 1000 x 600 pixels.
Selections>Select All.
3. Open the image Bkg-1 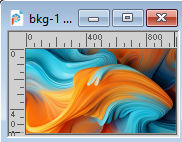
Edit>Copy.
Go back to your work and go to Edit>Paste into Selection.
Selections>Select None.
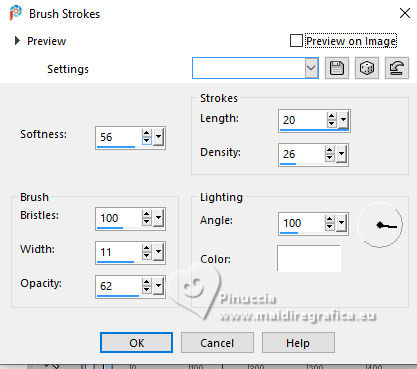
4. Effects>Art Media Effects>Brush Strokes.
5. Adjust>Softness>Soft Focus.
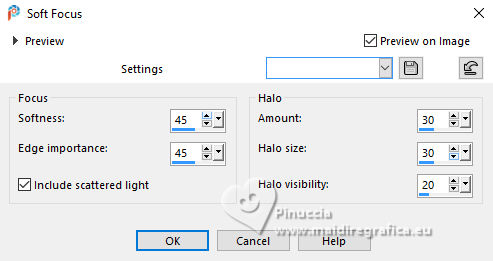
6. Effects>Texture Effects>Blinds - color #000000.
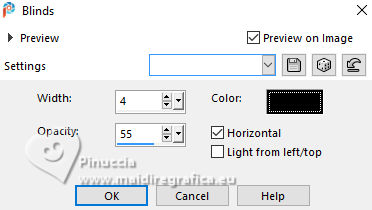
7. Layers>New Raster Layer.
Flood Fill  the layer with color #ffffff. the layer with color #ffffff.
Layers>Load/Save Mask>Load Mask from Disk.
Look for and load the mask Edge Hex 02
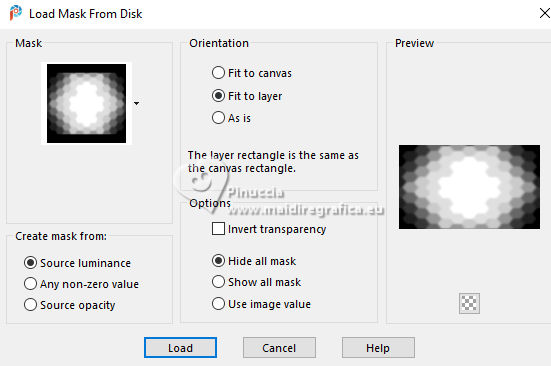
Adjust>Sharpness>Sharpen More.
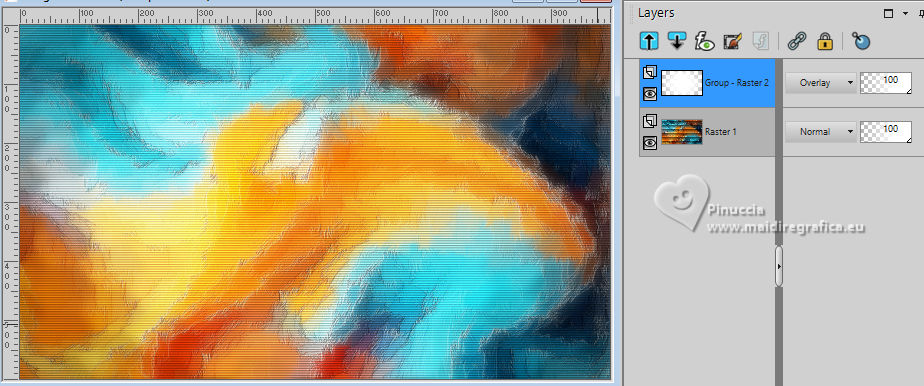
Layers>Merge>Merge Group.
Change the Blend Mode of this layer to Overlay.
8. Open the tube EF-Tube-14_06_2024 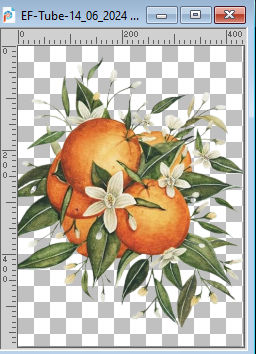
Edit>Copy.
Go back to your work and go to Edit>Paste as new layer.
Image>Mirror>Mirror Horizontal.
9. Objects>Align>Right.
Change the Blend Mode of this layer to Hard Light.
Note: in my second version I reduced the opacity to 77%
Adjust>Sharpness>Sharpen More.
10. Open the tube EF-Tube_Mulher_Generation_IA 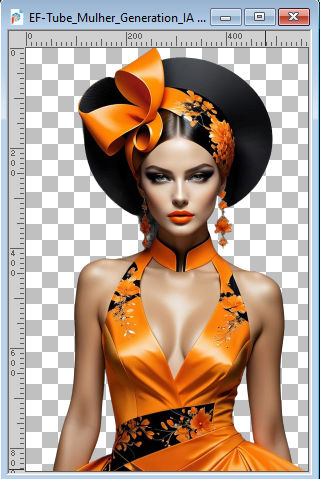
Edit>Copy.
Go back to your work and go to Edit>Paste as new layer.
Image>Resize, to 70%, resize all layers not checked.
11. Adjust>Sharpness>Unsharp Mask.
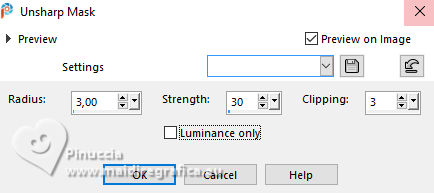
12. K key to activate your Pick Tool 
Position X: 24,00 - Position Y: 14,00.

13. Layers>Duplicate.
Close this layer and activate the layer below, Raster 3.
Effects>Distortion Effects>Twirl.
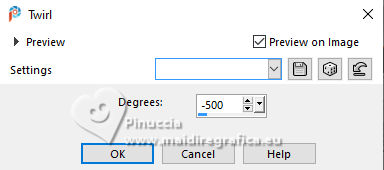
(This effect will look different depending on the image and its positioning.)
14. Place  as below. as below.

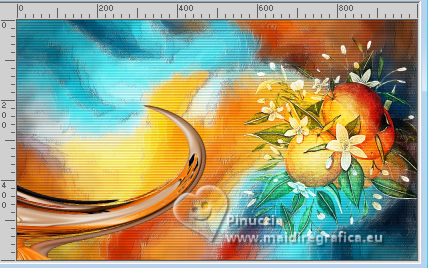
15. Selection Tool 
(no matter the type of selection, because with the custom selection your always get a rectangle)
clic on the Custom Selection 
and set the following settings.
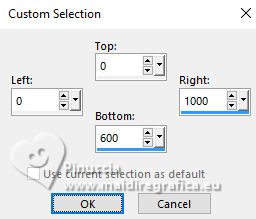
Image>Crop to Selection.
16. Layers>Duplicate.
Image>Mirror>Mirror Horizontal.
Image>Mirror>Miroir Vertical.
Layers>Merge>Merge Down.
17. Effects>3D Effects>Drop Shadow, color black.
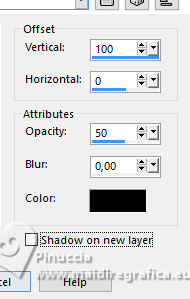
Change the Blend Mode of this layer to Burn.
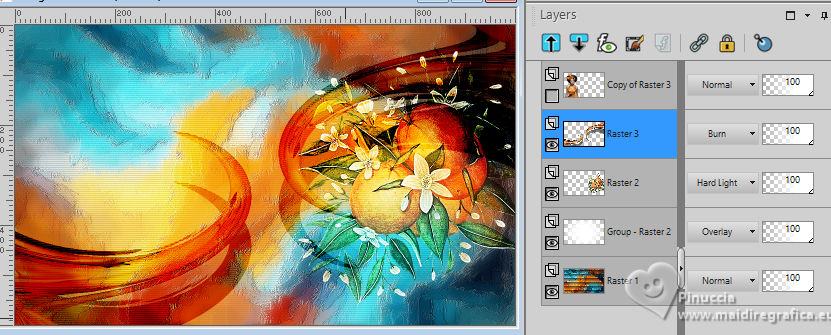
18. Layers>Duplicate.
Layers>Merge>Merge Down.
19. Layers>Duplicate.
Image>Mirror>Mirror Horizontal.
Change the Blend Mode of this layer to Dodge
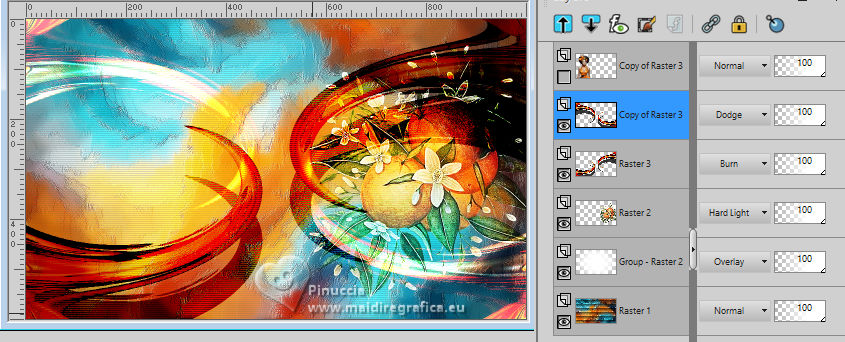
20. Open and activate your top layer.
Effects>3D Effects>Drop Shadow, color #000000.

21. Open the tube EF-Decadence_Texto 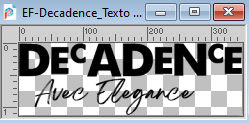
Edit>Copy.
Go back to your work and go to Edit>Paste as new layer.
Move  the text to your liking. the text to your liking.
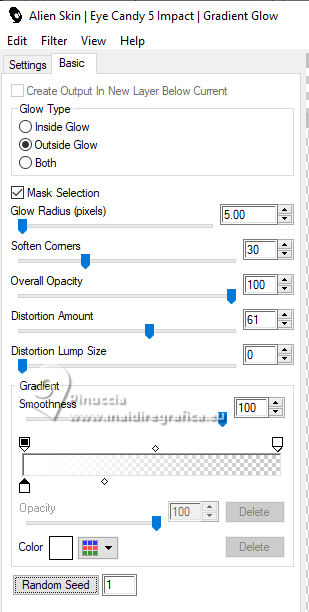
22. Effects>Plugins>Alien Skin Eye Candy 5 Impact - Gradient Glow.
23. Image>Add borders, 1 pixel, symmetric, color black.
Image>Add borders, 3 pixels, symmetric, color white.
Image>Add borders, 1 pixel, symmetric, color black.
24. Selections>Select All.
Image>Add borders, 35 pixels, symmetric, color white.
25. Effects>Image Effects>Seamless Tiling, default settings.

Selections>Invert.
Adjust>Blur>Gaussian Blur - radius 50

26. Effects>Plugins>Graphics Plus - Cross Shadow, default settings.
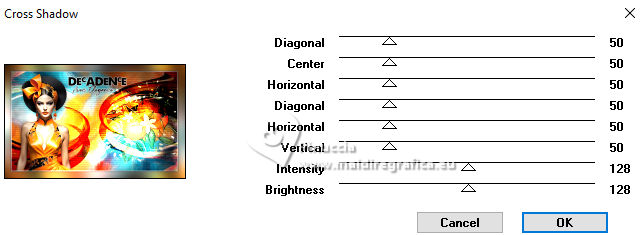
27. Effects>Plugins>AAA Filters - Textures
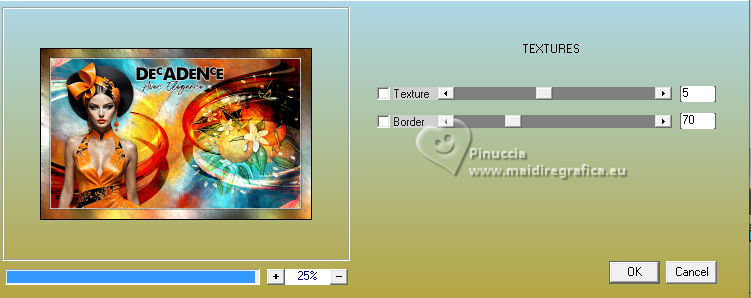
Selections>Select None.
28. Sign your work.
29. Image>Add borders, 1 pixel, symmetric, color black.
Image>Resize, 1000 pixels width, resize all layers checked.
Save as jpg.
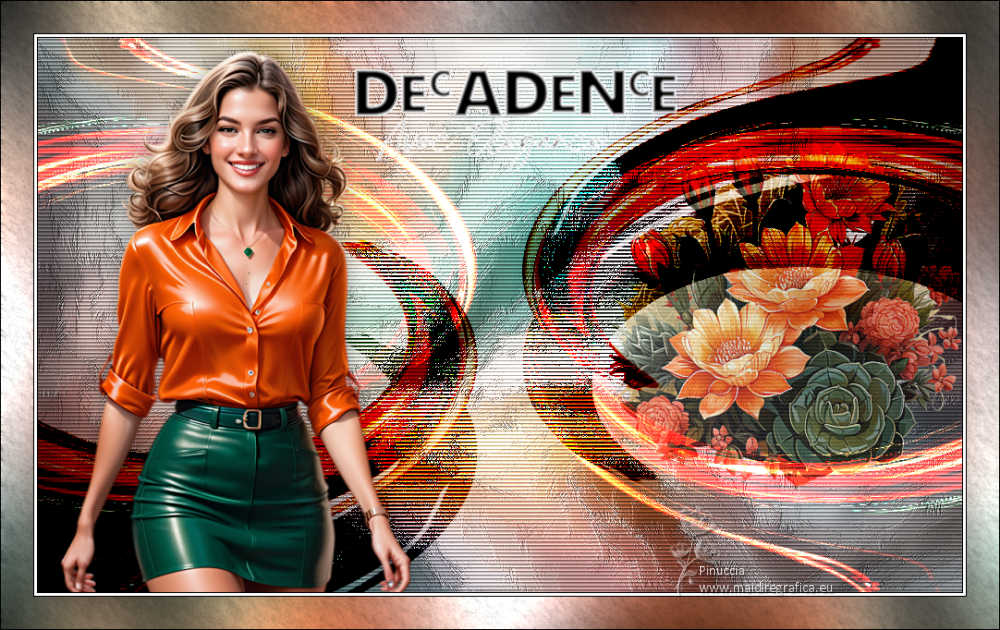
For the tubes of these versions thanks Kamil

If you have problems or doubts, or you find a not worked link,
or only for tell me that you enjoyed this tutorial, write to me.
29 September 2024

|

