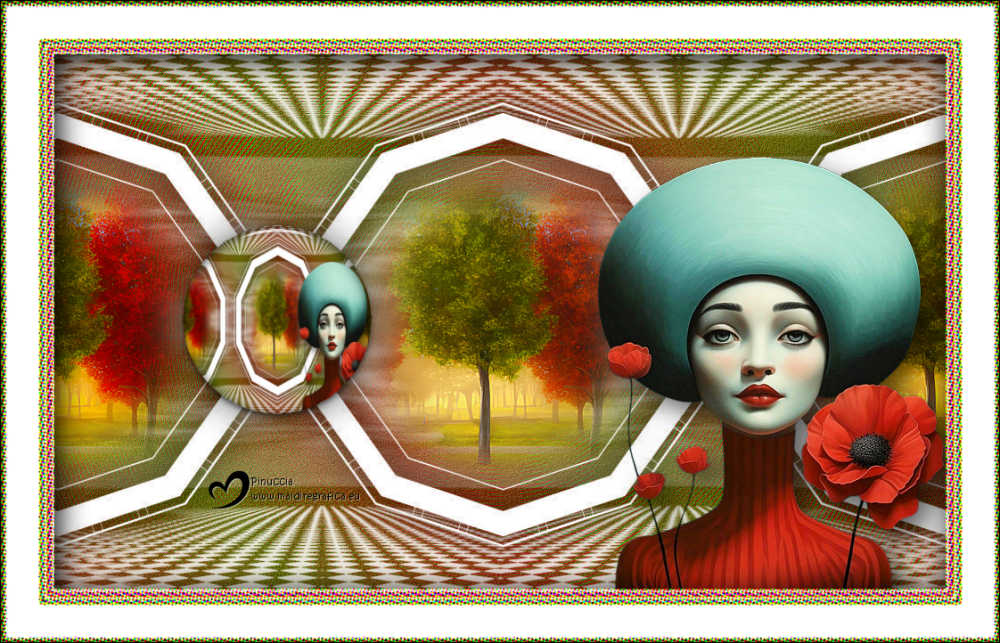
|
CANVAS


Thanks Estela for your invitation to translate your tutorials into english

This tutorial, created with PSP2022, was translated with PspX7, but it can also be made using other versions of PSP.
Since version PSP X4, Image>Mirror was replaced with Image>Flip Horizontal,
and Image>Flip with Image>Flip Vertical, there are some variables.
In versions X5 and X6, the functions have been improved by making available the Objects menu.
In the latest version X7 command Image>Mirror and Image>Flip returned, but with new differences.
See my schedule here
 French Translation here French Translation here
 Your versions here Your versions here

For this tutorial, you will need:

For the tubes thanks Renée and Mentali.
The rest of the material is by Estela Fonseca.
(The links of the tubemakers here).
*It is forbidden to remove the watermark from the supplied tubes, distribute or modify them,
in order to respect the work of the authors

consult, if necessary, my filter section here
Filters Unlimited 2.0 here
Neology - Blend Mosaic, Polar Waves here
FM Tile Tools - Blend Emboss here
Alien Skin Eye Candy 5 Impact - Perspective Shadow, Glass here
Simple - Left Right Wrap (bonus) here
Filters Neology and Simple can be used alone or imported into Filters Unlimited.
(How do, you see here)
If a plugin supplied appears with this icon  it must necessarily be imported into Unlimited it must necessarily be imported into Unlimited

You can change Blend Modes according to your colors.
In the newest versions of PSP, you don't find the foreground/background gradient (Corel_06_029).
You can use the gradients of the older versions.
The Gradient of CorelX here

Open the mask in PSP and minimize it with the rest of the material.
1. Set your foreground color to #9b310d,
and your background color to #646f03
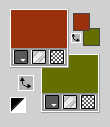
Set your foreground color to a Foreground/Background Gradient, style Linear.
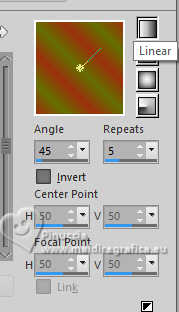
2. Open EF-Canvas_Alpha_Channel
Window>Duplicate or, on the keyboard, shift+D to make a copy.

Close the original.
The copy, that will be the basis of your work, is not empty,
but contains the selections saved to alpha channel.
Flood Fill  the transparent image with your Gradient. the transparent image with your Gradient.
3. Effects>Plugins>Filters Unlimited 2.0 - Neology - Blend Mosaic.
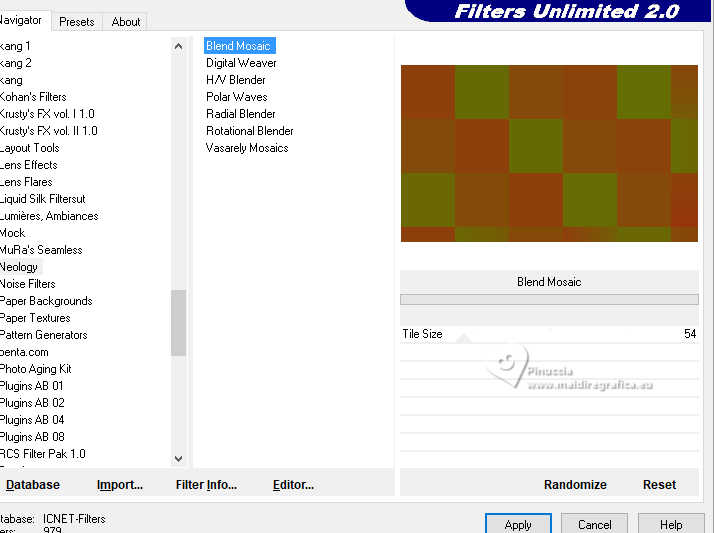
Effects>Plugins>Filters Unlimited 2.0 - Neology - Polar Waves, default settings.
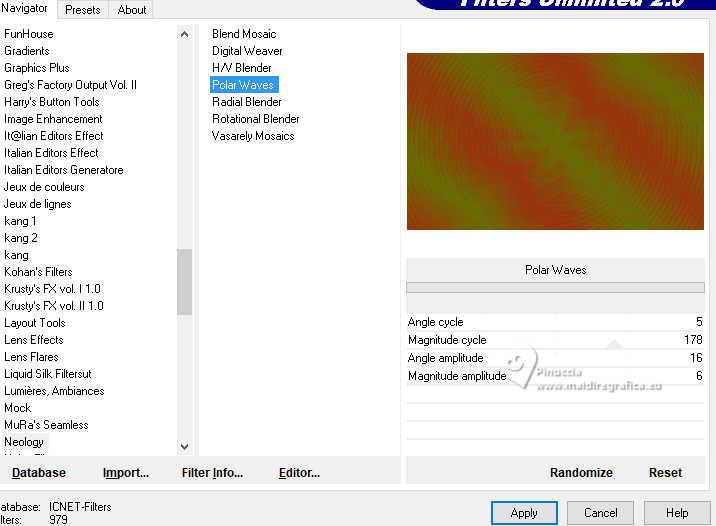
Effects>Edge Effects>Enhance.
4. Adjust>Add/Remove Noise>Add Noise.
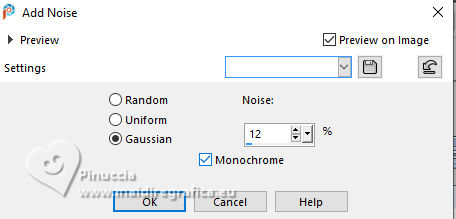
5. Effects>Plugins>FM Tile Tools - Blend Emboss, default settings.

6. Open EF-Canvas_Deco-1 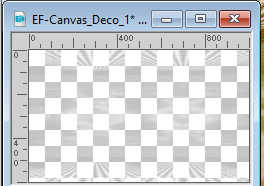
Edit>Copy.
Go back to your work and go to Edit>Paste as new layer.
Change the Blend Mode of this layer to Screen and reduce the opacity to 87%.
7. Set your foreground color to white #ffffff.
Layers>New Raster Layer.
Flood Fill  the layer the color white. the layer the color white.
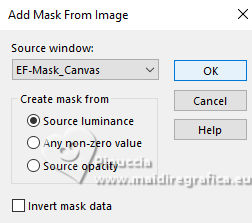
Layers>New Mask layer>From image
Open the menu under the source window and you'll see all the files open.
Select the mask EF-Mask_Canvas.
Layers>Duplicate.
Layers>Merge>Merge Group.
8. Layers>New Raster Layer.
Selections>Load/Save Selection>Load Selection from Alpha Channel.
The selection Selection #1 is immediately available. You just have to click Load.
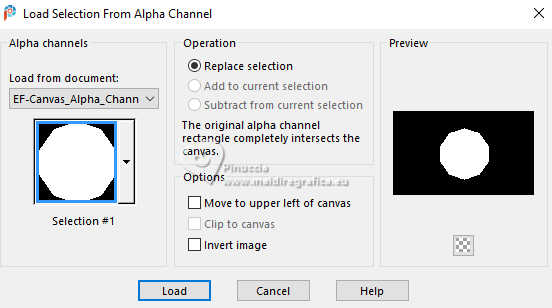
9. Open the tube mentali-misted3066 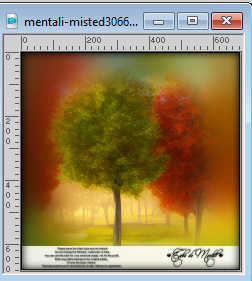
Edit>Copy.
Go back to your work and go to Edit>Paste into Selection.
Selections>Select None.
Adjust>Sharpness>Sharpen More.
Layers>Duplicate.
10. Effects>Plugins>Simple - Left Right Wrap.
This Effect works without window; result
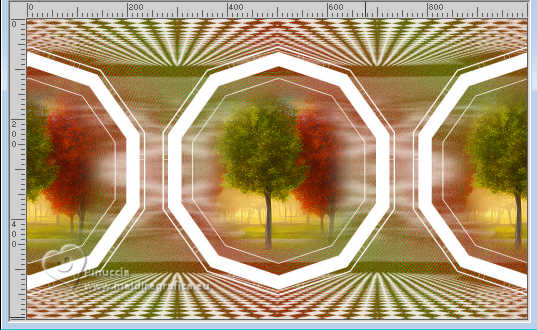
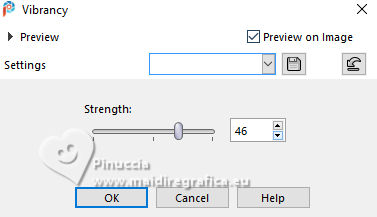
12. Adjust>Hue and Saturation>Vibrancy.
13. Activate the mask's layer (Group-Raster 3).
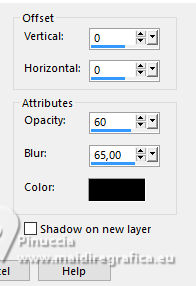
Effects>3D Effects>Drop Shadow, color #000000.
14. Activate your top layer.
Open the tube Renee-TUBEs-Aout-2024-52 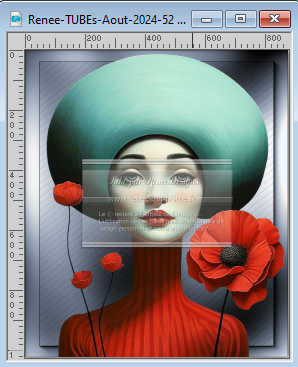
Edit>Copy.
Go back to your work and go to Edit>Paste as new layer.
Image>Resize, 2 times to 70%, resize all layers not checked.
Adjust>Sharpness>Sharpen.
Move  the tube to the right side. the tube to the right side.
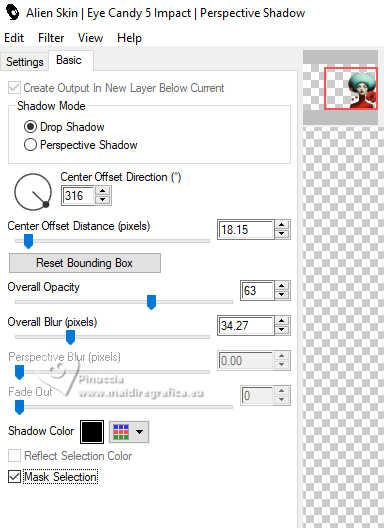
15. Effects>Plugins>Alien Skin Eye Candy 5 Impact - Perspective Shadow
Preset Drop Shadow Blurry with these settings.
16. Layers>Merge>Merge visible.
17. Edit>Copy
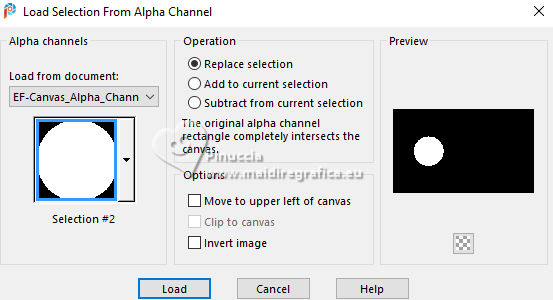
18. Selections>Load/Save Selection>Load Selection from Alpha Channel.
Open the selections menu and load the selection Selection #2
19. Layers>New Raster Layer.
Edit>Paste into Selection
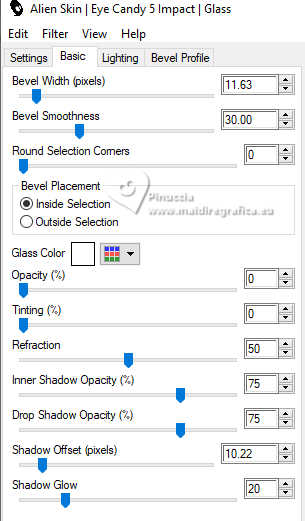
20. Effects>Plugins>Alien Skin Eye Candy 5 Impact - Glass.
Selections>Select None.
21. Effects>3D Effects>Drop Shadow, color #000000.

22. Set again your foreground color to #9b310d.

Image>Add borders, 4 pixels, symmetric, color white #ffffff.
Image>Add borders, 4 pixels, symmetric, foreground color #9b300c.
Image>Add borders, 4 pixels, symmetric, colore white #ffffff.
Image>Add borders, 4 pixels, symmetric, background color #687200.
Image>Add borders, 40 pixels, symmetric, color white #ffffff.
Image>Add borders, 4 pixels, symmetric, background color #687200.
23. Selections>Select All.
Selections>Modify>Contract - 60 pixels.
24. Layers>New Raster Layer.
Effects>3D Effects>Cutout.

25. Layers>Merge>Merge Down.
26. Selections>Invert.
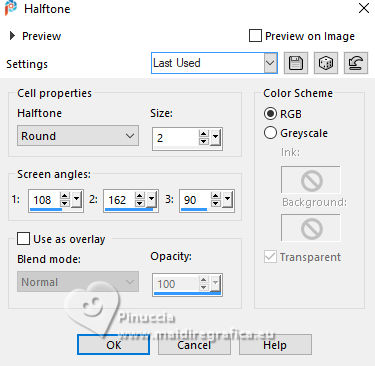
Effects>Artistic>Halftone.
Selections>Select None.
27. Sign your work.
Image>Add borders, 1 pixel, symmetric, color black.
Image>Resize, 1000 pixels width, resize all layers checked.
Save as jpg.
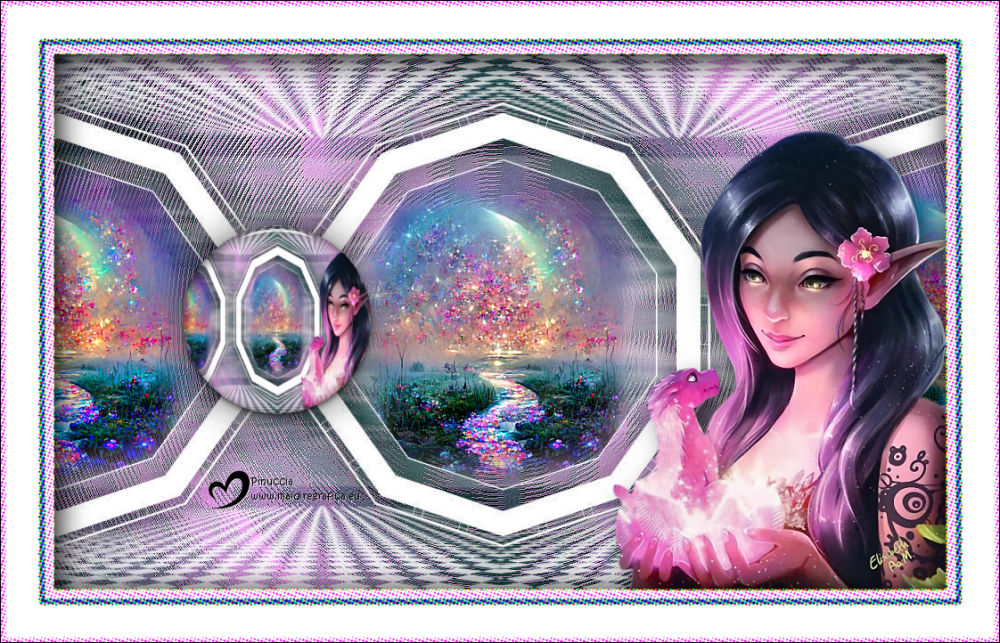
For the tubes of this version thanks Silvie

If you have problems or doubts, or you find a not worked link,
or only for tell me that you enjoyed this tutorial, write to me.
25 October 2024

|

