|
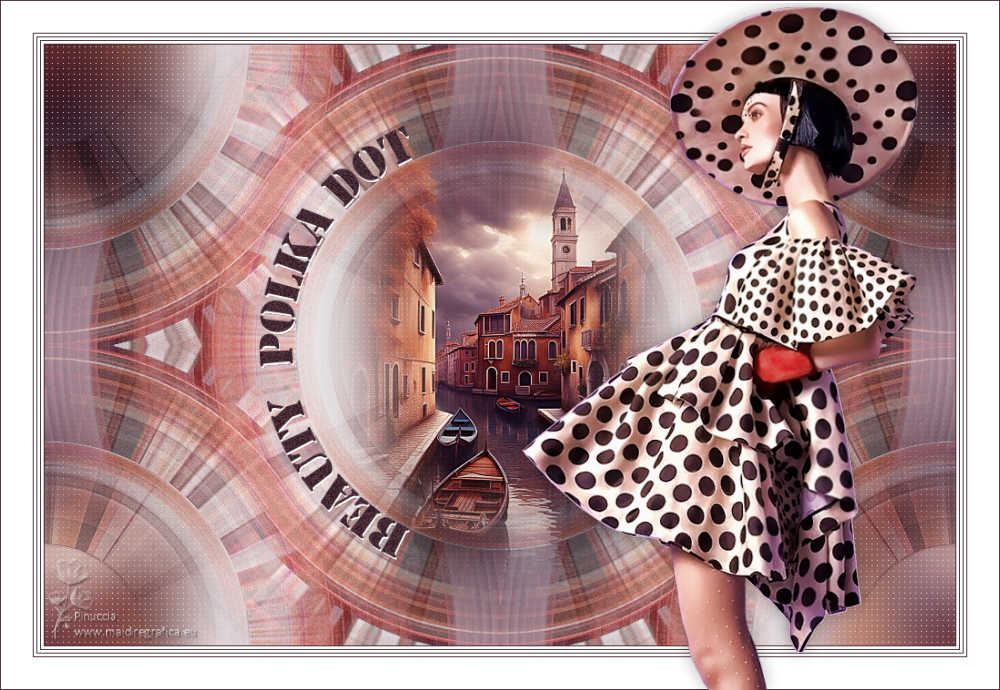
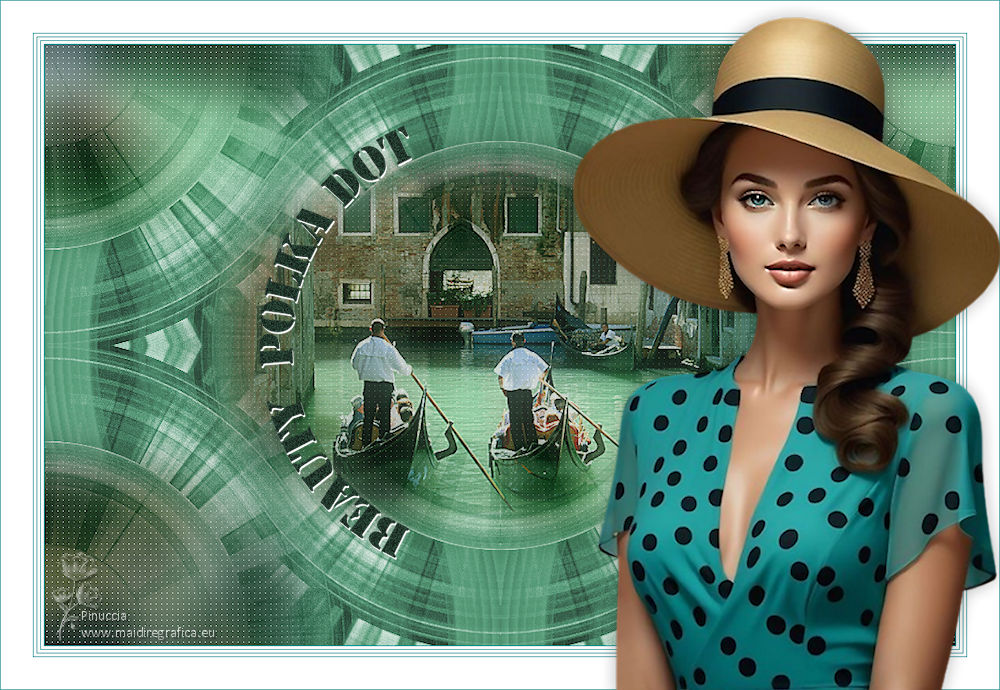
BEAUTY POLKA DOT


Thanks Estela for your invitation to translate your tutorials into english

This tutorial, created with PSP2022, was translated with PspX7, but it can also be made using other versions of PSP.
Since version PSP X4, Image>Mirror was replaced with Image>Flip Horizontal,
and Image>Flip with Image>Flip Vertical, there are some variables.
In versions X5 and X6, the functions have been improved by making available the Objects menu.
In the latest version X7 command Image>Mirror and Image>Flip returned, but with new differences.
See my schedule here
 French Translation here French Translation here
 Your versions here Your versions here

For this tutorial, you will need:

Thanks for the tube Cibi-Bijoux
The rest of the material is by Estela Fonseca.
(The links of the tubemakers here).
*It is forbidden to remove the watermark from the supplied tubes, distribute or modify them,
in order to respect the work of the authors

consult, if necessary, my filter section here
Filters Unlimited 2.0 here
&<Bkg Designer sf10I> 4 Way average, Corner Half Wrap (à importer dans Unlimited) here
Toadies - Weaver here
Mura's Meister - Pole Transform here
Filter Factory Gallery F - Instant Tile, Sector Mosaic here
Filter Factory Gallery H - Ripple Mirror here
Adjust - Variations here
Carolaine and Sensibility - CS-LDots here
Filters Factory Gallery and Toadies can be used alone or imported into Filters Unlimited.
(How do, you see here)
If a plugin supplied appears with this icon  it must necessarily be imported into Unlimited it must necessarily be imported into Unlimited

You can change Blend Modes according to your colors.
In the newest versions of PSP, you don't find the foreground/background gradient (Corel_06_029).
You can use the gradients of the older versions.
The Gradient of CorelX here

1. Set your foreground color to #452935,
and your background color to #ffffff.
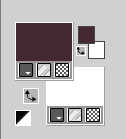
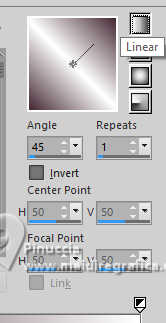
Set your foreground color to a Foreground/Background Graident, style Linear.
2. Open a new transparent image 1000 x 660 pixels.
Flood Fill  the transparent image with your Gradient. the transparent image with your Gradient.
3. Open the tube Beauty_polka_dot_CibiBijoux 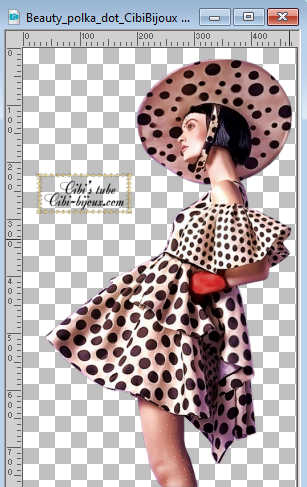
Erase the watermark and go to Edit>Copy.
Minimize the tube.
Go back to your work and go to Edit>Paste as new layer.
Note: Use this tube, otherwise the effect will be different from mine (see my second version)
colorize it using the colors from your tube
4. Image>Free Rotate - 90 degrees to right.

5. Effects>Image Effects>Seamless Tiling, Side by Side.

6. Effects>Plugins>Toadies - Weaver, default settings.
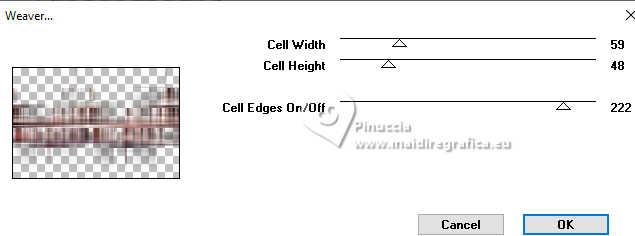
Adjust>Sharpness>Sharpen More.
7. Layers>Duplicate.
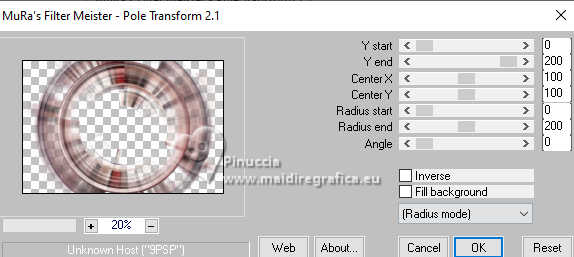
Effects>Plugins>Mura's Meister - Pole Transform.
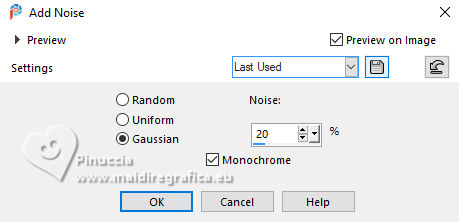
8. Adjust>Add/Remove Noise>Add Noise.
9. Activate the layer Raster 2.
Effects>Plugins>Filters Unlimited 2.0 - Filter Factory Gallery F - Instant Tile
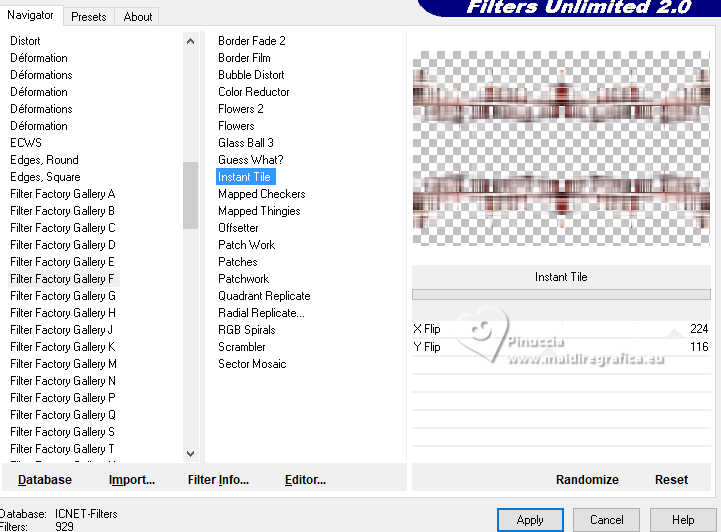
10. Adjust>Fisheye Distortion Correction.
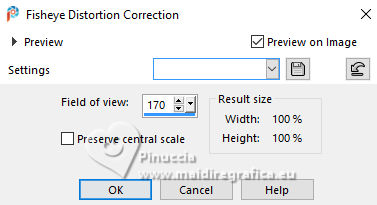
11. Effects>Plugins>Filters Unlimited 2.0 - Filter Factory Gallery F - Sector Mosaic.
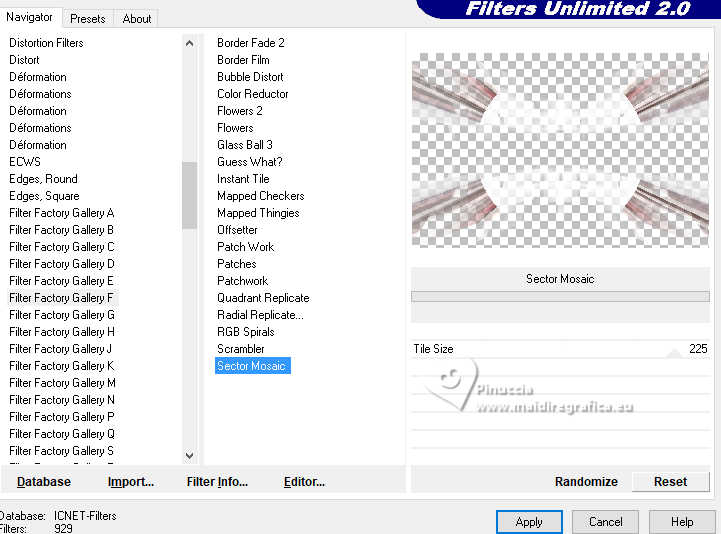
Change the Blend Mode of this layer to Burn.
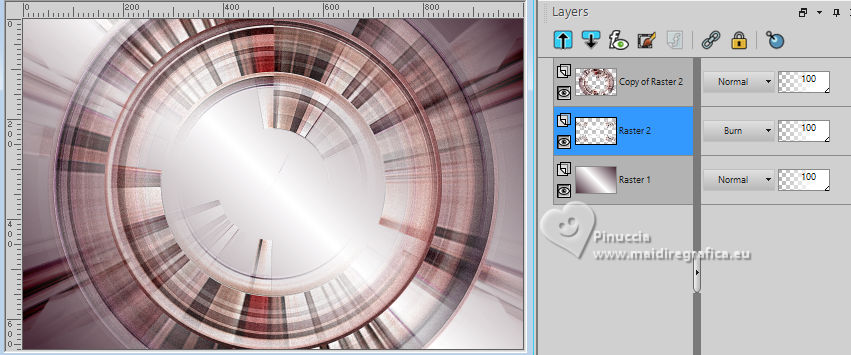
12. Activate your bottom layer, Raster 1.
Effects>Plugins>Filters Unlimited 2.0 - Filter Factory Gallery H - Ripple Mirror.
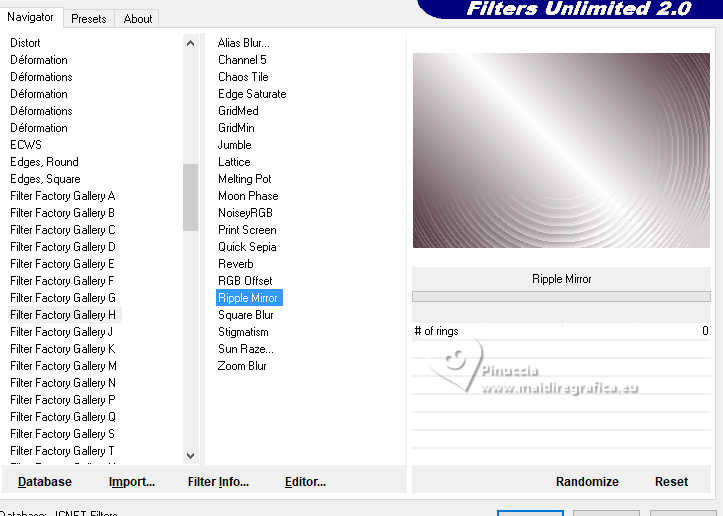
13. Layers>Duplicate.
Image>Mirror>Mirror Horizontal.
Change the Blend Mode of this layer to Hard Light.
14. Activate your top layer.
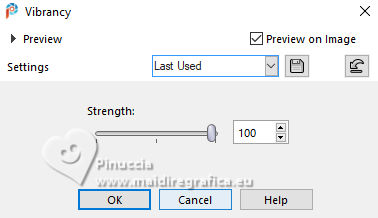
Adjust>Hue and Saturation>Vibrancy.
15. Effects>Reflection Effects>Rotating Mirror, default settings.

Change the Blend Mode of this layer to Multiply.
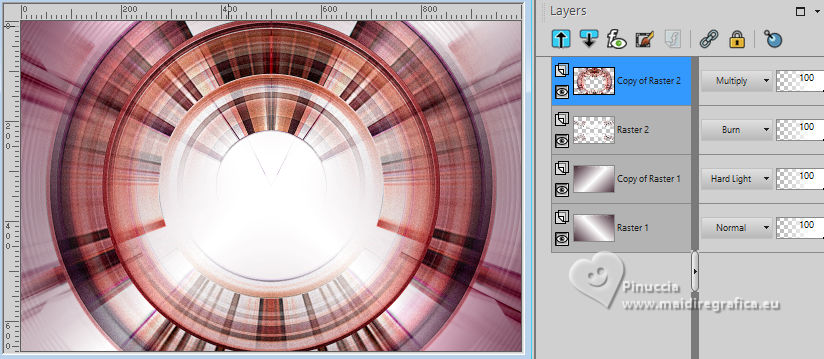
16. Layers>Merge>Merge visible.
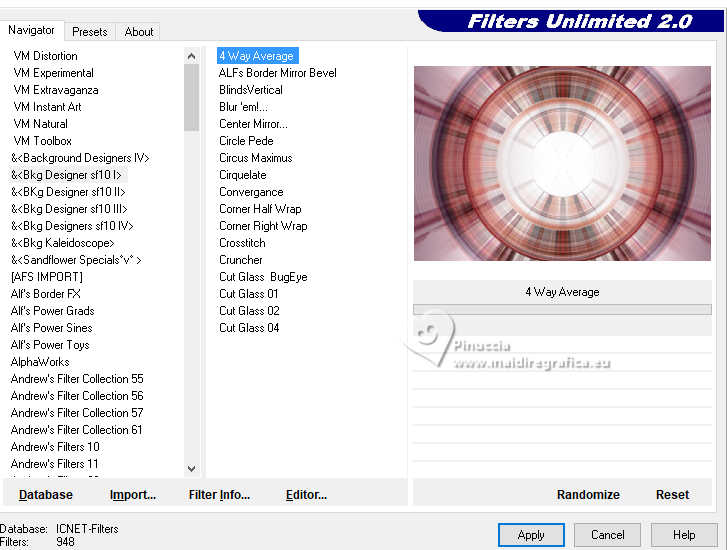
17. Effects>Plugins>Filters Unlimited 2.0 - &<Bkg Designer sf10I> - 4Way Average
18. Layers>Duplicate.
Effects>Plugins>Filters Unlimited 2.0 - &<Bkg Designer sf10I> - Corner Half Wrap.
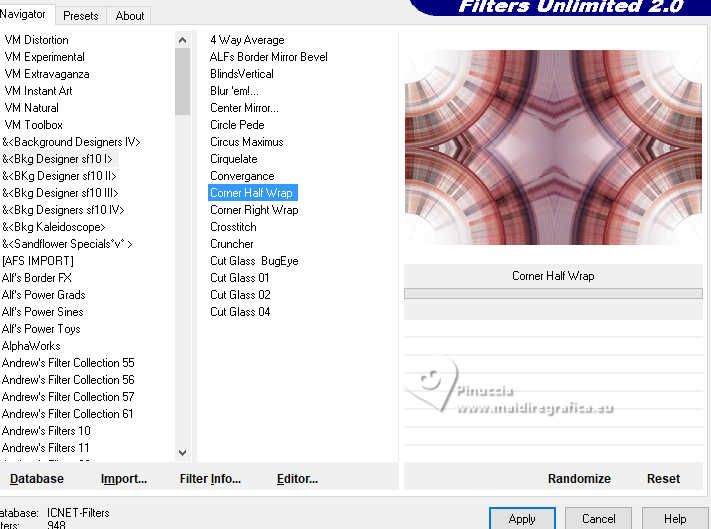
Change the Blend Mode of this layer to Lighten and reduce the opacity to 89%.
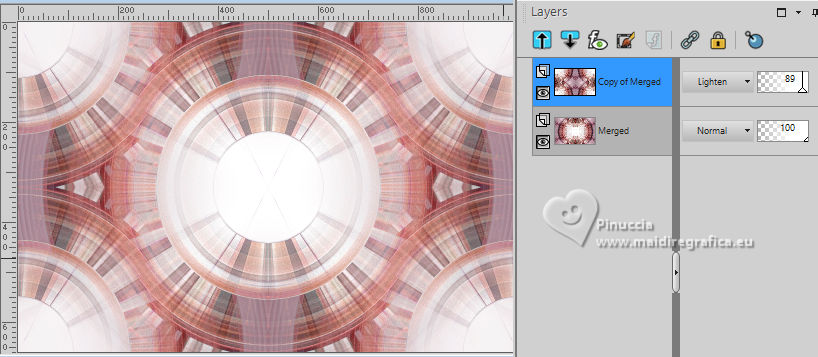
19. Adjust>Sharpness>Sharpen.
Layers>Merge>Merge visible.
20. Open the tube Tube_300_EF 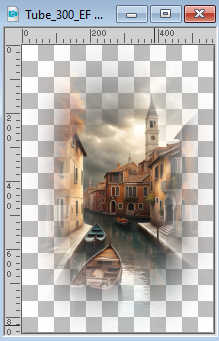
Edit>Copy.
Go back to your work and go to Edit>Paste as new layer.
Image>Resize, to 70%, resize all layers not checked.
Adjust>Sharpness>Sharpen More.
21. Effects>Plugins>Adjust - Variations
un click on Original and 1 click on More Magenta.
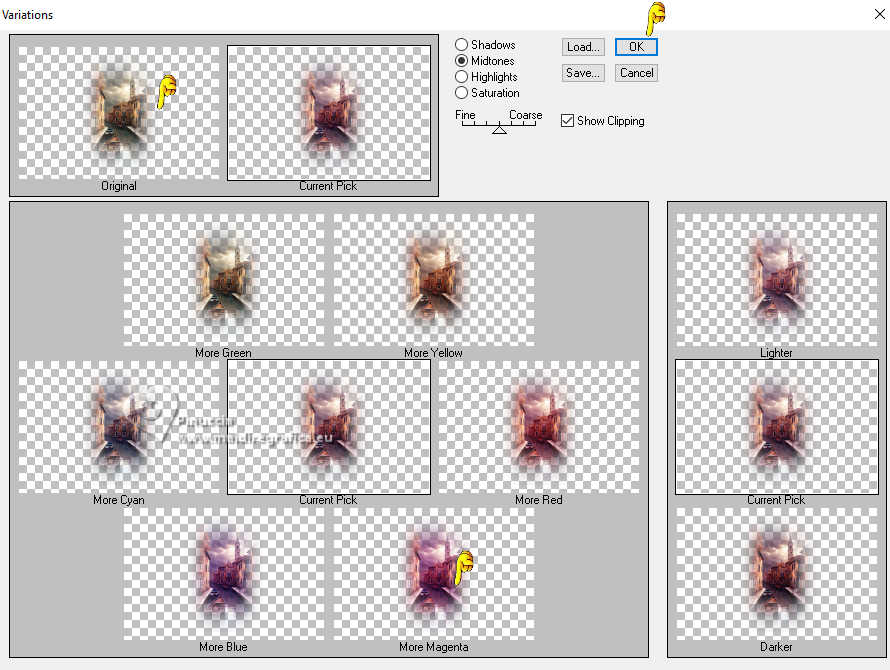
Layers>Duplicate.
22. Activate the layer Raster 1.
Effects>Image Effects>Seamless Tiling, default settings.

23. Adjust>Blur>Gaussian Blur - radius 25.

24. Effects>Plugins>Carolaine and Sensibility - CS-LDots.
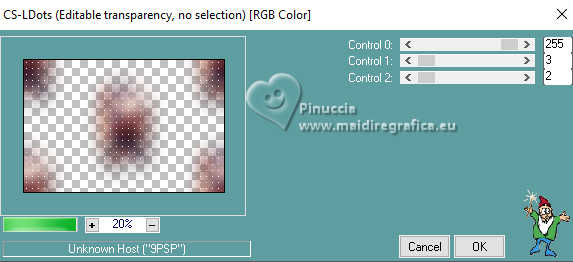
Change the Blend Mode of this layer to Multiply.
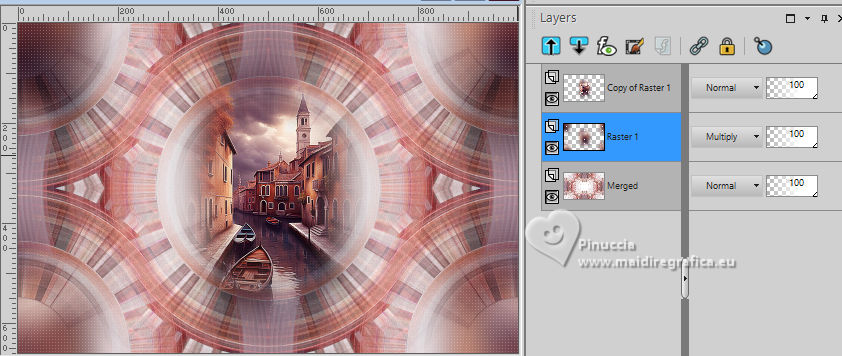
25. Layers>Merge>Merge All.
26. Image>Add borders, 1 pixel, symmetric, foreground color.
Image>Add borders, 3 pixels, symmetric, background color.
Image>Add borders, 1 pixel, symmetric, foreground color.
Image>Add borders, 3 pixels, symmetric, background color.
Image>Add borders, 1 pixel, symmetric, foreground color.
Image>Add borders, 3 pixels, symmetric, background color.
27. Image>Add borders, 1 pixel, symmetric, foreground color.
Image>Add borders, 35 pixels, symmetric, background color.
Image>Add borders, 1 pixel, symmetric, foreground color.
28. Open the text EF-Beaauty_Polka_Dot_Texto 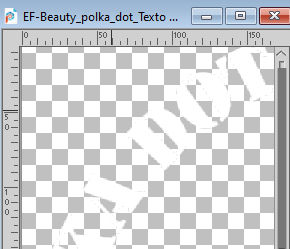
Edit>Copy.
Go back to your work and go to Edit>Paste as new layer.
K key to activate your Pick Tool 
Position X: 285,00 - Position Y: 139,00

29. Layers>Duplicate.
Activate your Color Changer Tool 
Flood Fill with your foreground color.
30. Adjust>Add/Remove Nove>Add Noise, same settings.

Position X: 284,00 - Position Y: 137,00

31. Activate again the tube Beauty_polka_dot_CibiBijoux and go to Edit>Copy.
Go back to your work and go to Edit>Paste as new layer.
Move  the tube to the right. the tube to the right.
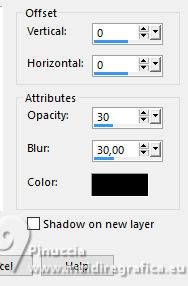
32. Effects>3D Effects>Drop Shadow, color #000000.
33. Sign your work.
Layers>Merge>Merge All.
34. Image>Resize, 1000 pixels width, resize all layers checked.
Save as jpg.
For the tubes of these versions thanks
Luz Cristina
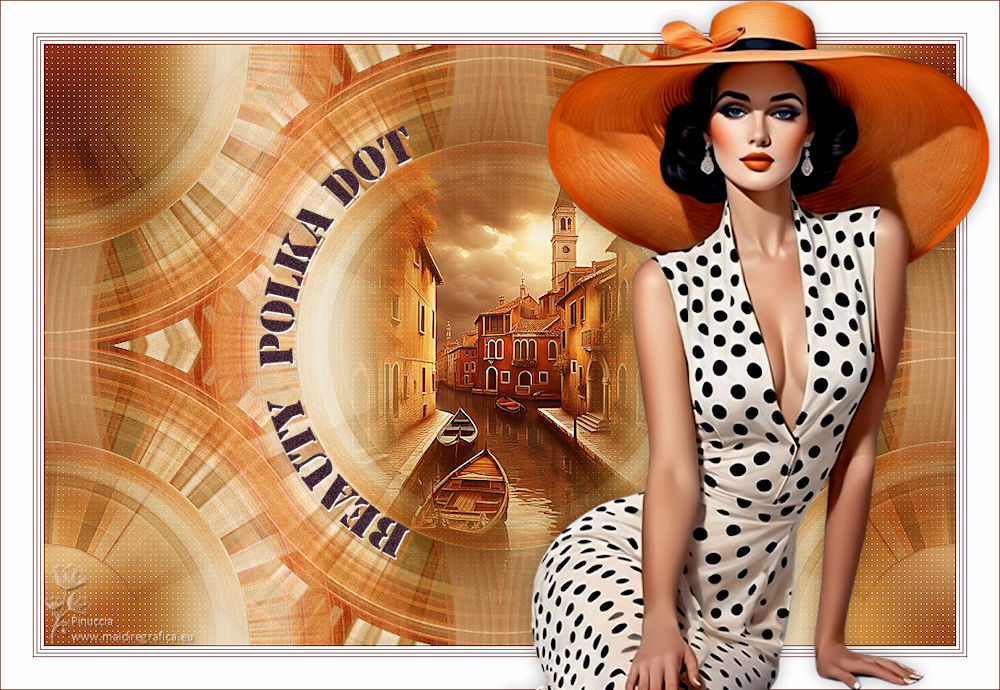
Wieske and Mentali

If you have problems or doubts, or you find a not worked link,
or only for tell me that you enjoyed this tutorial, write to me.
16 September 2024

|

