|
ARYA


Thanks Estela for your invitation to translate your tutorials into english

This tutorial, created with PSP2022, was translated with PspX7, but it can also be made using other versions of PSP.
Since version PSP X4, Image>Mirror was replaced with Image>Flip Horizontal,
and Image>Flip with Image>Flip Vertical, there are some variables.
In versions X5 and X6, the functions have been improved by making available the Objects menu.
In the latest version X7 command Image>Mirror and Image>Flip returned, but with new differences.
See my schedule here
 French Translation here French Translation here
 Your versions here Your versions here

For this tutorial, you will need:

Material is by Estela Fonseca.
(The links of the tubemakers here).
*It is forbidden to remove the watermark from the supplied tubes, distribute or modify them,
in order to respect the work of the authors

consult, if necessary, my filter section here
Filters Unlimited 2.0 here
Italian Editors - Effetto Fantasma here
AP Lines - Lines SilverLining here
Graphics Plus - Horizontal Mirror here
Mura's Meister - Perspective Tiling here
AAA Frames - Foto Frame here
Adjust - Variations here
Filters Italian Editors and Graphics Plus can be used alone or imported into Filters Unlimited.
(How do, you see here)
If a plugin supplied appears with this icon  it must necessarily be imported into Unlimited it must necessarily be imported into Unlimited

You can change Blend Modes according to your colors.
In the newest versions of PSP, you don't find the foreground/background gradient (Corel_06_029).
You can use the gradients of the older versions.
The Gradient of CorelX here

1. Set your foreground color to #494845.
and your background color to #ffecba
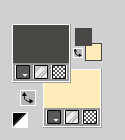
Set your foreground color to a Foreground/Background Gradient, style Rectangular.
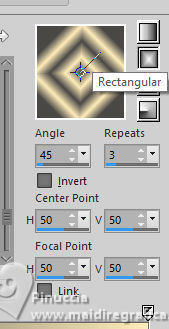
2. Open a new transparent image 1000 x 600 pixels.
Flood Fill  the transparent image with your Gradient. the transparent image with your Gradient.
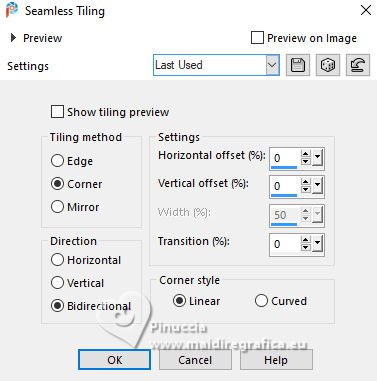
3. Effects>Image Effects>Seamless Tiling, default settings.

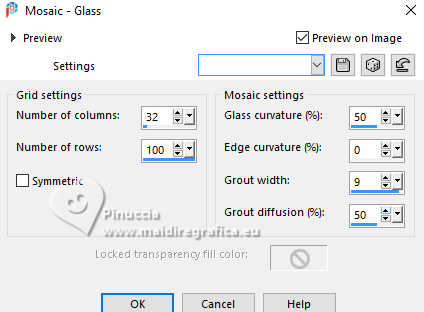
4. Effects>Texture Effects>Mosaic Glass.
5. Adjust>Softness>Soft focus, default settings

Layers>Duplicate.
Image>Resize, to 70%, resize all layers not checked.
Adjust>Sharpness>Sharpen.
6. Layers>Duplicate.
Image>Resize, to 70%, resize all layers not checked.
7. Layers>Merge>Merge Visible.
8. Effects>Image Effects>Seamless Tiling.
9. Adjust>Brightness and Contrast>Brightness and Contrast.
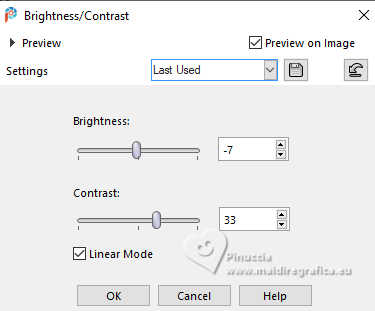
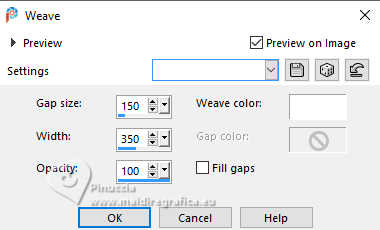
10. Effects>Texture Effects>Weave
weave color: #ffffff.
11. Effects>Plugins>Italian Editors - Effetto Fantasma

12. Effects>Plugins>AP Lines - Lines SilverLining.
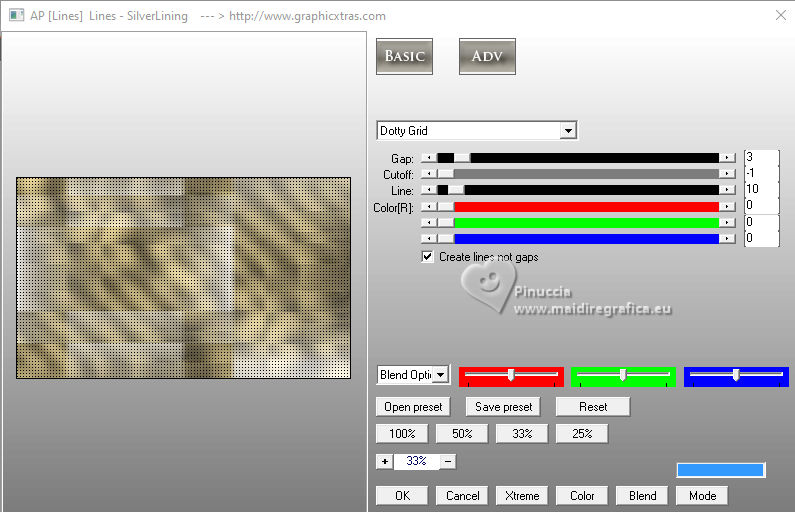
13. Effects>Plugins>Graphics Plus - Horizontal Mirror, default settings.
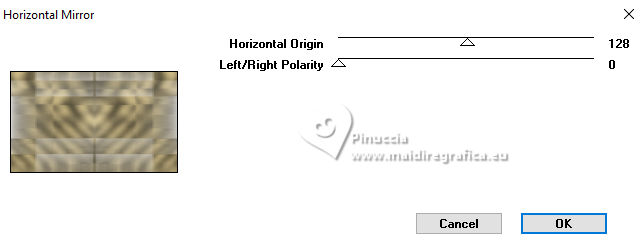
14. Layers>Duplicate.
Change the Blend Mode of this layer to Hard Layer.
Layers>Merge>Merge Down.
Layers>Duplicate.
15. Effects>Plugins>Mura's Meister - Perspective Tiling.
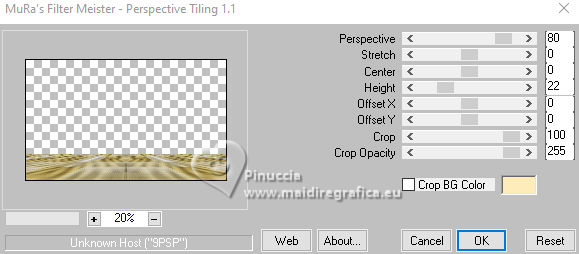
16. Activate your Magic Wand Tool  , tolerance 0 and feather 60. , tolerance 0 and feather 60.

Click on the transparent part to select it.
Press 4 times CANC on the keyboard 
Selections>Select None.
17. Layers>Duplicate.
Change the Blend Mode of this layer to Multiply.
Layers>Merge>Merge Down.
18. Layers>Duplicate.
Image>Mirror>Mirror Vertical (Image>Flip).
Layers>Merge>Merge Down.
19. Layers>Duplicate.
Activate the layer below (Copy of Merged).
Effects>Reflection Image>Rotating Mirror.
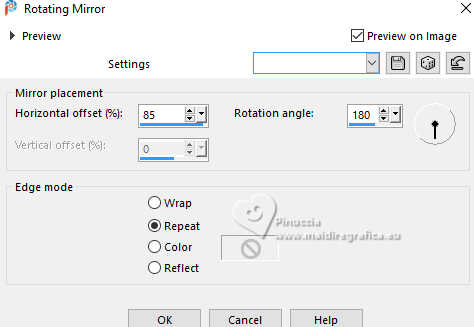
20. Effects>Reflection Image>Rotating Mirror, default settings.

21. Activate your bottom layer, Merged.
Effects>Geometric Effefts>Skew.
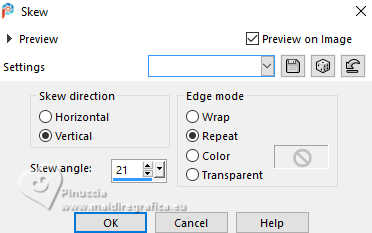
22. Effects>Reflection Image>Rotating Mirror.
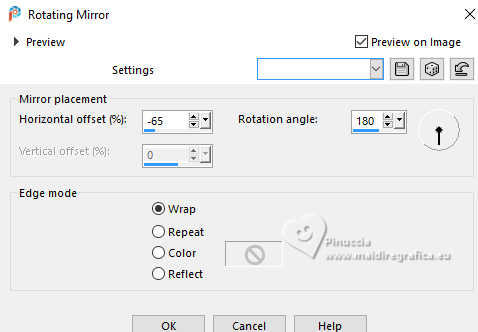
23. Effects>Reflection Image>Rotating Mirror.

24. Activate the layer Raster 1.
Selection Tool 
(no matter the type of selection, because with the custom selection your always get a rectangle)
clic on the Custom Selection 
and set the following settings.
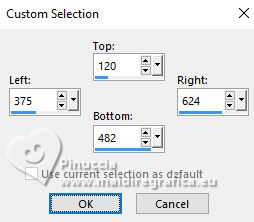
Selections>Promote Selection to Layer.
25. Effects>Plugins>AAA Frames - Foto Frame.
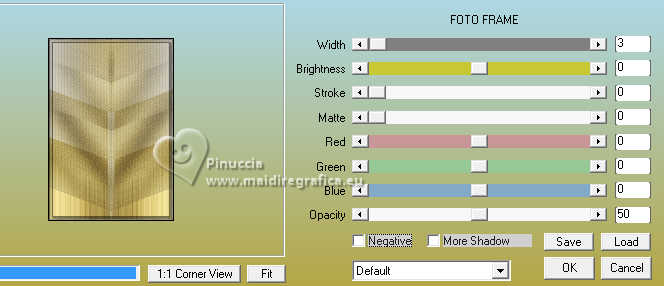
26. Layers>New Raster Layer.
Open the woman tube EF-Tube_Personagem 
Edit>Copy.
Minimize the tube.
Go back to your work and go to Edit>Paste into Selection.
27. Adjust>Sharpness>Unsharp Mask.
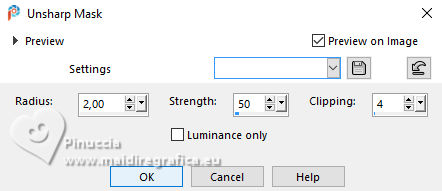
Selections>Select None.
28. Effects>3D Effects>Drop Shadow, color #000000.

Layers>Merge>Merge Down.
29. Activate the layer Merged.
Open the tube AS Tube int-441 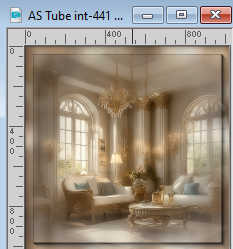
Edit>Copy.
Go back to your work and go to Edit>Paste as new layer.
Image>Resize, to 55%, resize all layers not checked.
Move  the tube to the left side. the tube to the left side.
30. Layers>Duplicate.
Image>Mirror>Mirror horizontal (Image>Mirror).
Layers>Merge>Merge Down.
31. Effects>Plugins>Adjust - Variations
1 click on Original and 1 click on More Yellow.
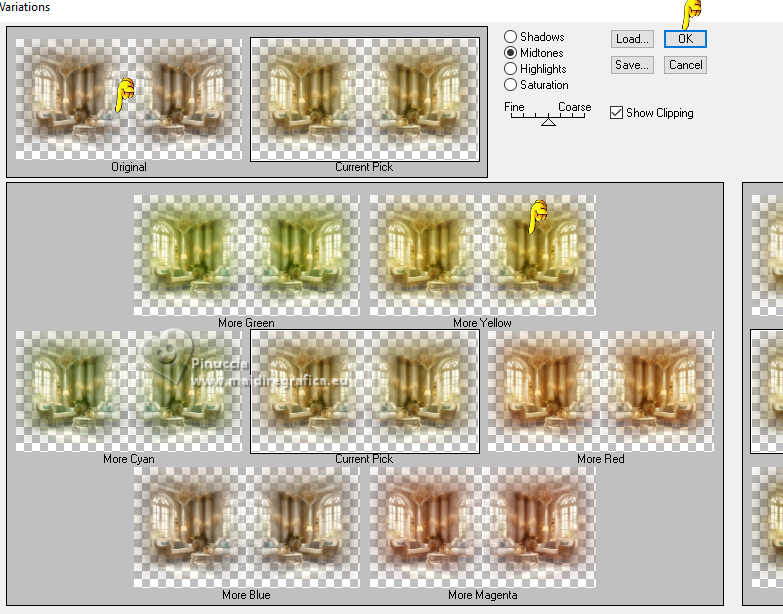
Reduce the opacity of this layer to 75%.
32. Activate your top layer.
Open EF-Arya_Deco 1 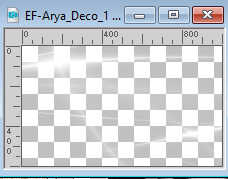
Edit>Copy.
Go back to your work and go to Edit>Paste as new layer.
Change the Blend Mode of this layer to Screen and reduce the opacity to 79%.
33. Image>Add borders, 2 pixels, symmetric, background color #ffecba
Selections>Select All.
Image>Add borders, 40 pixels, symmetric, whatever color.
34. Effects>Image Effects>Seamless Tiling, default settings.

Selections>Invert
Adjust>Blur>Gaussian Blur - radius 65
Selections>Select None.
35. Activate again your woman tube EF-Tube_Personagem and go to Edit>Copy.
Go back to your work and go to Edit>Paste as new layer.
Image>Resize, to 70%, resize all layers not checked.
Move  the tube to the right side. the tube to the right side.
Effects>3D Effects>Drop Shadow, at your choice.
36. Open EF-Arya_Texto 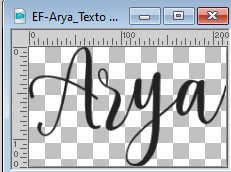
Edit>Copy.
Go back to your work and go to Edit>Paste as new layer.
Move  the texte to your liking. the texte to your liking.
Effects>3D Effects>Drop shadow, at your choice.
37. Image>Add borders, 2 pixels, symmetric, background color #ffecba.
38. Sign your work.
Image>Resize, 950 pixels width, resize all layers checked.
Save as jpg.
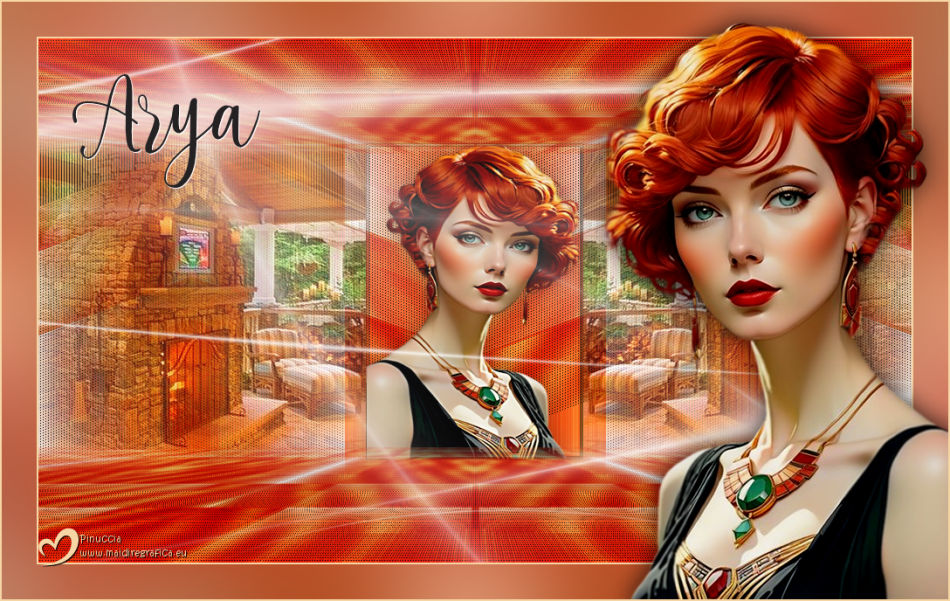
For the tube of this version thanks Luz Cristina

If you have problems or doubts, or you find a not worked link,
or only for tell me that you enjoyed this tutorial, write to me.
20 January 2025

|


