|
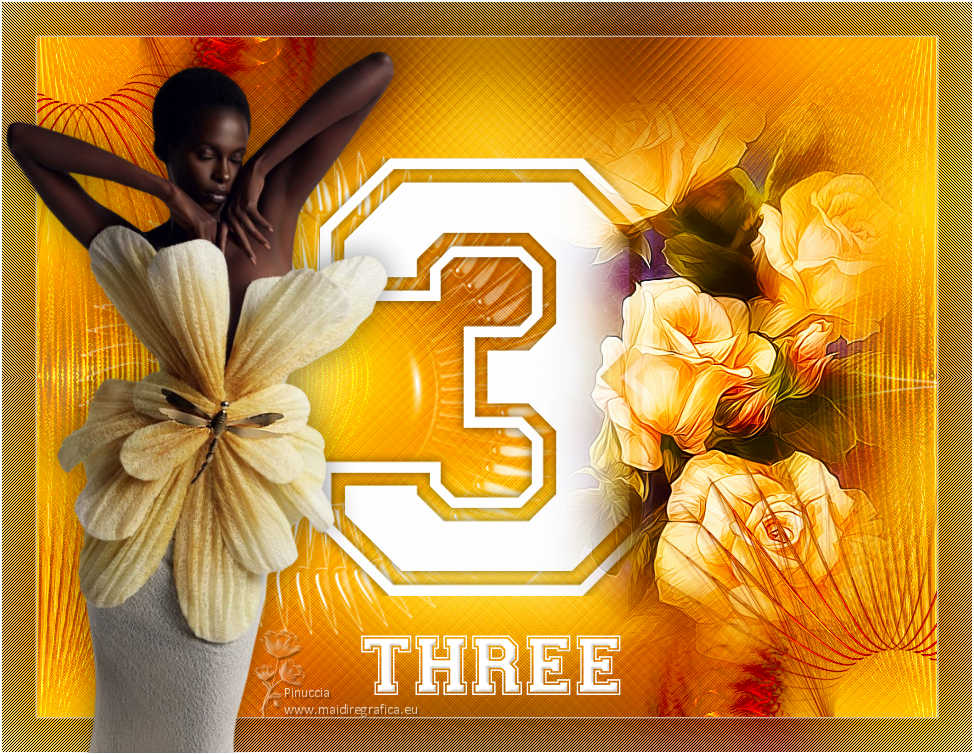
THREE


Thanks Estela for your invitation to translate your tutorials into english

This tutorial, created with PSP2022, was translated with PspX7, but it can also be made using other versions of PSP.
Since version PSP X4, Image>Mirror was replaced with Image>Flip Horizontal,
and Image>Flip with Image>Flip Vertical, there are some variables.
In versions X5 and X6, the functions have been improved by making available the Objects menu.
In the latest version X7 command Image>Mirror and Image>Flip returned, but with new differences.
See my schedule here
 French Translation here French Translation here
 Your versions here Your versions here

For this tutorial, you will need:

Thanks for the tubes Maryse and AngelStar and for the masks Ann-TdStudio and Narah.
The rest of the material is by Estela Fonseca
(The links of the tubemakers here).
*It is forbidden to remove the watermark from the supplied tubes, distribute or modify them,
in order to respect the work of the authors

consult, if necessary, my filter section here
Filters Unlimited 2.0 here
Funhouse - Angulate, Convergance here
AP Lines - Lines SilverLining here
Simple - Left Right Wrap (bonus) here
Filters Funhouse and Simple can be used alone or imported into Filters Unlimited.
(How do, you see here)
If a plugin supplied appears with this icon  it must necessarily be imported into Unlimited it must necessarily be imported into Unlimited

You can change Blend Modes according to your colors.
In the newest versions of PSP, you don't find the foreground/background gradient (Corel_06_029).
You can use the gradients of the older versions.
The Gradient of CorelX here

Copy the Preset EF-Three in the Presets Folder.
Copy the mask @nn_130912_mask_162_tdstudio in the Masks Folder.
Open the second mask in PSP and minimize it with the rest of the material.
Colors

1. Set your foreground color to Color 1,
and your background color to color 2.
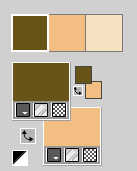
Set your foreground color to a Foreground/Background Gradient, style Sunburst.
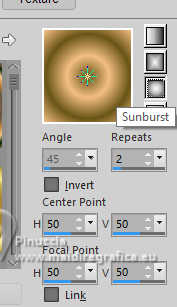
2. Open a new transparent image 900 x 680 pixels.
Flood Fill  the transparent image with your Gradient. the transparent image with your Gradient.
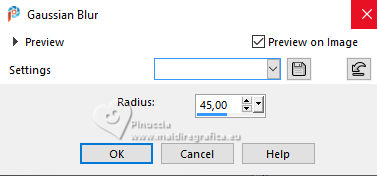
3. Adjust>Blur>Gaussiun Blur - radius 45.
4. Layers>New Raster Layer.
Selections>Select All .
Open the tube Tube ASfl4 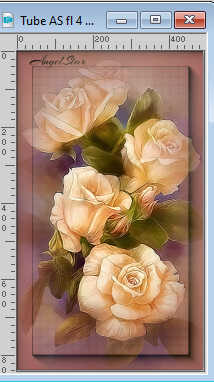
Edit>Copy.
Go back to your work and go to Edit>Paste into Selection.
Selections>Select None.
5. Effects>Image Effects>Seamless Tiling, default settings.

6. Adjust>Blur>Gaussiun Blur - radius 45.

7. Effects>Plugins>Filters Unlimited 2.0 - Funhouse - Angulate, default settings.
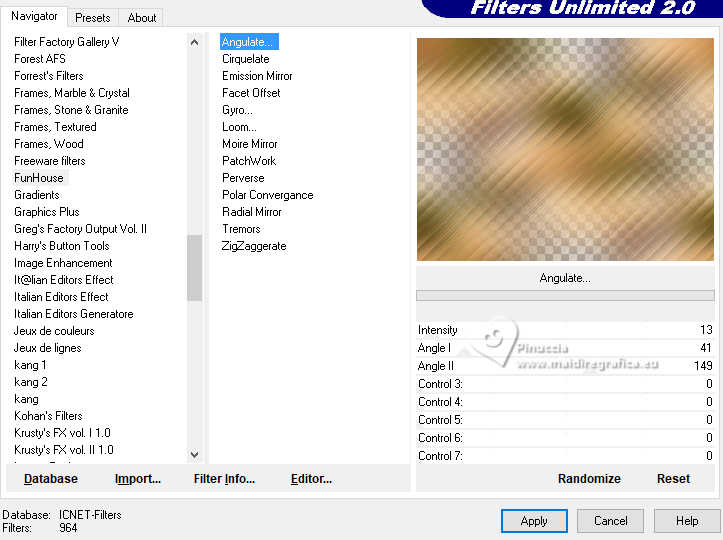
Change the Blend Mode of this layer to Overlay.
Adjust>Sharpness>Sharpen More.
8. Layers>Duplicate.
Image>Mirror>Mirror Horizontal.
Reduce the opacity of this layer to 79.
Layers>Merge>Merge Down - 2 times.
9. Layers>Duplicate.
Effects>Plugins>Filters Unlimited 2.0 - Funhouse - Convergance
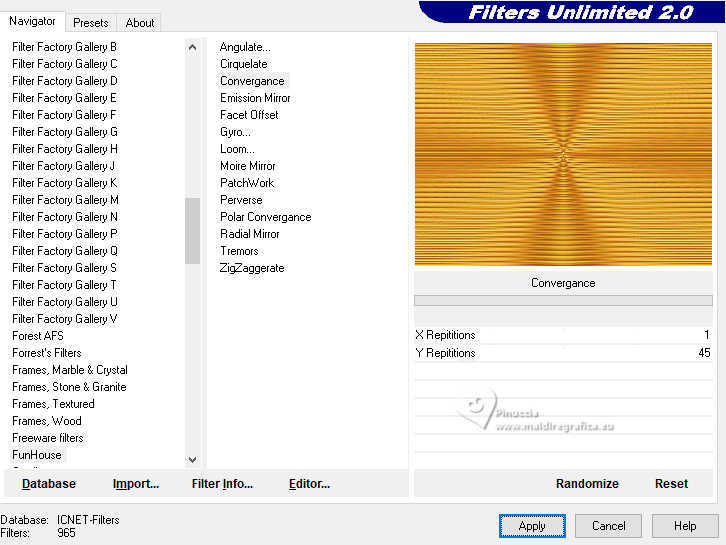
10. Image>Free Rotate - 90 degrees to right.

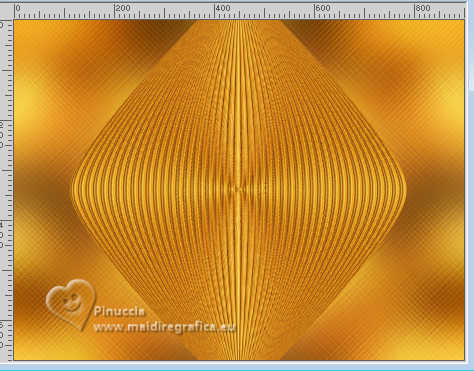
11. Effects>Geometric Effects>Circle.

Repeat this effect again two times; result:
12. Activate your bottom layer.
Selections>Select All.
Activate your top layer.
Image>Crop to Selection.
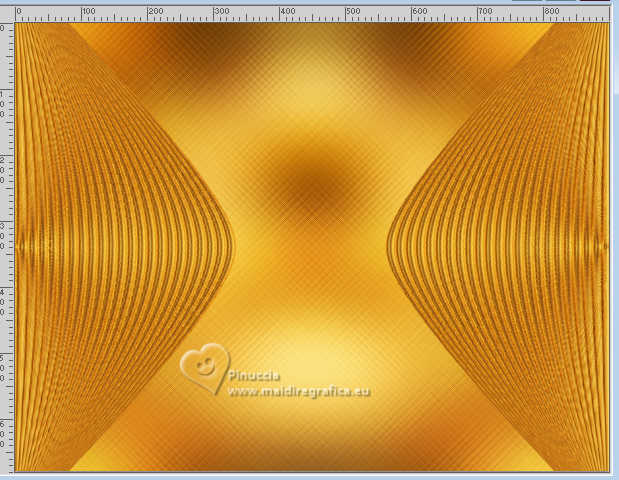
13. Effects>Plugins>Simple - Left Right Wrap.
This effect works without window; result
14. Change the Blend Mode of this layer to Lighten.
Adjust>Sharpness>Sharpen More.
15. Edit>Paste as new layer - the tube Tube ASfl4 is still in memory.
Image>Resize, to 85%, resize all layers not checked.
Don't move it.
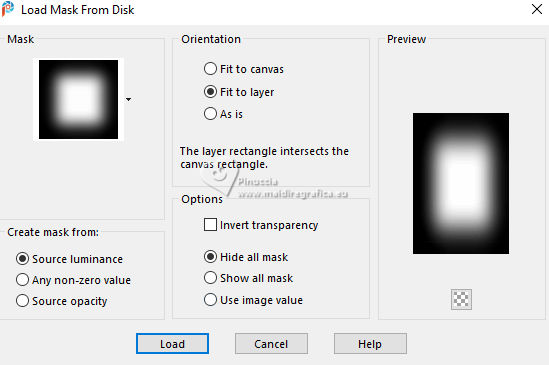
16. Layers>Load/Save Mask>Load Mask from Disk.
Look for and load the mask @nn_130912_mask_162_tdstudio
Layers>Merge>Merge Group.
Obiects>Align>Right.
17. Layers>Duplicate.
Change the Blend Mode of this layer to Overlay and reduce the opacity to 71%.
18. Set your foreground color to color white #ffffff.
Layers>New Raster Layer.
Flood Fill  the layer with color white. the layer with color white.
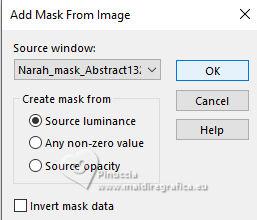
19. Layers>New Mask layer>From image
Open the menu under the source window and you'll see all the files open.
Select the mask Narah_mask_Abstract13
Image>Mirror>Mirror Horizonta.
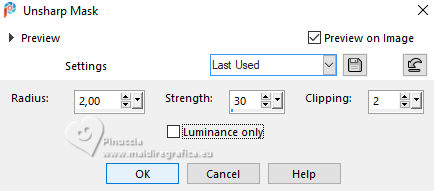
Adjust>Sharpness>Unsharp Mask.
Layers>Merge>Merge Group.
20. Layers>Arrange>Move Down - 2 times.
K key to activate your Pick Tool 
open the presets menu and select the preset EF-Three
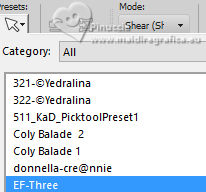
21. Activate your Erase Tool  with these settings. with these settings.

Tap the Mask marks lightly to reduce them.
Result
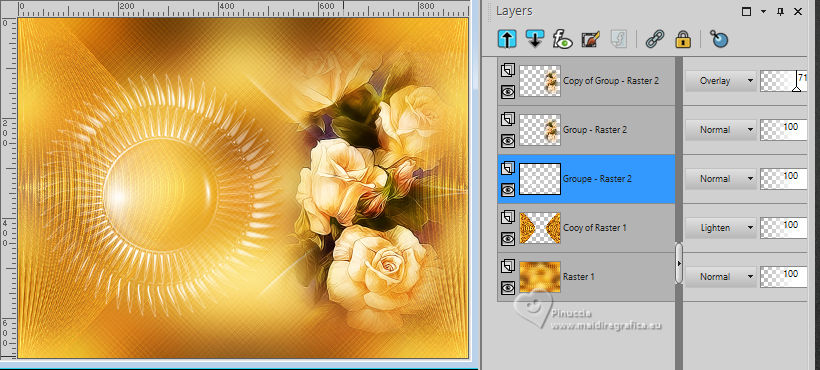
22. Open EF-Three_Numero 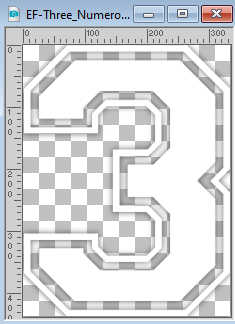
Edit>Copy.
Go back to your work and go to Edit>Paste as new layer.
Don't move it.
23. Activate your top layer.
Open the tube 081211pg13 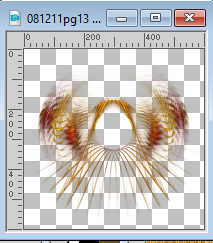
Edit>Copy.
Go back to your work and go to Edit>Paste as new layer.
24. K key to activate your Pick Tool 
Position X: -256,00 - Position Y: -246,00.

25. Layers>Duplicate.
Image>Mirror>Mirror horizontal.
Image>Mirror>Mirror vertical.
Layers>Merge>Merge Down.
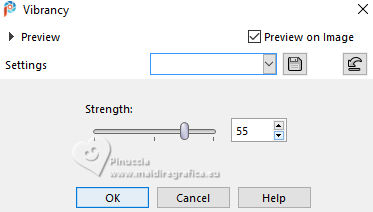
26. Adjust>Hue and Saturation>Vibrancy
27. Layers>Merge>Merge visible.
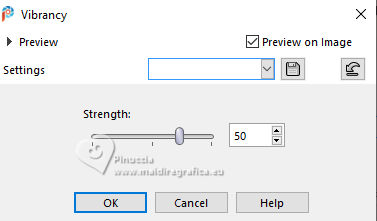
Adjust>Hue and Saturation>Vibrancy
(use the amount that gives you the best result)
28. Image>Add borders, 1 pixel, symmetric, color #ffffff.
Edit>Copy
29. Image>Add borders, 35 pixels, symmetric, color 3.
Activate your Magic Wand tool  , tolerance and feather 0, , tolerance and feather 0,
and click in the border to select it.
Edit>Paste into Selection
30. Adjust>Blur>Gaussiun Blur - radius 25.

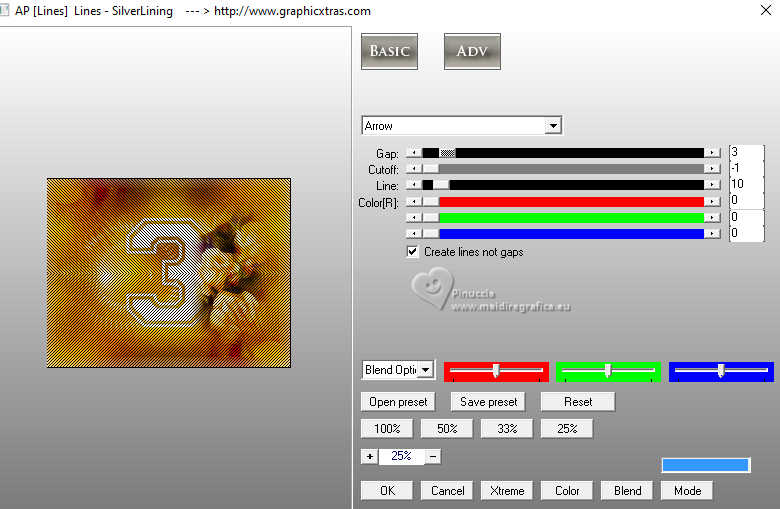
31. Effects>Plugins>AP Lines - Lines SilverLining.
32. Layers>New Raster Layer.
Flood Fill  the layers with color white. the layers with color white.
Selections>Modify>Contract - 1 pixel.
Press CANC on the keyboard 
Selections>Select None.
33. Open the tube MR_Linda Sara Mrad 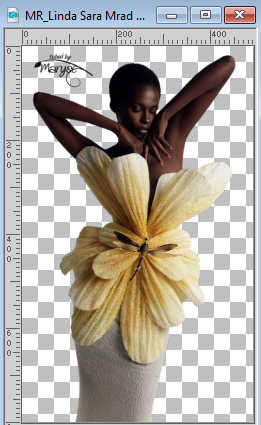
Edit>Copy.
Go back to your work and go to Edit>Paste as new layer.
Image>Resize, to 90%, resize all layers not checked.
Move  the tube to the left side. the tube to the left side.
34. Effects>3D Effects>Drop shadow, color #000000.

35. Open EF-Three_Texto 
Edit>Copy.
Go back to your work and go to Edit>Paste as new layer.
Place  the text to your liking. the text to your liking.
36. Image>Add borders, 1 pixel, symmetric, color #ffffff.
Sign your work on a new layer.
Layers>Merge>Merge All and save as jpg.
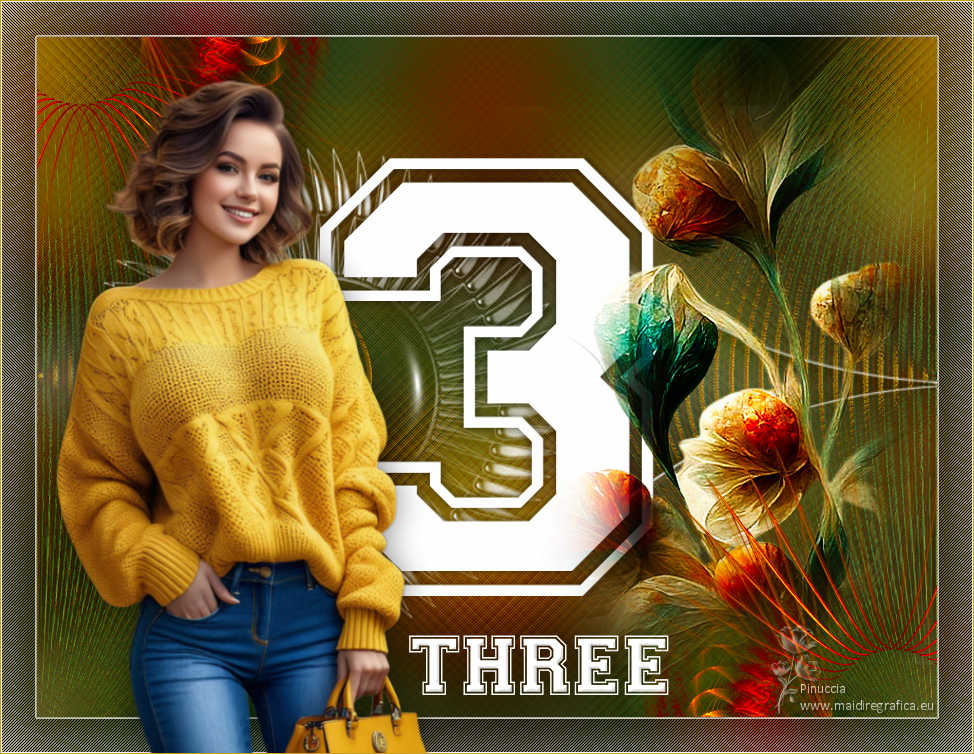
For the tubes of these versions thanks
Luz Cristina and Mentali
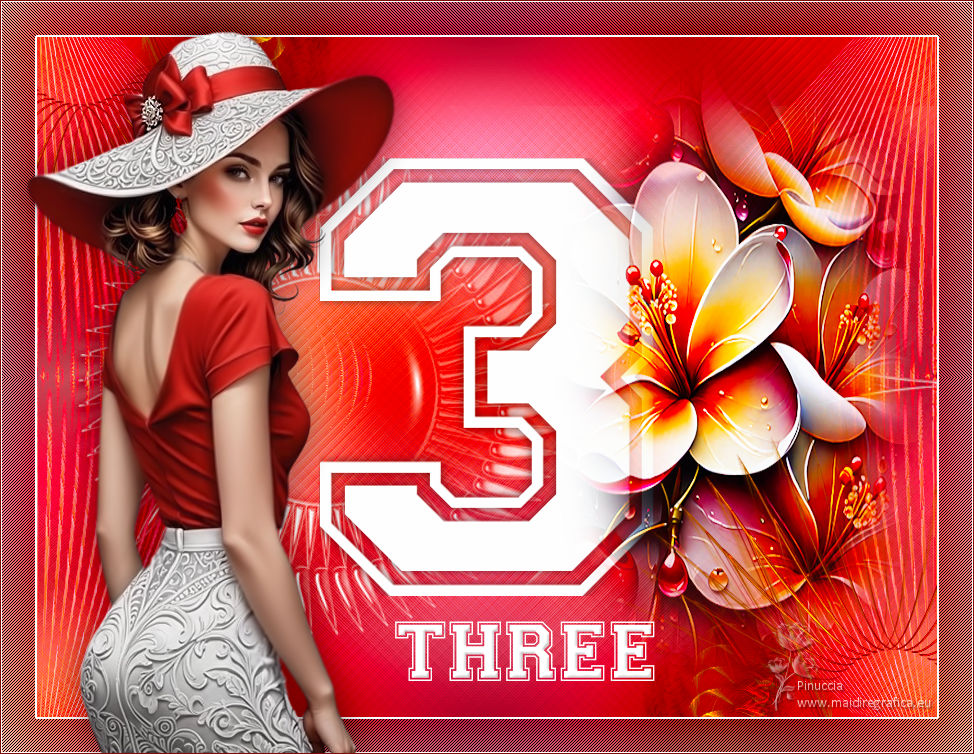
Felinec31 and Callitubes


If you have problems or doubts, or you find a not worked link,
or only for tell me that you enjoyed this tutorial, write to me.
8 October 2024

|

