|
VERANO AZUL  BLUE SUMMER BLUE SUMMER

This tutorial was written with PSP2020 and translated with PSPX9 and PSP2020, but it can also be made using other versions of PSP.  consult, if necessary, my filter section here Frischluft - Mosaic Plan here AAA Frames - Foto Frame here  You can change Blend Modes according to your colors. In the newest versions of PSP, you don't find the foreground/background gradient (Corel_06_029). You can use the gradients of the older versions. The Gradient of CorelX here Copy the preset One or two clic on the file (it depends by your settings), automatically the preset will be copied in the right folder. why one or two clic see here  Copy the preset Emboss 3 in the Presets Folder. Copy the selection in the Selections Folder. Copy the mask 20-20 in the Masks Folder. Open the other masks in PSP and minimize them with the rest of the material. 1. Set your foreground color to #3571b4, and your background color to #bce1f2. 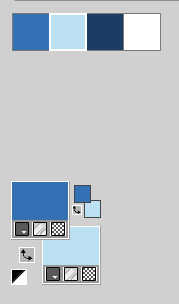 Set your foreground color to a Foreground/Background Gradient, style Linear. 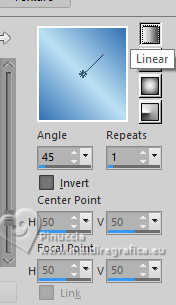 2. Open a new transparent image 950 x 650 pixels. Flood Fill  the transparent image with your Gradient. the transparent image with your Gradient.3. Effects>Geometric Effects>Spherize. 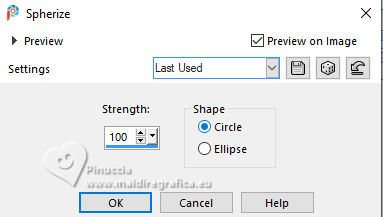 4. Effects>Plugins>Frischluft - Mosaic Plane 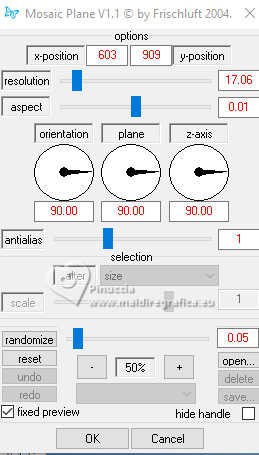 Effects>Edge Effects>Enhance More. 5. Effects>Reflection Effects>Rotating Mirror.  Adjust>Sharpness>Sharpen More. 6. Open the misted 2024 07 26 Cat mist N14  Erase the watermark and go to Edit>Copy. Go back to your work and go to Edit>Paste as new layer. 7. Layers>Load/Save mask>Load mask from Disk. Look for and load the mask 20-20  Layers>Merge>Merge group. If necessary, change the size of the tube. For me, to 85%, resize all layers not checked. If you resize: Adjust>Sharpness>Sharpen. Don't move the tube yet. You'll do that later. 8. Layers>Duplicate. Selections>Select All. 9. Edit>Paste into Selection - the misted is still in memory. Selections>Select None. 10. Effects>Image Effects>Seamless Tiling.  11. Adjust>Blur>Gaussian Blur - radius 25.  Layers>Arrange>Move Down. 12. Set your foreground color to white  Layers>New Raster Layer. Flood Fill  the layer with the color white. the layer with the color white.13. Layers>New Mask layer>From image Open the menu under the source window and you'll see all the files open. Select the mask masque-501-franiemargot  Layers>Merge>Merge Group. 14. K key to activate your Pick Tool  Position X: 0,00 - Position Y: -70,00.  15. Effects>User Defined Filter - select the preset Emboss 3.  16. Image>Mirror>Mirror Horizontal. 17. Layers>New Raster Layer. Flood Fill  the layer with the color white. the layer with the color white.18. Layers>New Mask layer>From image Open the menu under the source window and select the mask masque-529-franiemargot 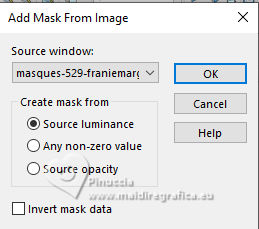 Layers>Merge>Merge Group. 19. Optional: change the Blend mode of this layer to Luminance (Legacy). 20. Activate again the layer of the misted, Group Raster 2. 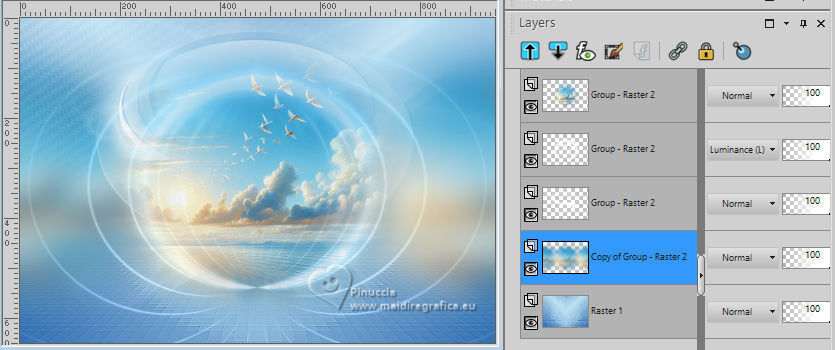 Move  the tube a little higher. the tube a little higher.or K key to activate your Pick Tool  Position X: 119,00 - Position Y: 0,00.  M key to deselect the Tool. 21. Reset the foreground color to the starting color #3571b4.  Layers>New Raster Layer. Selections>Load/Save Selection>Load Selection from Disk. Look for and load the selection ©Yedralina_Sel166 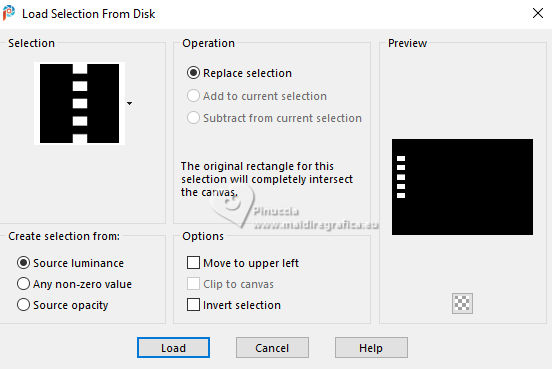 22. Flood Fill  the selection with your dark foreground color. the selection with your dark foreground color.Selections>Modify>Contract - 2 pixels. Flood Fill  the selection with your light background color. the selection with your light background color.23. Selections>Modify>Contract - 4 pixels. Flood Fill  the selection with your dark foreground color. the selection with your dark foreground color.24. Selections>Modify>Contract - 2 pixels. Flood Fill  the selection with your light background color. the selection with your light background color.25. Effects>Plugins>Alien Skin Eye Candy 5 Impact - Glass. Select the preset ©Yedralina_Glass11 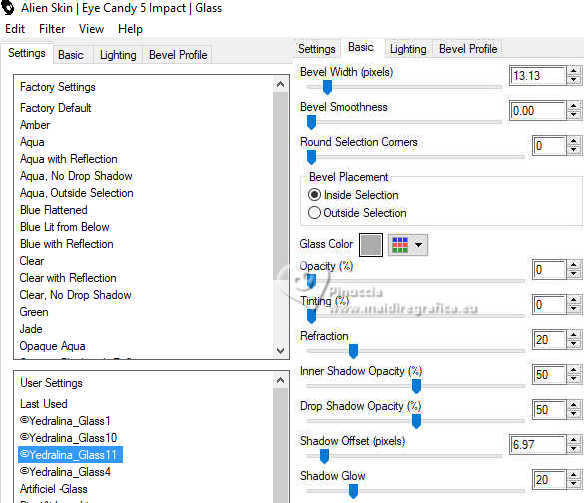 Selections>Select None. 26. Layers>Duplicate. Adjust>Blur>Gaussian Blur - radius 25.  27. Change the Blend Mode of this layer to Multiply. Layers>Arrange>Move Down. 28. Open the tube Deco00344©Yedralina 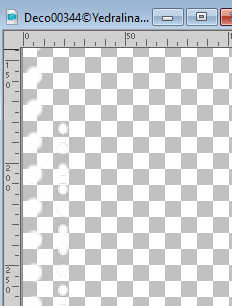 Edit>Copy. Go back to your work and go to Edit>Paste as new layer. 29. Pick Tool  Position X: 31,00 - Position Y: -48,00.  30. Effects>3D Effects>Drop Shadow, color black.  31. Image>Add borders, 25 pixels, symmetric, dark foreground color. 32. Effects>Plugins>AAA Frames - Foto Frame. 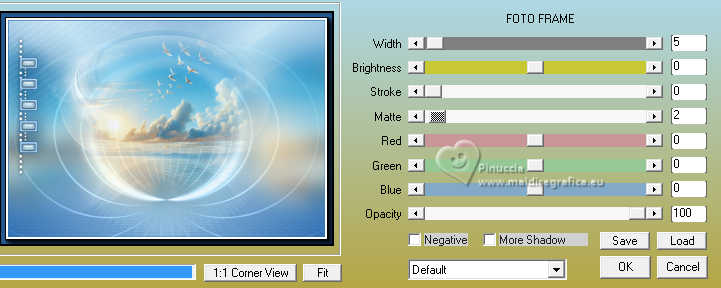 33. Selections>Select All. Selections>Modify>Contract - 35 pixels. 34. Effects>3D Effects>Drop Shadow, same settings.  Selections>Select None. 35. Image>Add borders, 35 pixels, symmetric, light background color. 36. Selections>Select All. Selections>Modify>Contract - 15 pixels. 37. Set your foreground color to the color 3 #1d3d63. 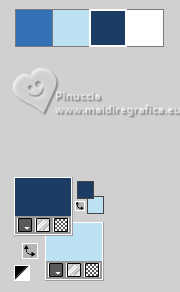 Effects>3D Effects>Drop Shadow, color 3 #1d3d63. 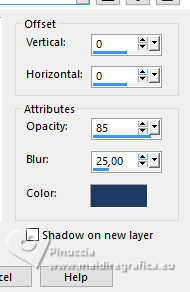 Selections>Select None. 38. Open your main tube tengrai_image_1713299376...  Erase the watermark and go to Edit>Copy. Go back to your work and go to Edit>Paste as new layer. Image>Resize, if necessary. For the supplied tube it is not. 39. Layers>Duplicate. Adjust>Blur>Gaussian Blur - radius 25.  40. Change the Blend Mode of this layer to Multiply. Layers>Arrange>Move Down. 41. Image>Add borders, 1 pixel, symmetric, color 3 #1d3d63. 42. Image>Resize, 1000 pixels width, resize all layers checked. 43. Sign your work on a new layer. Layers>Merge>Merge All and save as jpg. For the tubes of these versions thanks Cat and Bea  Adrienne   If you have problems or doubts, or you find a not worked link, or only for tell me that you enjoyed this tutorial, write to me. |