|
TRIANA

Triana is a famous neighborhood in Seville

Thanks Yedralina for your invitation to translate your tutorials into english

This tutorial was written with CorelX19 and translated with CorelX17, but it can also be made using other versions of PSP.
Since version PSP X4, Image>Mirror was replaced with Image>Flip Horizontal,
and Image>Flip with Image>Flip Vertical, there are some variables.
In versions X5 and X6, the functions have been improved by making available the Objects menu.
In the latest version X7 command Image>Mirror and Image>Flip returned, but with new differences.
See my schedule here
 italian translation here italian translation here
 french translation here french translation here
 your versions here your versions here
For this tutorial, you will need:

Thanks for the woman's tube Grisi and for a mask Linda.
The rest of the material is by Yedralina.
(The links of the tubemakers here).

consult, if necessary, my filter section here
Carolaine and Sensibility - CS_LDots here
Mehdi - Sorting Tiles here
AAA Frames - Foto Frame here

You can change Blend Modes according to your colors.
In the newest versions of PSP, you don't find the foreground/background gradient (Corel_06_029).
You can use the gradients of the older versions.
The Gradient of CorelX here

Open the masks and minimize them with the rest of the material.
Set your foreground color to #ca9803,
and your background color to #c0045b.
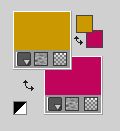
Set your foreground color to a Foreground/Background Gradient, style Rectangular.
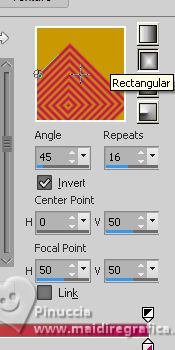
1. Open a new transparent image 950 x 650 pixels.
Flood Fill  the transparent image with your Gradient. the transparent image with your Gradient.
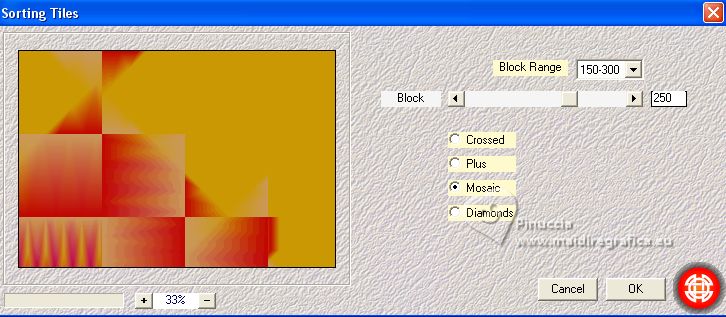
2. Effects>Plugins>Mehdi - Sorting Tiles.
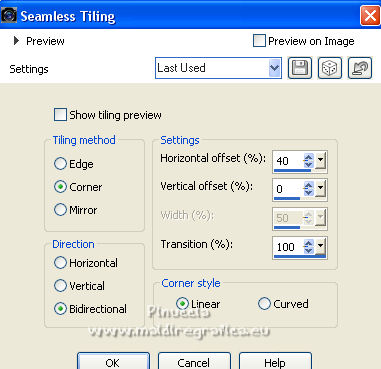
3. Effects>Image Effects>Seamless Tiling.
4. Effects>Reflection Effects>Rotating Mirror.

5. Effects>Image Effects>Seamless Tiling, same settings.

Effects>Edge Effects>Enhance More.
6. Layers>New Raster Layer.
Selections>Select All.
Open the main tube Grisi_Tube_Flamenco_057 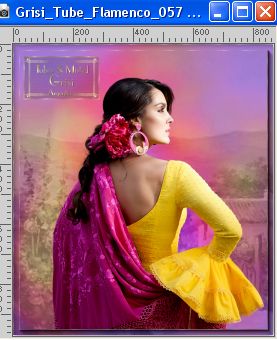
Edit>Copy.
Go back to your work and go to Edit>Paste into Selection.
Selections>Select None.
7. Adjust>Blur>Gaussian Blur - radius 25.

Effects>Image Effects>Seamless Tiling, default settings.

Activate your bottom layer, Raster 1.
8. Effects>Plugins>Carolaine and Sensibility - CS-LDots.
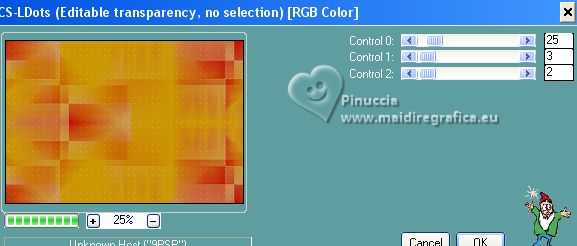
Adjust>Sharpness>Sharpen More.
9. Activate again your top layer, Raster 2.
Reduce the opacity of this layer +/-45%.
10. Set your foreground color to white.
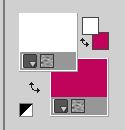
Layers>New Raster Layer.
Reduce the opacity of your Flood Fill Tool +/-45%.

Flood Fill  the layer with color white. the layer with color white.
(don't forget to set again your Flood Fill Tool to 100).
11. Layers>New Mask layer>From image
Open the menu under the source window and you'll see all the files open.
Select the mask Masc163©Yedralina.jpg
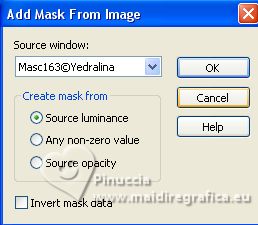
Layers>Merge>Merge Group.
According to your colors, you can reduce the opacity of this layer +/- 53%
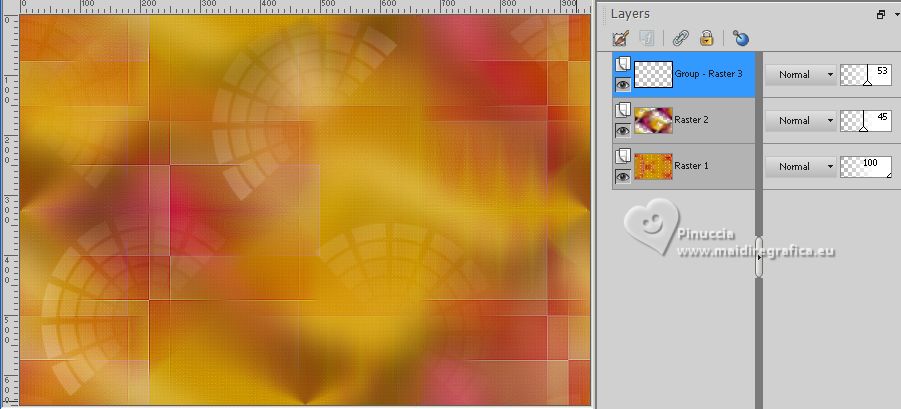
12. Edit>Paste as new layer (the main tube is still in memory).
Image>Resize, if necessary, for me to 75%, resize all layers not checked.
13. Layers>Duplicate.
Close this layer and go back to the layer below of the original.
14. Effects>3D Effects>Drop Shadow, color black.
Reduce the opacity of this layer +/- 75%.
Place rightly the image: K key to activate your Pick Tool 
and set Position X: 0,00 and Position Y: 1,00.

M key to deselect the tool.
Change the Blend Mode of this layer to Soft Light.
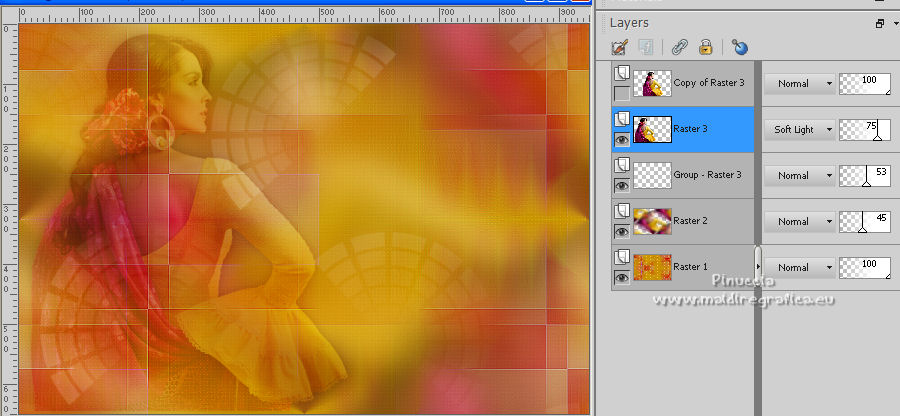
15. Open and activate the top layer.
If necessary, resize again, for me to 90%, resize all layers not checked.
Move  the tube to the right side. the tube to the right side.
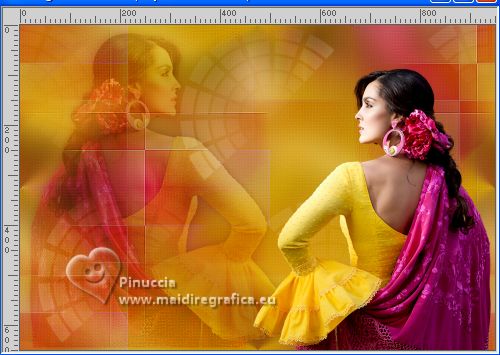
Effects>3D Effects>Drop Shadow, same settings.
16. Open the misted 2329©Yedralina 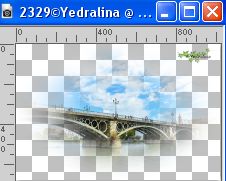
Edit>Copy.
Go back to your work and go to Edit>Paste as new layer.
Image>Resize, if necessary, for me to 60%, resize all layers not checked.
Layers>Arrange>Move Down.
17. Image>Mirror.
Objects>Align>Right.
Objects>Align>Top.
Or K key to activate your Pick Tool 
and set Position X: 336,00 and Position Y: 0,00.

M key to deselect the Tool.
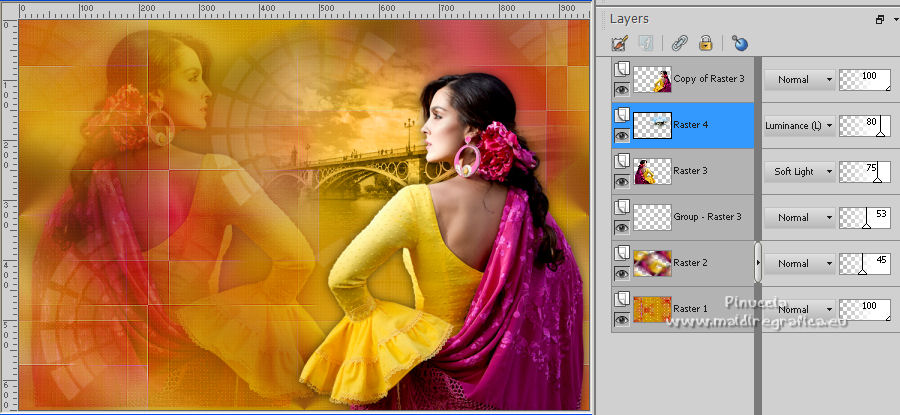
18. Change the Blend Mode of this layer to Luminance (legacy),
and reduce the opacity to 80%, if necessary.
19. Layers>New Raster Layer.
Flood Fill  the layer with color white. the layer with color white.
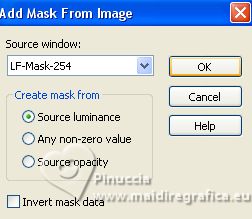
Layers>New Mask layer>From image
Open the menu under the source window
and select the mask LF-Mask-254
Layers>Duplicate.
Layers>Merge>Merge Group.
Image>Flip.
Layers>Duplicate.
21. Image>Resize, to 50%, resize all layers not checked.
Image>Flip.
Objects>Align>Right.
Objects>Align>Top.
Or K key to activate your Pick Tool 
and set Position X: 475,00 and Position Y: 0,00.
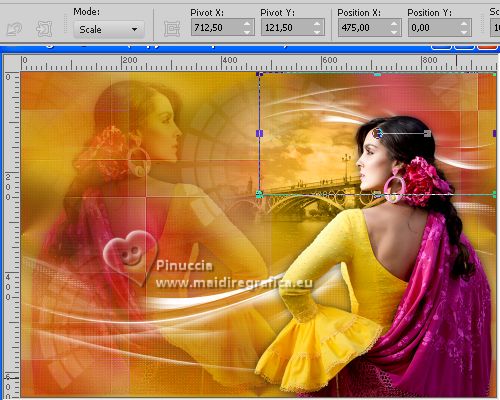
M key to deselect the Tool.
22. Layers>Merge>Merge Down.
Change the Blend Mode of this layer to Luminance (legacy) or to your liking.
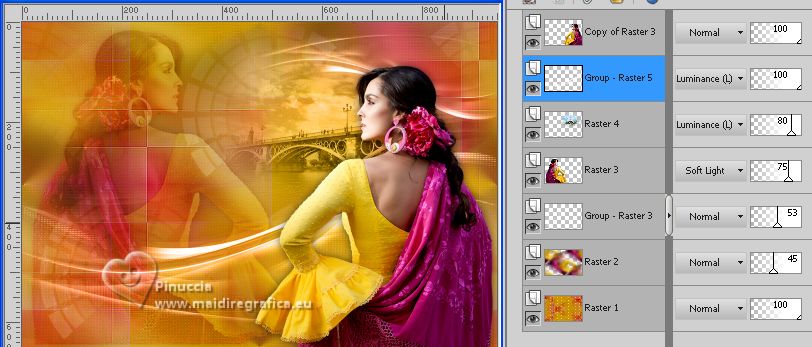
23. Activate your top layer.
Open the text Text Triana 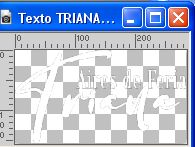
Edit>Copy.
Go back to your work and go to Edit>Paste as new layer.
K key to activate your Pick Tool 
and set Position X: 100,00 et Position Y: 323,00.

M key to deselect the Tool.
24. Set again your foreground color to #ca9803.

Set your foreground color to a Foreground/Background Gradient, style Linear.
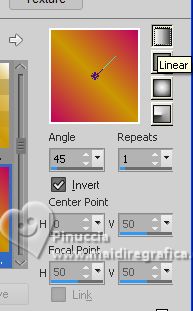
Image>Add borders, 2 pixels, symmetric, background color.
Selections>Select All.
25. Image>Add borders, 40 pixels, symmetric, whatever color.
Selections>Invert.
Flood Fill  with your Gradient. with your Gradient.
Effects>3D Effects>Drop Shadow, color black.
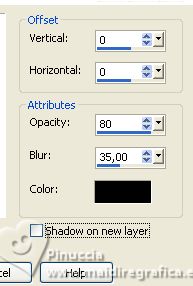
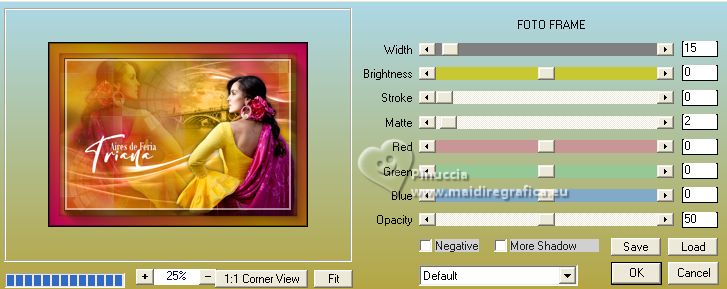
26. Effects>Plugins>AAA Frames - Foto Frame.
Selections>Select None.
27. Image>Resize, 1000 pixels width, resize all layers checked.
28. Sign your work on a new layer.
Layers>Merge>Merge All and save as jpg.
For the tube of this version thanks Pink; the misted of Triana is mine.
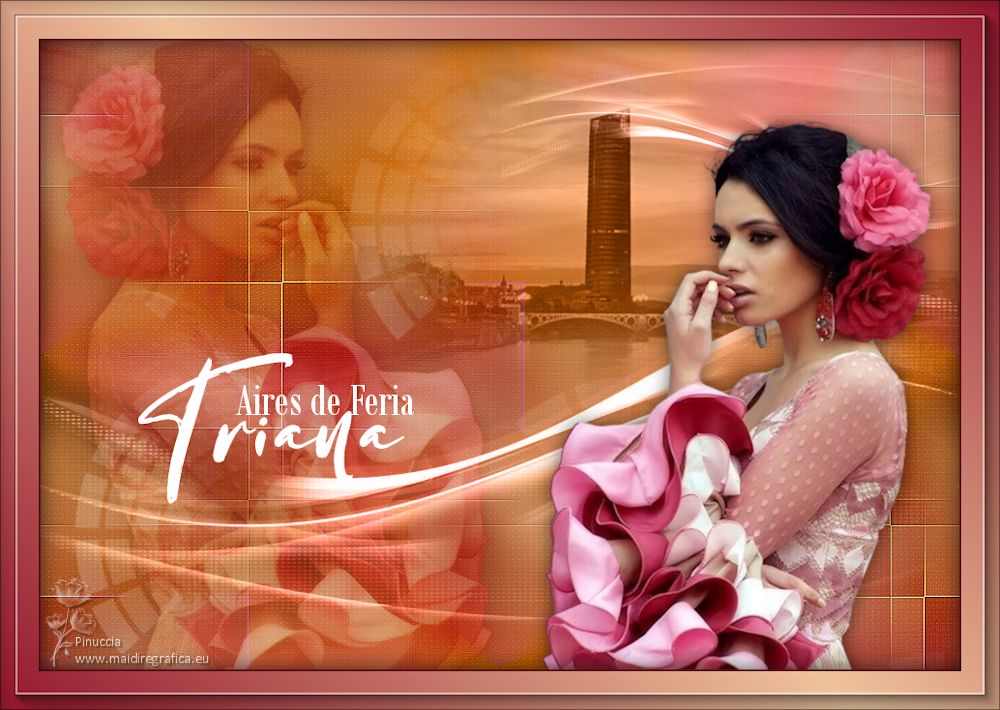
For the tube of this version thanks Grisi; the misted of Triana is mine.
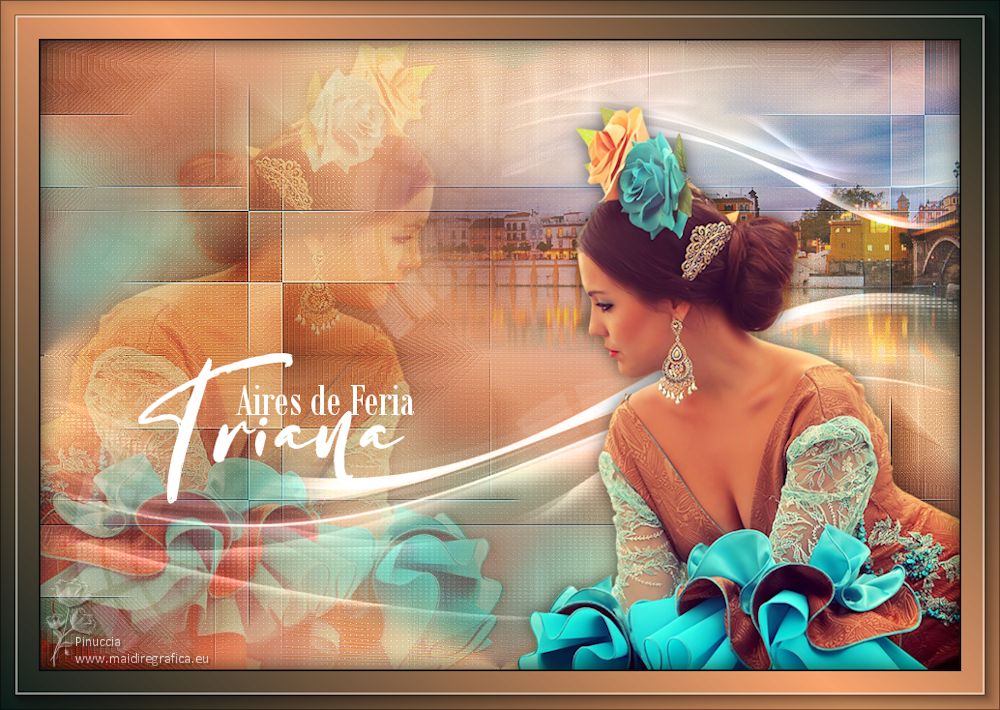

If you have problems or doubts, or you find a not worked link, or only for tell me that you enjoyed this tutorial, write to me.
22 April 2023

|

