|
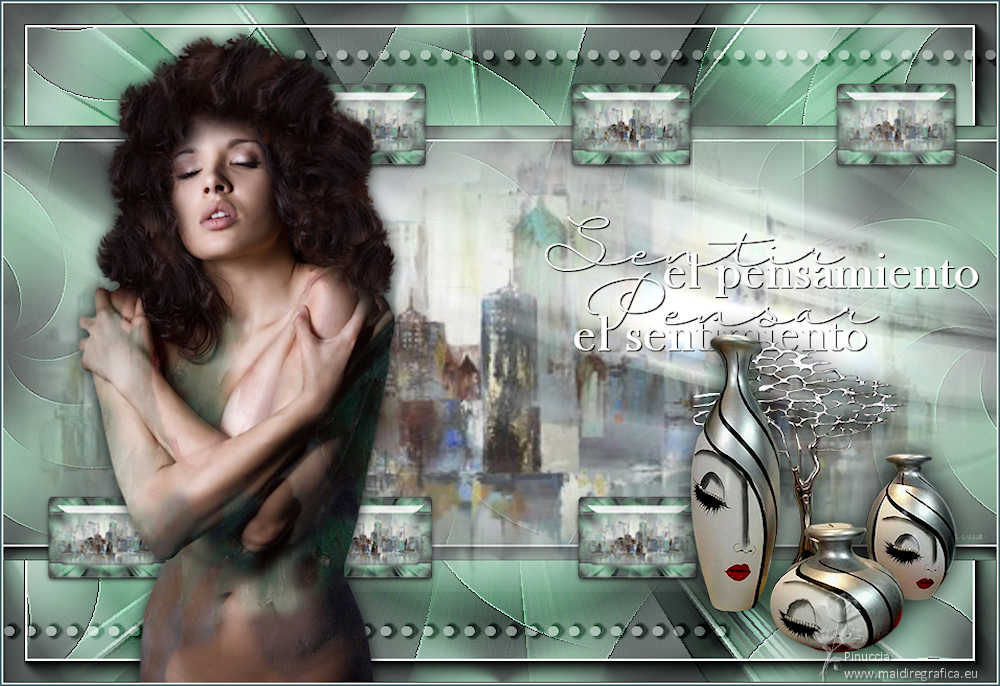
SENTIRES
 FEELINGS FEELINGS

Thanks Yedralina for your invitation to translate your tutorials into english

This tutorial was written with PSP2020 and translated with PSPX9 and PSP2020, but it can also be made using other versions of PSP.
Since version PSP X4, Image>Mirror was replaced with Image>Flip Horizontal,
and Image>Flip with Image>Flip Vertical, there are some variables.
In versions X5 and X6, the functions have been improved by making available the Objects menu.
In the latest version X7 command Image>Mirror and Image>Flip returned, but with new differences.
See my schedule here
 italian translation here italian translation here
 french translation here french translation here
 your versions here your versions here

For this tutorial, you will need:

For the tubes thanks AnaRidzi, Yvonne and Luz Cristina.
The rest of the material is by Yedralina
(The links of the tubemakers here).

consult, if necessary, my filter section here
Filters Unlimited 2.0 here
Alien Skin Eye Candy 5 Impact - Glass here
VM Stylize - Zoom Blur here
Mehdi - Variations 1.1 here
Winnies6 - win_053 here
Mura's Meister - Copies here
AAA Frames - Foto Frame here
Filters VM Stylize and Winnies can be used alone or imported into Filters Unlimited.
(How do, you see here)
If a plugin supplied appears with this icon  it must necessarily be imported into Unlimited it must necessarily be imported into Unlimited

You can change Blend Modes according to your colors.
In the newest versions of PSP, you don't find the foreground/background gradient (Corel_06_029).
You can use the gradients of the older versions.
The Gradient of CorelX here
Copy the preset  in the folder of the plugin Alien Skin Eye Candy 5 Impact>Settings>Glass. in the folder of the plugin Alien Skin Eye Candy 5 Impact>Settings>Glass.
One or two clic on the file (it depends by your settings), automatically the preset will be copied in the right folder.
why one or two clic see here

Copy the preset Emboss 3 in the Presets Folder.
Open the mask in PSP and minimize it with the rest of the material.
1. Set your foreground color to #4f5453,
and your background color to #90b59e.
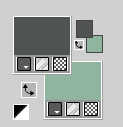
Set your foreground color to a Foreground/Background Gradient, style Rectangular.

2. Open a new transparent image 950 x 650 pixels.
Flood Fill  the transparent image with your Gradient. the transparent image with your Gradient.
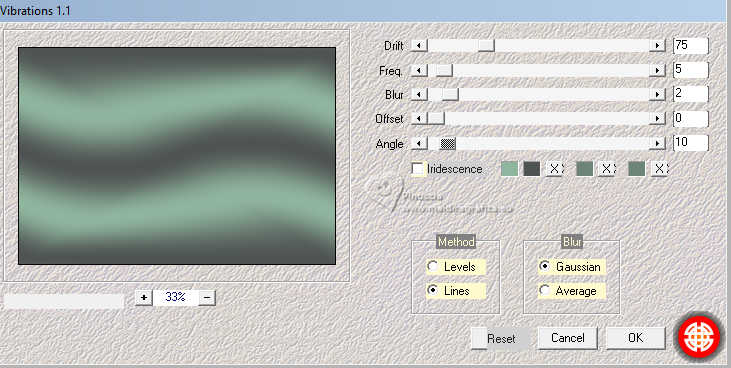
3. Effects>Plugins>Mehdi - Vibrations 1.1.
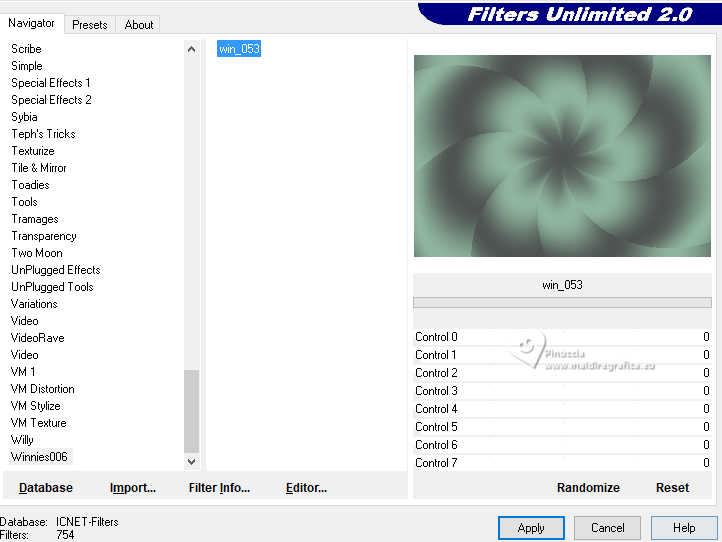
4. Effects>Plugins>Filters Unlimited 2.0 - Winnies 006 - win_053, default settings.
5. Effects>Image Effects>Seamless Tiling, default settings.

Effects>Edge Effects>Enhance More.
6. Effects>Plugins>AAA Frames - Foto Frame.
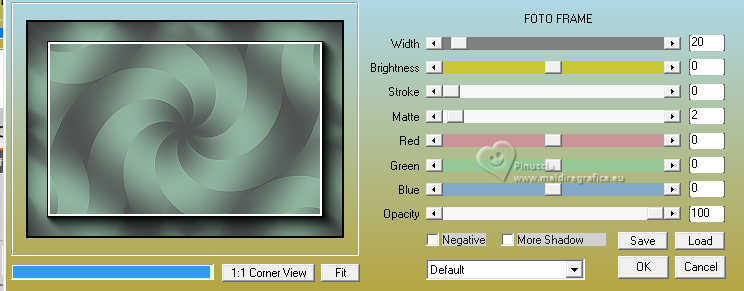
7. Layers>Duplicate.
Image>Resize, to 80%, resize all layers not checked.
8. Layers>Duplicate.
Close this layer and activate the layer below of the original.
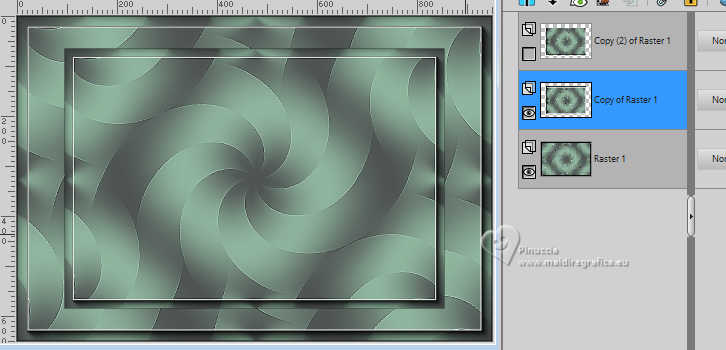
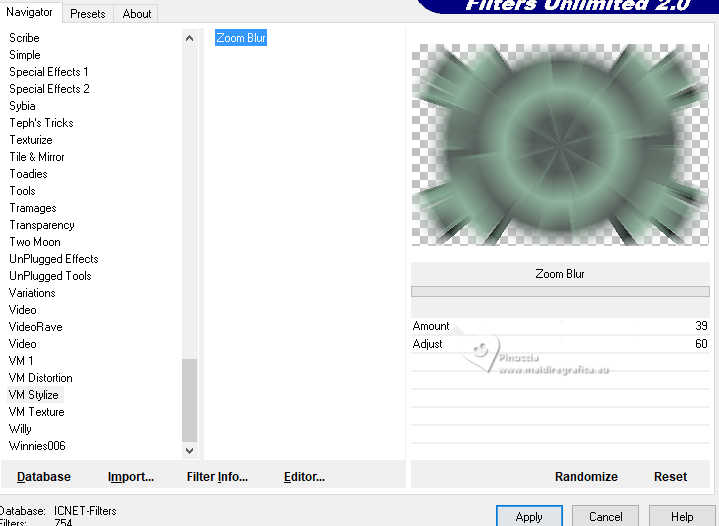
9. Effects>Plugins>Filters Unlimited 2.0 - VM Stylize - Zoom Blur, default settings.
10. Change the Blend Mode of this layer to Overlay, or Hard Light, according to your colors.
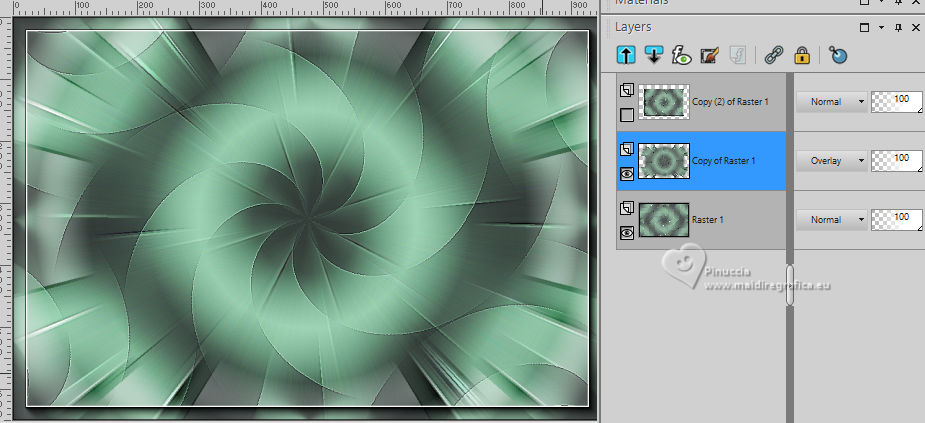
Open and activate your top layer.
Image>Resize, to 80%, resize all layers not checked.
11. Effects>Image Effects>Seamless Tiling.

12. Layers>New Raster Layer.
Selections>Select All.
13. Open the misted yld-misted-abstract-cityscape(1) 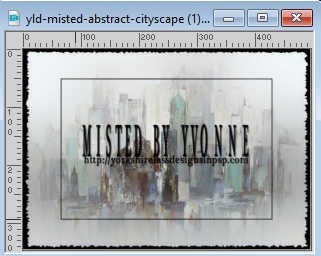
Edit>Copy.
Go back to your work and go to Edit>Paste into Selection.
Selections>Select None.
Optional, according to your tube, activate your Pick Tool 
and adapt the tube in the central zone
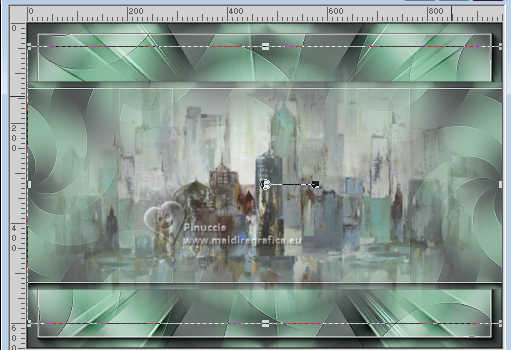
In my second version I didn't do this
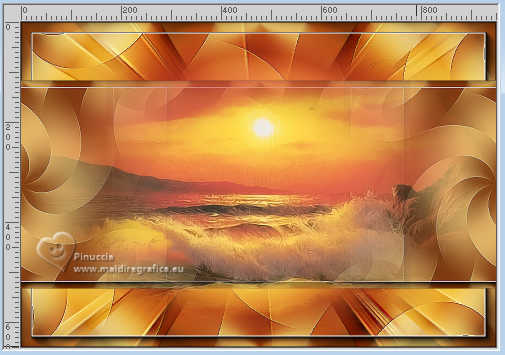
Furthermore, in my case I duplicate the misted layer,
so that the lines that you see in the background disappear or are disguised.
.
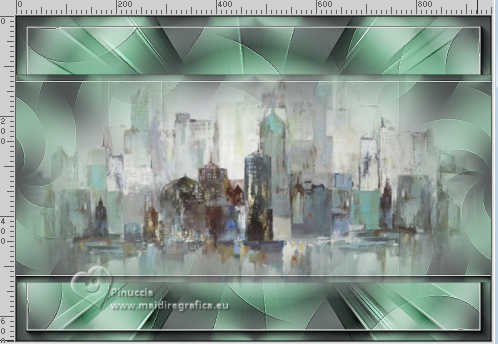
14. Layers>Merge>Merge visible to New Layer.
in the previous versions:
Edit>Copy Special>Copy Merged.
Edit>Paste as new layer
15. Image>Resize, to 15%, resize all layers not checked.
Adjust>Sharpness>Sharpen.
16. Effects>Plugins>Mura's Meister - Copies.
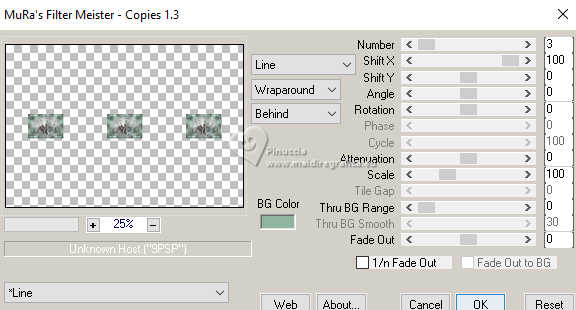
17. Image>Resize, to 80%, resize all layers not checked.
18. K key to activate your Pick Tool 
and set Position X: 290,00 and Position Y: 77,00.
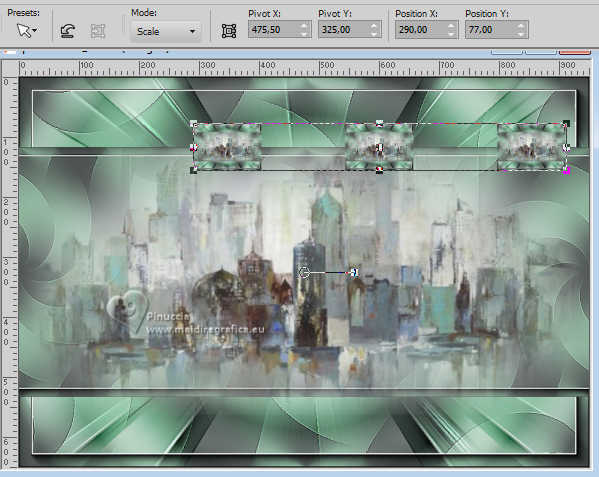
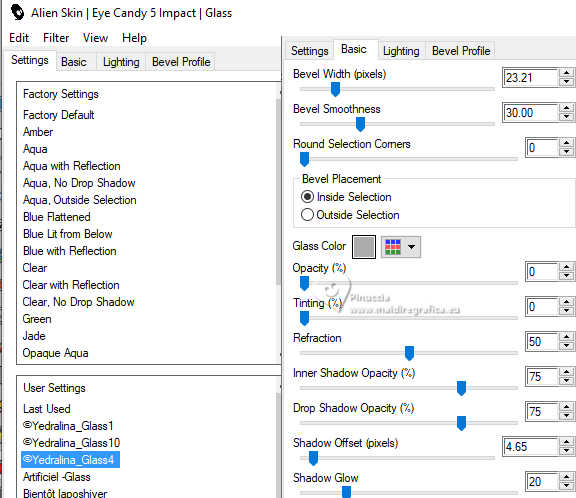
19. Effects>Plugins>Alien Skin Eye Candy 5 Impact - Glass.
Select the preset Glass 4 and ok.
20. Layers>Duplicate.
Set Position X: 37,00 and Position Y: 468,00
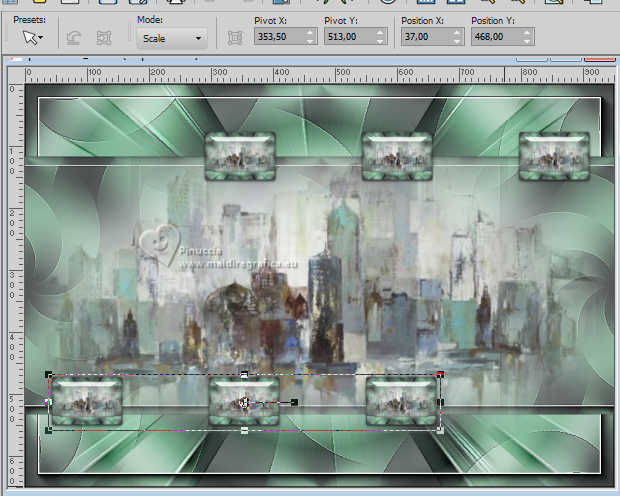
M key to deselect the Tool.
Layers>Merge>Merge Down.
21. Set your foreground color to white.
Layers>New Raster Layer.
Flood Fill  the layer with color white. the layer with color white.
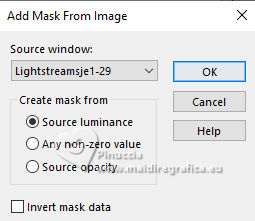
22. Layers>New Mask layer>From image
Open the menu under the source window and you'll see all the files open.
Select the mask Lightstreamsje1-29
Layers>Merge>Merge Group.
23. Effects>User Defined Filter - select the preset Emboss 3 and ok.

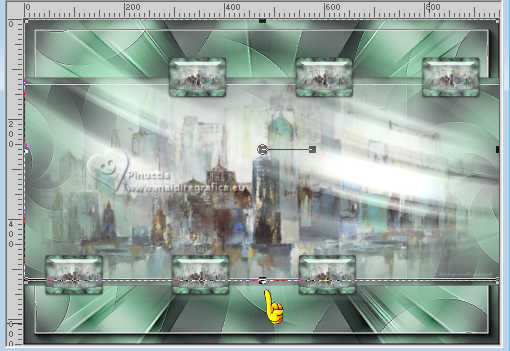
Change the Blend Mode of this layer to Luminance (legacy), or other.
for my example I activated my Pick Tool 
and pushed the lover middle node up, to reduce the height of the mask.
In my second version I didn't do this
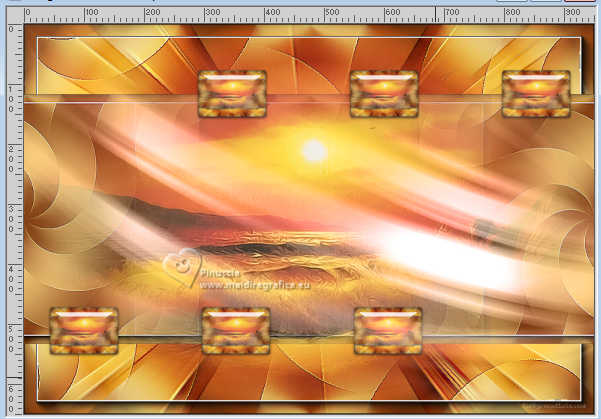
24. Activate your Pen Tool 
For my example I used the line style ©qua_boules
and I added it in the material.

Hold down the shift key and draw a straight line in the top right.
Layers>Convert in Raster Layer.
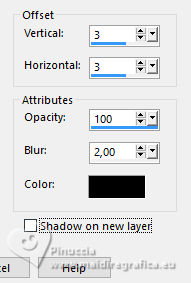
Effects>3D Effects>Drop shadow, color black.
25. Layers>Duplicate.
Image>Mirror>Mirror vertical (Image>Flip).
Objects>Align>Left.
Layers>Merge>Merge Down.
Repeat Effects>3D Effects>Drop Shadow, color black.

Change the Blend Mode of this layer to Soft Light.
alternatively, if you have problems with your Pen Tool,
open the tube Deco00337©Yedralina 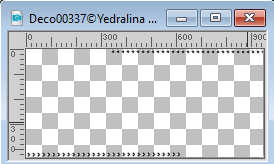
Edit>Copy.
Go back to your work and go to Edit>Paste as new layer.
Don't move it.
27. The tube get already a little shadow, but we apply another one.
Effects>3D Effects>Drop Shadow, color black.

28. K key to activate your Pick Tool 
keep Position X: 0,00 and sete Position Y: 44,00.

Change the Blend Mode of this layer to Soft Light.
In this case, the supplied tube doesn't have the same result.
If you want to change the position of the bottom line, select the line.
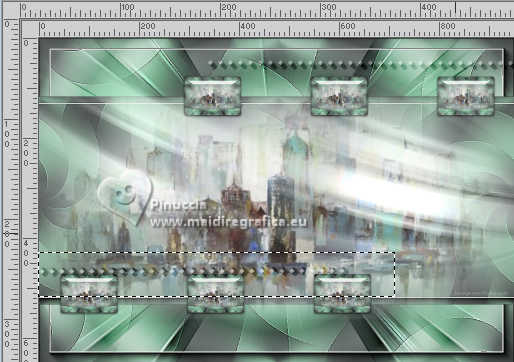
Press CANC on the keyboard.
Selections>Select None.
Layers>Duplicate.
Image>Mirror>Mirror vertical (Image>Flip).
Objects>Align>Left.
Layers>Merge>Merge Down.
29. Open the text SentirYPensar-©Yedralina 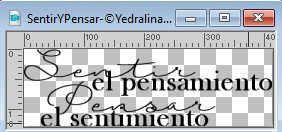
Edit>Copy.
Go back to your work and go to Edit>Paste as new layer.
Place  the text to your liking. the text to your liking.
Image>Negative image.
30. Effects>3D Effects>Drop Shadow, color black.

31. Open your deco tube Deco42-Luz Cristina 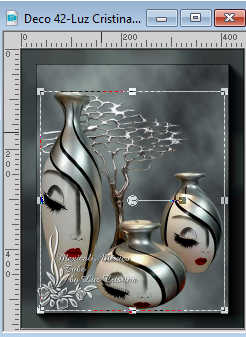
Edit>Copy.
Go back to your work and go to Edit>Paste as new layer.
Image>Resize, to 70%, resize all layers not checked.
Adjust>Sharpness>Sharpen.
Move  the tube at the bottom right. the tube at the bottom right.
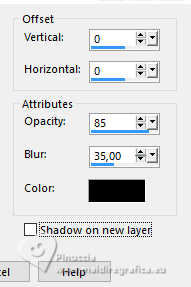
Effects>3D Effects>Drop shadow, at your choice; for me
32. Open your main tube AR541 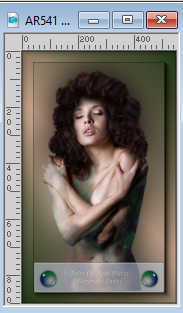
Edit>Copy.
Go back to your work and go to Edit>Paste as new layer.
Image>Resize, to 80%, resize all layers not checked.
Adjust>Sharpness>Sharpen.
Move  the tube to the left side. the tube to the left side.
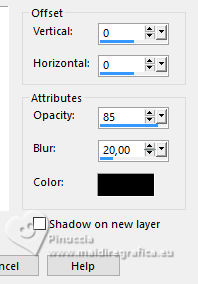
Effects>3D Effects>Drop Shadow, at your choice, for me:
33. Image>Add borders, 1 pixel, symmetric, color white.
Image>Add borders, 1 pixel, symmetric, background color.
Image>Add borders, 1 pixel, symmetric, foreground color.
34. Image>Resize, 1000 pixels width, resize all layers checked.
35. Sign your work on a new layer.
Layers>Merge>Merge All and save as jpg.
For the tubes of this version thanks Vera Mendes, Nena Silva and Elly
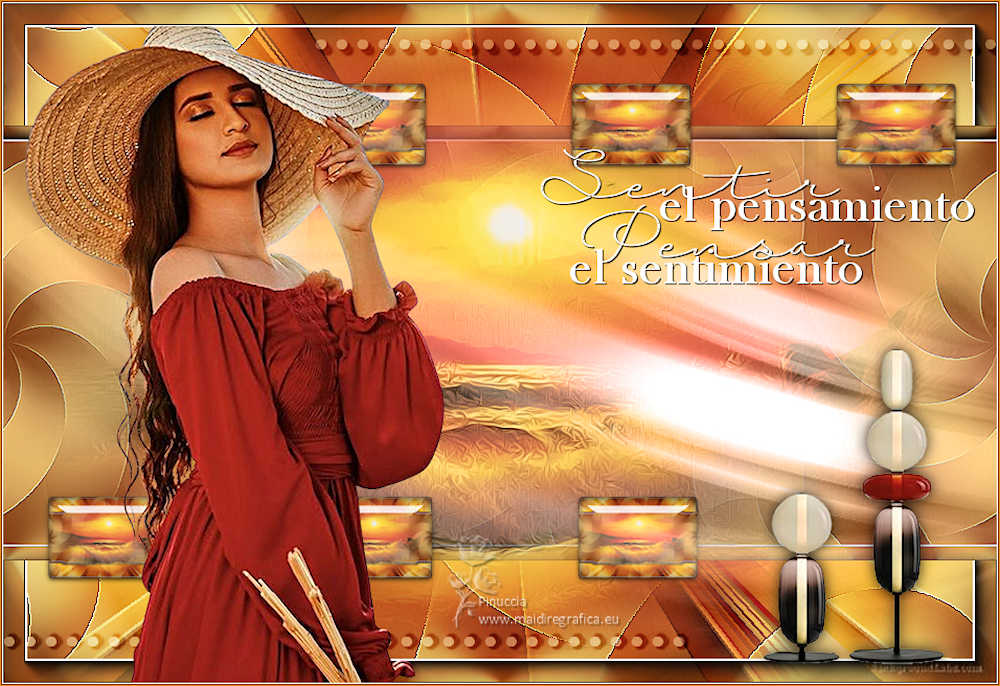

If you have problems or doubts, or you find a not worked link, or only for tell me that you enjoyed this tutorial, write to me.
17 February 2024

|
 FEELINGS

 FEELINGS