|
PAISAJE DE LA LUZ EN OTOÑO


Thanks Yedralina for your invitation to translate your tutorials into english

This tutorial was written with CorelX19 and translated with CorelX17, but it can also be made using other versions of PSP.
Since version PSP X4, Image>Mirror was replaced with Image>Flip Horizontal,
and Image>Flip with Image>Flip Vertical, there are some variables.
In versions X5 and X6, the functions have been improved by making available the Objects menu.
In the latest version X7 command Image>Mirror and Image>Flip returned, but with new differences.
See my schedule here
 italian translation here italian translation here
 french translation here french translation here
 your versions here your versions here
For this tutorial, you will need:
Material here
Thanks for the tube OBG (OBG_1266).
The rest of the material is by Yedralina.
(The links of the tubemakers here).
Plugins:
consult, if necessary, my filter section here
Filters Unlimited 2.0 here
Kiwi - Zig Zack here
Graphics Plus - Cross Shadow here
RCS Filter pak - RCS-Triple Exposure here
Mystic Nights - Rainbow here
Filtres Kiwi and Graphics Plus can be used alone or imported into Filters Unlimited.
(How do, you see here)
If a plugin supplied appears with this icon  it must necessarily be imported into Unlimited it must necessarily be imported into Unlimited

You can change Blend Modes according to your colors.
In the newest versions of PSP, you don't find the foreground/background gradient (Corel_06_029).
You can use the gradients of the older versions.
The Gradient of CorelX here
Open the mask in PSP and minimize it with the rest of the material.

Set your foreground color to #59371d,
and your background color to #d19767.
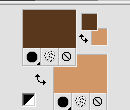
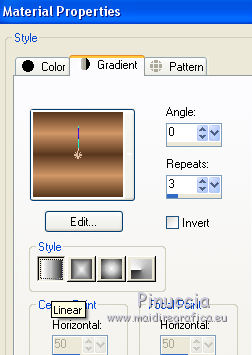
Set your foreground color to a Foreground/Background Gradient, style Linear.
1. Open CanalAlpha.
Window>Duplicate or, on the keyboard, shift+D to make a copy.

Close the original.
The copy, that will be the basis of your work, is not empty,
but contains the selections saved to alpha channel.
Flood Fill  the transparent image with your Gradient. the transparent image with your Gradient.
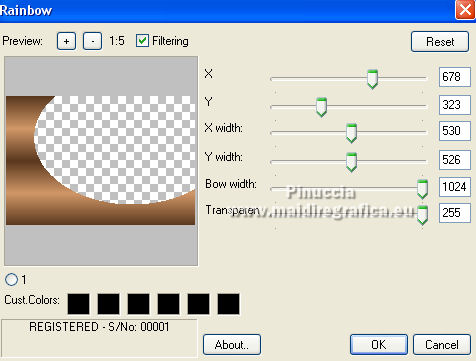
2. Effects>>Mystic Nights - Rainbow.
3. Effects>>Filters Unlimited 2.0 - RCS Triple Exposure, default settings.
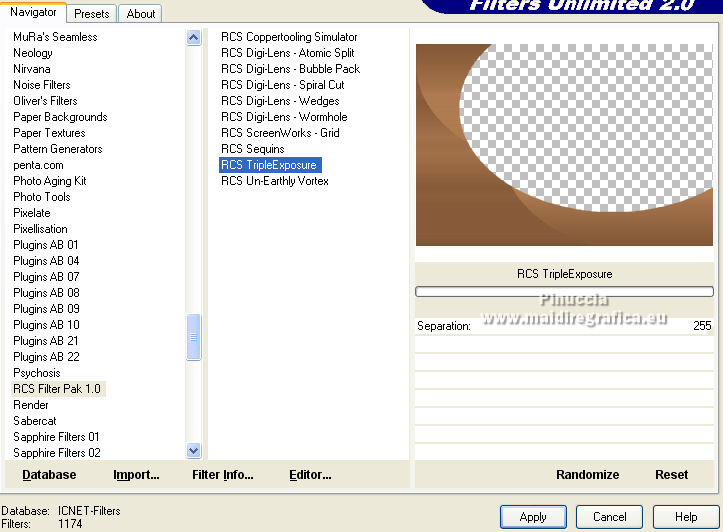
this is one of the effects that can give different results depending on the version of Unlimited used.
For this translation I used the software version of Unlimited, which must be installed.
You can see the difference in my French translation, where I used the Unlimited version which doesn't need installation, because it is composed by files in 8bf format.
4. Activate your Magic Wand Tool  , feather and tolerance 0, , feather and tolerance 0,
and click in the transparent part to select it.
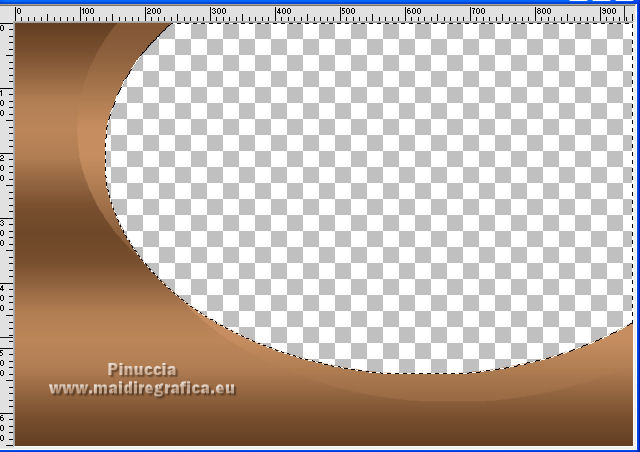
Layers>New Raster Layer.
Flood Fill  the selection with your Gradient. the selection with your Gradient.
Selections>Invert.
Effects>3D Effects>Drop Shadow, color black.
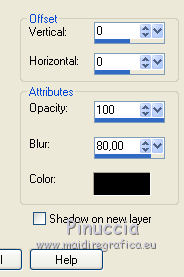
Selections>Invert.
Keep selected.
5. Layers>New Raster Layer.
Open the landscape misted and go to Edit>Copy.
Go back to your work and go to Edit>Paste into Selection.
Selections>Select None.
6. Activate your background layer.
Selections>Load/Save Selection>Load Selection from Alpha Channel.
The selection #1 is immediately available. You just have to click Load.
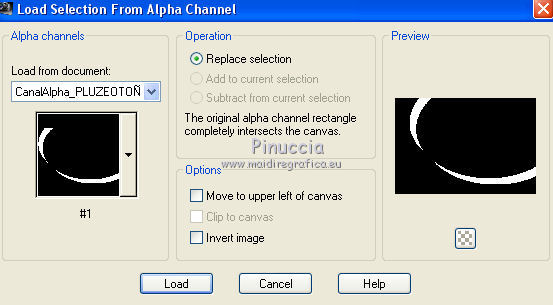
Effects>Artistic Effects>Halftone.
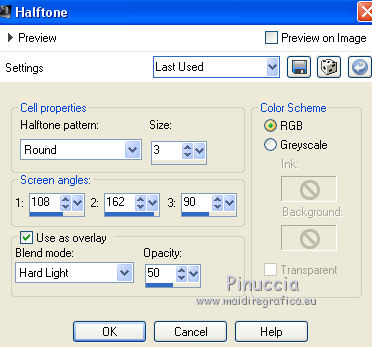
Effects>3D Effects>Drop Shadow, same settings.

Selections>Select None.
7. Layers>New Raster Layer.
Layers>Arrange>Bring to Top.
Selections>Load/Save Selection>Load Selection from Alpha Channel.
Open the selections menu and load the selection #2.
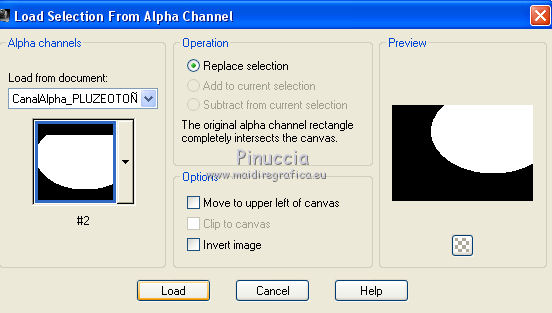
Flood Fill  the selection with your Gradient. the selection with your Gradient.
Selections>Select None.
Effects>>*V* Kiwi's Pelfilter - Zig Zack, default settings.
for the rules of the alphabetical order, because of the *V*,
you find the filter at the bottom of the list after the letter Z.
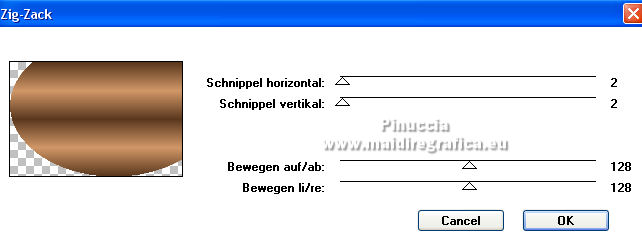
Effects>Edge Effects>Enhance.
Change the Blend Mode of this layer to Screen and reduce the opacity +/-75%.
8. Activate again your background layer.
Layers>New Raster Layer.
Flood Fill  the layer with your Gradient. the layer with your Gradient.
Layers>New Mask layer>From image
Open the menu under the source window and you'll see all the files open.
Select the mask Masc133©Yedralina
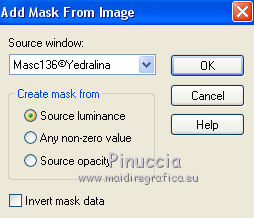
Layers>Merge>Merge Group.
Effects>Edge Effects>Enhance.
K key to activate your Pick Tool 
keep Position X 0,00 and set Position Y: 411,00.

M key to deselect the Tool.
Effects>3D Effects>Drop Shadow, foreground color.
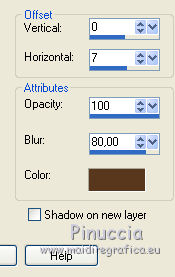
if you prefer, you can change the Blend Mode to Luminance (legacy).
9. Activate your top layer.
Open the deco tube, for me the leaves, and go to Edit>Copy.
Go back to your work and go to Edit>Paste as new layer.
Image>Resize, to 65%, resize all layers not checked.
You can change the Blend Mode to Luminance (legacy),
or, as in my example, change color with
Adjust>Hue and Saturation>Colorize.
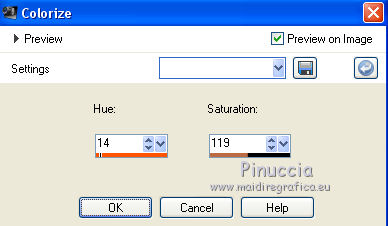
Effects>3D Effects>Drop Shadow, to your liking.
10. Open your main tube and go to Edit>Copy.
Go back to your work and go to Edit>Paste as new layer.
Move  the tube to the left side. the tube to the left side.
Effects>3D Effects>Drop Shadow, to your liking.
11. Activate your background layer.
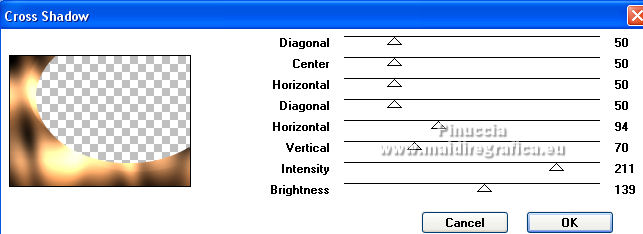
Effects>>Graphics Plus - Cross Shadow.
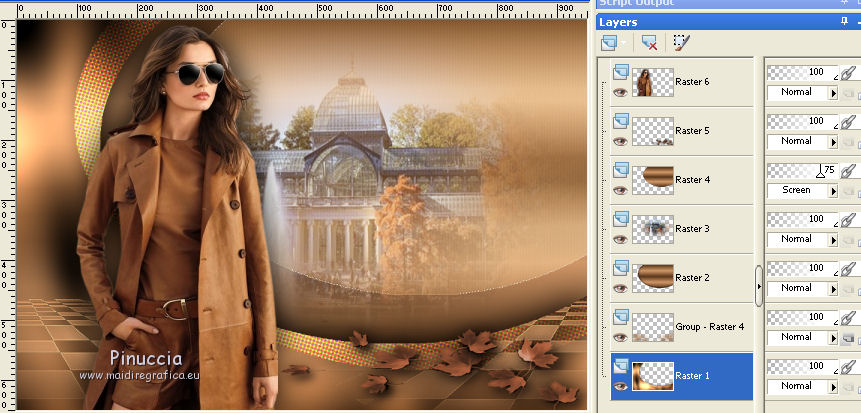
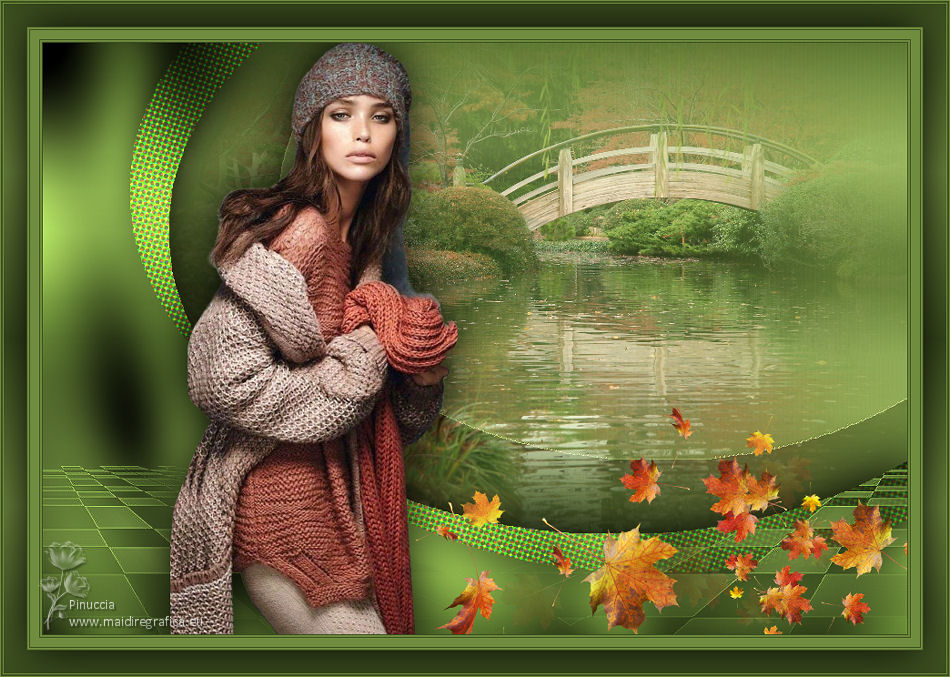
12. You should have this:
13. Image>Add borders, 1 pixel, symmetric, dark color.
Image>Add borders, 2 pixels, symmetric, light color.
Image>Add borders, 1 pixel, symmetric, scuro.
Image>Add borders, 10 pixels, symmetric, light color.
Image>Add borders, 1 pixel, symmetric, dark color.
Image>Add borders, 2 pixels, symmetric, light color.
Image>Add borders, 1 pixel, symmetric, scuro.
Selections>Select All.
Image>Add borders, 25 pixels, symmetric, whatever color.
Selections>Invert.
Flood Fill  the selection with your gradient. the selection with your gradient.
Selections>Invert.
Effects>3D Effects>Drop Shadow, color black.

Selections>Select None.
Image>Add borders, 1 pixel, symmetric, light color.
Image>Add borders, 2 pixels, symmetric, dark color.
Image>Add borders, 1 pixel, symmetric, chiaro.
14. Image>Resize, 1000 pixels width, resize all layers checked.
Sign your work on a new layer.
Layers>Merge>Merge All and save as jpg.
Version with tube by Yedralina (2090©Yedralina), the other tubes are not signed.
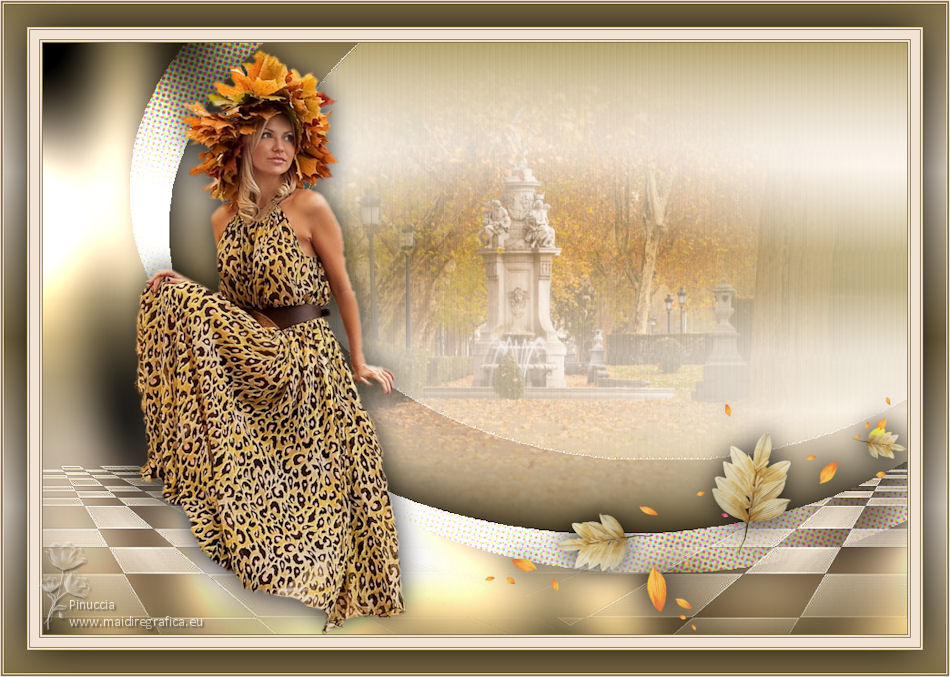
Version with tube by Nena Silva (the landscape is mine)

If you have problems or doubts, or you find a not worked link, or only for tell me that you enjoyed this tutorial, write to me.
14 Septembre 2021

|


