|
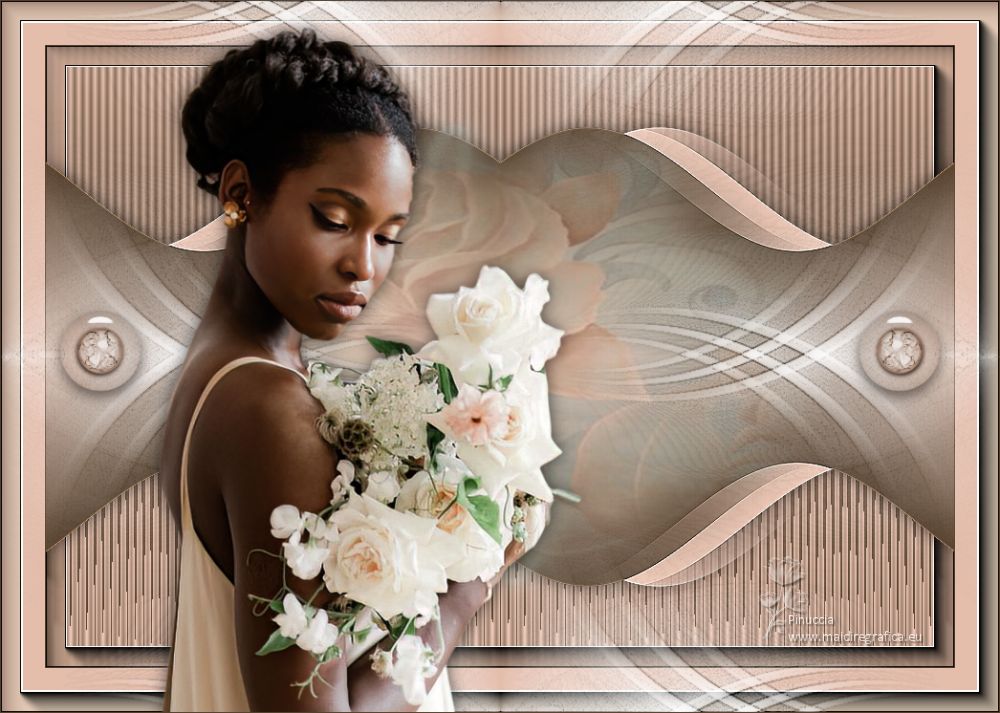
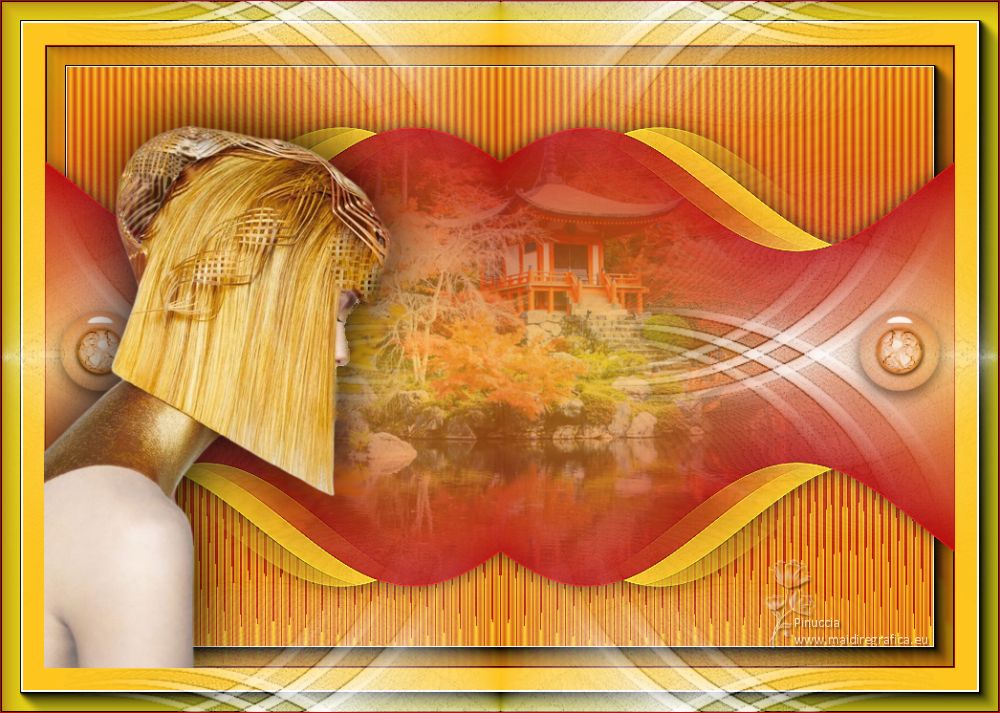
NALA

Nala is a feminine name originating from many African cultures.
In Swahili, this name means queen, lion and successful.
Nala is also a masculine name that in the Hindi language meaning stem or hoolow reed.
The variant Nahla, which is of Arabic origin, means drink of water.
No matter where your definition allegiances lie, this name is multi-faceted just like the gems of a queen's crown.

Thanks Yedralina for your invitation to translate your tutorials into english

This tutorial was written with CorelX19 and translated with CorelX17, but it can also be made using other versions of PSP.
Since version PSP X4, Image>Mirror was replaced with Image>Flip Horizontal,
and Image>Flip with Image>Flip Vertical, there are some variables.
In versions X5 and X6, the functions have been improved by making available the Objects menu.
In the latest version X7 command Image>Mirror and Image>Flip returned, but with new differences.
See my schedule here
 italian translation here italian translation here
 french translation here french translation here
 your versions here your versions here
For this tutorial, you will need:

For the tube thanks Nena Silva.
Image by pngwing.com.
The rest of the material is by Yedralina.
(The links of the tubemakers here).

consult, if necessary, my filter section here
Filters Unlimited 2.0 here
AAA Frames - Foto Frame here
Mura's Seamless Emboss at Zigzag here
Filters Mura's Seamless can be used alone or imported into Filters Unlimited.
(How do, you see here)
If a plugin supplied appears with this icon  it must necessarily be imported into Unlimited it must necessarily be imported into Unlimited

You can change Blend Modes according to your colors.
In the newest versions of PSP, you don't find the foreground/background gradient (Corel_06_029).
You can use the gradients of the older versions.
The Gradient of CorelX here

Copy the Selection in the Selections Folder.
Set your foreground color to #56412e,
and your background color to #efc8b6.
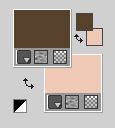
Set your foreground color to a Foreground/Background Gradient, style Linear
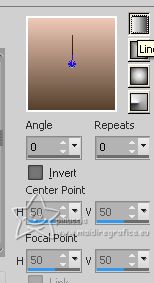
1. Open a new transparent image 950 x 650 pixels.
Flood Fill  the transparent image with your Gradient. the transparent image with your Gradient.
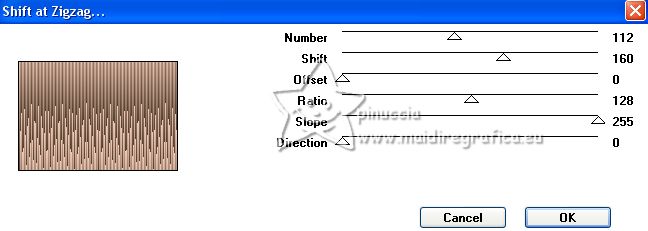
2. Effects>Plugins>Mura's Seamless - Shift at Zigzag.
3. Layers>New Raster Layer.
Selections>Load/Save Selection>Load Selection from Disk.
Look for and load the selection ©Yedralina_Sel069.
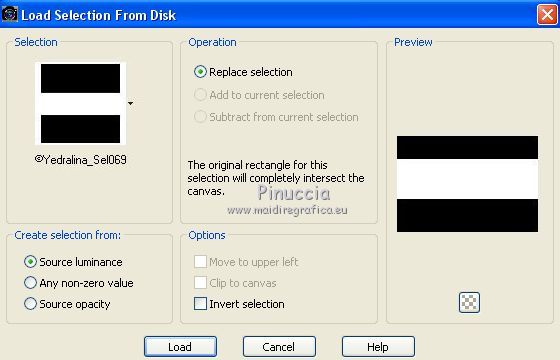
4. Flood Fill  the selection with your Gradient. the selection with your Gradient.
Selections>Select None.
5. Effects>Distortion Effects>Wave.
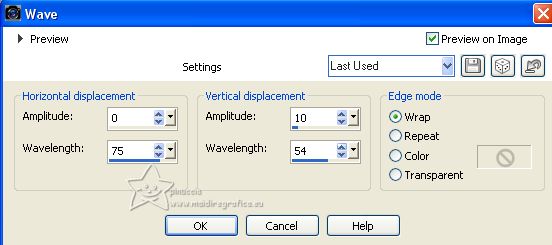
6. Layers>Duplicate.
Image>Mirror.
Image>Flip>Flip Vertical.
Attention please, this command is not the same as the old Image>Flip,
therefore if you are using an older version, or a scripted version (see here),
you will not have the same result; for this:
after Image>Flip, activate your Pick Tool 
and set Position X: 0,00 and Position Y: 85,00
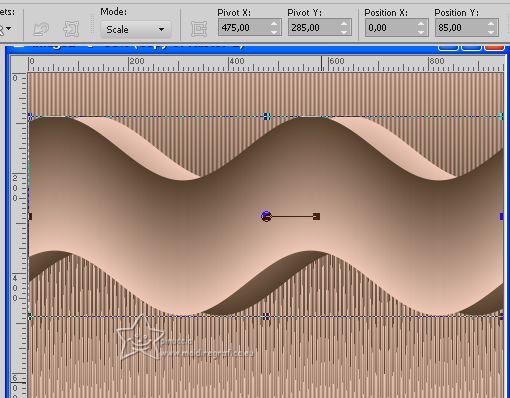
Layers>Merge>Merge Down.
7. Effects>Image Effects>Seamless Tiling.

8. Image>Mirror.
9. Effects>Reflection Effects>Rotating Mirror.

10. Effects>Reflection Effects>Rotating Mirror.

Effects>Edge Effects>Enhance.
11. Effects>3D Effects>Drop shadow, color black.
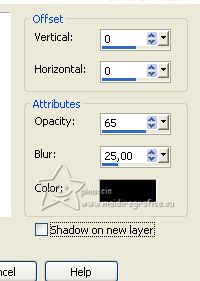
12. Selections>Select All.
Layers>New Raster Layer.
13. Open the misted pngwing.com-2022-01-23T14.... 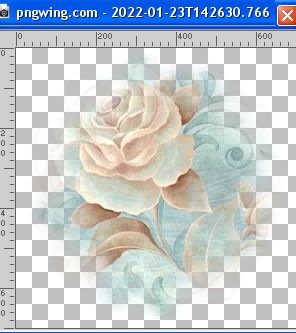
Edit>Copy.
Go back to your work and go to Edit>Paste into Selection.
14. Image>Resize, if necessary (for me to 80%,
after applying the mask 20-20 2 times).
15. Reduce the opacity of this layer according to your colors, for me to 40%.
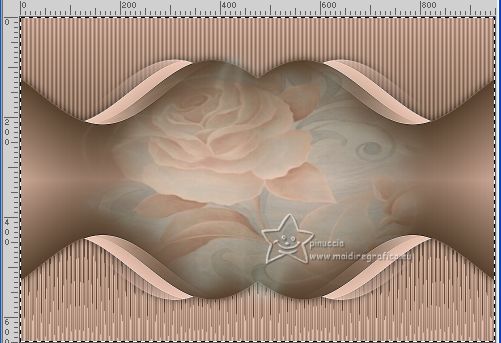
Selections>Select None.
16. Activate your background layer.
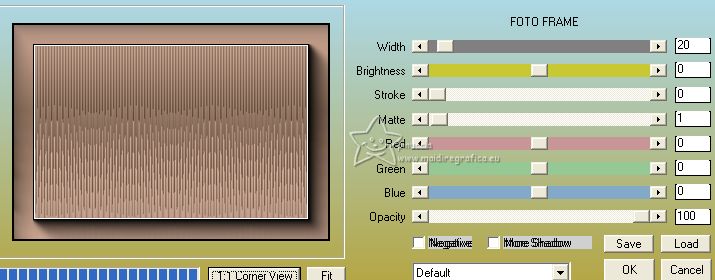
Effects>Plugins>AAA Frames - Foto Frame.
17. Image>Add borders, 1 pixel, symmetric, foreground color.
Image>Add borders, 1 pixel, symmetric, background color.
18. Selections>Select All.
Image>Add borders, 45 pixels, symmetric, whatever color (for me the light color).
19. Selections>Invert.
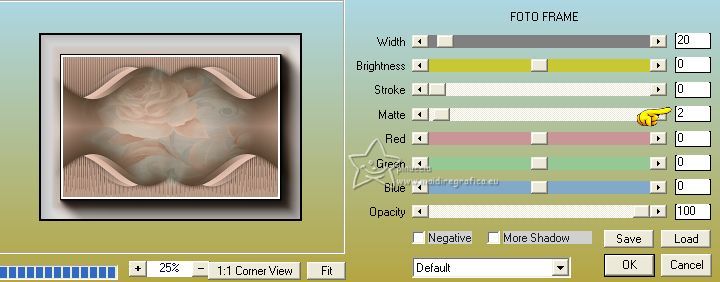
Effects>Plugins>AAA Frames - Foto Frame.
20. Selections>Select All.
Layers>New Raster Layer.
21. Open the tube Deco00302©Yedralina 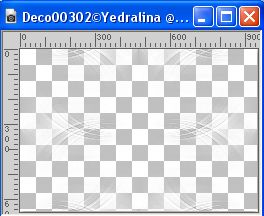
Edit>Copy.
Go back to your work and go to Edit>Paste into Selection.
Selections>Select None.
22. Open the tube deco00141B©Yedralina 
Edit>Copy.
Go back to your work and go to Edit>Paste as new layer.
Don't move it.
23. Change the Blend mode of this layer to Luminance.
24. Open your main tube ns-woman2840 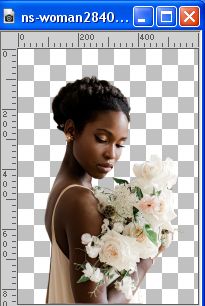
Edit>Copy.
Go back to your work and go to Edit>Paste as new layer.
Image>Resize, if necessary, for me to 95%, resize all layers not checked.
Adjust>Sharpness>Sharpen.
Place  correctly the tube. correctly the tube.
25. Effects>3D Effects>Drop Shadow, same settings.

26. Image>Add borders, 1 pixel, symmetric, foreground color.
27. Image>Resize, 1000 pixels width, resize all layers checked.
28. Sign your work on a new layer.
29. Add any credits on a new layer.
30. Layers>Merge>Merge All and save as jpg.
For the tubes of these versions thanks:
Laurette and Sonia
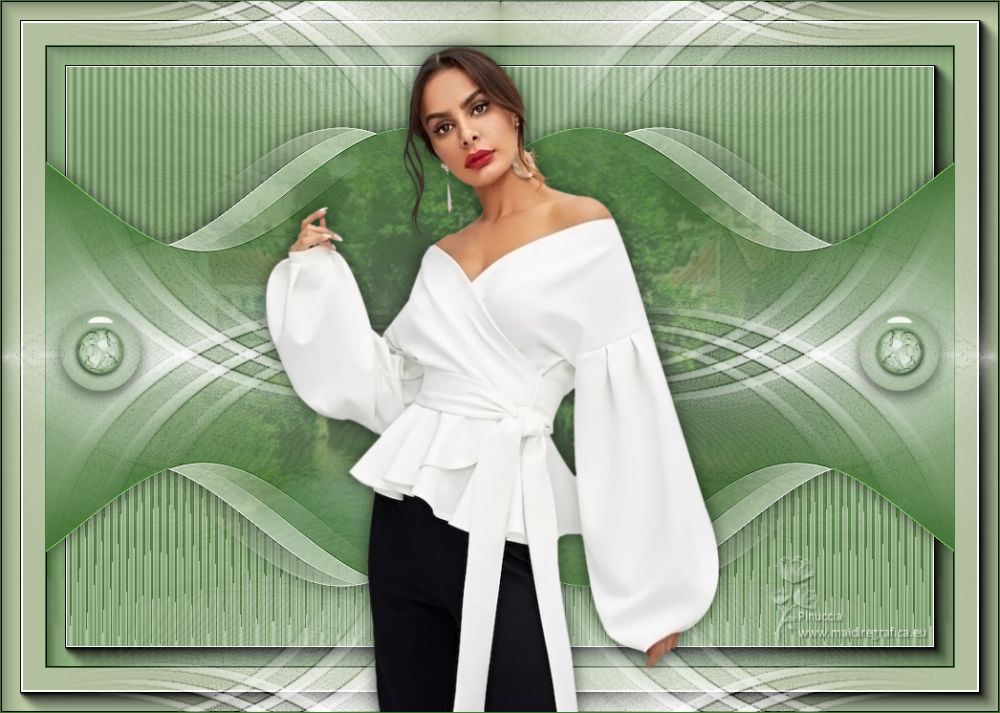
Azalée (the misted is mine)
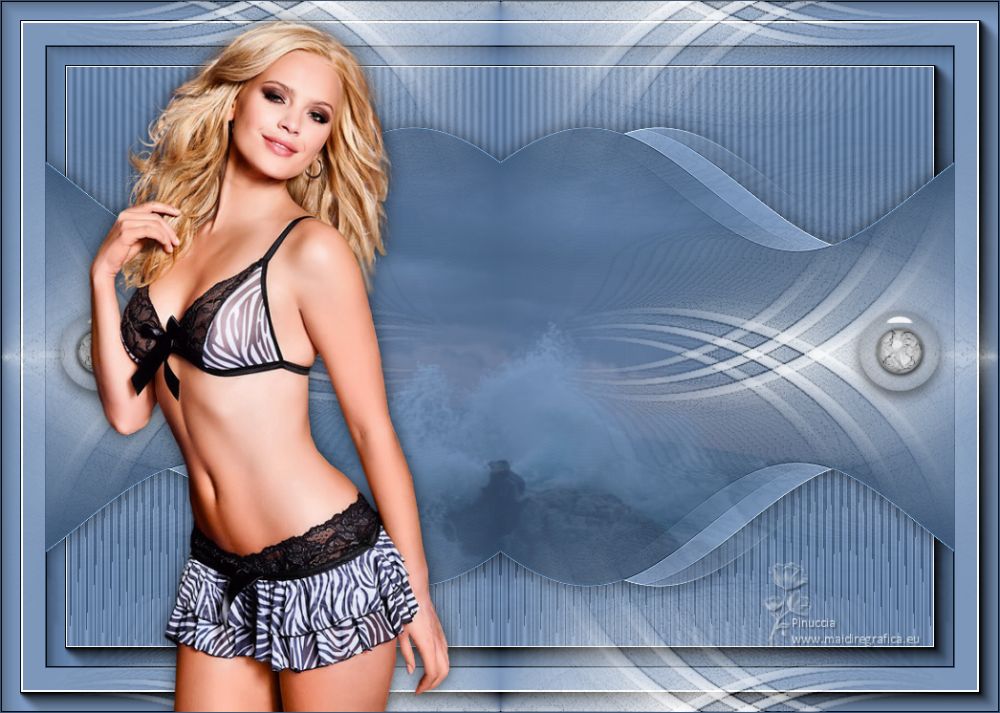
NaiseM (the misted is mine)


If you have problems or doubts, or you find a not worked link, or only for tell me that you enjoyed this tutorial, write to me.
26 June 2023

|

