|
MUNDO CRUZADOS
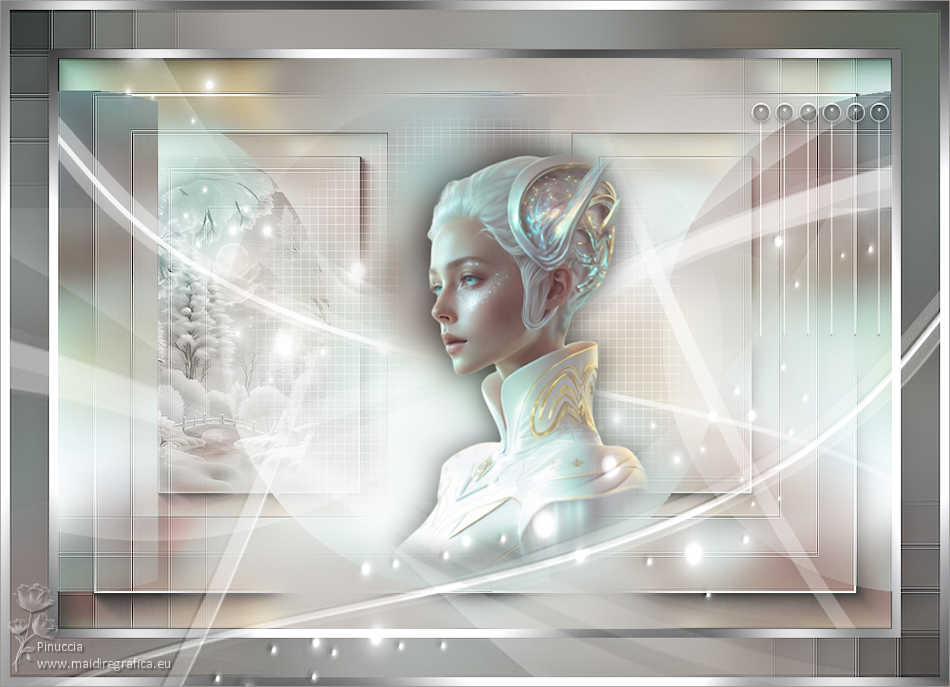
 CROSSED WORLDS CROSSED WORLDS

Thanks Yedralina for your invitation to translate your tutorials into english

This tutorial was written with PSP2020 and translated with PSPX9 and PSP2020, but it can also be made using other versions of PSP.
Since version PSP X4, Image>Mirror was replaced with Image>Flip Horizontal,
and Image>Flip with Image>Flip Vertical, there are some variables.
In versions X5 and X6, the functions have been improved by making available the Objects menu.
In the latest version X7 command Image>Mirror and Image>Flip returned, but with new differences.
See my schedule here
 italian translation here italian translation here
 french translation here french translation here
 your versions here your versions here

For this tutorial, you will need:

Thanks for the tubes Renée, Silvie and for the mask Narah.
(The links of the tubemakers here).

consult, if necessary, my filter section here
Filters Unlimited 2.0 here
Graphics Plus - Cross Shadow here
FM Tile Tools - Blend Emboss here
VM Toolbox - Grid here
VanDerLee - Unplugged-X here
AAA Frames - Foto Frame here
RCS Filter Pak 1.0 - RCS Triple Exposure here
Filters Graphics Plus, VM Toolbox, RCS can be used alone or imported into Filters Unlimited.
(How do, you see here)
If a plugin supplied appears with this icon  it must necessarily be imported into Unlimited it must necessarily be imported into Unlimited

You can change Blend Modes according to your colors.
In the newest versions of PSP, you don't find the foreground/background gradient (Corel_06_029).
You can use the gradients of the older versions.
The Gradient of CorelX here

Copy the preset Emboss 3 and Double Vision in the Presets Folder.
Open the mask in PSP and minimize it with the rest of the material.
Set your foreground color to #9a9591,
and your background color to #edecee.
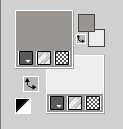
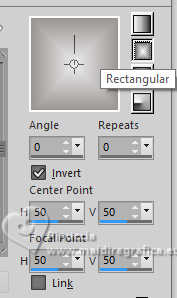
Set your foreground color to a Foreground/Background Gradient, style Rectangular.
2. Open CanalAlpha_Mundos_cruzados
Window>Duplicate or, on the keyboard, shift+D to make a copy.

Close the original.
The copy, that will be the basis of your work, is not empty,
but contains the selections saved to alpha channel.
Flood Fill  the transparent image with your Gradient. the transparent image with your Gradient.
3. Layers>New Raster Layer.
Selections>Select All.
3. Open your main tube Renee-Tubes-Hiver-2023-9 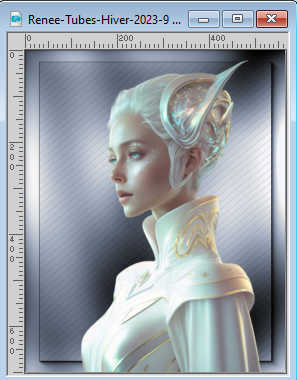
Edit>Copy.
Minimize the tube.
Go back to your work and go to Edit>Paste into Selection.
Selections>Select None.
4. Effects>Image Effects>Seamless Tiling, default settings.

5. Adjust>Blur>Gaussian Blur - radius 15.

6. Effects>Plugins>AAA Frames - Foto Frame.
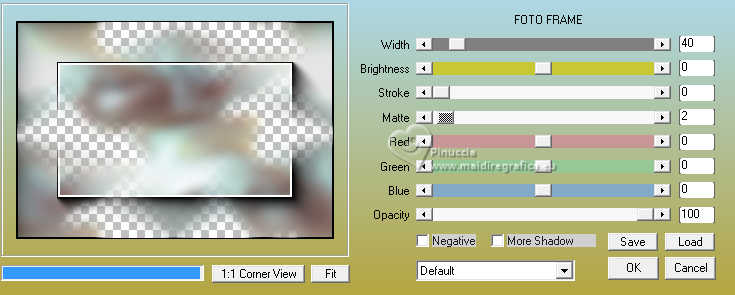
7. Layers>Merge>Merge visible.
Layers>Duplicate.
Close this layer and activate the layer below.
Edit>Copy
8. Selections>Load/Save Selection>Load Selection from Alpha Channel.
The selection #1 is immediately available. You just have to click Load.
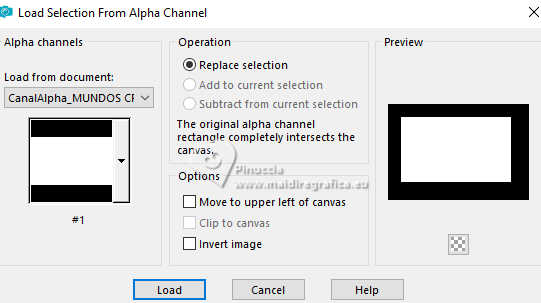
9. Layers>New Raster Layer.
Edit>Paste into Selection.
Selections>Select None.
10. Effects>Plugins>VanDerLee - Unplugged-X - Zoomlens.
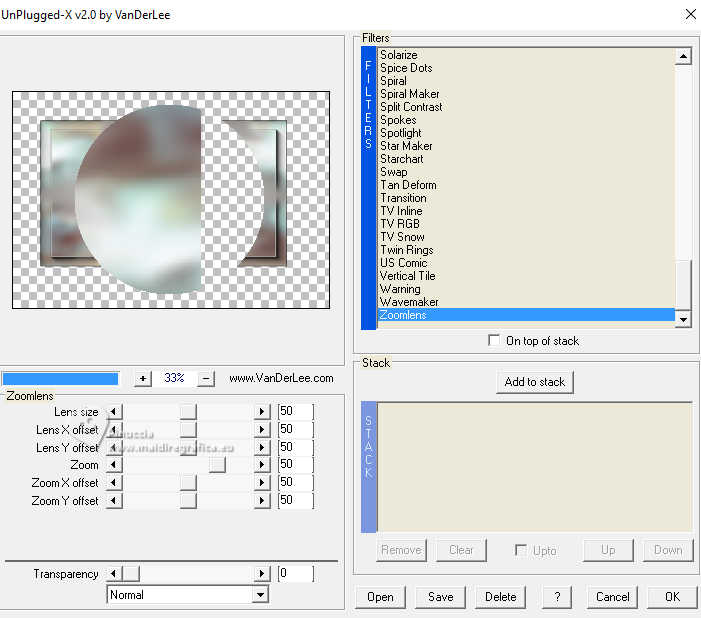
11. Effects>Image Effects>Seamless Tiling, side by side

12. Layers>New Raster Layer.
Flood Fill  the layer with your Gradient. the layer with your Gradient.
13. Open and activate your top layer.
Layers>Merge>Merge Down.
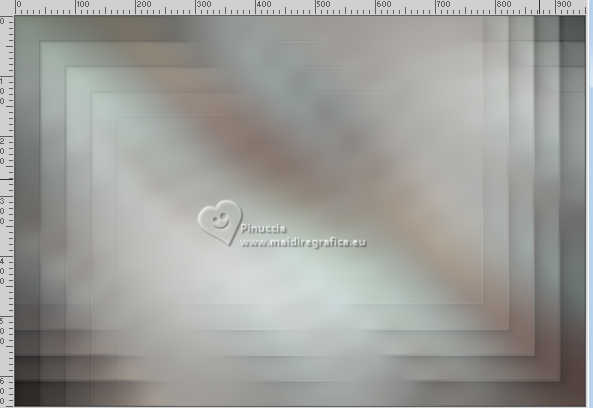
14. Effects>Plugins>RCS Filter Pak 1.0 - RCS Triple Exposure, default settings.
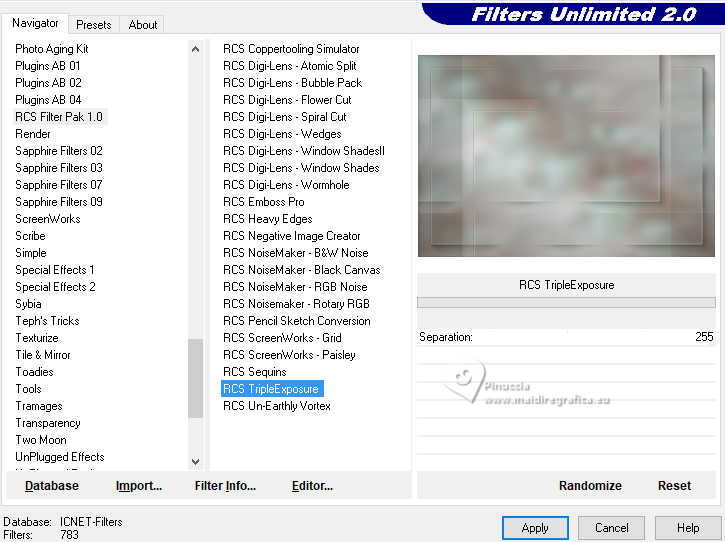
Repeat this Effects again 3 times (for a total of 4 times); result:
15. Layers>Duplicate.
Image>Mirror>Mirror vertical (Image>Flip).
Image>Mirror>Mirror horizontal (Image>Mirror).
16. Change the Blend Mode of this layer to in Luminance (legacy) and reduce the opacity to 50%.
Layers>Merge>Merge Down.
Effects>Edge Effects>Enhance.
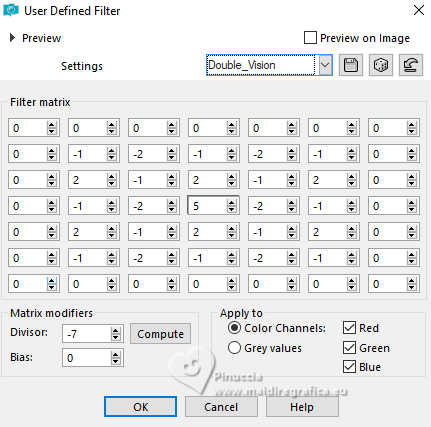
17. Effects>User Defined Filter - select the preset Double_Vision and ok.
18. Change the Blend Mode of this layer to Overlay.
Edit>Copy.
Edit>Paste as new image, and minimize this image: you'll use it later.
19. Go back to your work.
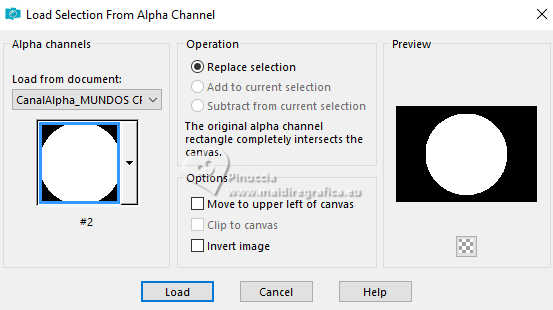
Selections>Load/Save Selection>Load Selection from Alpha Channel.
Open the selections menu and load the selection #2
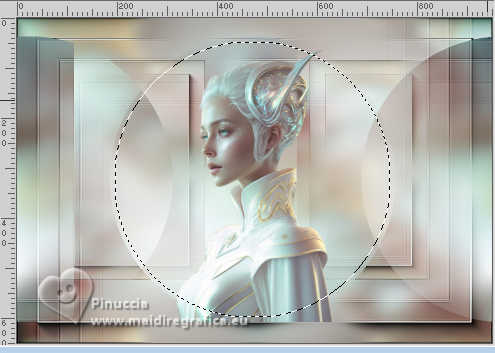
20. Activate again your main tube Renee-Tubes-Hiver-2023-9 and go to Edit>Copy.
Go back to your work and go to Edit>Paste as new layer.
Image>Resize, to 80%, resize all layers not checked.
Place  the tube on the selection, to your liking. the tube on the selection, to your liking.
21. Selections>Invert.
Press CANC on the keyboard 
22. Selections>Invert.
Layers>Duplicate.
Activate the layer below, Raster 3.
23. Adjust>Blur>Gaussian Blur - radius 20.

24. Layers>Duplicate.
Keep always selected.
25. Effects>Plugins>VM Toolbox - Grid.
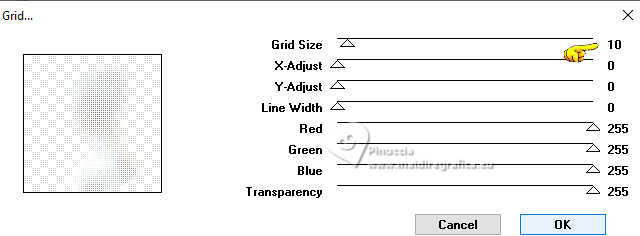
26. Layers>Arrange>Move Down,
and keep always selected.
27. Activate the top layer of the tube.
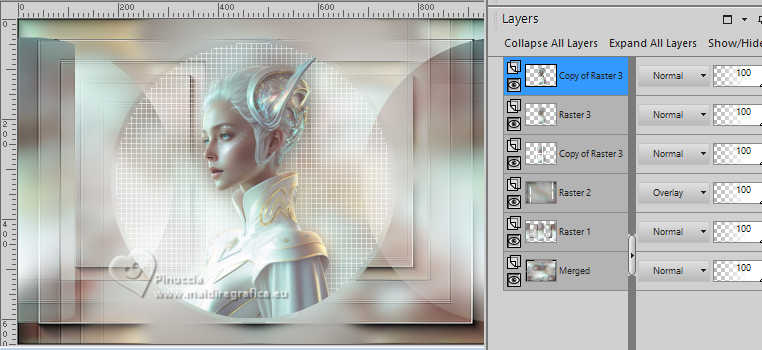
Activate your Pick tool (K) 
to reduce and position the tube inside the circle (slightly to the right).
Attention, after activating the Pick Tool, you'll have this
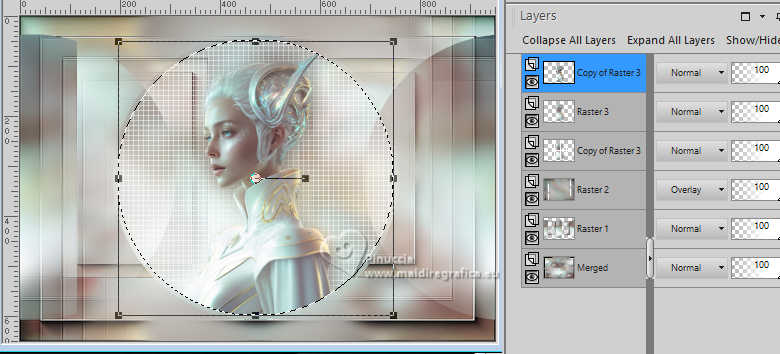
after clicking in the center of the selection to use the Pick Tool,
this will remove the selection, the Pick grid will surround the tube,
and a Promoted Selection layer will create.
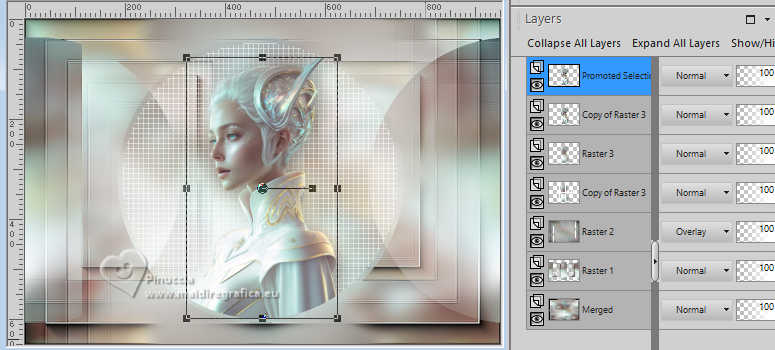
Fit and move the tube to the right.
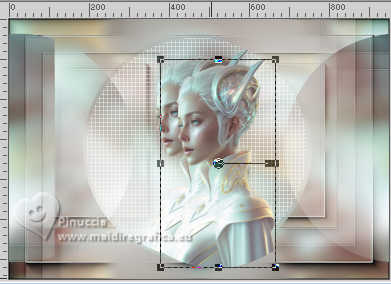
Load again the selection2
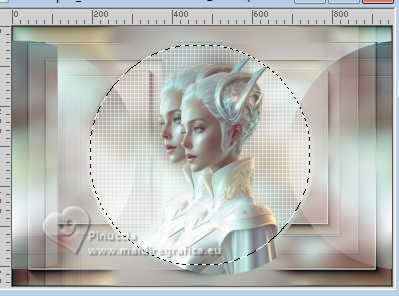
Delete the layer below and activate again your top layer.
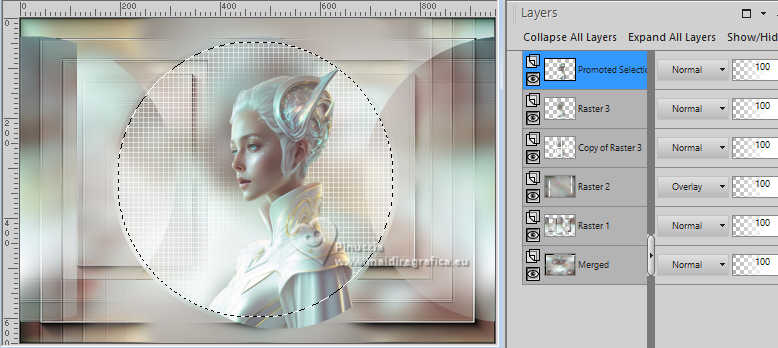
28. Selections>Modify>Inside/Outside Feather.
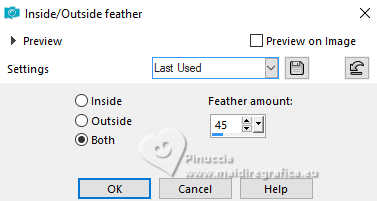
29. Selections>Invert.
Press CANC +/- 7 time
30. Keep selected and repeat CANC on the other two layers of the tube.
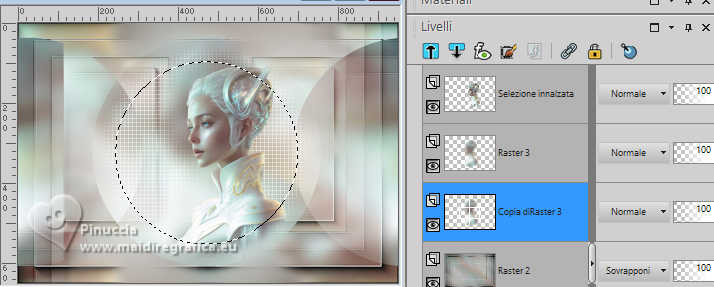
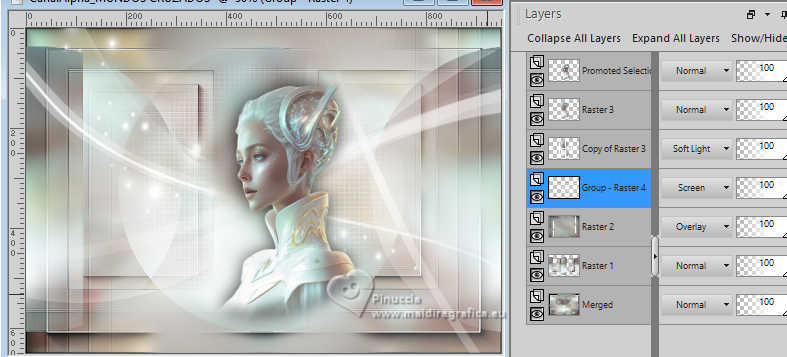
Change che Blend Mode of the lower level of the tubes, Copy of Raster 3, to Soft Light.
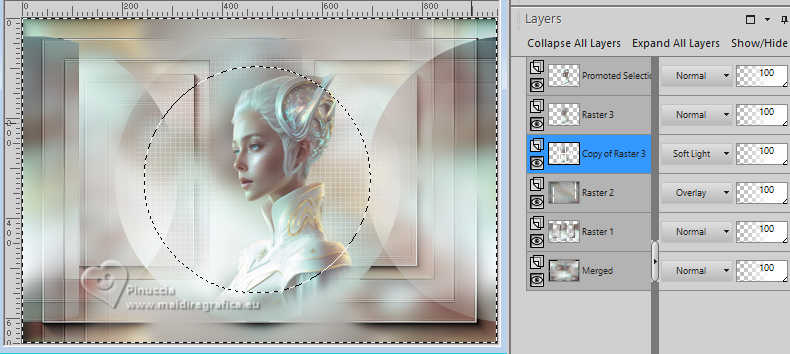
Selections>Select None.
31. Activate again the upper level of the tubes.
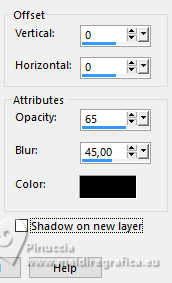
Effects>3D Effects>Drop Shadow, color black.
32. Set your foreground color to white.
Layers>New Raster Layer.
Flood Fill  the layer with color white. the layer with color white.
33. Layers>New Mask layer>From image
Open the menu under the source window and you'll see all the files open.
Select the mask NarahsMasks_1811
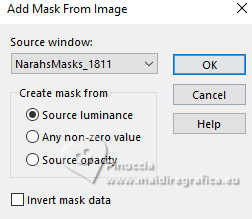
Layers>Merge>Merge Group.
Layers>Arrange>Move Down - 3 times.
34. Effects>Plugins>FM Tile Tools - Blend Emboss, default settings.

35. Image>Mirror>Mirror horizontal (Image>Mirror).
Adjust>Sharpness>Sharpen.
Change the Blend Mode of this layer to Screen, or to your liking.
36. Open the tube deco00338©Yedralina 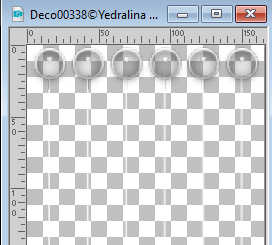
Edit>Copy.
Go back to your work and go to Edit>Paste as new layer.
Layers>Arrange>Bring to Top.
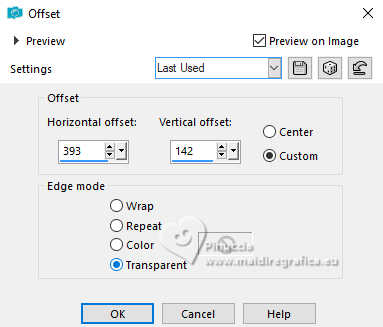
37. Effects>Image Effects>Offset.
38. Activate the layer Merged.
Open the tube Blue_Beautiful_Winter7FR_misted_Silvie_18.01.2024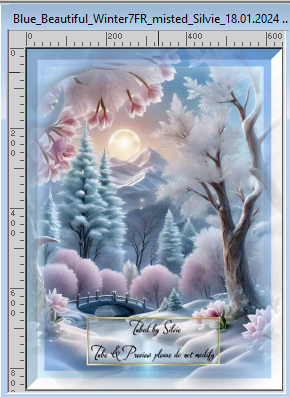
Edit>Copy.
Go back to your work and go to Edit>Paste as new layer.
Image>Resize, 1 time to 60% and 1 time to 80%, resize all layers not checked.
Adjust>Sharpness>Sharpen.
39. K key to activate your Pick Tool 
and set Position X: 81,00 and Position Y: 113,00.
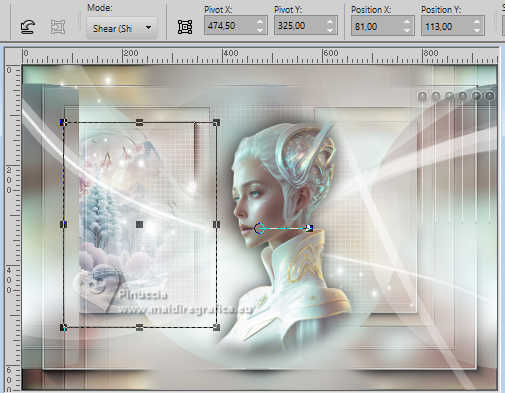
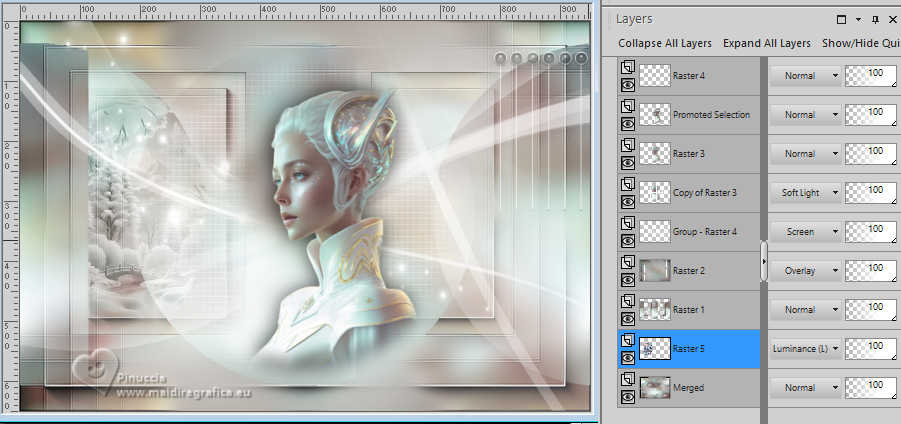
Change the Blend Mode of this layer to Luminance (legacy), or to your liking.
You should have this:
40. Selections>Select All.
Image>Add borders, 10 pixels, symmetric, background color.
Selections>Invert.
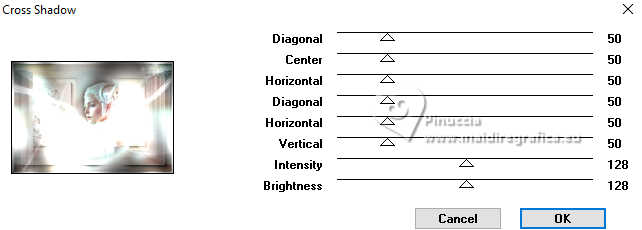
41. Effetti>Plugins>Graphics Plus - Cross Shadow, default settings.
42. Selections>Select All.
Image>Add borders, 45 pixels, symmetric, whatever color.
Selections>Invert.
43. Activate the image minimized at step 18 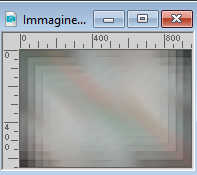
Edit>Copy.
Go back to your work and go to Edit>Paste into Selection.
Image>Mirror>Mirror horizontal (Image>Mirror).
44. Selections>Select None.
Image>Add borders, 10 pixels, symmetric, background color.
Selections>Invert.
45. Repeat Effects>Plugins>Graphics Plus - Cross Shadow, default settings.
46. Image>Mirror>Mirror horizontal (Image>Mirror).
Selections>Select None.
47. Layers>New Raster Layer.
Flood Fill  the layer with color white. the layer with color white.
48. Layers>New Mask layer>From image
Open the menu under the source window
and select again the mask NarahsMasks_1811

Layers>Merge>Merge Group.
49. Effects>User Defined Filter - select the preset Emboss 3 and ok.

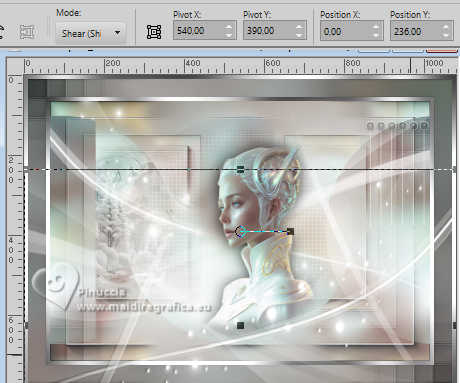
50. K key to activate your Pick Tool 
keep Position X: 0,00 and set Position Y: 236,00.
M key to deselect the Tool.
51. Image>Add borders, 1 pixel, symmetric, foreground color #9a9591
52. Image>Resize, 1000 pixels width, resize all layers checked.
53. Sign your work on a new layer.
Layers>Merge>Merge All and save as jpg.
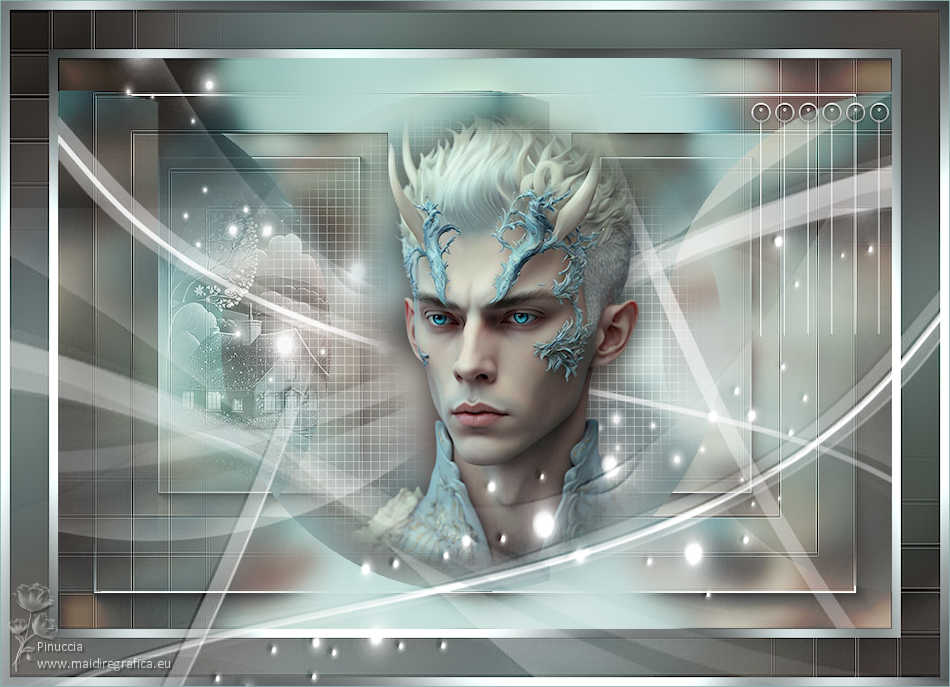
For the tubes of this version thanks Renée and Mentali.

If you have problems or doubts, or you find a not worked link, or only for tell me that you enjoyed this tutorial, write to me.
8 March 2024

|
 CROSSED WORLDS

 CROSSED WORLDS