|
MAS QUE PALABRAS
 MORE THAN WORDS MORE THAN WORDS

Thanks Yedralina for your invitation to translate your tutorials into english

This tutorial was written with CorelX19 and translated with CorelX17, but it can also be made using other versions of PSP.
Since version PSP X4, Image>Mirror was replaced with Image>Flip Horizontal,
and Image>Flip with Image>Flip Vertical, there are some variables.
In versions X5 and X6, the functions have been improved by making available the Objects menu.
In the latest version X7 command Image>Mirror and Image>Flip returned, but with new differences.
See my schedule here
 italian translation here italian translation here
 french translation here french translation here
 your versions here your versions here
For this tutorial, you will need:
Tubes to your liking.
The rest of the material here
Thanks for the tubes Lana (LD-model-784; LD-single rose-002) and AngelStar (AS Tube La87nd34-hy6)
The rest of the material is by Yedralina.
(The links of the tubemakers here).
Plugins:
consult, if necessary, my filter section here
Filters Unlimited 2.0 here
VM Texture - Cross Weave here
VM Extravaganza - James Bondage here
AAA Frames - Foto Frame / optional AAA Filters - Custom here
Filtres VM Texture and VM Extravaganza can be used alone or imported into Filters Unlimited.
(How do, you see here)
If a plugin supplied appears with this icon  it must necessarily be imported into Unlimited it must necessarily be imported into Unlimited

You can change Blend Modes according to your colors.
In the newest versions of PSP, you don't find the foreground/background gradient (Corel_06_029).
You can use the gradients of the older versions.
The Gradient of CorelX here
Place the brush in Brush folder. Attention, please, the brush is composed by two files, you must place both the files in the folder.
See my notes about Brushes here
(in the material, you find also the brush en format jpg in its original dimension).

Set your foreground color to #a8617d,
and your background color to #374566.
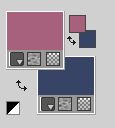
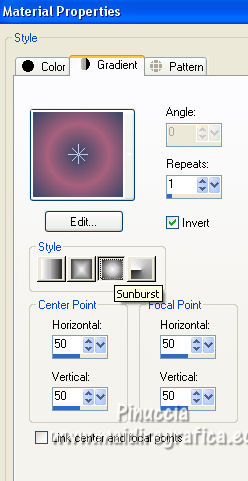
Set your foreground color to a Foreground/Background Gradient, style Sunburst
1. Open CanalAlpha_MQP.
Window>Duplicate or, on the keyboard, shift+D to make a copy.

Close the original.
The copy, that will be the basis of your work, is not empty,
but contains the selections saved to alpha channel.
Flood Fill  the transparent image with your Gradient. the transparent image with your Gradient.
2. Selections>Select All.
Layers>New Raster Layer.
Open your main tube and go to Edit>Copy.
Go back to your work and go to Edit>Paste into Selection.
Selections>Select None.
Effects>Image Effects>Seamless Tiling.

Adjust>Blur>Gaussian Blur - radius 20.

3. Layers>Merge>Merge visible in a new layer.
in the older versions: Edit>Copy Special>Copy Merged.
Edit>Paste as new layer.
Effects>Plugins>Filters Unlimited 2.0 - VM Texture - Cross Weave
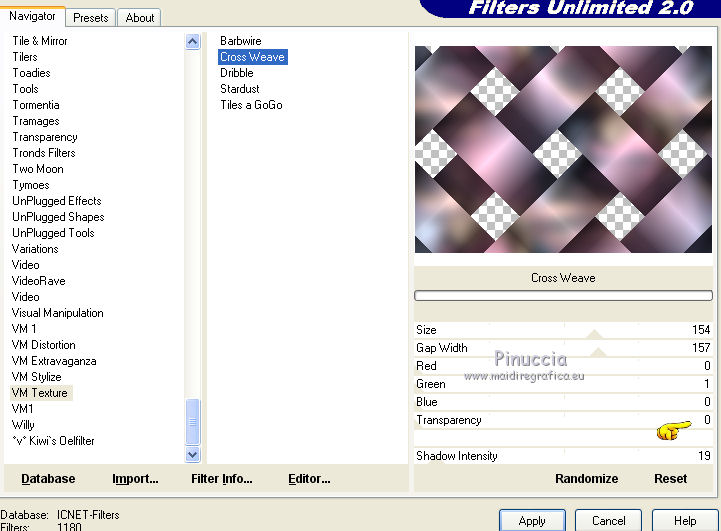
Effects>3D Effects>Drop Shadow, color black.

4. Effects>Plugins>Filters Unlimited 2.0 - VM Extravaganza - James Bondage, default settings.
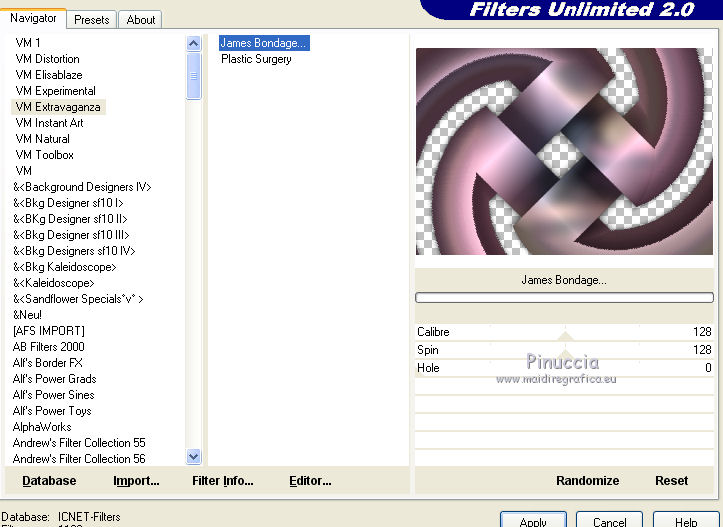
Effects>3D Effects>Drop Shadow, same settings.
5. Effects>Image Effects>Seamless Tiling, same settings.

Effects>Edge Effects>Enhance.
Layers>Arrange>Move Down.
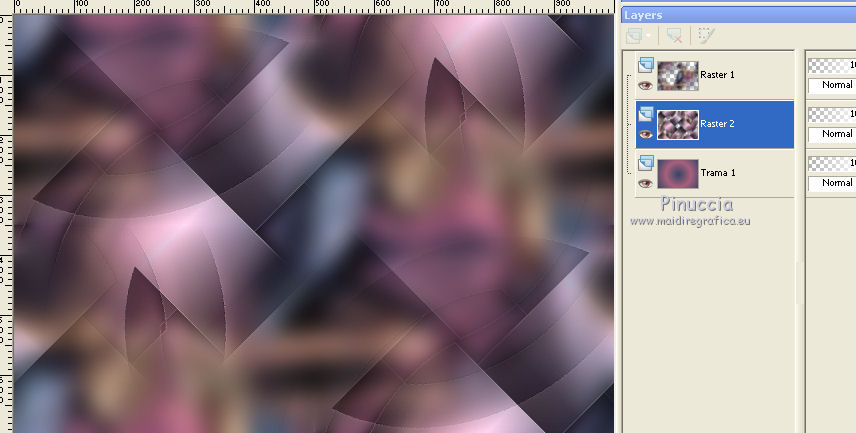
6. Edit>Copy Special>Copy Merged.
Edit>Paste as new image, and minimize this image.
7. Go back to your work.
Layers>New Raster Layer.
Layers>Arrange>Bring to Top.
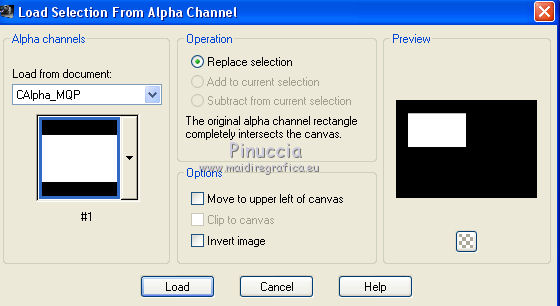
Selections>Load/Save Selection>Load Selection from Alpha Channel.
The selection #1 is immediately available. You just have to click Load.
8. Open your misted and go to Edit>Copy.
Go back to your work and go to Edit>Paste into Selection.
Effects>Plugins>AAA Frames - Foto Frame.
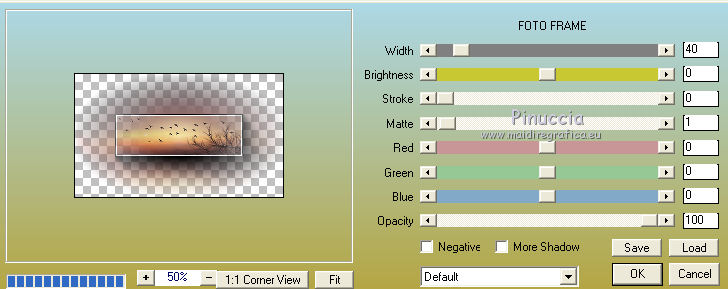
Selections>Select None.
9. Effects>Reflection Effects>Rotating Mirror.

Change the Blend Mode of this layer to Luminance (legacy).
10. Layers>New Raster Layer.
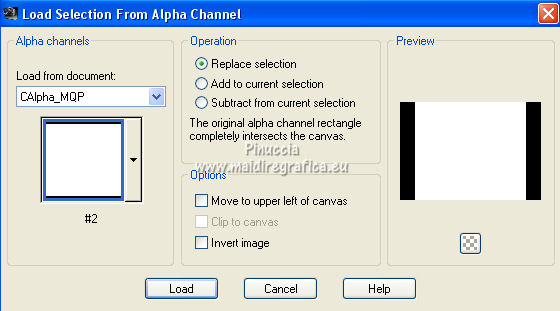
Selections>Load/Save Selection>Load Selection from Alpha Channel.
Open the selections menu and load the selection #2.
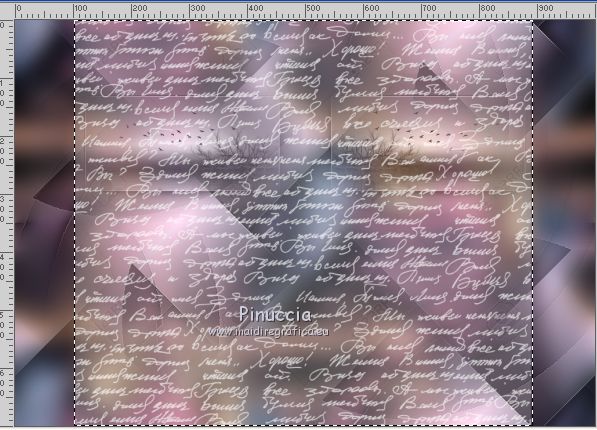
11. Activate your Brush Tool  , ,
look for and select the brush Palabras_Yedra, size 804 pixels

set your foreground color to white,
and apply the brush in the selection, clicking with your left mouse button,
to use your white foreground color.
Selections>Select None.
12. Effects>Image Effects>Seamless Tiling, default settings.

Change the Blend Mode of this layer to Soft Light and reduce the opacity to 75%.
Layers>Arrange Move down - 2 times
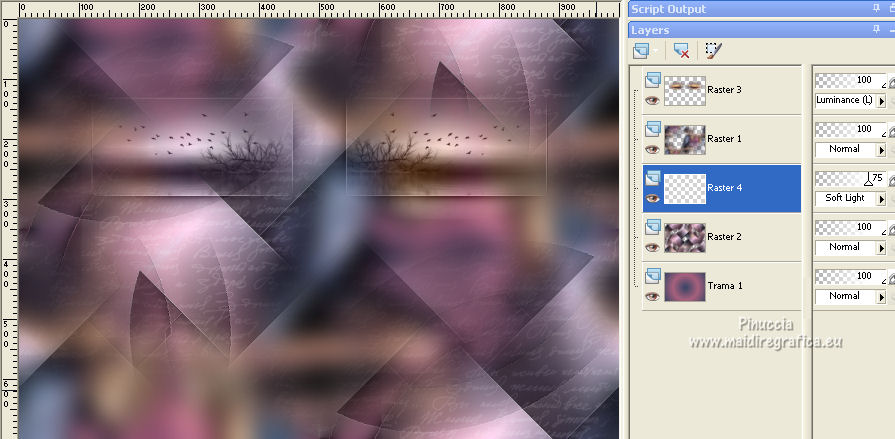
in my second version, to get more visibility, I did the opposite,
I keep the opacity to 100 and I change the Blend Mode to Screen.
This will always depend on the colors and the size of the main tube whis is the level above.
13. Layers>New Raster Layer.
Layers>Arrange>Bring to Top.
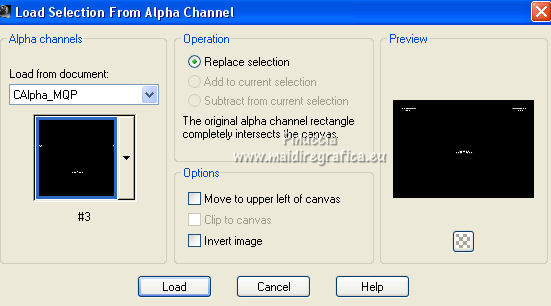
14. Selections>Load/Save Selection>Load Selection from Alpha Channel.
Open the selections menu and load the selection #3.
Set again your foreground color to first color #a8617d,
and set your foreground color to a Foreground/Background Gradient, style Linear.
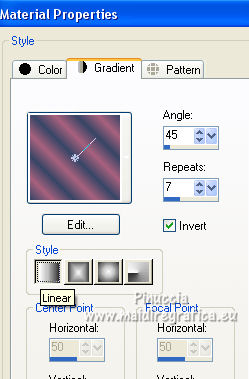
Flood Fill  the selection with your gradient. the selection with your gradient.
if necessary, click several times
Selections>Select None.
Effects>Edge Effects>Enhance.
15. Open your deco tube (for me a flower) and go to Edit>Copy.
Go back to your work and go to Edit>Paste as new layer.
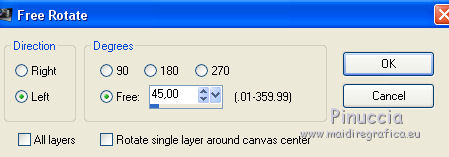
For me: Image>Free Rotate - 45 degrees to left
Move  the tube about as in my example. the tube about as in my example.
Effects>3D Effects>Drop Shadow, color black.

Change the Blend Mode of this layer to Soft Light.
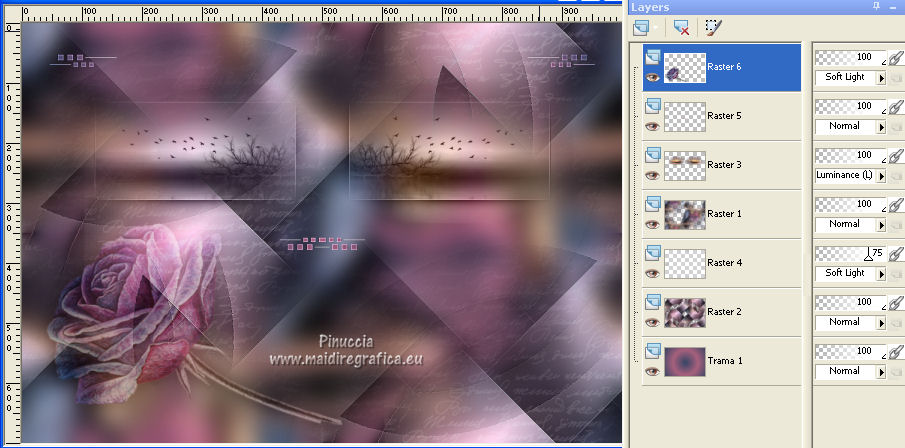
16. Image>Add borders, 1 pixel, symmetric, color white.
Image>Add borders, 1 pixel, symmetric, foreground color.
Image>Add borders, 1 pixel, symmetric, background color.
Image>Add borders, 10 pixels, symmetric, color white.
17. Selections>Select All.
Image>Add borders, 1 pixel, symmetric, foreground color.
Image>Add borders, 1 pixel, symmetric, background color.
Image>Add borders, 25 pixels, symmetric, con un colore qualsiasi.
18. Selections>Invert.
Open the image minimized at step 6 and go to Edit>Copy.
Go back to your work and go to Edit>Paste into Selection.
Effects>Reflection Effects>Rotating Mirror.

Selections>Select None.
19. Image>Add borders, 1 pixel, symmetric, color white.
Image>Add borders, 1 pixels, symmetric, foreground color.
Image>Add borders, 1 pixel, symmetric, background color.
Image>Add borders, 1 pixels, symmetric, color white.
20. Selections>Select All.
Selections>Modify>Contract - 43 pixels.
Effects>3D Effects>Drop Shadow, color black.

Selections>Select None.
21. Activate again your main tube and go to Edit>Copy.
Go back to your work and go to Edit>Paste as new layer.
Image>Resize, if necessary, resize all layers not checked.
Place  correctly the tube. correctly the tube.
Effects>3D Effects>Drop Shadow, to your liking; for me

22. Activate again your deco tube and go to Edit>Copy.
Go back to your work and go to Edit>Paste as new layer.
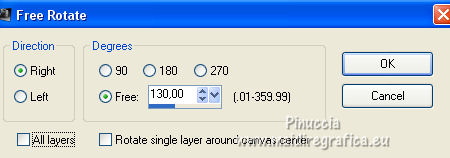
For me: Image>Free Rotate - 130 degrees to right
Image>Resize, 35 pixels, resize all layers not checked.
Effects>3D Effects>Drop Shadow, same settings.
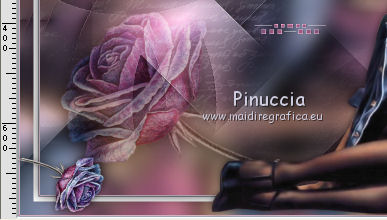
Move  the tube in the bottom left corner. the tube in the bottom left corner.
23. Image>Resize, 1000 pixels width, resize all layers checked.
24. Sign your work on a new layer.
Layers>Merge>Merge All.
Optional: Effects>Plugins>AAA Filters - Custom - Landscape and ok.
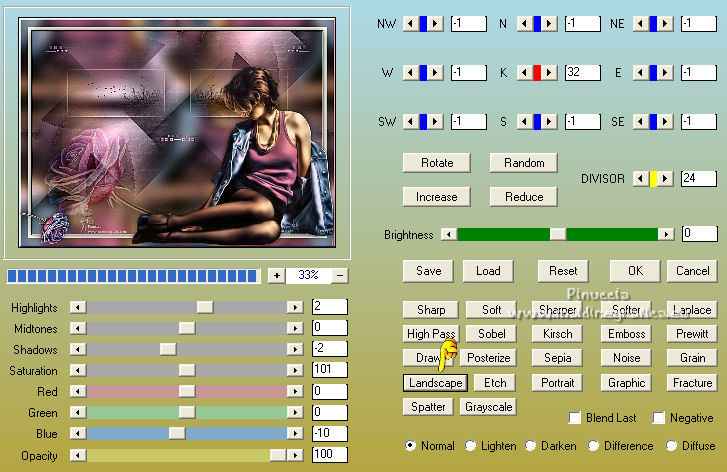
Save as jpg.
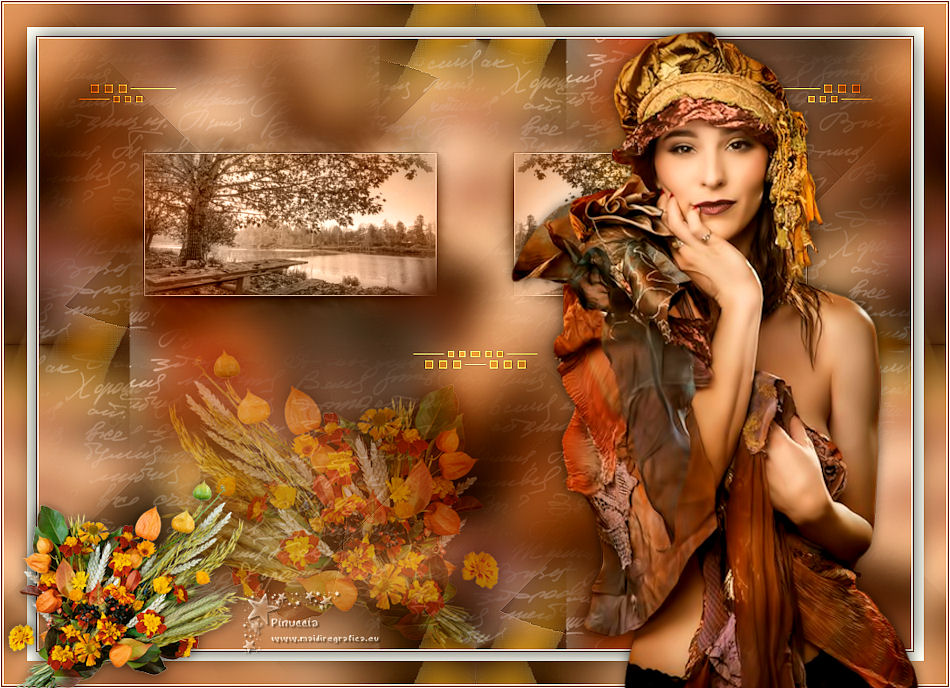
Version with tubes by Isa (FAU0008), Lana (LD-misted fall-001)
and Marie Liberte (Cocooning_in_Autumn_Le_petit_scrap_el (20))

If you have problems or doubts, or you find a not worked link, or only for tell me that you enjoyed this tutorial, write to me.
2 October 2021

|
 MORE THAN WORDS

 MORE THAN WORDS
