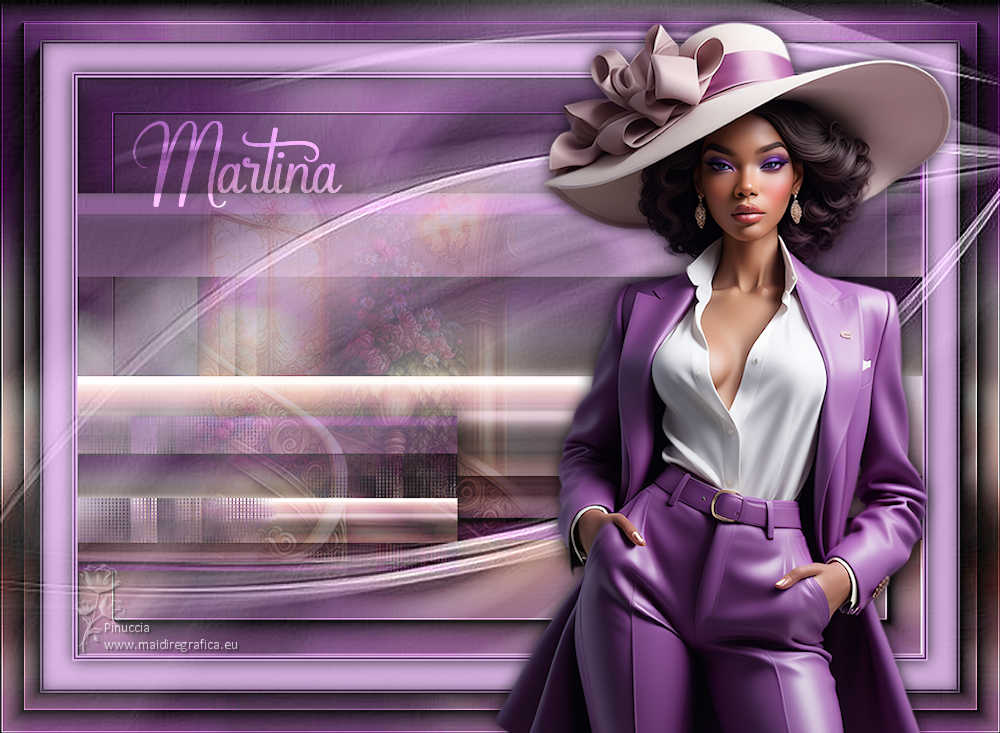
|
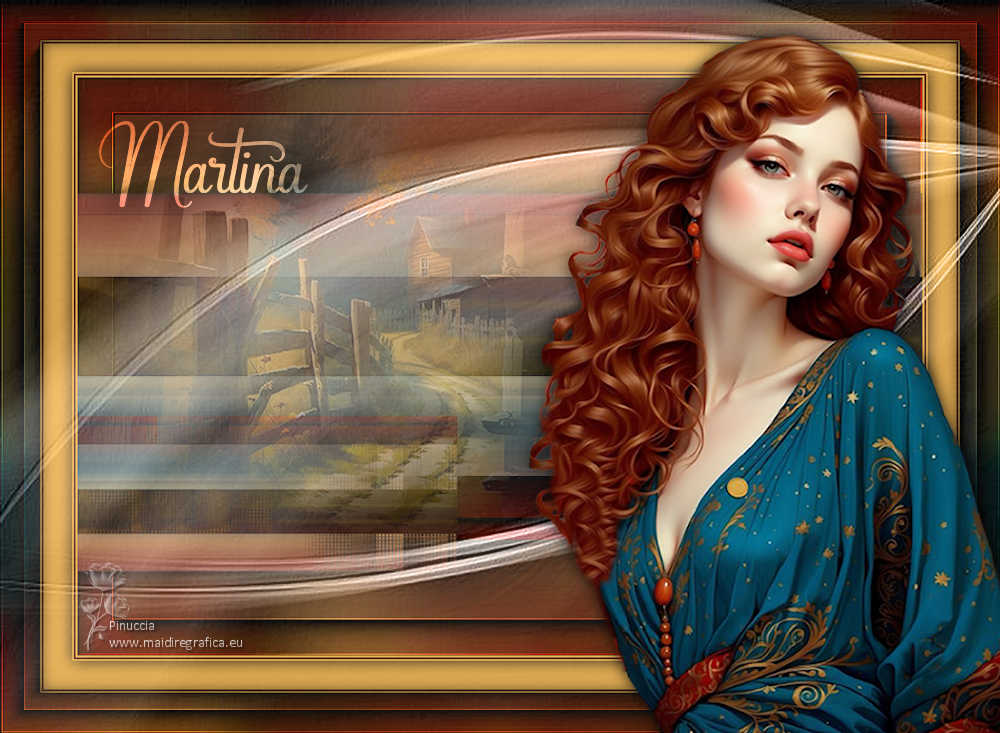
MARTINA


Thanks Yedralina for your invitation to translate your tutorials into english

This tutorial was written with PSP2020 and translated with PSPX9 and PSP2020, but it can also be made using other versions of PSP.
Since version PSP X4, Image>Mirror was replaced with Image>Flip Horizontal,
and Image>Flip with Image>Flip Vertical, there are some variables.
In versions X5 and X6, the functions have been improved by making available the Objects menu.
In the latest version X7 command Image>Mirror and Image>Flip returned, but with new differences.
See my schedule here
 italian translation here italian translation here
 french translation here french translation here
 your versions here your versions here

For this tutorial, you will need:

Thanks for the tubes Kamil, Sonia and for the mask Silvie.
(The links of the tubemakers here).

consult, if necessary, my filter section here
Carolaine and Sensibility - CS-HLines here
L&K's - L&K's Katharina here
AAA Frames - Foto Frame here

You can change Blend Modes according to your colors.

Copy the preset Emboss 3 in the Presets Folder.
Open the mask in PSP and minimize it with the rest of the material.
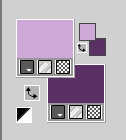
Set your foreground color to #cea8d8,
and your background color to #5a3165.
1. Open a new transparent image 950 x 650 pixels.
Selections>Select All.
Open your misted or your main tube; for my second version I choose the misted;
for the example I choose the main tube KamilTube-1659 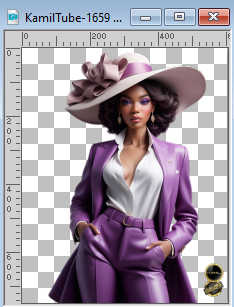
Erase the watermark and go to Edit>Copy.
Minimize the tube.
Go back to your work and go to Edit>Paste into Selection.
Selections>Select None.
2. Effects>Image Effects>Seamless Tiling, default settings.

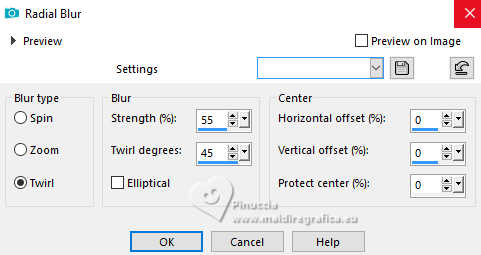
3. Adjust>Blur>Radial Blur.
4. Layers>New Raster Layer.
Flood Fill  the layer with your background color. the layer with your background color.
5. Layers>Arrange>Move down.
Layers>Merge>Merge visible.
6. Effects>Image Effects>Seamless Tiling.

7. Image>Mirror>Mirror vertical (Image>Flip).
8. Effects>Plugins>AAA Frames - Foto Frame, default settings.
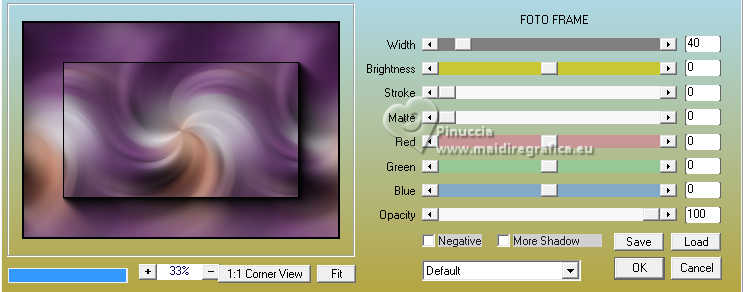
9. Layers>Duplicate.
Image>Resize, to 60%, resize all layers not checked.
10. Effects>Image Effects>Seamless Tiling, Side by side.

11. Effects>Reflection Effects>Rotating Mirror, default settings.

12. Effects>Plugins>Carolaine and Sensibility - CS-HLines
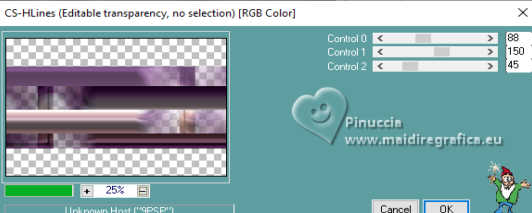
13. Effects>3D Effects>Drop Shadow, color black.
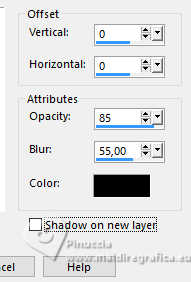
14. Layers>Duplciate.
Image>Resize, to 45%, resize all layers not checked.
15. Image>Flip>Flip horizontal (Image>Mirror).
K key to activate your Pick Tool 
and set Position X: -1,00 and Position Y: 363,00.
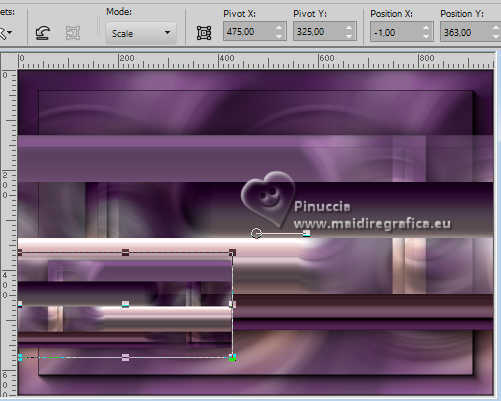
M key to deselect the Tool.
16. Effects>Plugins>L&K's - L&K's Katharina, default settings.
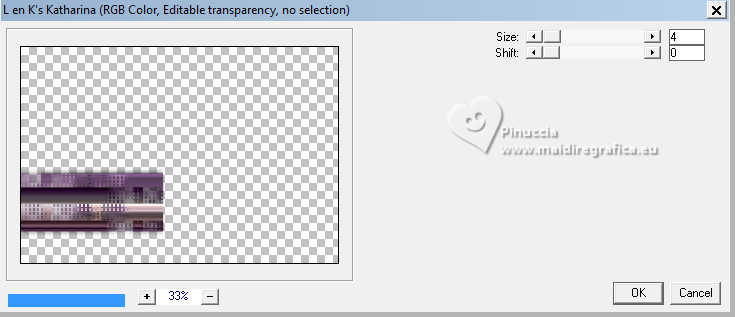
Effects>3D Effects>Drop Shadow, same settings.

17. Open the misted SoniaTubes_1170_23 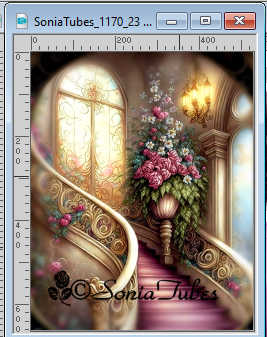
Edit>Copy.
Go back to your work and go to Edit>Paste as new layer.
Image>Resize, to 80%, resize all layers not checked (according to your tube).
Move  the tube to the left. the tube to the left.
Change the Blend Mode of this layer to Soft Light (or according to your colors):
for my example I reduced the opacity to 59%.
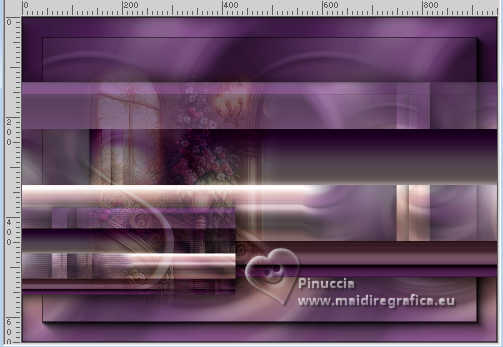
18. Activate your bottom layer, Merged.
Effects>User Defined Filter - select the preset Emboss 3 and ok.

Edit>Copy.
Edit>Paste as new image and minimized this image.
19. Go back to your work.
Image>Add borders, 2 pixels, symmetric, foreground color.
Image>Add borders, 2 pixels, symmetric, background color.
Image>Add borders, 2 pixels, symmetric, foreground color.
Selections>Select All.
20. Image>Add borders, 30 pixels, symmetric, foreground color.
Effects>3D Effects>Drop Shadow, color black.
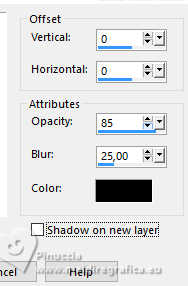
21. Image>Add borders, 2 pixels, symmetric, foreground color.
Image>Add borders, 2 pixels, symmetric, background color.
Image>Add borders, 2 pixels, symmetric, foreground color.
Selections>Select All.
22. Image>Add borders, 45 pixels, symmetric, whatever color.
Selections>Invert.
23. Edit>Paste into Selection (the layer copied at step 18 is still in memory).
Keep selected.
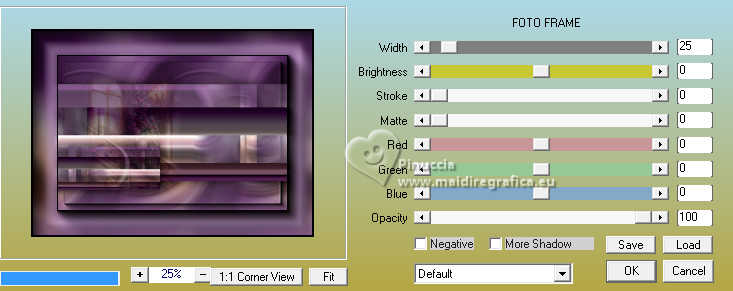
24. Effects>Plugins>AAA Frames - Foto Frame
25. Effects>Reflection Effects>Rotating Mirror, default settings.

Effects>3D Effects>Drop Shadow, same settings.

Effects>Edge Effects>Enhance.
Selections>Select None.
26. Seet your foreground color to white.
Layers>New Raster Layer.
Flood Fill  the layer with color white. the layer with color white.
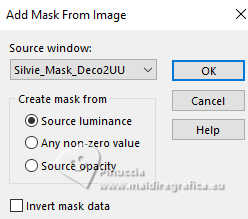
27. Livelli>Nuovo livello maschera>Da immagine.
Apri il menu sotto la finestra di origine e vedrai la lista dei files aperti.
Seleziona la mascher Silvie_Mask_Deco2UU
Layers>Merge>Merge Group.
28. Image>Mirror>Mirror horizontal (Image>Mirror).
Image>Mirror>Mirror vertical (Image>Flip).
29. Effects>User Defined Filter - Emboss 3.

Change the Blend Mode of this layer to Luminance (legacy).
30. Activate again your main tube KamilTube-1659 and go to Edit>Copy.
Go back to your work and go to Edit>Paste as new layer.
Image>Resize, to 110%, resize all layers not checked.
Adjust>Sharpness>Sharpen.
31. Effects>3D Effects>Drop Shadow, at your choice, for me

32. Image>Resize, 1000 pixels width, resize all layers checked.
33. Open the text Martina©Yedralina 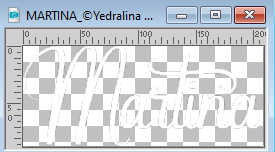
Edit>Copy.
Go back to your work and go to Edit>Paste as new layer.
Move  the text at the upper left, or to your liking. the text at the upper left, or to your liking.
Effects>3D Effects>Drop Shadow, color black.

Change the Blend Mode of this layer to Overlay.
34. Sign your work on a new layer.
35. Layers>Merge>Merge All and save as jpg.
For the tubes of these versions thanks
Colybrix et Lana.
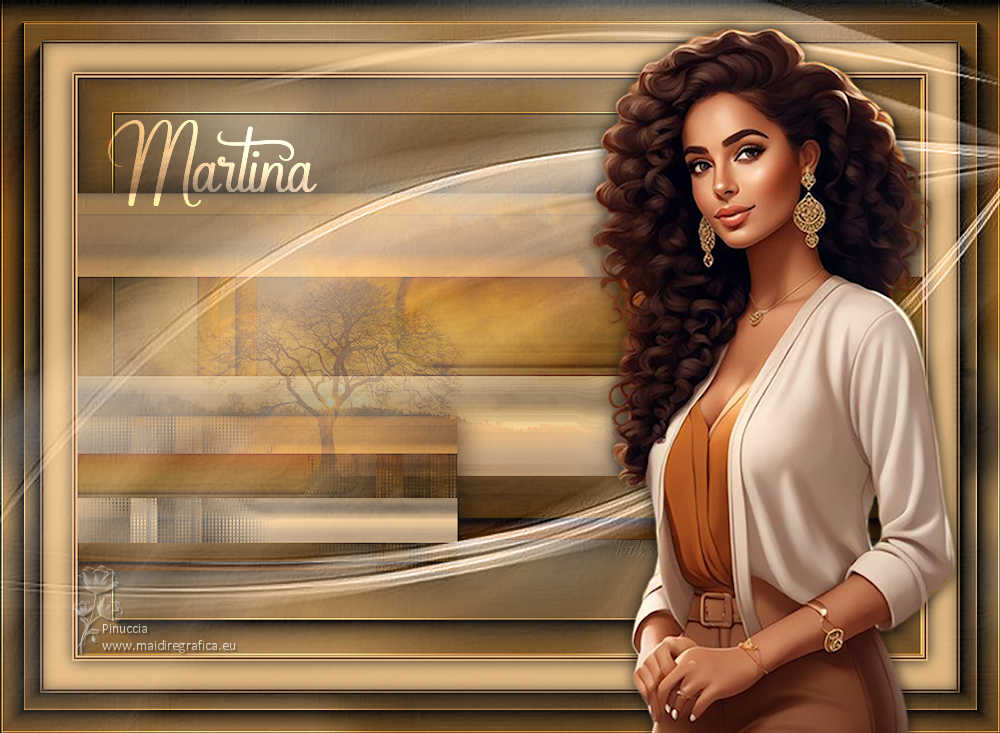
Luz Cristina (the misted is mine)

If you have problems or doubts, or you find a not worked link, or only for tell me that you enjoyed this tutorial, write to me.
28 February 2024

|

