|
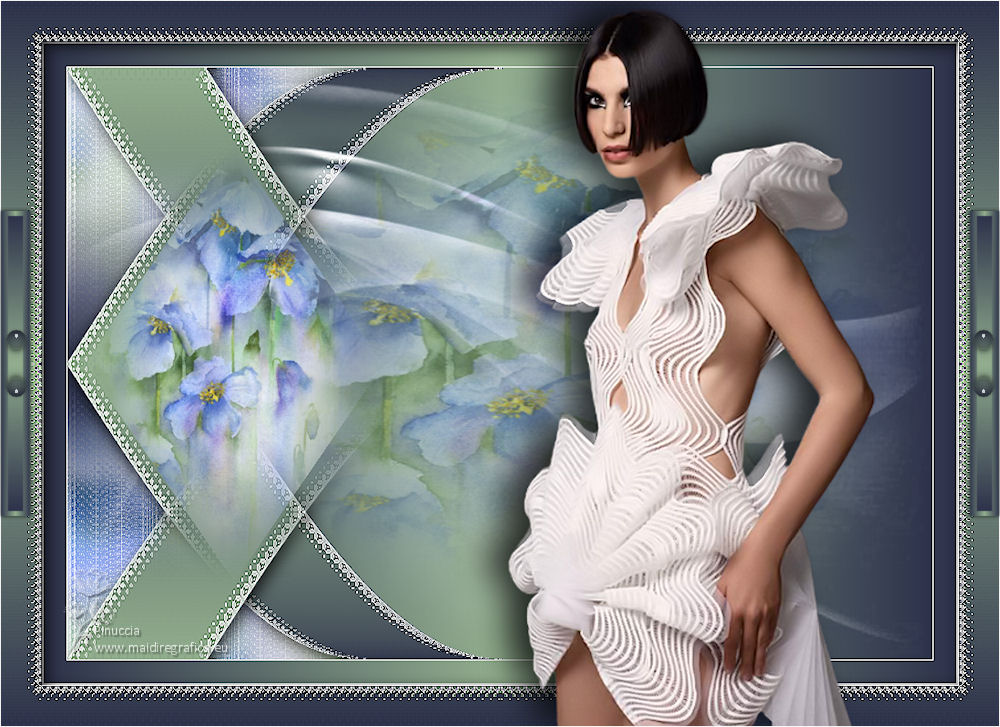
LUNA DE MAYO


Thanks Yedralina for your invitation to translate your tutorials into english

This tutorial was written with CorelX19 and translated with CorelX17, but it can also be made using other versions of PSP.
Since version PSP X4, Image>Mirror was replaced with Image>Flip Horizontal,
and Image>Flip with Image>Flip Vertical, there are some variables.
In versions X5 and X6, the functions have been improved by making available the Objects menu.
In the latest version X7 command Image>Mirror and Image>Flip returned, but with new differences.
See my schedule here
 italian translation here italian translation here
 french translation here french translation here
 your versions here your versions here
For this tutorial, you will need:
Tube et misted to your liking.
The rest of the material qui
Thanks for the tubes used and not supplied Beatriz (3691-woman-LB TUBES) and Jewel (fleur_misted_jewel 0026); for the mask Narah.
(The links of the tubemakers here).
Plugins:
consult, if necessary, my filter section here
Filters Unlimited 2.0 - versione software here
Kang 4 - Bubblecross waves here
Mura's Seamless - Emboss at Alpha here
Alien Skin Eye Candy 5 Impact - Glass here
Simple - Top Left Mirror here
AP 01 [Innovations] - Lines SilverLining here
Filters Mura's Seamless, Factory Gallery and Graphics Plus can be used alone or imported into Filters Unlimited.
(How do, you see here)
If a plugin supplied appears with this icon  it must necessarily be imported into Unlimited it must necessarily be imported into Unlimited

You can change Blend Modes according to your colors.
In the newest versions of PSP, you don't find the foreground/background gradient (Corel_06_029).
You can use the gradients of the older versions.
The Gradient of CorelX here
Copy the preset  in the folder of the plugin Alien Skin Eye Candy 5 Impact>Settings>Glass. in the folder of the plugin Alien Skin Eye Candy 5 Impact>Settings>Glass.
One or two clic on the file (it depends by your settings), automatically the preset will be copied in the right folder.
why one or two clic see here

Copy the presets Pick_194_22-©Yedralina.PspScript and Pick_195_22-©Yedralina.PsPScript in the Presets Folder.
Open the mask in PSP and minimize it with the rest of the material.
Set your foreground color to #2d324b,
and your background color to #92ae8e.
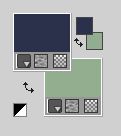
Set your foreground color to a Foreground/Background Gradient, style Linear.
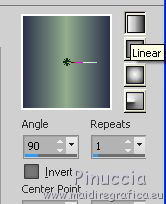
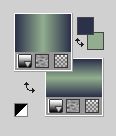
Set your background color to a Foreground/Background Gradient, style Linear.
1. Open CanalAlpha_LUNA DE MAYO
Window>Duplicate or, on the keyboard, shift+D to make a copy.

Close the original.
The copy, that will be the basis of your work, is not empty,
but contains the selections saved to alpha channel.
Flood Fill  tha transparent image with your foreground gradient. tha transparent image with your foreground gradient.
2. Layers>New Raster Layer.
Selections>Select All.
Open your misted and go to Edit>Copy.
Go back to your work and go to Edit>Paste into Selection.
Selections>Select None.
3. Effects>Image Effects>Seamless Tiling, default settings.

4. Adjust>Blur>Gaussian Blur - radius 10.

5. Effects>Plugins>AP 01 [Innovations] - Lines SilverLining.
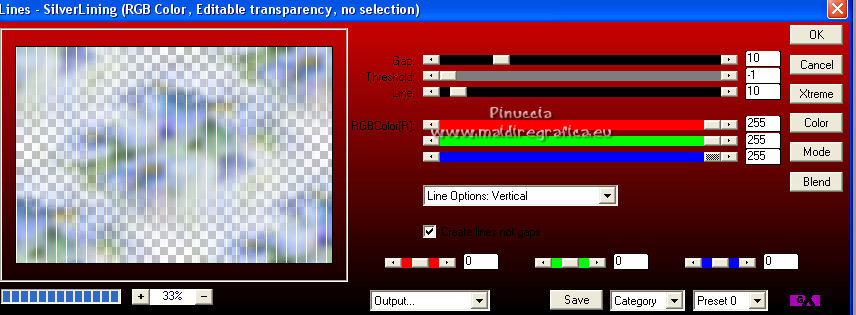
Layers>Merge>Merge visible.
6. Effects>Plugins>Filters Unlimited 2.0 - Kang 4 - Bubblecross Waves, default settings.
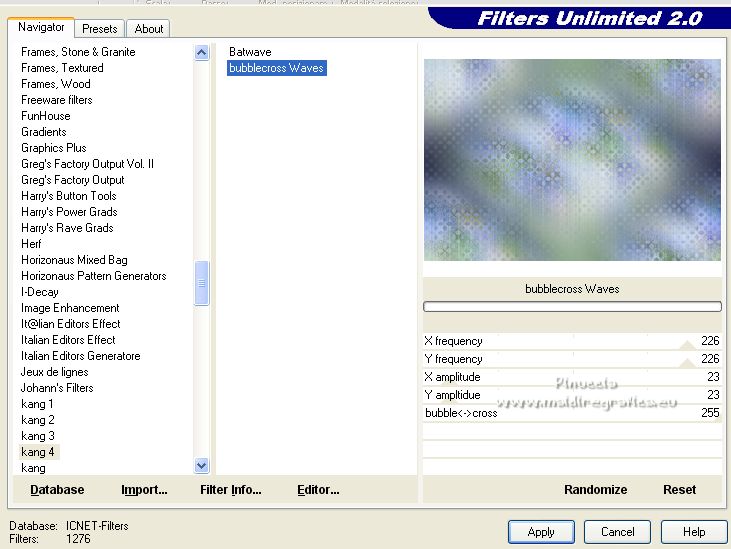
Adjust>Sharpness>Sharpen More.
7. Selections>Load/Save Selection>Load Selection from Alpha Channel.
The selection #1 is immediately available. You just have to click Load.
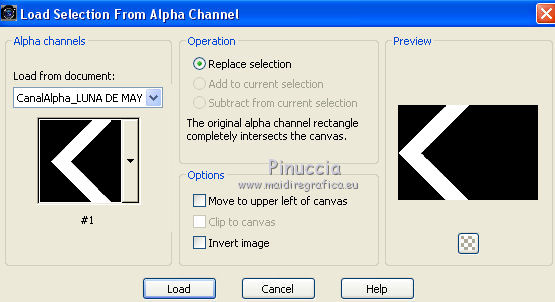
Selections>Promote Selection to Layer.
Flood Fill  the selection with your background gradient. the selection with your background gradient.
8. Effects>Plugins>Filters Unlimited 2.0 - Kang 4 - Bubblecross Waves, default settings.
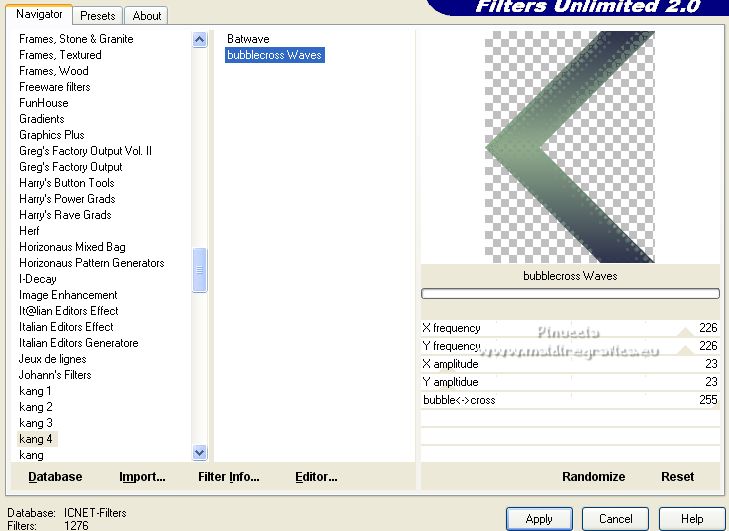
9. Selections>Select None.
Effects>Edge Effects>Enhance.
10. Effects>Geometric Effects>Cylinder horizontal.
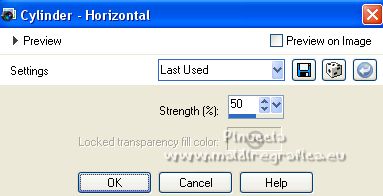
11. Effects>Reflection Effects>Rotating Mirror

Effects>3D Effects>Drop Shadow, color black .
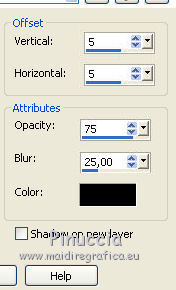
Layers>Duplicate.
12. Effects>Image Effects>Seamless Tiling.
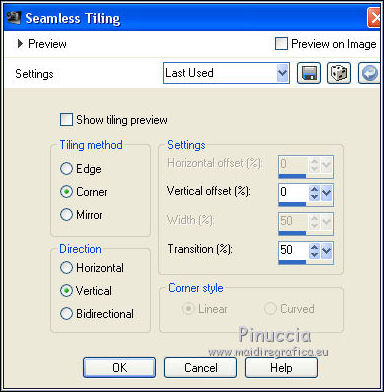
13. Layers>New Raster Layer.
Flood Fill  the layer with your foreground gradient. the layer with your foreground gradient.
14. Selections>Load/Save Selection>Load Selection from Alpha Channel.
Open the selections menu and load the selection #2.
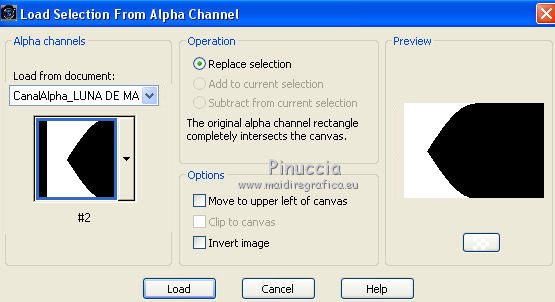
15. Press CANC on the keyboard 
Layers>Arrange>Move Down.
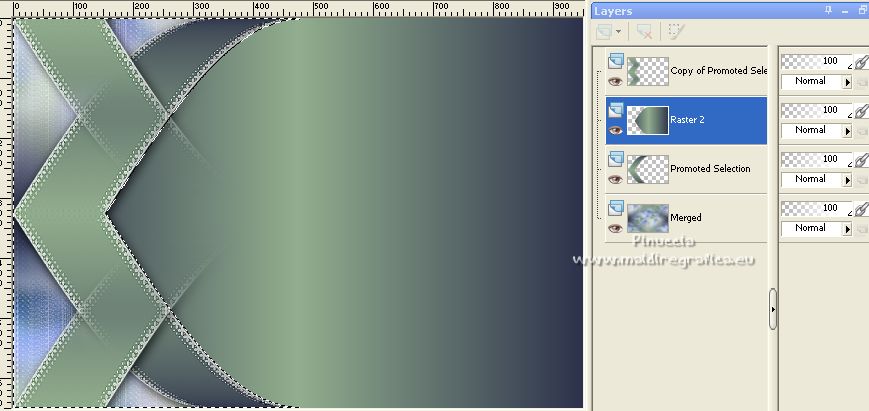
16. Selections>Invert.
Layers>New Raster Layer.
Edit>Paste into Selection (the misted is still in memory).
if necessary move slightly the tube to the right so that it is more or less in the center of the image.
Reduce the opacity of this layer +/- 55%.
Selections>Select None.
17. Activate again your top layer.
Layers>New Raster Layer.
Selections>Load/Save Selection>Load Selection from Alpha Channel.
Open the selections menu and load the selection #3.
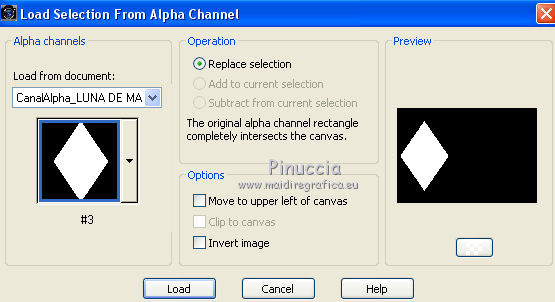
18. Edit>Paste into Selection (the misted is always in memory)
Selections>Select None.
19. Set your foreground color to white.
Layers>New Raster Layer.
Flood Fill  the layer with color white. the layer with color white.
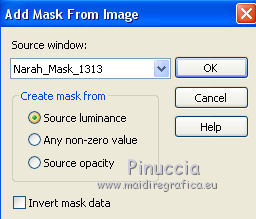
20. Layers>New Mask layer>From image
Open the menu under the source window and you'll see all the files open.
Select the mask Narah_Mask_1313.
Layers>Merge>Merge Group.
Image>Mirror.
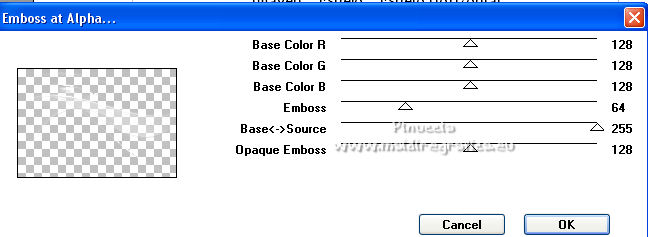
Effects>Plugins>Mura's Seamless - Emboss at Alpha, default settings.
Effects>3D Effects>Drop Shadow, foreground color #2d324b.
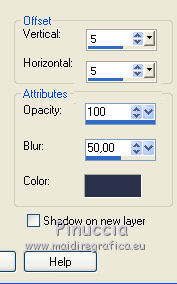
21. Change the Blend More of this layer to Hard Light, or to your liking.
Layers>Arrange>Move Down - 3 times.
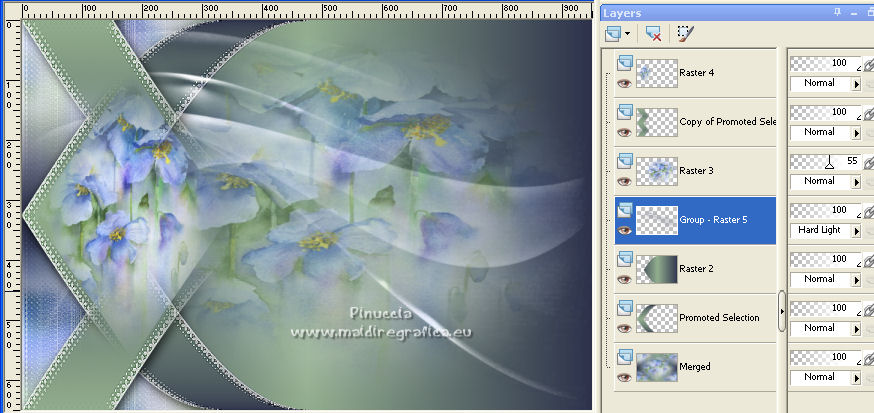
22. Set again your foreground color to initial color (#2d324b) and Gradient.
 
Image>Add borders, 1 pixel, symmetric, color white.
Selections>Select All.
Image>Add borders, 25 pixels, symmetric, whatever color.
Selections>Invert.
Flood Fill  the selection with your foreground gradient. the selection with your foreground gradient.
Image>Add borders, 2 pixels, symmetric, color white.
Selections>Select All.
Image>Add borders, 45 pixels, symmetric, whatever color.
Selections>Invert.
Flood Fill  the selection with your background gradient. the selection with your background gradient.
23. Effects>Plugins>Filters Unlimited 2.0 - Kang 4 - Bubblecross Waves, default settings.
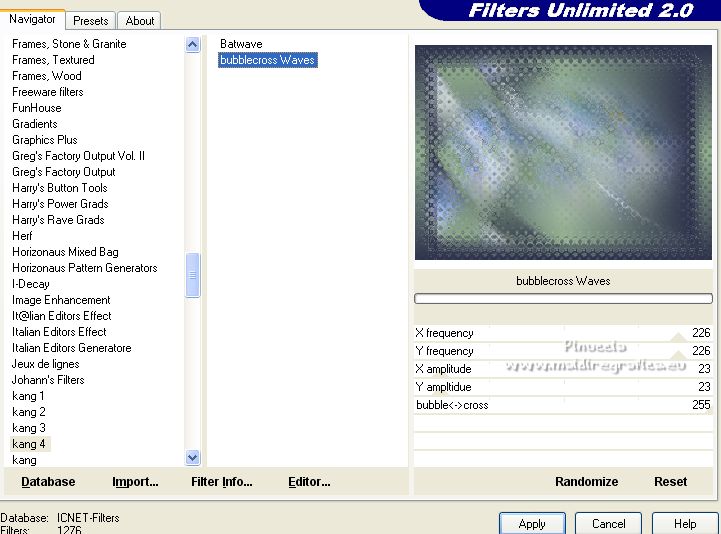
Effects>Reflection Effects>Rotating Mirror

Effects>Reflection Effects>Rotating Mirror

Effects>Edge Effects>Enhance More.
Effects>3D Effects>Drop Shadow, color black.

Selections>Select None.
24. Open your main tube and go to Edit>Copy.
Go back to your work and go to Edit>Paste as new layer.
Image>Resize, if necessary (for me 115%), resize all layers not checked.
Adjust>Sharpness>Sharpen.
Move  the tube to the right side. the tube to the right side.
Effects>3D Effects>Drop Shadow, color black.
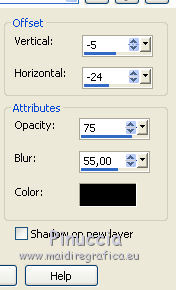
25. Image>Add borders, 1 pixel, symmetric, color white.
26. Before going on: Image>Resize, 1000 pixels width, resize all layers checked.
27. Layers>New Raster Layer.
Selections>Load/Save Selection>Load Selection from Alpha Channel.
Open the selections menu and load the selection #4.
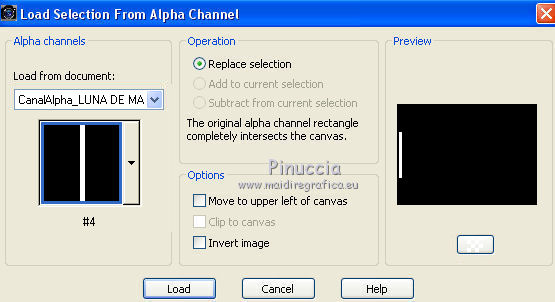
Flood Fill  the selection with your foreground gradient. the selection with your foreground gradient.
28. Selections>Modify>Contract - 5 pixels.
Flood Fill  the selection with your background gradient. the selection with your background gradient.
Selections>Select None.
29. Effects>3D Effects>Drop Shadow, color black.
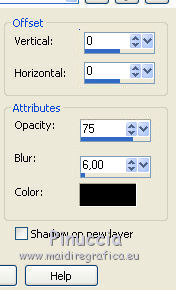
Activate your Pick Tool 
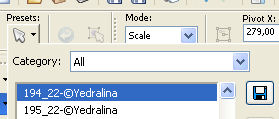
open the presets menu and select the preset 194_22-©Yedralina
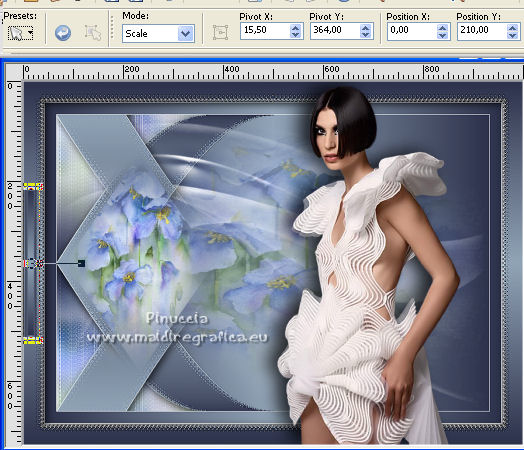
30. Layers>New Raster Layer.
Selections>Load/Save Selection>Load Selection from Alpha Channel.
Open the selections menu and load the selection #5.
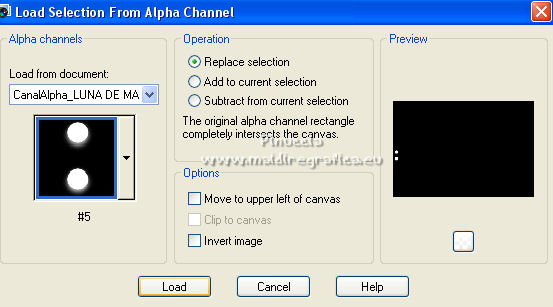
Flood Fill  the selection with your background gradient. the selection with your background gradient.
31. Effects>Plugins>Alien Skin Eye Candy 5 Impact - Glass.
Select the preset ©Yedralina_Glass9 and ok.
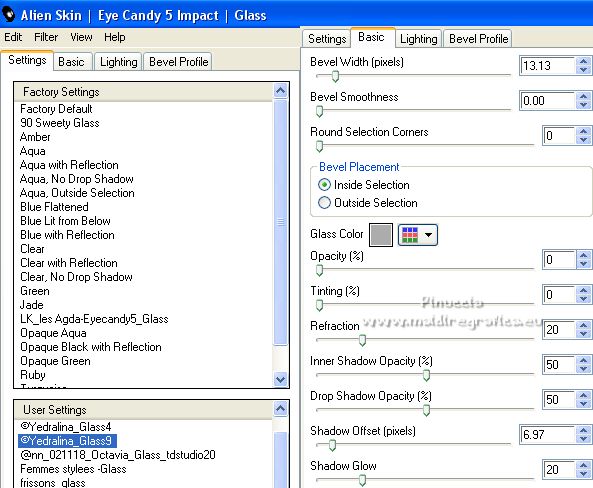
Selections>Select None.
32. Activate again your Pick Tool 
open the presets menu and select the preset 195_22-©Yedralina
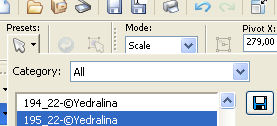
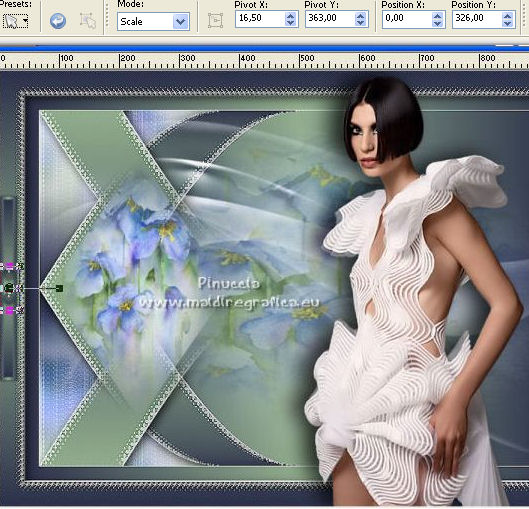
M key to deselect the Tool.
Layers>Merge>Merge Down.
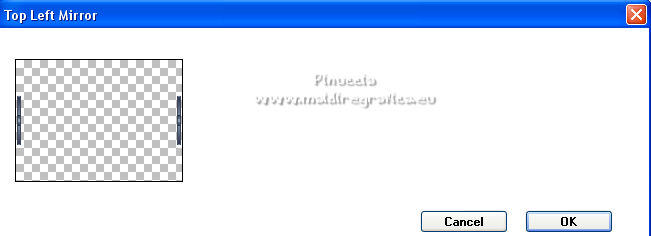
33. Effects>Plugins>Simple - Top Left Mirror.
34. Sign your work on a new layer.
Layers>Merge>Merge All and save as jpg.
For the tubes of these versions thanks
Laurette (misted from the net)
foreground color #533847 / background color #c6a4b7
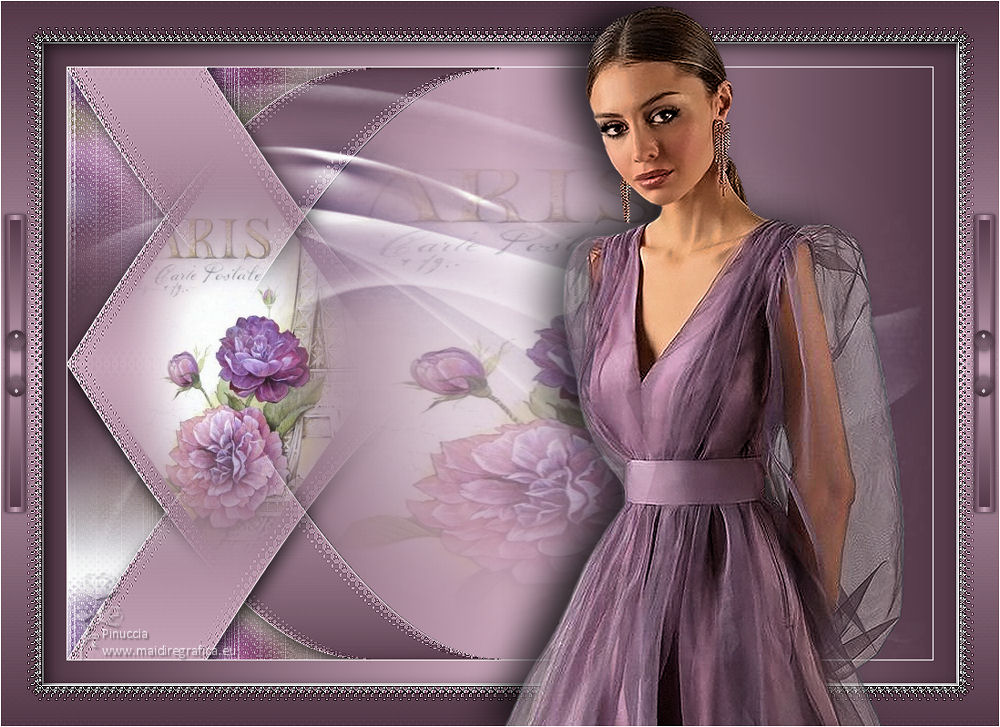
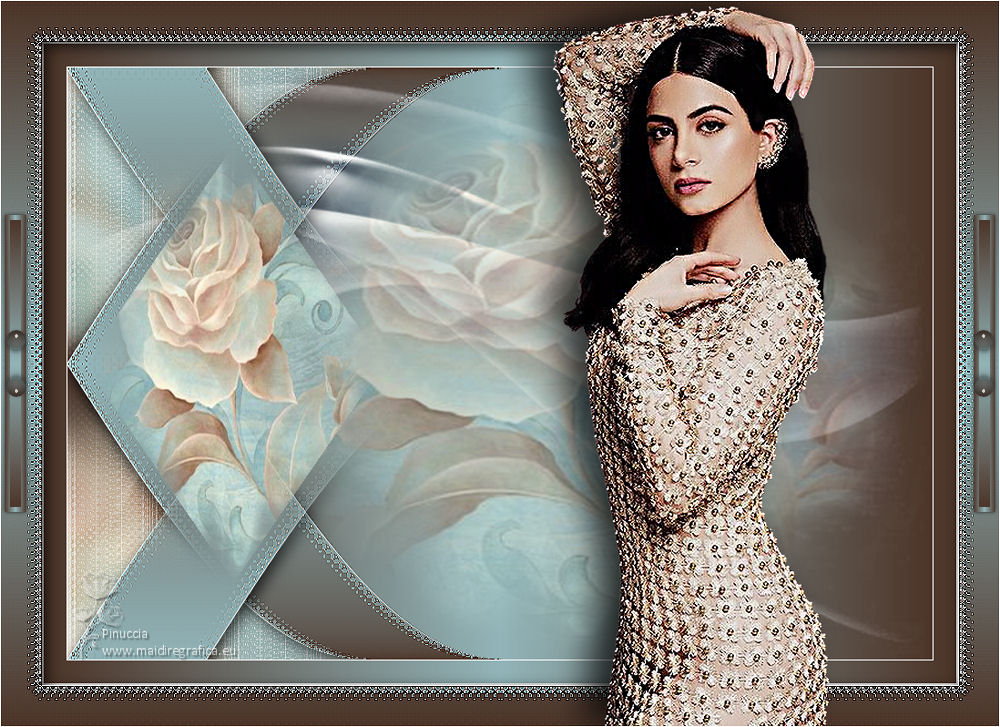
Vera Mendes (vmtubes 421-vmtubes) and pngwing.com - 2022-01-23T142630.766
foreground color #4c3428 / background color #92b4b8

If you have problems or doubts, or you find a not worked link, or only for tell me that you enjoyed this tutorial, write to me.
28 May 2022

|

