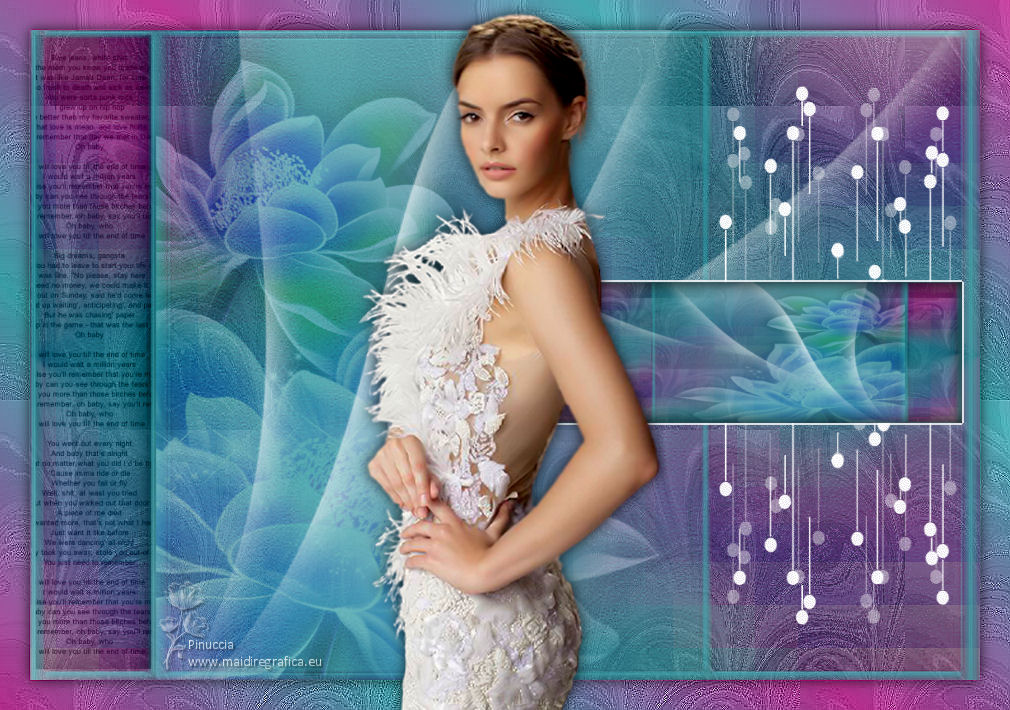
|
KASY


Thanks Yedralina for your invitation to translate your tutorials into english

This tutorial was written with CorelX19 and translated with CorelX17, but it can also be made using other versions of PSP.
Since version PSP X4, Image>Mirror was replaced with Image>Flip Horizontal,
and Image>Flip with Image>Flip Vertical, there are some variables.
In versions X5 and X6, the functions have been improved by making available the Objects menu.
In the latest version X7 command Image>Mirror and Image>Flip returned, but with new differences.
See my schedule here
 italian translation here italian translation here
 french translation here french translation here
 your versions here your versions here
For this tutorial, you will need:
Material here
Thanks: for the woman tube Luz Cristina (6581-Luz Cristina),
for the masks Narah (NarahsMasks_1533) and byme (byme59)
and for the brush Astrid (Astrid penseel 143).
The rest of the material is by Yedralina
(The links of the tubemakers here).
Plugins:
consult, if necessary, my filter section here
Filters Unlimited 2.0 here
RCS Filter Pack - RCS CTripleExposure here
Mehdi - Sorting Tiles here
Mura's Seamless - Emboss at Alpha here
Filters RCS Filter Pack and Mura's Seamless can be used alone or imported into Filters Unlimited.
(How do, you see here)
If a plugin supplied appears with this icon  it must necessarily be imported into Unlimited it must necessarily be imported into Unlimited

You can change Blend Modes according to your colors.
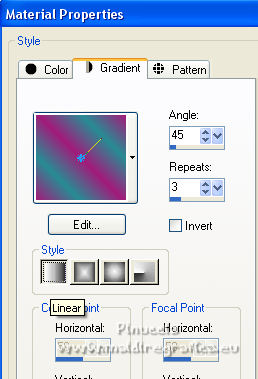
In the newest versions of PSP, you don't find the foreground/background gradient (Corel_06_029).
You can use the gradients of the older versions.
The Gradient of CorelX here

Copy the brushes in the Brushes folder.
Attention, please, every brush is composed by two files, you must place both the files in the folder.
See my notes about Brushes here
Open the masks in PSP and minimize them with the rest of the material.
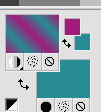
1. Set your foreground color to #a21c7a,
and your background color to #288c94.
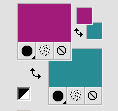
Set your foreground color to a Foreground/Background Gradient, style Linear.
2. Open KASY2_CanalAlpha
Window>Duplicate or, on the keyboard, shift+D to make a copy.

Close the original.
The copy, that will be the basis of your work, is not empty,
but contains the selections saved to alpha channel.
Flood Fill  tha transparent image with your Gradient. tha transparent image with your Gradient.
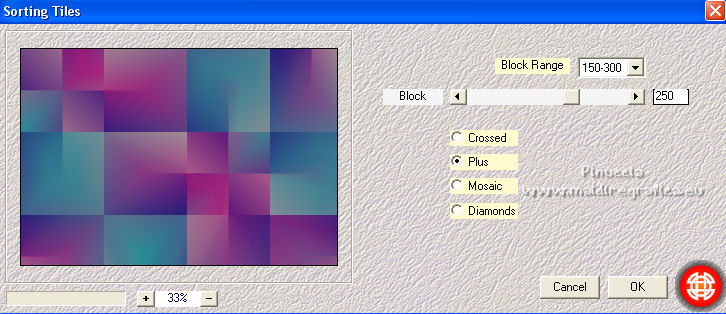
3. Effects>Plugins>Mehdi - Sorting Tiles.
4. Effects>Plugins>Filters Unlimited 2.0 - RCS Filter Packs 1.0 - RCS TripleExposure, default settings.
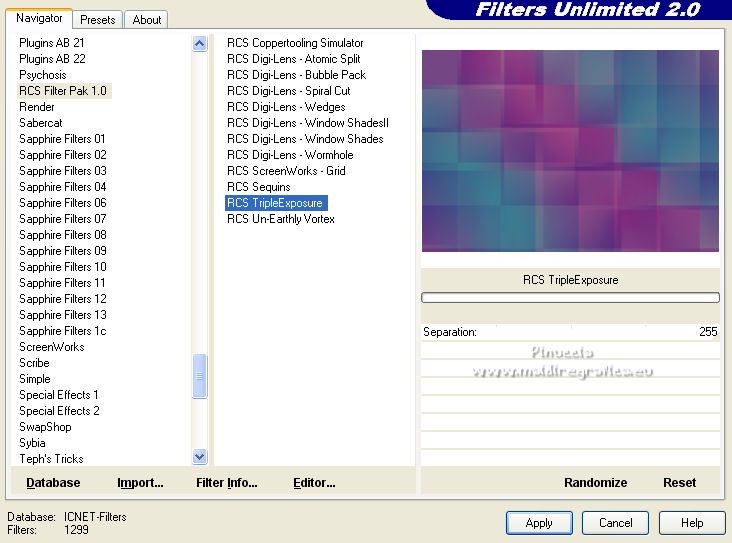
5. Effects>Plugins>Filters Unlimited 2.0 - Paper Textures - Papier Kasy 2.
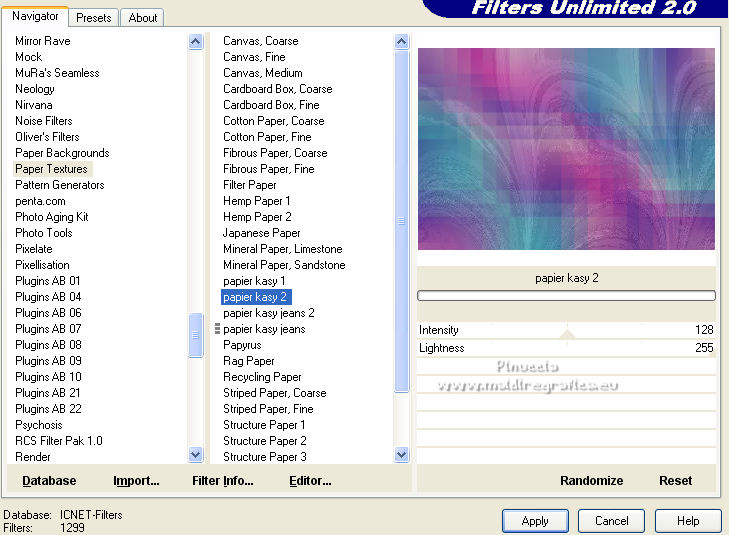
6. Repeat Effects>Plugins>Filters Unlimited 2.0 - Paper Textures - Papier Kasy 2, default settings.
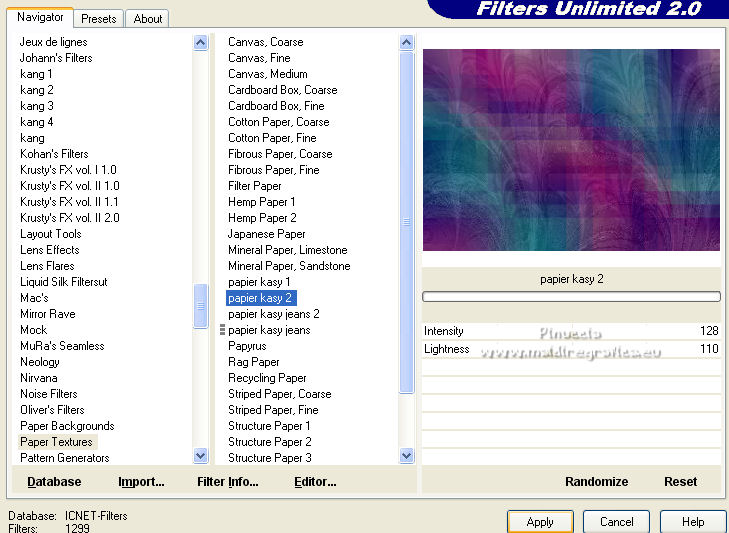
7. Effects>Image Effects>Seamless Tiling, default settings.

Adjust>Sharpness>Sharpen.
8. Layers>New Raster Layer.
Flood Fill  the layer with your background color. the layer with your background color.
9. Layers>New Mask layer>From image
Open the menu under the source window and you'll see all the files open.
Select the mask humo byme59.
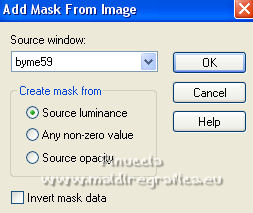
Layers>Merge>Merge Group.
Effects>Edge Effects>Enhance.
10. Set your background color to white.
Layers>New Raster Layer.
Flood Fill  the layer with color white. the layer with color white.
11. Layers>New Mask layer>From image
Open the menu under the source window
and select the mask NarahsMasks_1533.
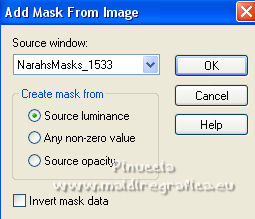
Layers>Merge>Merge Group.
Image>Mirror.
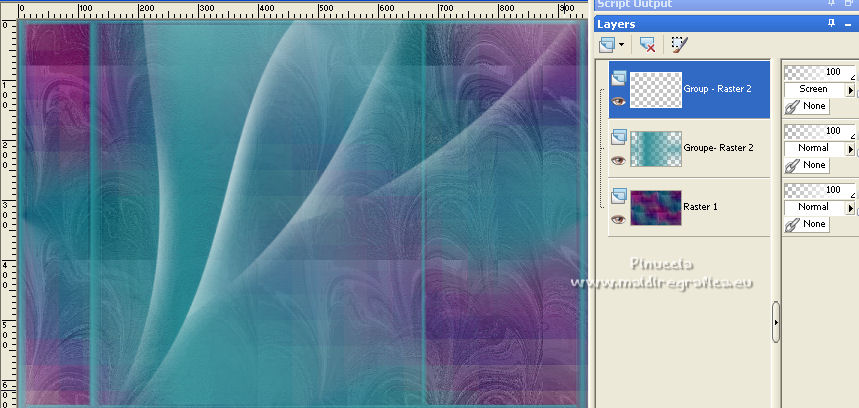
12. Effects>Plugins>Mura's Seamless - Emboss at Alpha, default settings.

Change the Blend Mode of this layer to Screen.
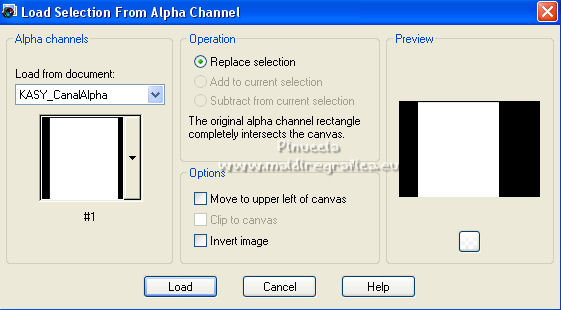
13. Selections>Load/Save Selection>Load Selection from Alpha Channel.
The selection #1 is immediately available. You just have to click Load.
14. Layers>New Raster Layer.
Open the flowers tube and go to Edit>Copy.
Go back to your work and go to Edit>Paste into Selection.
Selections>Select None.
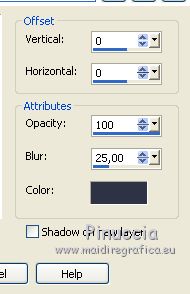
15. Effects>3D Effects>Drop Shadow, color black.
16. Change the Blend Mode to Soft Light or Luminance (legacy) and reduce the opacity +/-75%.
Layers>Arrange>Move Down.
17. Activate your top layer.
Layers>Merge>Merge visible in a new layer.
(in the older versions:
Edit>Copy Special>Copy Merged and Edit>Paste as new layer)
Image>Mirror.
18. Edit>Cut, to keep the image in memory.
The layer will remain empty, so you don't need to add a new layer.
19. Selections>Load/Save Selection>Load Selection from Alpha Channel.
Open the selections menu and load the selection #2.
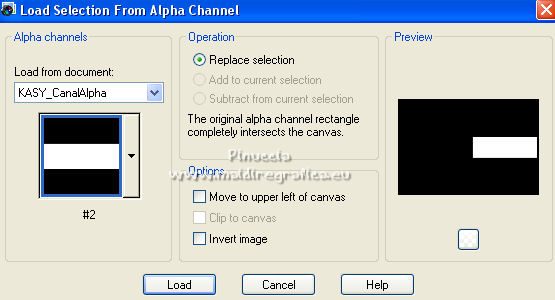
Edit>Paste into Selection.
20. Selections>Invert.
Effects>3D Effects>Drop Shadow, same settings.

21. Selections>Invert.
Selections>Modify>Select Selection Borders.
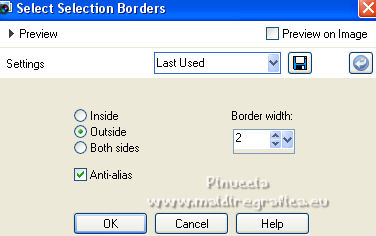
Flood Fill  the selection with color white. the selection with color white.
Selections>Select None.
22. Layers>New Raster Layer.
Activate your Brush Tool 
look for and select the brush Astrid penseel 143

Apply the brush on the right side by clicking with your right mouse button,
to use your white background color.
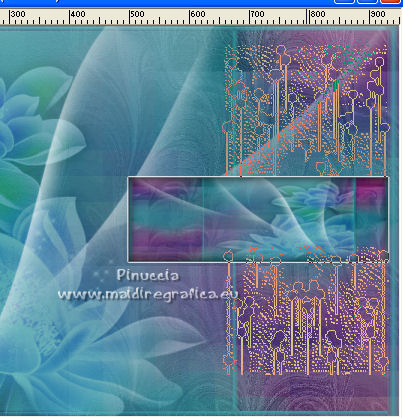
Activate your Pick Tool  (K key on the keyboard), (K key on the keyboard),
to slide it slightly from left to right
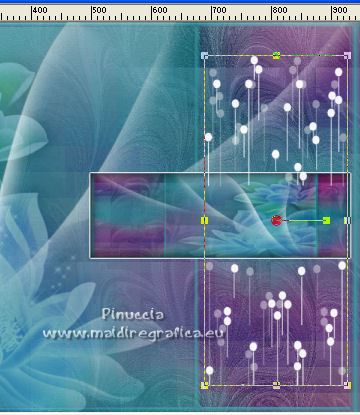
23. Effects>Reflection Effects>Rotating Mirror.

Layers>Arrange>Move Down.
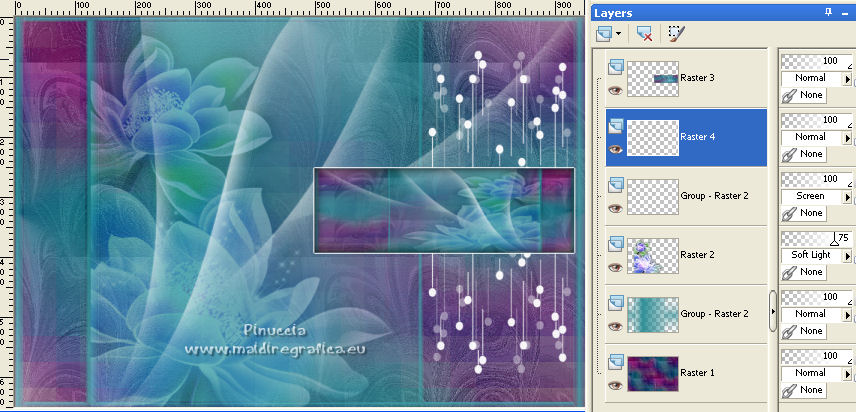
24. Layers>New Raster Layer.
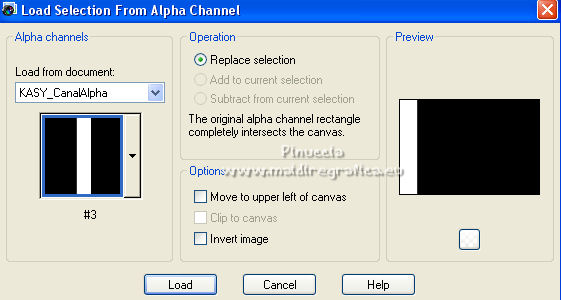
Selections>Load/Save Selection>Load Selection from Alpha Channel.
Open the selections menu and load the selection #3.
25. Activate again your Brush Tool 
look for and select the brush Texte brush, size 600

Apply the brush in the selection, always with your white color
(it doesn't matter if the text overflows the selection)
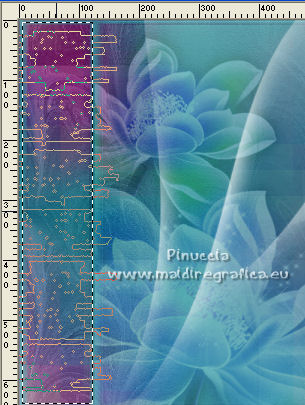
for my example I applied the brush with color black
26. Selections>Invert.
Effects>3D Effects>Drop Shadow, color black.
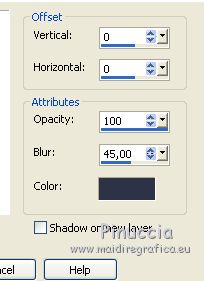
Selections>Select None.
Change the Blend Mode of this layer to Luminance (legacy).
27. For the border, set your background color to #288c94,
to have as foreground color with your initial Gradient.
Selections>Select All.
Image>Add borders, 40 pixels, symmetric, whatever color.
Selections>Invert.
Flood Fill  the selection with your gradient. the selection with your gradient.
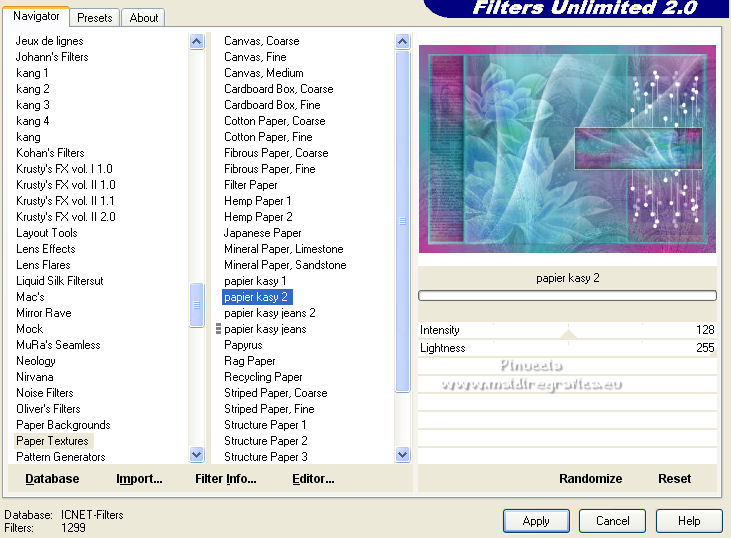
Effects>Plugins>Filters Unlimited 2.0 - Paper Textures - Papier kasy 2.
Effects>Edge Effects>Enhance.
Selections>Invert.
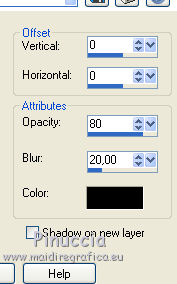
Effects>3D Effects>Drop Shadow, color black.
Selections>Select None.
28. Open the woman tube and go to Edit>Copy.
Go back to your work and go to Edit>Paste as new layer.
Image>Resize, for me to 85%, resize all layers not checked.
Place  correctly the tube. correctly the tube.
Effects>3D Effects>Drop Shadow, at your choise, for me

29. Sign your work on a new layer.
Image>Resize, 1000 pixels width, resize all layers checked.
Layers>Merge>Merge All and save as jpg.
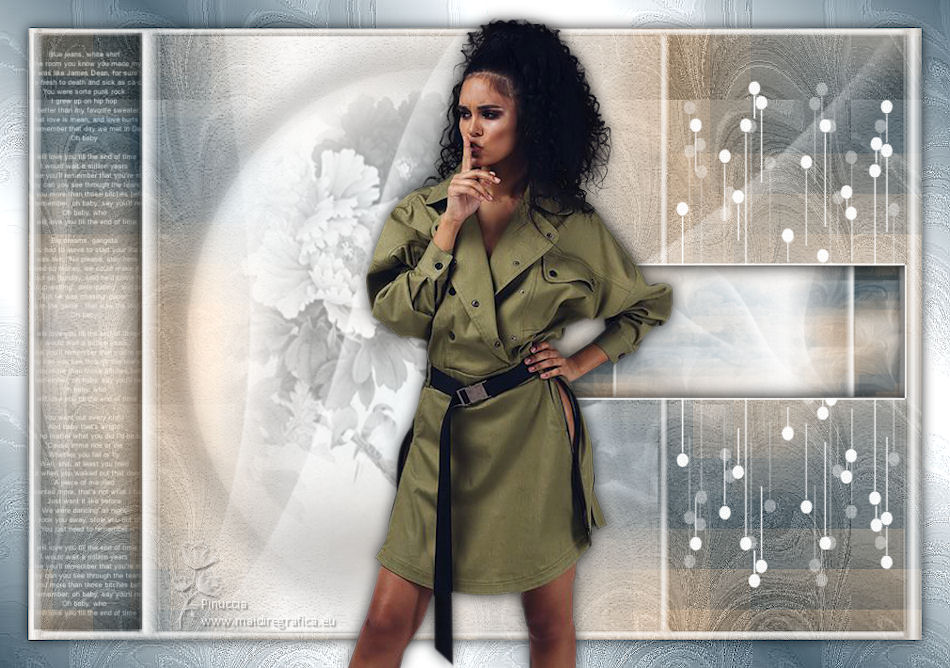
For the tube of this version thanks Beatriz

If you have problems or doubts, or you find a not worked link, or only for tell me that you enjoyed this tutorial, write to me.
30 June 2022

|

