|
ES MAS QUE UN COLOR
 IT'S MORE THAN JUST A COLOR IT'S MORE THAN JUST A COLOR

Thanks Yedralina for your invitation to translate your tutorials into english

This tutorial was written with PSP2020 and translated with CorelX17, but it can also be made using other versions of PSP.
Since version PSP X4, Image>Mirror was replaced with Image>Flip Horizontal,
and Image>Flip with Image>Flip Vertical, there are some variables.
In versions X5 and X6, the functions have been improved by making available the Objects menu.
In the latest version X7 command Image>Mirror and Image>Flip returned, but with new differences.
See my schedule here
 italian translation here italian translation here
 french translation here french translation here
 your versions here your versions here

For this tutorial, you will need:

(The links of the tubemakers here).

consult, if necessary, my filter section here
Filters Unlimited 2.0 here
Simple - Blintz here
Sybia - POLPERV here
Filters Sybia can be used alone or imported into Filters Unlimited.
(How do, you see here)
If a plugin supplied appears with this icon  it must necessarily be imported into Unlimited it must necessarily be imported into Unlimited

You can change Blend Modes according to your colors.
In the newest versions of PSP, you don't find the foreground/background gradient (Corel_06_029).
You can use the gradients of the older versions.
The Gradient of CorelX here

1. Set your foreground color to #ed3f82,
and your background color to #fcbdd0.
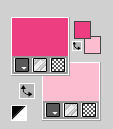
colore 3 #690523
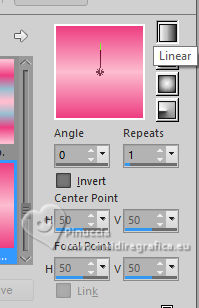
Set your foreground color to a Foreground/Background Gradient, style Linear.
2. Open CanalAlpha_EsMasQueUnColor.
Window>Duplicate or, on the keyboard, shift+D to make a copy.

Close the original.
The copy, that will be the basis of your work, is not empty,
but contains the selections saved to alpha channel.
Flood Fill  the transparent image with your Gradient. the transparent image with your Gradient.
3. Selections>Select All.
Open the misted 1853©Yedralina 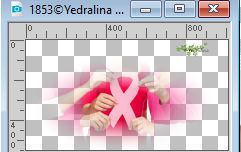
Erase the watermark and go to Edit>Copy.
Minimize the tube.
Go back to your work and go to Edit>Paste into Selection.
Selections>Select None.
4. Effects>Image Effects>Seamless Tiling

5. Adjust>Blur>Gaussian Blur - radius 15.

6. Effects>Plugins>Simple - Blintz - 3 times
Cet effect works without window
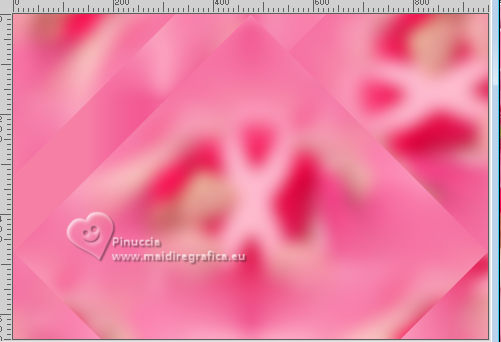
7. Effects>Plugins>Sybia - POLPERV, default settings.
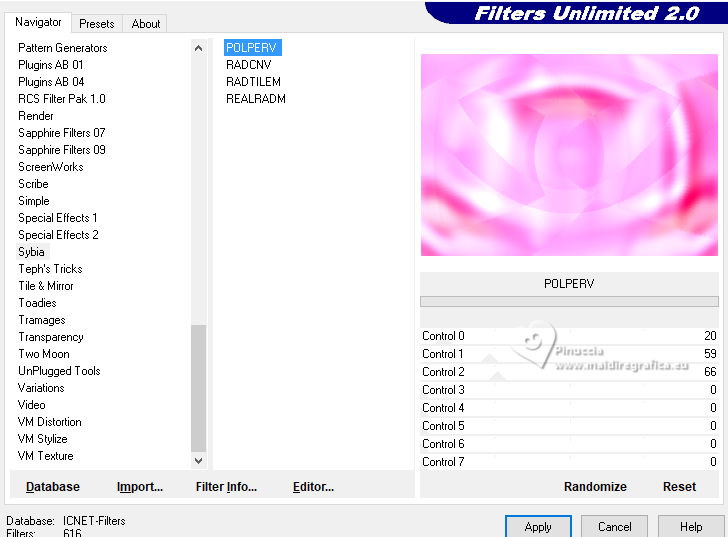
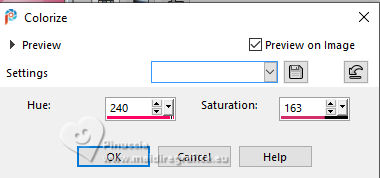
this effect can alter the colors;
for my example, I added:
Adjust>Hue and Saturation.
With another tube you may have an unsatisfactory result,
In my second version, for example, I had this
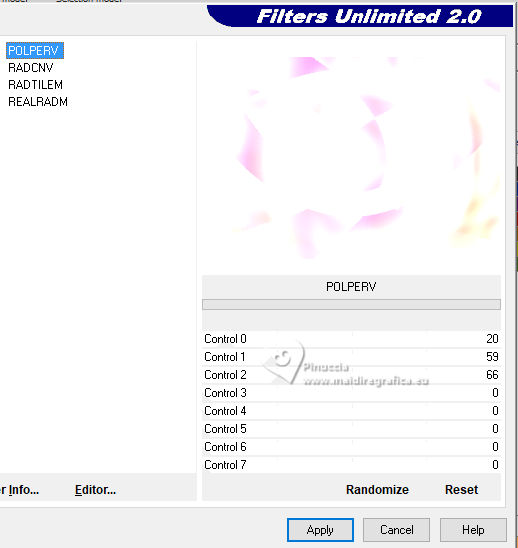
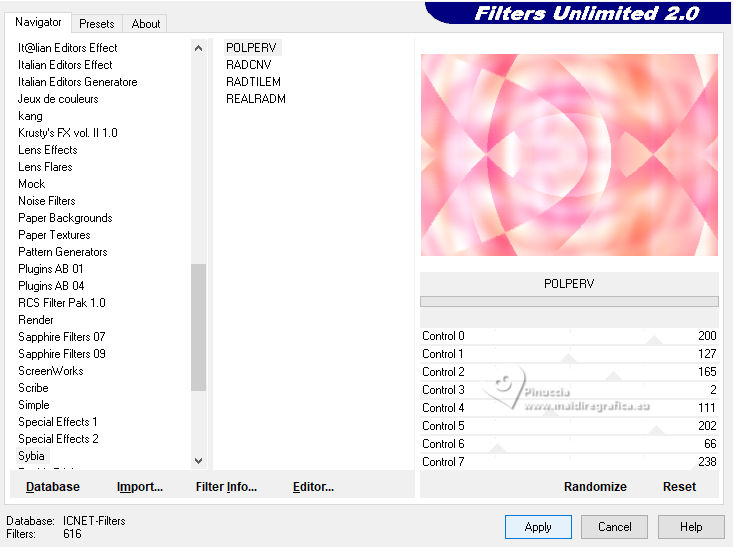
In this case, you can change the settings by clicking on Randomize,
until you see the result you prefer
8. Effects>Image Effects>Seamless Tiling.

9. Open the bow 1852©Yedralina 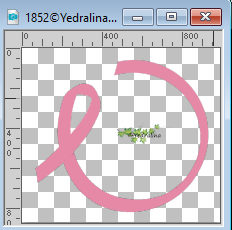
Erase the watermark and go to Edit>Copy.
Go back to your work and go to Edit>Paste as new layer.
Image>Resize, to 80%, resize all layers not checked.
10. Objects>Align>Left
or K key to activate your Pick Tool 
and set Position X: 0,00 and Position Y: 24,00.

M key to deselect the Tool.
11. Effects>3D Effects>Drop Shadow, color 3 #690523.
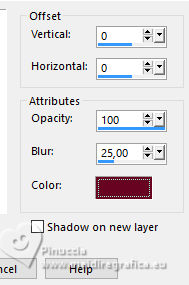
12. Open the flower 1849©Yedralina 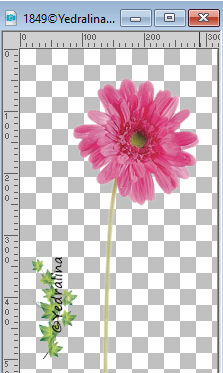
Erase the watermark and go to Edit>Copy.
Go back to your work and go to Edit>Paste as new layer.
Image>Resize, if necessary.
13. Image>Free Rotate - 35 degrees to right.
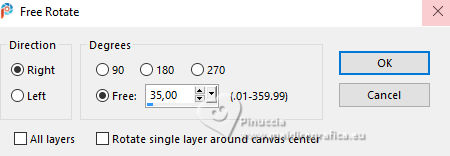
14. Effects>Image Effects>Offset.
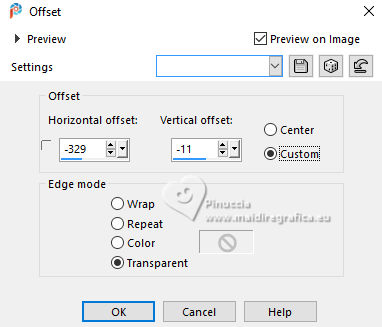
Stay on this layer.
15. Selections>Load/Save Selection>Load Selection from Alpha Channel.
The selection #1 is immediately available. You just have to click Load.
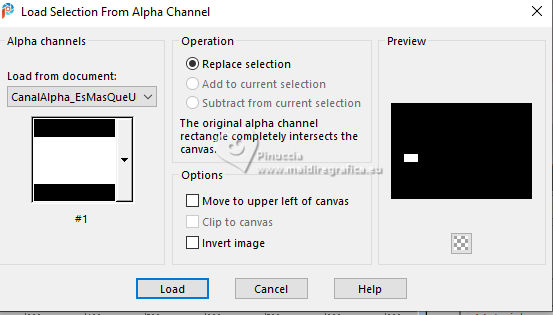
or select to your liking with your Selection Tool  , rectangle , rectangle
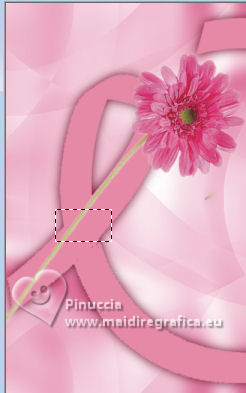
Press CANC on the keyboard 
Selections>Select None.
16. Effects>3D Effects>Drop Shadow, same settings.

17. Layers>New Raster Layer.
Selections>Load/Save Selection>Load Selection from Alpha Channel.
Open the selections menu and load the selection 2
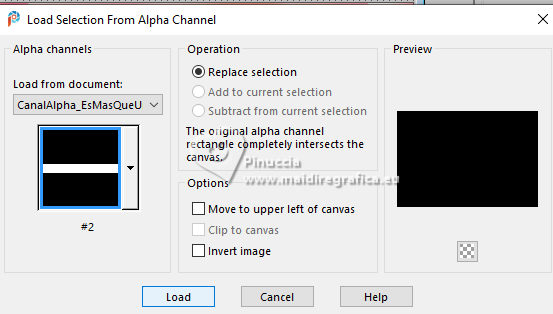
18. Set your foreground color to white.
Flood Fill  the selection with color white. the selection with color white.
19. Effects>3D Effects>Inner Bevel.
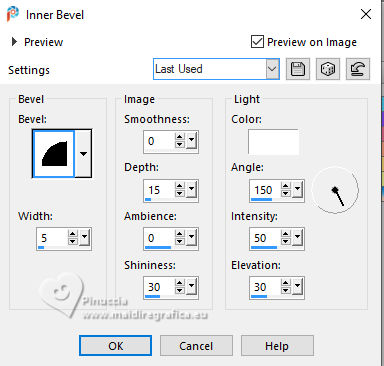
Selections>Select None.
20. Layers>Duplicate.
Place  the small bars correctly on the flower stem. the small bars correctly on the flower stem.

21. Activate your bottom layer.
Activate again the misted 
Edit>Copy.
Go back to your work and go to Edit>Paste as new layer.
Image>Resize, if necessary.
Place  the tube in the ruban, as below. the tube in the ruban, as below.
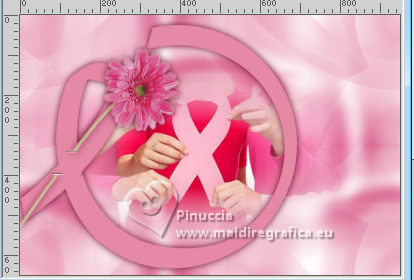
22. Activate your top layer.
Open the text Texto_DMCancerMamaB 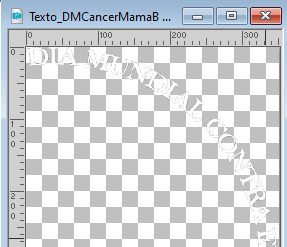
Edit>Copy.
Go back to your work and go to Edit>Paste as new layer.
you can change the color to your liking and always according to your image;
in the material you find the text with the rose color and the font

23. K key to activate your Pick Tool 
and set Position X: 324,00 and Position Y: 22,00

24. Effects>3D Effects>Drop Shadow, color 3 #690523.

25. Open the tube deco00331©Yedralina 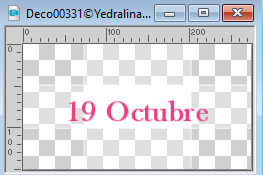
Edit>Copy.
Go back to your work and go to Edit>Paste as new layer.
Objects>Align>Right.
Move this layer above the background layer.
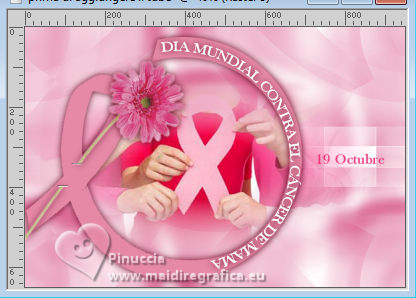
26. Image>Add borders, 2 pixels, symmetric, color white.
Image>Add borders, 1 pixels, symmetric, foreground color #ed3f82.
Image>Add borders, 2 pixels, symmetric, color white.
27. Selections>Select All.
Edit>Copy
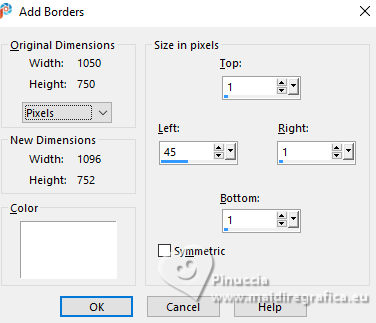
28. Image>Add borders, 45 pixels, symmetric, color white.
Selections>Invert.
29. Edit>Paste into Selection
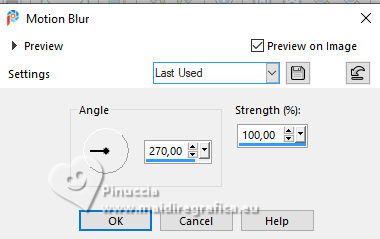
30. Adjust>Blur>Motion Blur.
31. Effects>Reflection Effects>Rotating Mirror.

32. Selections>Invert.
Effects>3D Effects>Drop Shadow, same settings.

Selections>Select None.
33. Image>Add borders, symmetric not checked, color white.
34. Open the tube Texto__EResmas que un color 
Edit>Copy.
Go back to your work and go to Edit>Paste as new layer.
you can write also this text in your own language.
The font is in the material
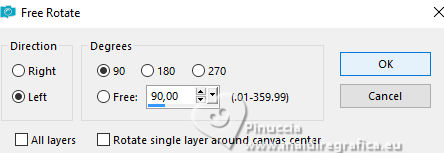
Image>Free Rotate - 90 degrees to left.
Move  to the left. to the left.
Activate your Pick Tool 
and pull the nodes at the top and bottom to stretch the text to the edges.
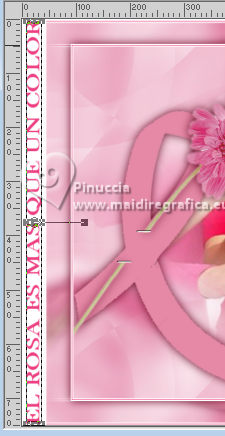
Adjust>Sharpness>Sharpen More.
35. Activate your background layer.
Open the tube Deco00332©Yedralina 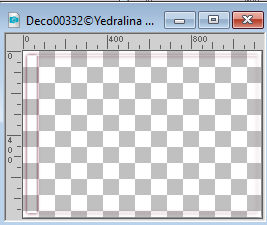
Edit>Copy.
Go back to your work and go to Edit>Paste as new layer.
It is at its place.
36. Image>Resize, 1000 pixels width, resize all layers checked.
37. Sign your work on a new layer.
38. Layers>Merge>Merge All and save as jpg.
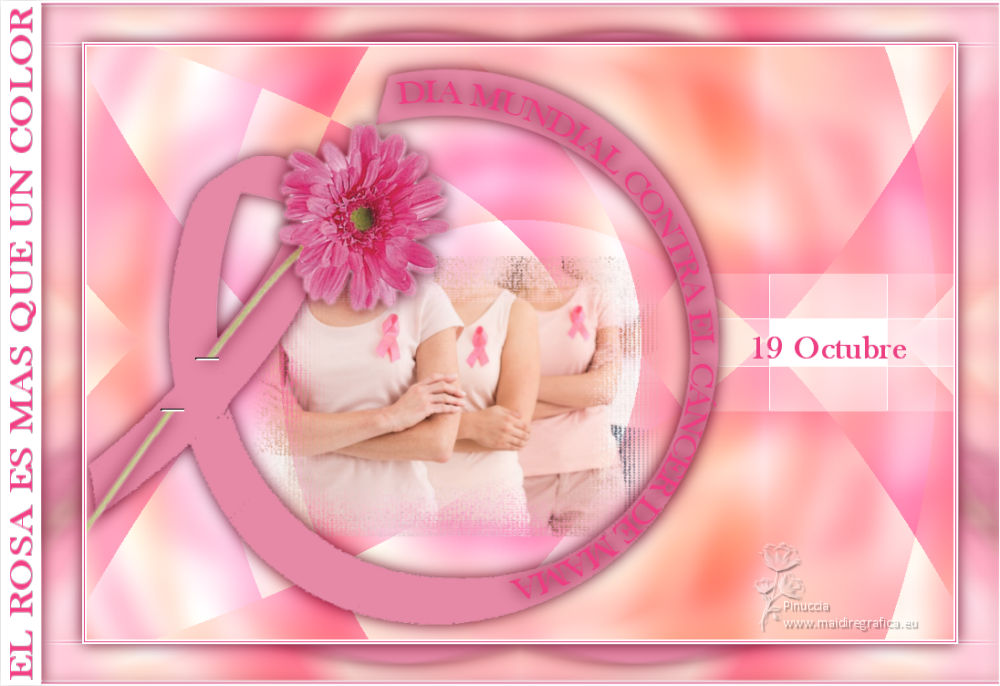


If you have problems or doubts, or you find a not worked link, or only for tell me that you enjoyed this tutorial, write to me.
20 Ottobre 2023

|
 IT'S MORE THAN JUST A COLOR

 IT'S MORE THAN JUST A COLOR
