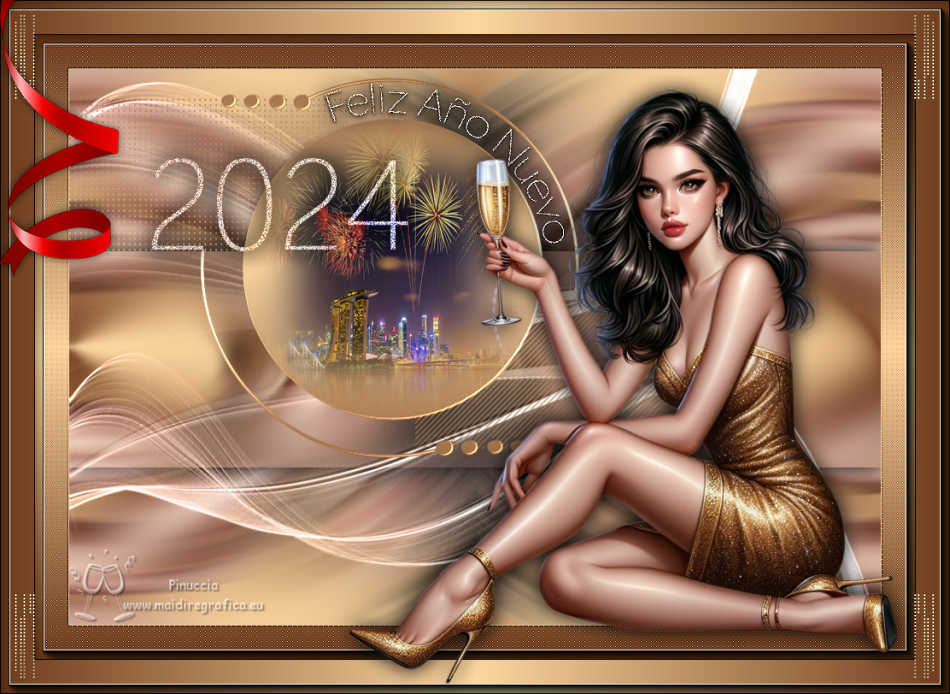
|
FELIZ AÑO 2024


Thanks Yedralina for your invitation to translate your tutorials into english

This tutorial was written with CorelX19 and translated with CorelX17, but it can also be made using other versions of PSP.
Since version PSP X4, Image>Mirror was replaced with Image>Flip Horizontal,
and Image>Flip with Image>Flip Vertical, there are some variables.
In versions X5 and X6, the functions have been improved by making available the Objects menu.
In the latest version X7 command Image>Mirror and Image>Flip returned, but with new differences.
See my schedule here
 italian translation here italian translation here
 french translation here french translation here
 your versions here your versions here

For this tutorial, you will need:

Thanks for the tubes Castorke, Libellule, Clo and for the mask Narah.
The rest of the material is by Yedralina
(The links of the tubemakers here).

consult, if necessary, my filter section here
Filters Unlimited 2.0 here
Simple - Pizza Slice Mirror here
Toadies - What are you here
Optional: AAA Filters - Custom here
Filters Simple and Toadies can be used alone or imported into Filters Unlimited.
(How do, you see here)
If a plugin supplied appears with this icon  it must necessarily be imported into Unlimited it must necessarily be imported into Unlimited


You can change Blend Modes according to your colors.
In the newest versions of PSP, you don't find the foreground/background gradient (Corel_06_029).
You can use the gradients of the older versions.
The Gradient of CorelX here

Open the mask in PSP and minimize it with the rest of the material.
1. Set your foreground color to #f7d77f,
and your background color to #6e140b.

Set your foreground color to a Foreground/Background Gradient, style Linear.

2. Open Canal_feliz24 .
Window>Duplicate or, on the keyboard, shift+D to make a copy.

Close the original.
The copy, that will be the basis of your work, is not empty,
but contains a selection saved to alpha channel.
Flood Fill  the transparent image with your Gradient. the transparent image with your Gradient.
2. Layer>New Raster Layer.
Selections>Load/Save Selection>Load Selection from Alpha Channel.
The selection #1 is immediately available. You just have to click Load.
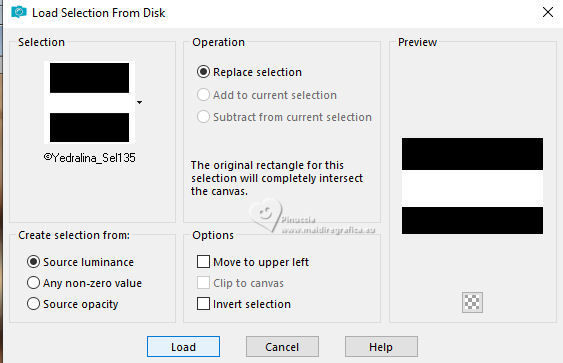
Flood fill  the selection with your gradient. the selection with your gradient.
3. Selections>Modify>Contract - 25 pixels.
Set your background color with color white.
Flood fill  the selection with color white. the selection with color white.
4. Selections>Modify>Contract - 5 pixels.
Set again your background color with #826394 go get the gradient.
Flood fill  the selection with your gradient. the selection with your gradient.
5. Selections>Modify>Contract - 5 pixels.
Again set your background color to white.
Flood fill  the selection with color white. the selection with color white.
Selections>Select None.
6. Effects>Geometric Effects>Skew.

7. Effects>Reflection Effects>Rotating Mirror.

8. Effects>Reflection Effects>Rotating Mirror.

9. Effects>Image Effects>Seamless Tiling, default settings.

10. Effects>3D Effects>Drop Shadow, color black.

11. Effects>Plugins>Simple - Pizza Slice Mirror.
This effect works without window; result

If you import the effect in Unlimited, you can see preview the result

12. Effects>Reflection Effects>Rotating Mirror.

13. Effects>Reflection Effects>Rotating Mirror.

14. Effects>3D Effects>Drop Shadow, same settings.

1
15. Effects>Plugins>Toadies - What are you, default settings.

Change the Blend Mode of this layer to Luminance (legacy).
16. Optional: repeat Effects>Plugins>Toadies - What are you, same settings.
look at my third version, to see the difference and choose to your liking
Effects>Edge Effects>Enhance More.
Activate your background layer.
17. Selections>Select All.
Selections>Modify>Contract - 75 pixels.
Selections>Promote Selection to layer.
Selections>Select None.
18. Image>Mirror.
Effects>3D Effects>Drop Shadow, same settings.

19. Effects>Edge Effects>Enhance More.
Change the Blend Mode of this layer to Luminance (legacy).
20. Selections>Load/Save Selection>Load Selection from Alpha Channel.
Open the Selections menu and load the selection #2

21. Open the misted castorke_tube_kerst54_112012 
Edit>Copy.
Go back to your work and go to Edit>Paste as new layer.
Place  the tube in the selection, to your liking. the tube in the selection, to your liking.
Image>Resize, if necessary - for the supplied tube 65%, resize all layers not checked.
22. Selections>Invert.
Press CANC on the keyboard 
Selections>Select None.
23. Reduce the opacity of this layer +/-67%, according to your tube.

24. Open the tube deco00321©Yedralina 
Edit>Copy.
Go back to your work and go to Edit>Paste as new layer.
Don't move it.
25. Effects>3D Effects>Drop Shadow, same settings.

26. For the borders:
Set again your background color to #6e140b,
and invert the colors of your gradient

27. Image>Add Borders, 1 pixel, symmetric, background color.
Image>Add Borders, 1 pixel, symmetric, foreground color.
Image>Add Borders, 1 pixel, symmetric, background color.
Image>Add Borders, 15 pixels, symmetric, color white.
Image>Add Borders, 1 pixel, symmetric, background color.
Image>Add Borders, 1 pixel, symmetric, foreground color.
Image>Add Borders, 1 pixel, symmetric, background color.
27. Selections>Select All.
Image>Add Borders, 10 pixels, symmetric, whatever color.
Selections>Invert.
Flood fill  the selection with your gradient. the selection with your gradient.
Selections>Select None.
28. Image>Add Borders, 1 pixel, symmetric, background color.
Image>Add Borders, 1 pixel, symmetric, foreground color.
Image>Add Borders, 1 pixel, symmetric, background color.
29. Selections>Select All.
Image>Add Borders, 30 pixels, symmetric, color white.
Effects>3D Effects>Drop Shadow, same settings.

Selections>Select None.
30. Image>Add Borders, 1 pixel, symmetric, background color.
31. Optional: Effects>Plugins>AAA Filters - Custom - Landscape.

32. Selections>Select All.
Image>Add Borders, symmetric not checked, color white.

Effects>3D Effects>Drop Shadow, same settings.
Selections>Select None.
33. Set your background color to white.
Layer>New Raster Layer.
Flood fill  the layer with color white. the layer with color white.
34. Layers>New Mask layer>From image
Open the menu under the source window and you'll see all the files open.
Select the mask NarahsMasks_1538

Layers>Merge>Merge Group.
Change the Blend mode of this layer to Screen.
34. Layer>Duplicate.
Layers>Merge>Merge Down.

35. Open your main tube libellulegraphisme_miracle_nativite_merciE 
Edit>Copy.
Go back to your work and go to Edit>Paste as new layer.
Image>Mirror.
Image>Resize, if necessary, for the supplied tube it's not.
Move  the tube at the bottom left. the tube at the bottom left.

Effects>3D Effects>Drop Shadow, to your liking.
35. Open the text Text_NoEs-©Yedralina 
Edit>Copy.
Go back to your work and go to Edit>Paste as new layer.
Move  the text at the bottom right. the text at the bottom right.
36. Effects>3D Effects>Drop Shadow, background color.

If you want, change the Blend Mode of this layer to Overlay.
If necessary: Layer>Duplicate.
Layers>Merge>Merge Down
37. Open the tube Stella_byClo 
Erase the watermark and go to Edit>Copy.
Go back to your work and go to Edit>Paste as new layer.
Image>Mirror.
Image>Resize, to your liking, for me 55%, resize all layers not checked.
Move  the tube at the upper right. the tube at the upper right.
Effects>3D Effects>Drop shadow, at your choice.
38 Image>Resize, 1000 pixels width, resize all layers checked.
39. Sign your work on a new layer.
40. Layers>Merge>Merge All and save as jpg.
For the tubes of these versions thanks
Mentali
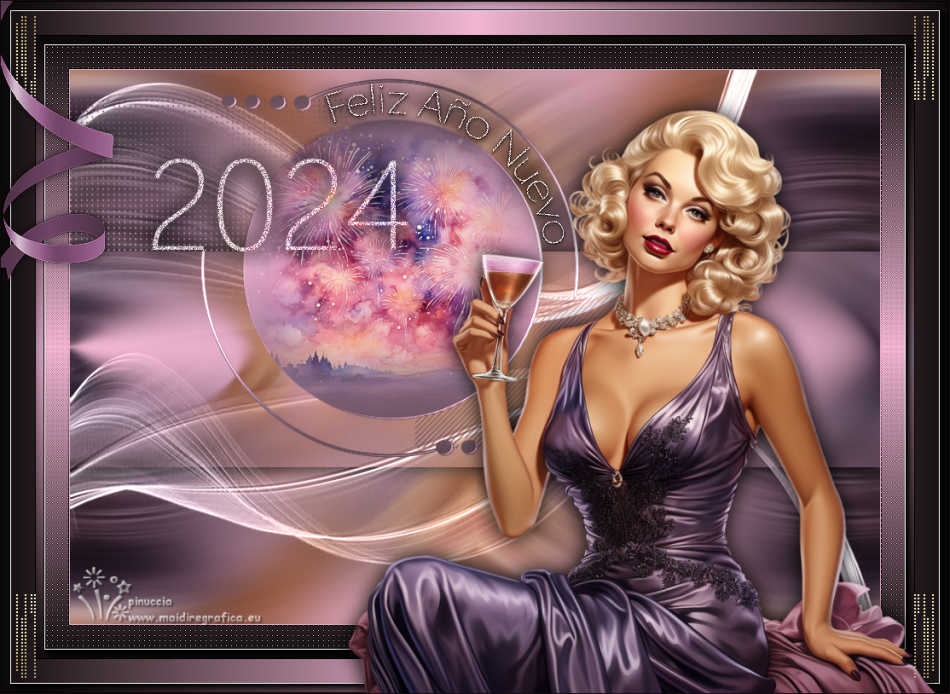
Tine
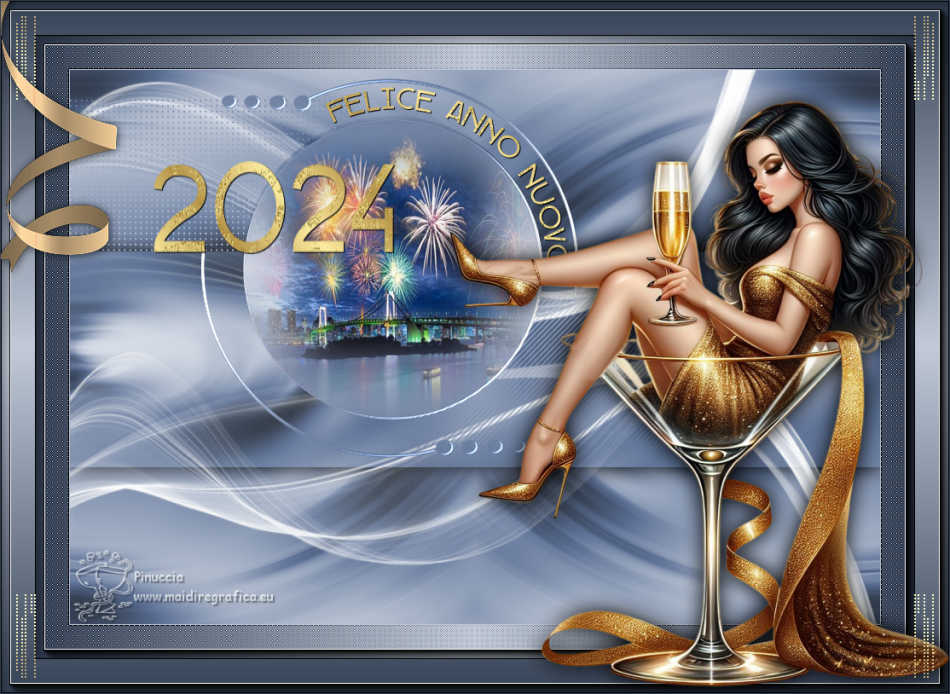

If you have problems or doubts, or you find a not worked link, or only for tell me that you enjoyed this tutorial, write to me.
1 November 2023

|

