|
ACAPULCO  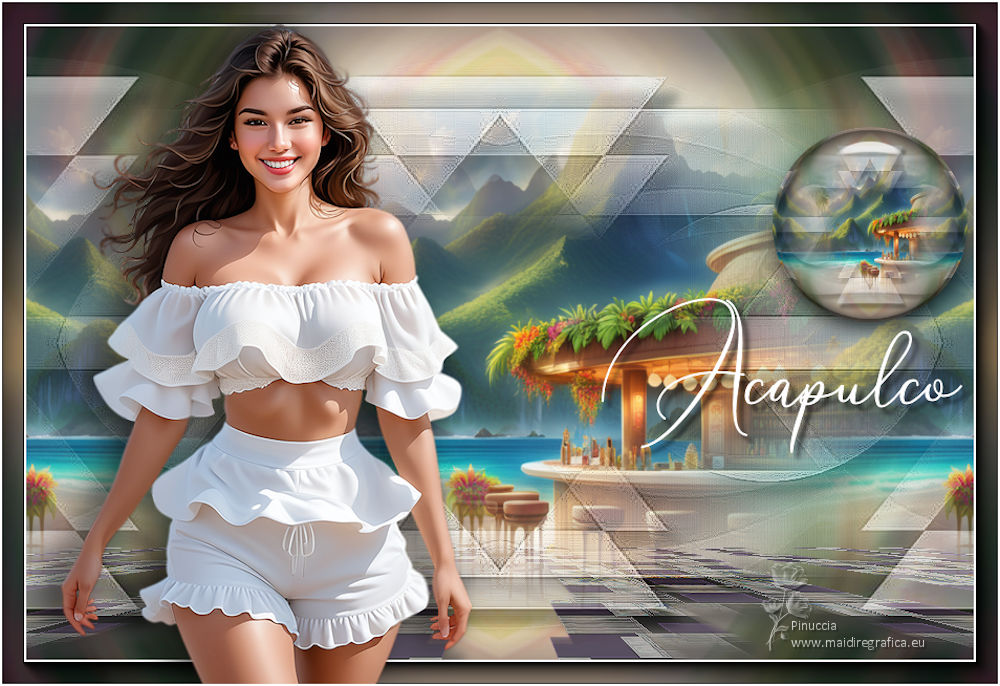

This tutorial was written with PSP2020 and translated with PSPX9 and PSP2020, but it can also be made using other versions of PSP.  consult, if necessary, my filter section here Filters Unlimited 2.0 here Simple - Top Left Mirror here AAA Frames - Foto Frame here Mura's Meister - Perspective Tiling here Alien Skin Eye Candy 5 Impact - Glass here Carolaine and Sensibility - CS_Linear-H here Filters Simple can be used alone or imported into Filters Unlimited. (How do, you see here) If a plugin supplied appears with this icon  You can change Blend Modes according to your colors. In the newest versions of PSP, you don't find the foreground/background gradient (Corel_06_029). You can use the gradients of the older versions. The Gradient of CorelX here  Copy the preset Emboss 6 in the Presets Folder. Open the mask in PSP and minimize it with the rest of the material. Choose 3 colors of your misted. Set your foreground color to #e0c1af, and your background color to #8f8c91. color 3 #4a240c color 4 #ffffff 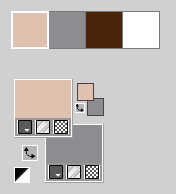 Set your foreground color to a Foreground/Background Gradient, style Linear. 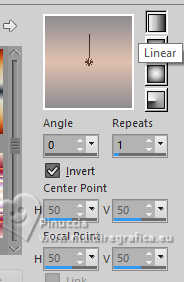 1. Open a new transparent image 950 x 650 pixels. Selections>Select All. 2. Open the tube KamilTube-958(1) 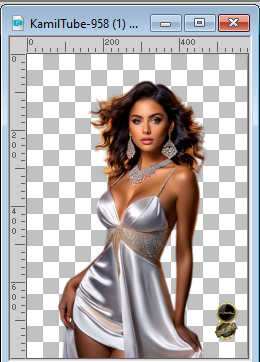 Erase the watermark and go to Edit>Copy. Minimize the tube. Go back to your work and go to Edit>Pastee into Selection. Selections>Select None. 3. Adjust>Blur>Radial Blur. 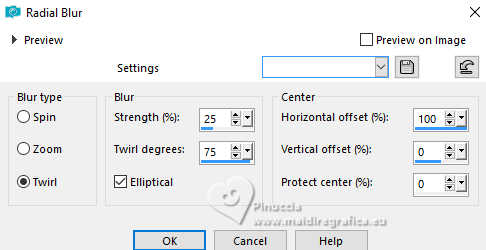 4. Effects>Reflection Effects>Rotating Mirror, default settings.  5. Layers>New Raster Layer. Flood Fill  the layer with your gradient. the layer with your gradient.Layers>Arrange>Move Down. 6. Activate your top layer. Layers>Merge>Merge Down. 7. Effects>Plugins>Filters Unlimited 2.0 - Simple - 4 Way Average. 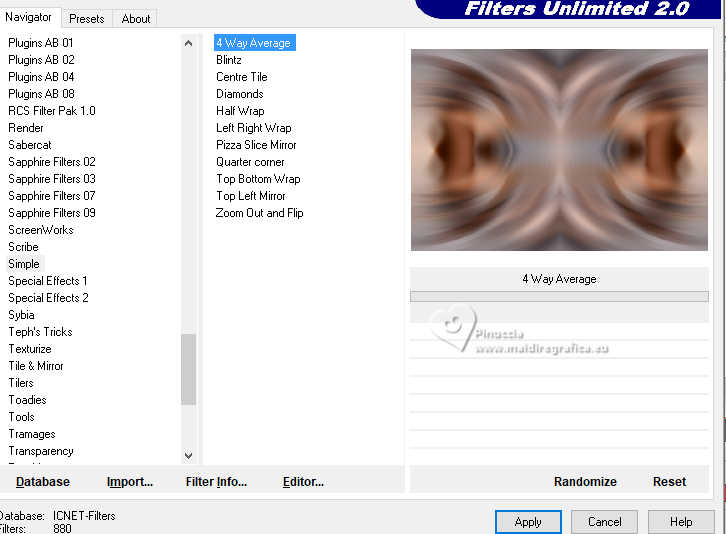 Layers>Duplicate. Close this layer and go back to the layer below, Raster 2. 8. Effects>Plugins>Filters Unlimited 2.0 - Two Moon - Vertical ChopBlur, default settings. 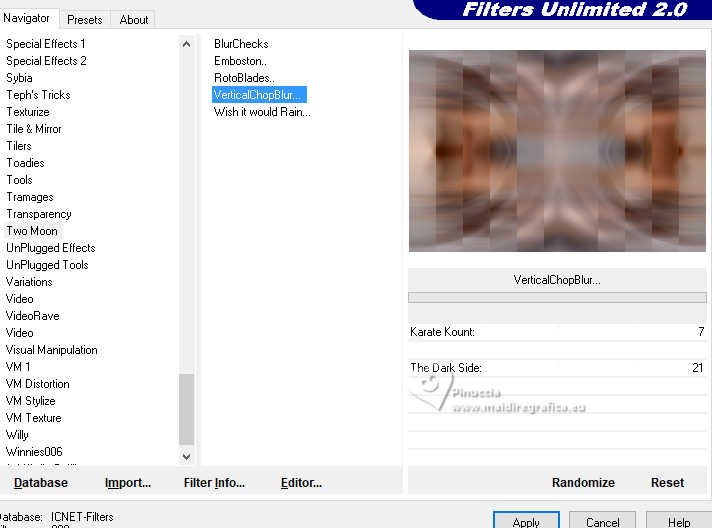 9. Effects>User Defined Effects, select the preset Emboss 6 and ok. 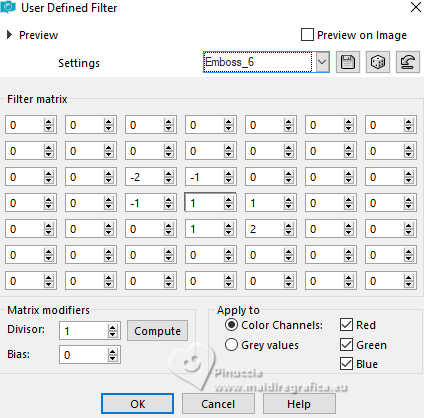 10. Layers>New Raster Layer. Selections>Select All. 11. Open the misted scenery-2823106_Tb32  Edit>Copy. Go back to your work and go to Edit>Pastee into Selection. Selections>Select None. 12. Change the Blend Mode of this layer to Soft Light, and reduce the opacity to your liking. 13. Open and activate your top layer, Copy of Raster 2. Edit>Copy. Edit>Paste as new image, and minimize this image. 14. Go back to your work and stay on the top layer. Image>Resize, to 40%, resize all layers not checked. 15. Effects>Image Effects>Seamless Tiling.  16. Again Effects>Image Effects>Seamless Tiling, Side by side.  17. Effects>Reflection Effects>Rotating Mirror, default settings  Effects>Edge Effects>Enhance More. 18. Selection Tool  (no matter the type of selection, because with the custom selection your always get a rectangle) clic on the Custom Selection  and set the following settings.  19. Selections>Promote Selection to Layer. Keep selected. 20. Effects>Plugins>Mura's Meister - Perspective Tiling.  Keep still selected. 21. Effects>Geometric Effects>Spherize.  Keep always selected. 22. Layers>New Raster Layer. Edit>Paste into Selection - the misted is still in memory). 23. Layers>Arrange>Move Down. Activate your top layer. Layers>Merge>Merge Down. Selections>Select None. 24. Activate the layer below, Copy of Raster 2 (the 3 squares)  25. Effects>Plugins>Eye Candy 4000 - Corona - color 3 #4a240c  26. Activate again your top layer. Layers>Merge>Merge Down. 27. Objects>Align>Bottom, or K key to activate your Pick Tool  Position X: 0,00 - Position Y: 300,00.  M key to deselect the Tool. 28. Image>Add borders, 1 pixel, symmetric, foreground color. Image>Add borders, 1 pixel, symmetric, background color. Image>Add borders, 1 pixel, symmetric, foreground color. 29. Selections>Select All. 30. Image>Add borders, 10 pixels, symmetric, whatever color. Selections>Invert. Flood Fill  the selection with your Gradient. the selection with your Gradient.31. Selections>Promote Selection to Layer. Change the Blend Mode of this layer to Multiply. Layers>Merge>Merge Down. 32. Image>Add borders, 1 pixel, symmetric, foreground color. Image>Add borders, 1 pixel, symmetric, background color. Image>Add borders, 1 pixel, symmetric, foreground color. 33. Selections>Select All. Image>Add borders, 45 pixels, symmetric, whatever color. Selections>Invert. 34. Activate the image minimized at step 13  Edit>Copy. Go back to your work and go to Edit>Paste into Selection. Adjust>Sharpness>Sharpen More. 35. Selections>Invert. Effects>3D Effects>Drop Shadow, color 3 #4a240c 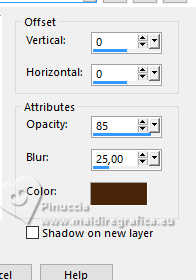 Selections>Select None. 36. Layers>Duplicate. Adjust>Blur>Gaussian Blur, radius 10.  37. Effects>Plugins>Mura's Meister - Perspective Tiling, same settings. 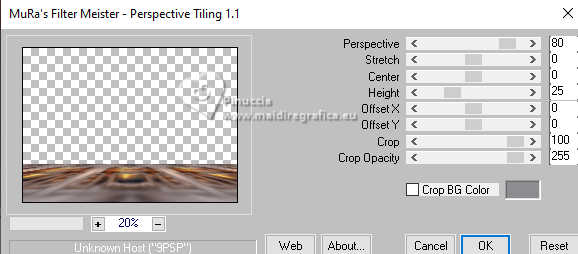 38. Effects>Geometric Effects>Spherize, same settings.  39. Activate your Magic Wand Tool  , tolerance 0, feather 50, , tolerance 0, feather 50,and click in the transparent part to select it. Press +/-10 times CANC on the keyboard  Selections>Select None. don't forget to set again the feather of your Magic Wand Tool to 0 40. Set your foreground color to white. Layers>New Raster Layer. Flood Fill  the layer with color white. the layer with color white.41. Layers>New Mask layer>From image Open the menu under the source window and you'll see all the files open. Select the mask ildiko_create_0010free_mask 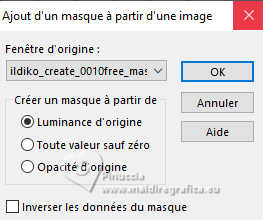 Layers>Merge>Merge Group. Change the Blend Mode of this layer to Screen. 42. Activate again your main tube KamilTube-958(1) and go to Edit>Copy. Go back to your work and go to Edit>Paste as new layer. Image>Resize, if necessary. If you use the supplied tube, it is not. Move  the tube to the right side. the tube to the right side.43. Effects>3D Effects>Drop Shadow, at your choice; for me the last settings.  44. Image>Add borders, 1 pixel, symmetric, color 3 #4a240c 45. Image>Resize, 1000 pixels width, resize all layers checked. 46. Sign your work on a new layer. Layers>Merge>Merge All and save as jpg. For the tubes of these versions thanks Riet and Kamil.  Luz Cristina and Mentali 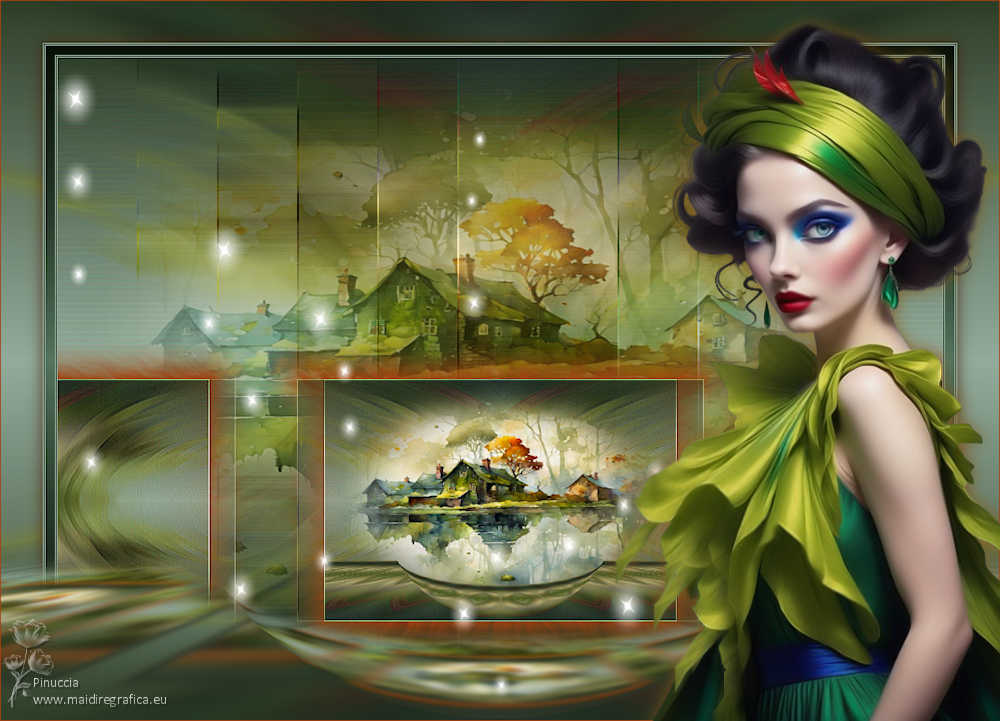  If you have problems or doubts, or you find a not worked link, or only for tell me that you enjoyed this tutorial, write to me. |