|
EL TIEMPO


Thanks Yedralina for your invitation to translate your tutorials into english

This tutorial was written with CorelX19 and translated with CorelX17, but it can also be made using other versions of PSP.
Since version PSP X4, Image>Mirror was replaced with Image>Flip Horizontal,
and Image>Flip with Image>Flip Vertical, there are some variables.
In versions X5 and X6, the functions have been improved by making available the Objects menu.
In the latest version X7 command Image>Mirror and Image>Flip returned, but with new differences.
See my schedule here
 italian translation here italian translation here
 french translation here french translation here
 your versions here your versions here
For this tutorial, you will need:
Tubes at your choice.
The rest of the material here
For the tubes used and not supplied thanks Beatriz (3556-man-LBTUBES),
Beas (paisaje344_beas_misted), Animabelle (177_divers_p2_animabelle)
and Nikita (Reloj).
For the mask thanks Narah (NarahsMasks_1580).
The rest of the material is by Yedralina.
(The links of the tubemakers here).
Plugins:
consult, if necessary, my filter section here
Filters Unlimited 2.0 here
Funhouse - Sierpienski Mirror here
Tramages - Two the lines here
AAA Frames - Foto Frame here
Mura's Seamless - Emboss at Alpha here
Simple - Top Left Mirror here
Filtres Funhouse, Tramages, Mura's Seamless and Simple can be used alone or imported into Filters Unlimited.
(How do, you see here)
If a plugin supplied appears with this icon  it must necessarily be imported into Unlimited it must necessarily be imported into Unlimited

You can change Blend Modes according to your colors.
Copy the preset in the Presets Folder.

Open the mask in PSP and minimize it with the rest of the material.
Set your foreground color to #4c4e5d,
and your background color to #c2bbc7.
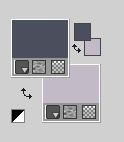
Set your foreground color to a Foreground/Background Gradient, style Sunburst.

1. Open canal alpha_El tiempo.
Window>Duplicate or, on the keyboard, shift+D to make a copy.

Close the original.
The copy, that will be the basis of your work, is not empty,
but contains the selections saved to alpha channel.
Fill Flood  the transparent image with your Gradient. the transparent image with your Gradient.
2. in my second version I prefered skip this step;
So, if you prefer follow my example, go to step 3
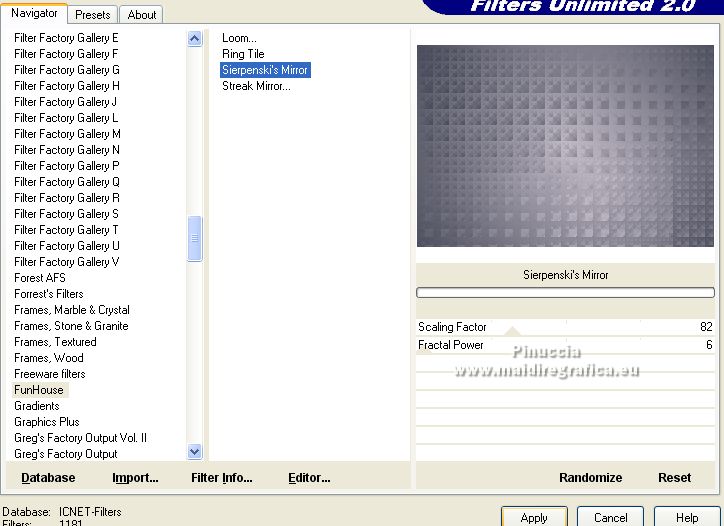
Effects>Plugins>Filters Unlimited 2.0 - Funhouse - Sierpenski's Mirror, default settings.
3. Selections>Load/Save Selection>Load Selection from Alpha Channel.
The selection #1 is immediately available. You just have to click Load.

Selections>Promote Selection to Layer.
Adjust>Blur>Gaussian Blur - radius 15.

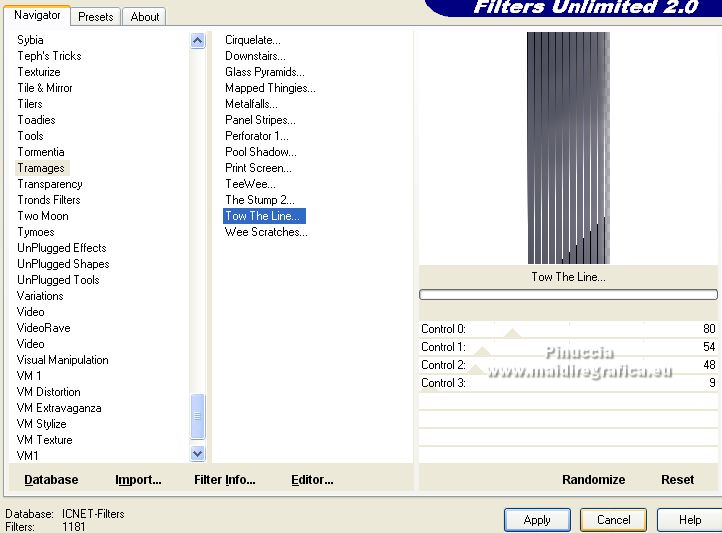
4. Effects>Plugins>Filters Unlimited 2.0 - Tramages - Tow the line, default settings.
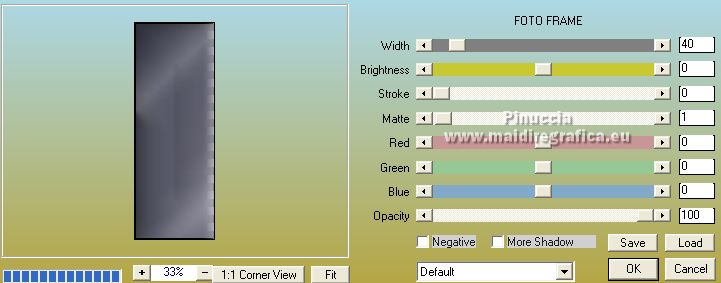
5. Effects>Plugins>AAA Frames - Foto Frame.
Effects>Reflection Effects>Rotating Mirror.

Selections>Select None.
6. Effects>Plugins>Filters Unlimited 2.0 - Tile & Mirror - Distortion Mirror (vertical), default settings.
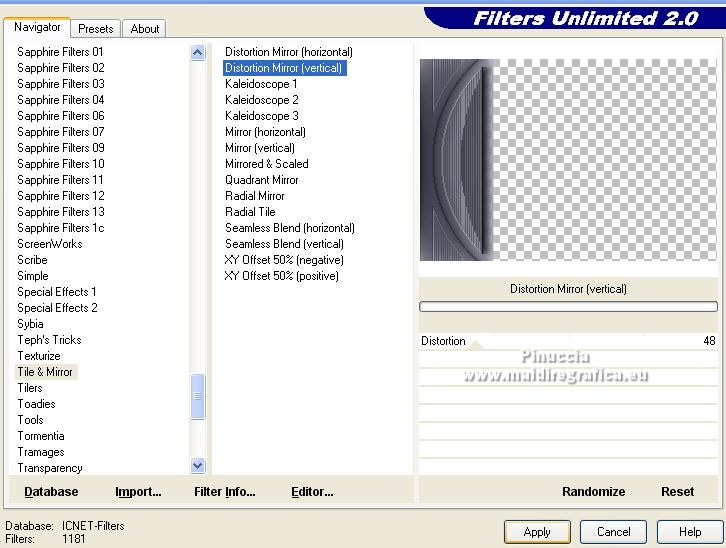
7. Effects>Plugins>Simple - Top Left Mirror.
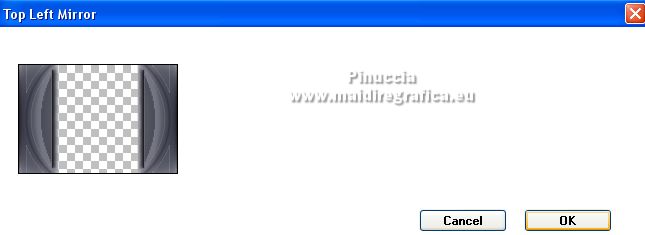
Layers>Duplicate.
8. Effects>Geometric Effects>Spherize

9. Selections>Load/Save Selection>Load Selection from Alpha Channel.
Open the selections menu and load the selection #2.

Layers>New Raster Layer.
Fill Flood  the layer with your Gradient. the layer with your Gradient.
Effects>Plugins>Filters Unlimited 2.0 - Tramages - Tow the line, same settings.
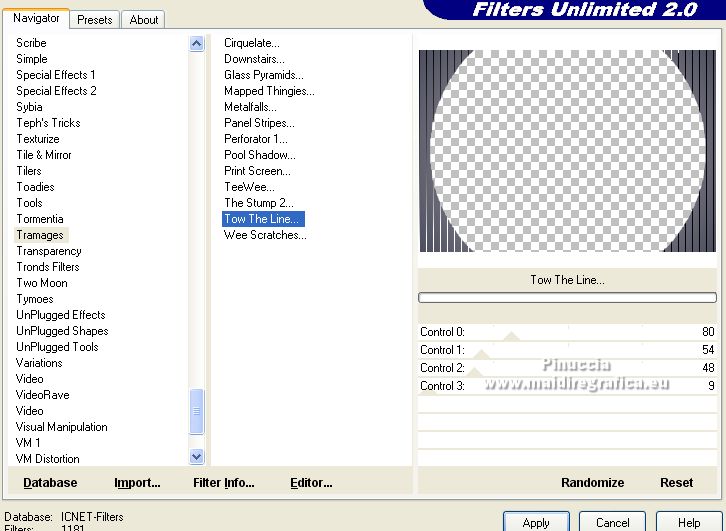
Selections>Select None.
Effects>Reflection Effects>Rotating Mirror.

10. Set your foreground color to white.
Layers>New Raster Layer.
Flood Fill  the layer with color white. the layer with color white.
Layers>New Mask layer>From image
Open the menu under the source window and you'll see all the files open.
Select the mask NarahsMasks_1580.

Layers>Merge>Merge Group.
Effects>Plugins>Mura's Seamless - Emboss at alpha, default settings.
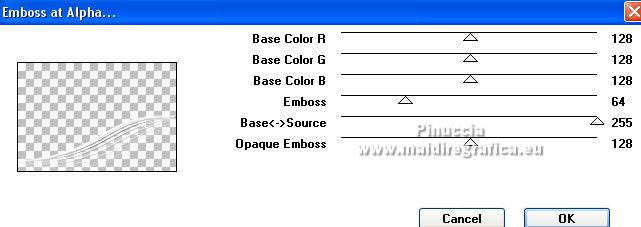
11. Layers>New Raster Layer.
Selections>Load/Save Selection>Load Selection from Alpha Channel.
Open the selections menu and load the selection #3.

Open your misted and go to Edit>Copy.
Go back to your work and go to Edit>Paste into Selection.
Selections>Select None.
12. Open the tube of the clock and go to Edit>Copy.
Go back to your work and go to Edit>Paste as new layer.
Image>Resize, if necessary; in my case I didn't it.
Move  the tube a bit up, the tube a bit up,
or activate your Pick Tool 
open the preset menu and select the preset 310-©Yedralina
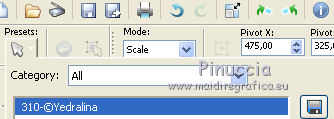
Change the Blend Mode of this layer to Soft Light.

13. Set again your foreground color to the initial color (#4c4e5d) and Gradient.
 
14. Image>Add borders, 1 pixel, symmetric, dark color.
Image>Add borders, 1 pixel, symmetric, light color.
Image>Add borders, 10 pixels, symmetric, dark color.
Image>Add borders, 10 pixels, symmetric, light color.
Image>Add borders, 1 pixel, symmetric, dark color.
Image>Add borders, 1 pixel, symmetric, light color.
Selections>Select All.
Image>Add borders, 20 pixels, symmetric, whatever color.
Selections>Invert.
Flood Fill  the selection with your Gradient. the selection with your Gradient.
Selections>Select None.
Image>Add borders, 1 pixel, symmetric, light color.
Image>Add borders, 1 pixel, symmetric, dark color.
Selections>Select All.
Selections>Modify>Contract - 45 pixels.
Selections>Invert.
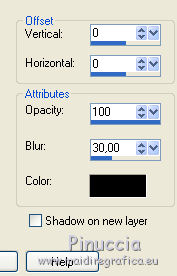
Effects>3D Effects>Drop shadow, color black.
15. Open your main tube and go to Edit>Copy.
Go back to your work and go to Edit>Paste as new layer.
Image>Resize, if necessary (for me 80%), resize all layers not checked.
Adjust>Sharpness>Sharpen.
Move  the tube to the right side. the tube to the right side.
Effects>3D Effects>Drop Shadow, to your liking; for me

16. Open the deco tube and go to Edit>Copy.
Go back to your work and go to Edit>Paste as new layer.
Image>Resize, si necessary (for me 30%), resize all layers not checked.
Adjust>Sharpness>Sharpen.
Move  the tube to the left side. the tube to the left side.
Effects>3D Effects>Drop Shadow, same settings.
17. Image>Add borders, 1 pixel, symmetric, light color.
Image>Add borders, 1 pixel, symmetric, dark color.
18. Image>Resize, 1000 pixels width, resize all layers checked.
19. Open the text and go to Edit>Copy.
Go back to your work and go to Edit>Paste as new layer.
Move  the text to the left side. the text to the left side.
20. Sign your work on a new layer.
Layers>Merge>Merge All and save as jpg.
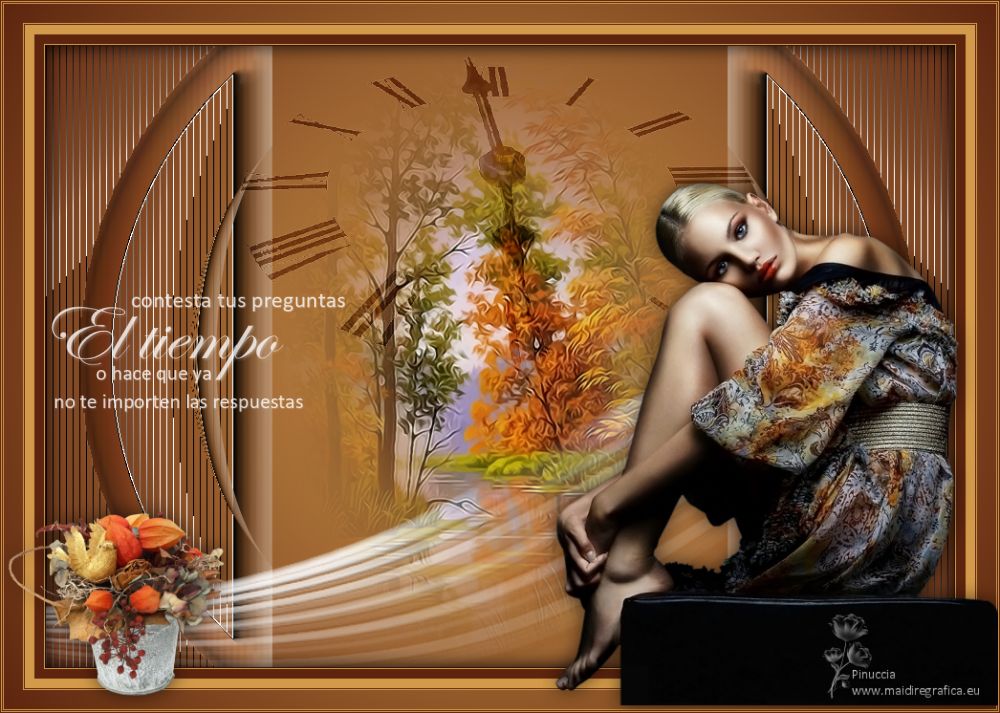
For the tubes of this version thanks Nadège (2019-28-Nadege), Nena Silva (vvs-paisagem0471)
and Marie Liberte (MarieLiberte_Cocooning_in_Autumn_Le_petit_scrap_el (4).

If you have problems or doubts, or you find a not worked link, or only for tell me that you enjoyed this tutorial, write to me.
31 October 2021

|


