|
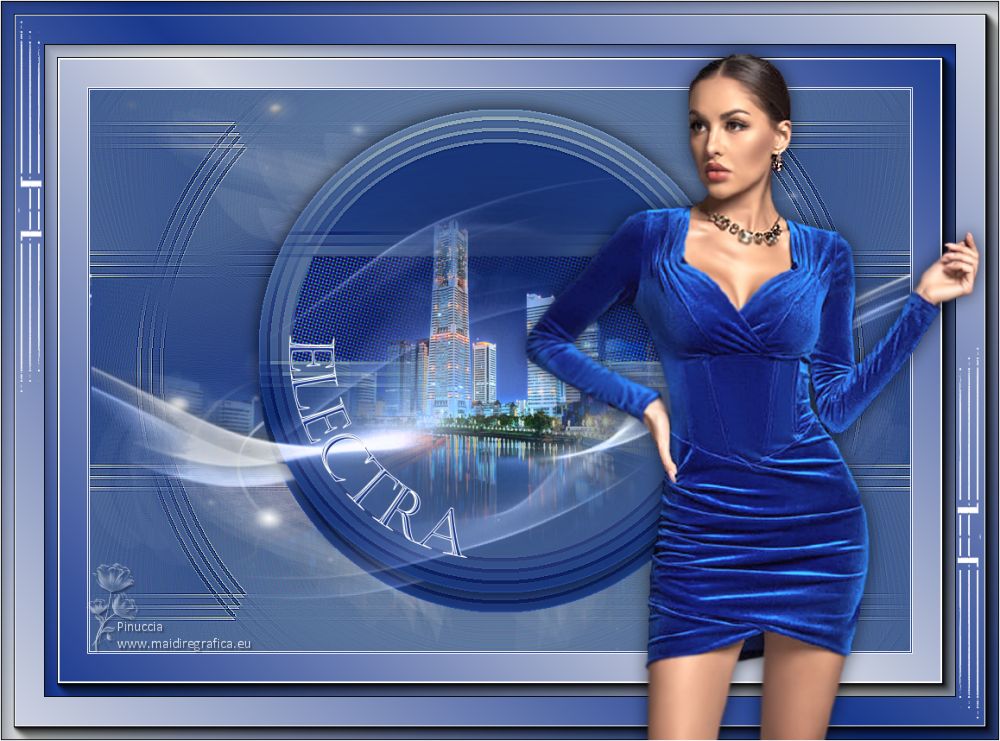
ELECTRA


Thanks Yedralina for your invitation to translate your tutorials into english

This tutorial was written with CorelX19 and translated with CorelX17, but it can also be made using other versions of PSP.
Since version PSP X4, Image>Mirror was replaced with Image>Flip Horizontal,
and Image>Flip with Image>Flip Vertical, there are some variables.
In versions X5 and X6, the functions have been improved by making available the Objects menu.
In the latest version X7 command Image>Mirror and Image>Flip returned, but with new differences.
See my schedule here
 italian translation here italian translation here
 french translation here french translation here
 your versions here your versions here
For this tutorial, you will need:

Thanks for the tube Luz Cristina and for the masks Silvie and Narah.
The rest of the material is by Yedralina.
(The links of the tubemakers here).

consult, if necessary, my filter section here
Filters Unlimited 2.0 here
Simple - Left Right Wrap (bonus) here
Graphics Plus here
Mura's Seamless - Emboss at Alpha here
RCS Filter Pak - RCS-Coppertooling Simulator, TripleExposure, RCS Digi-Lens-Atomic Split here
Mehdi - Sorting Tiles here
AAA Frames - Foto Frame here
Filters RCS Filter Pak, Mura's Seamless, Simple and Graphics Plus can be used alone or imported into Filters Unlimited.
(How do, you see here)
If a plugin supplied appears with this icon  it must necessarily be imported into Unlimited it must necessarily be imported into Unlimited

You can change Blend Modes according to your colors.
In the newest versions of PSP, you don't find the foreground/background gradient (Corel_06_029).
You can use the gradients of the older versions.
The Gradient of CorelX here

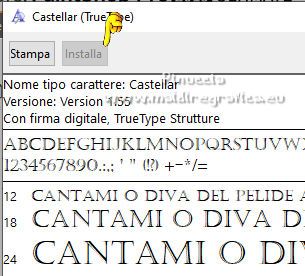
Open the font Castellar and click on Install to install in the Fonts Folder.
Open the masks and minimize them with the rest of the material.
1. Set your foreground color to #b0c9ee,
and your background color to #1a398e.
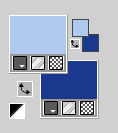
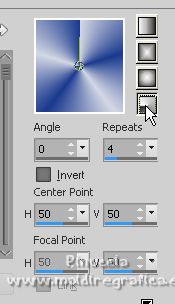
Set your foreground color to a Foreground/Background Gradient, style Radial.
2. Open CanalAlpha_ELECTRA
Window>Duplicate or, on the keyboard, shift+D to make a copy.

Close the original.
The copy, that will be the basis of your work, is not empty,
but contains the selections saved to alpha channel.
Flood Fill  the transparent image with your Gradient. the transparent image with your Gradient.
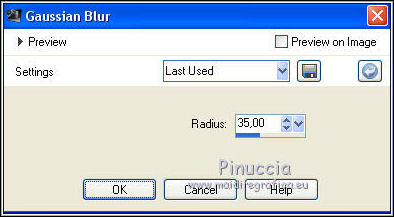
3. Adjust>Blur>Gaussian Blur - radius 35.
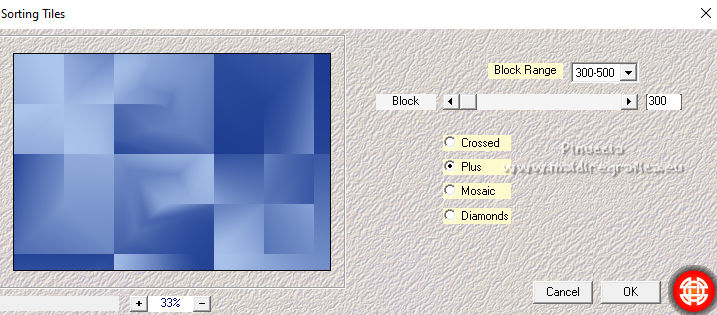
4. Effects>Plugins>Mehdi - Sorting Tiles.
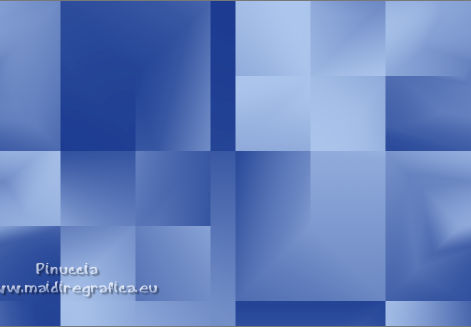
5. Effects>Plugins>Simple - Left Right Wrap.
This Effect works without window; result
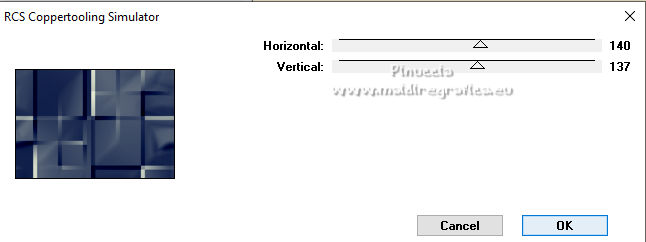
6. Effects>Plugins>RCS Filter Pak 1.0 - RCS Coppertooling Simulator, default settings.
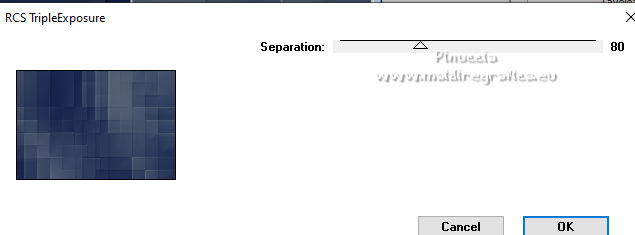
7. Effects>Plugins>RCS Filter Pak 1.0 - RCS TripleExposure.
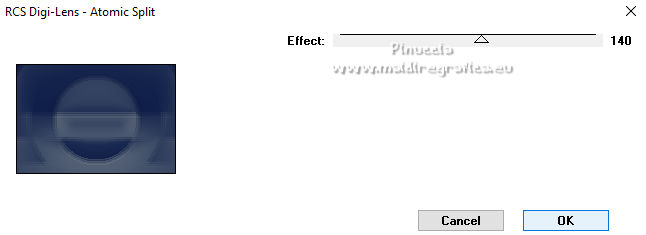
8. Effects>Plugins>RCS Filter Pak 1.0 - RCS Digi-Lens-Atomic Split
9. Image>Flip.
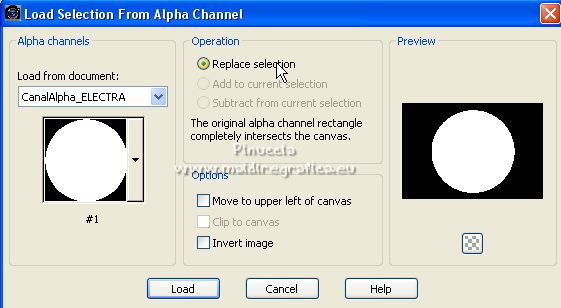
10. Selections>Load/Save Selection>Load Selection from Alpha Channel.
The selection #1 is immediately available. You just have to click Load.
11. Selections>Promote Selection to layer.
Selections>Modify>Contract - 40 pixels.
12. Layers>New raster layer.
Open the misted 1803©Yedralina 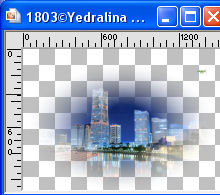
Erase the watermark and go to Edit>Copy.
Go back to your work and go to Edit>Paste into Selection.
Adjust>Sharpness>Sharpen.
Selections>Select None.
13. Activate the layer below, Promoted Selection.
Selections>Load/Save Selection>Load Selection from Alpha Channel.
Open the Selections menu and load the selection #2
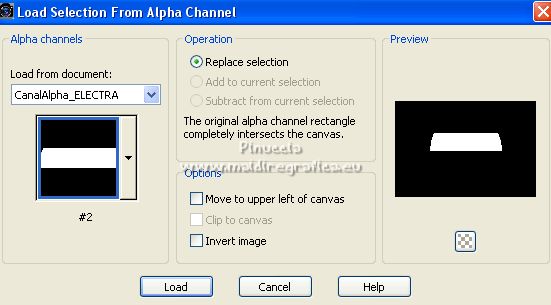
Selections>Promote Selection to layer.
14. Effects>Artistics Effects>Halftone, default settings.
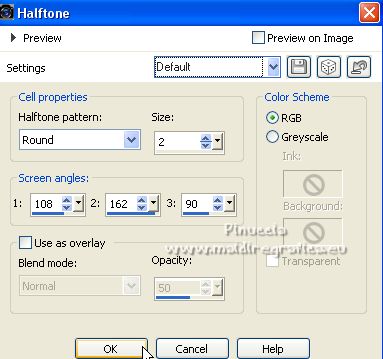
Selections>Select None.
15. Change the Blend Mode of this layer to Overlay, or according to your colors.
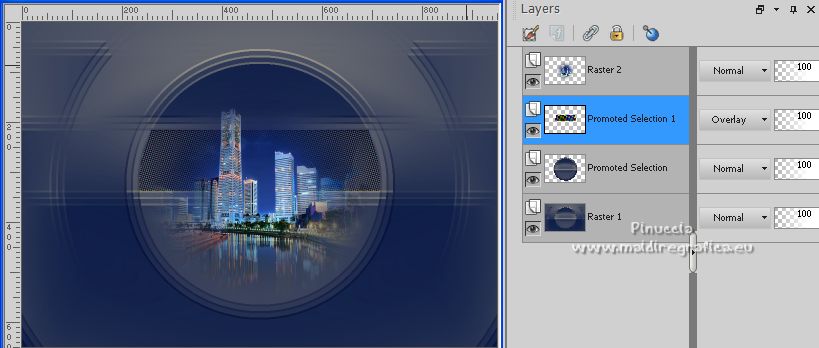
16. Set your foreground color to white.
Layers>New raster layer.
Flood Fill  the layer with color white. the layer with color white.
17. Layers>New Mask layer>From image
Open the menu under the source window and you'll see all the files open.
Select the mask Silvie_Mask_Deco56G
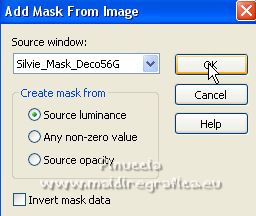
Layers>Merge>Merge Group.
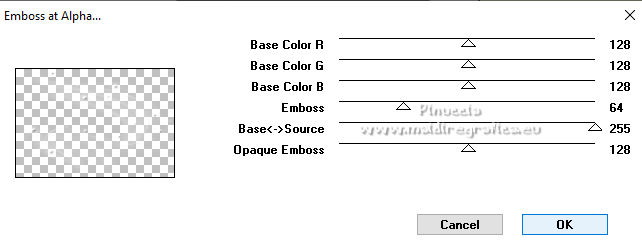
18. Effects>Plugins>Mura's Seamless - Emboss at Alpha, default settings.
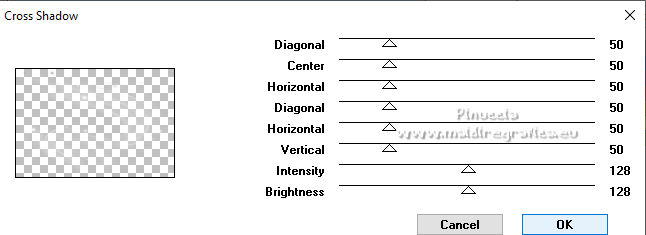
19. Effects>Plugins>Graphics Plus - Cross Shadow, default settings.
20. Layers>Arrange>Move Down - 2 volte.
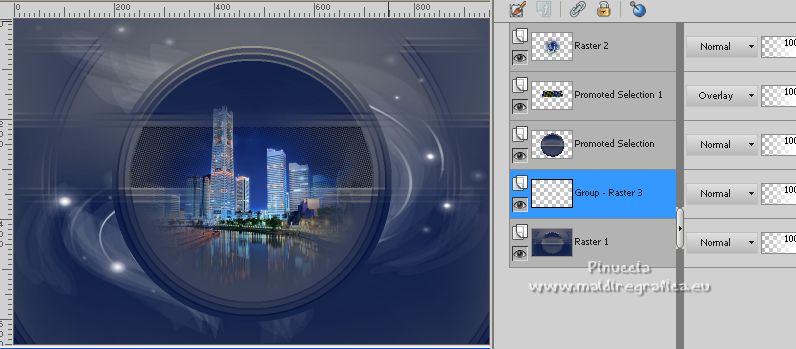
21. Activate your bottom layer, Raster 1.
22. Effects>Reflection Effects>Rotating Mirror.

Effects>Edge Effects>Enhance More.
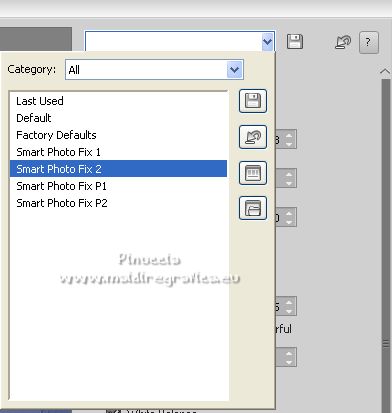
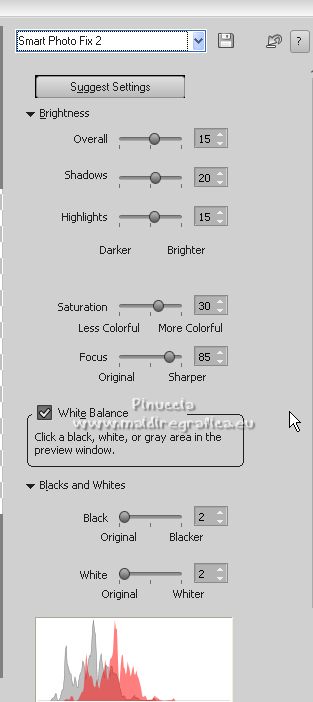
23. Adjust>Smart Photo Fix,
open the presets menu et select Smart Photo Fix 2.
24. Activate the layer Promoted Selection.
Repeat Adjsut>Smart Photo Fix
25. Selections>Select All.
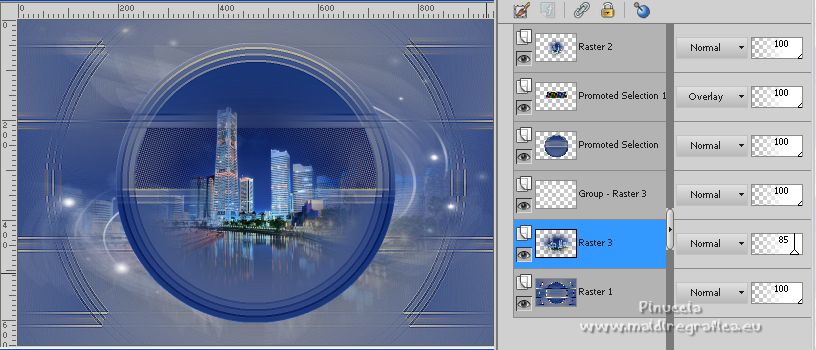
Layers>New raster layer.
Edit>Paste into Selection - the tube 1803©Yedralina is still in memory.
Selections>Select None.
Reduce the opacity of this layer +/-85%
26. Layers>Arrange>Move Down - 2 times.
27. Layers>New raster layer.
Flood Fill  the layer with color white. the layer with color white.
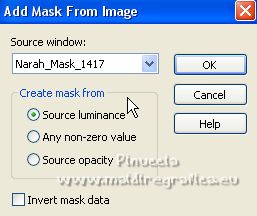
28. Layers>New Mask layer>From image
Open the menu under the source window
and select the mask Narah_Mask_1417
Layers>Merge>Merge Group.
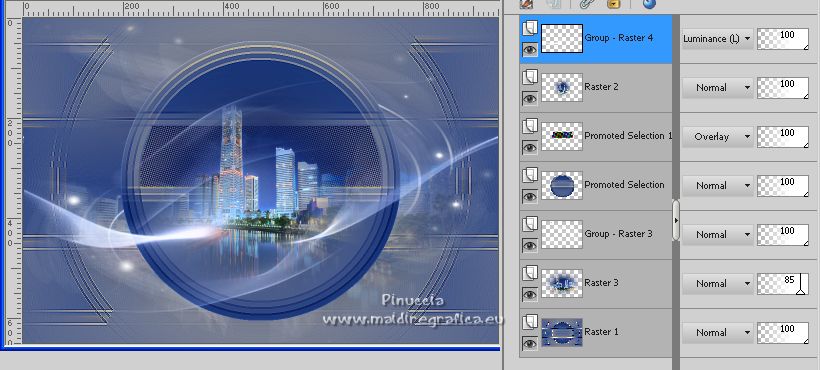
29. Image>Mirror.
Image>Flip.
Layers>Arrange>Bring to Top.
Change the Blend mode of this layer to Luminance (legacy).
30. Open vector circular para texto 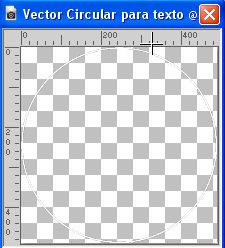
Edit>Copy.
Go back to your work and go to Edit>Paste as new layer.
Activate your Text Tool 
to activate the tool's grid
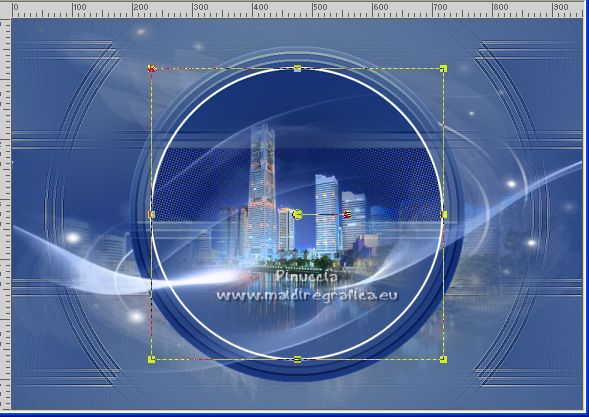
Select the font Castellar, size 72,
foreground color white, background color dark color

Point the mouse at what should be the center of the text
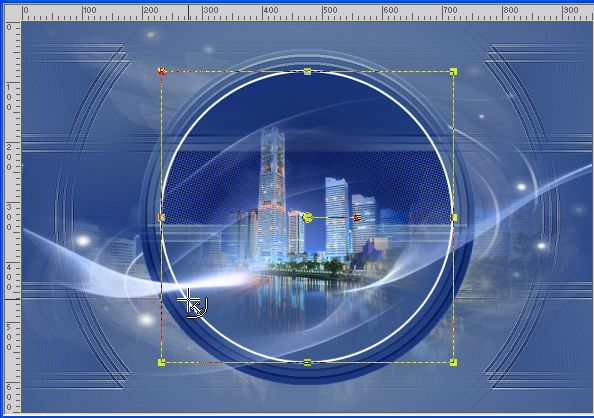
Write Electra

In the layers palette, open the Vector layer menu by clicking on the little black arrow
and close (or delete) the layer of the ellipse that served as a guid for the text.
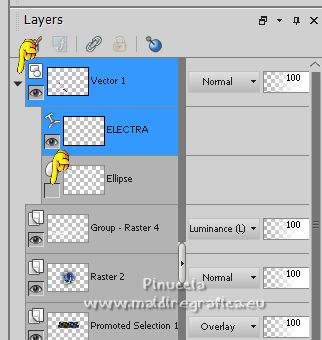
Layers>Convert in raster layer.
If you prefer, you can use the supplied text 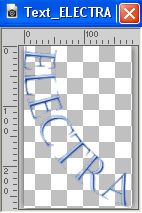
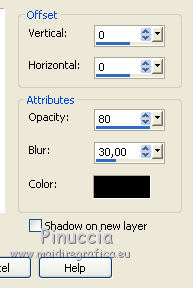
31. Effects>3D Effects>Drop Shadow, color black.
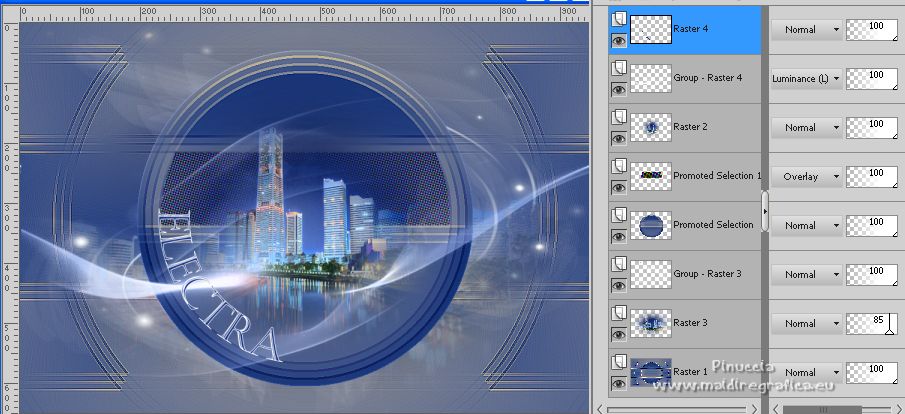
Your tag and the layers
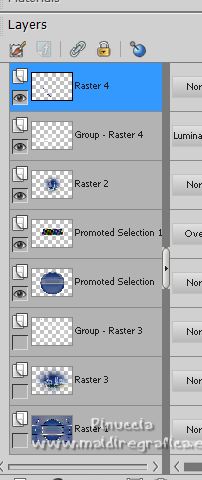
32. Stay on this layer
and close the 3 bottom layers (background, landscape and Silvie's mask)
33. Layers>Merge>Merge visible.
Edit>Copy
Edit>Paste as new image and minimize this image.
34. Go back to your work and re-open the closed layer: Layers>View>All.
35. Set again your foreground color to #b0c9ee.

Set your foreground color to a Foreground/Background Gradient, style Linear.
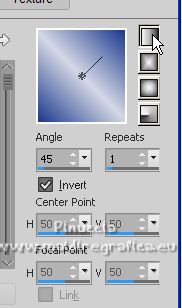
Image>Add borders, 1 pixel, symmetric, color white.
Image>Add borders, 1 pixel, symmetric, dark color.
Image>Add borders, 1 pixel, symmetric, color white.
36. Selections>Select All.
Image>Add borders, 50 pixels, symmetric, whatever color.
Selections>Invert.
Flood Fill  the selection with your Linear Gradient. the selection with your Linear Gradient.
37. Effects>Plugins>AAA Frames - Foto Frame
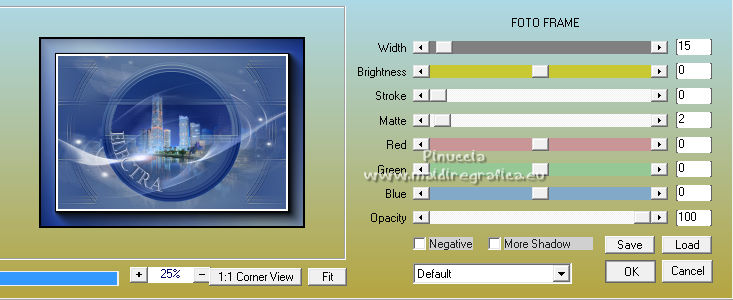
Selections>Select None.
38. Edit>Paste as new layer (the minimized image of step 33 is still in memory).
Don't move it.

39. Effects>3D Effects>Drop Shadow, same settings.
40. Selections>Select All.
Image>Add borders, 50 pixels, symmetric, color white.
Selections>Invert.
41. Change the Gradient settings, unchacking Invert.
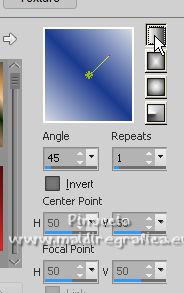
Flood Fill  the selection with your Gradient. the selection with your Gradient.
42. Effects>Plugins>AAA Frames - Foto Frame.
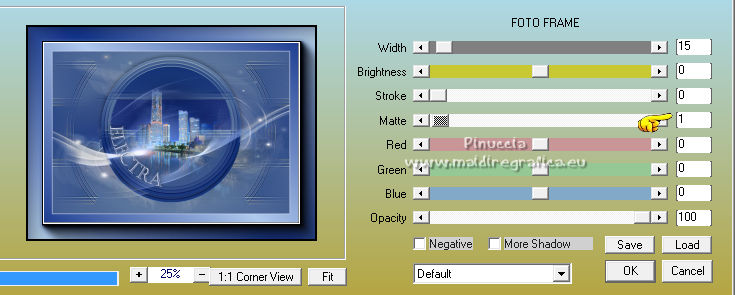
Selections>Select None.
43. Open the deco Deco0029©Yedralina 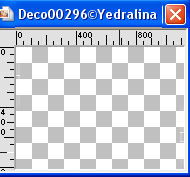
Edit>Copy.
Go back to your work and go to Edit>Paste as new layer.
Don't move it
Change the Blend Mode of this layer to Screen.
44. Open the woman tube 6582-Luz Cristina 
Edit>Copy.
Go back to your work and go to Edit>Paste as new layer.
Image>Resize, if necessary, I didn't it.
Move  the tube to the right side. the tube to the right side.
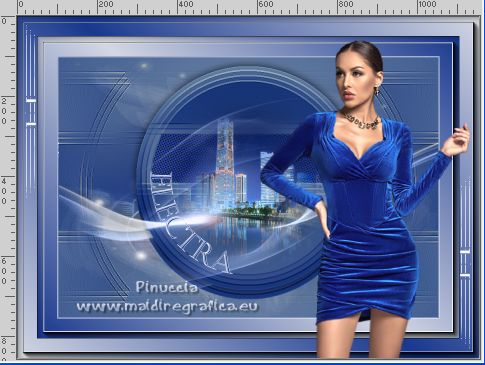
45. Effects>3D Effects>Drop Shadow, at your choice, for me

46. Image>Add borders, 1 pixel, symmetric, color white.
47. Image>Resize, 1000 pixels width, resize all layers checked.
48. Sign your work on a new layer.
Layers>Merge>Merge All and save as jpg.
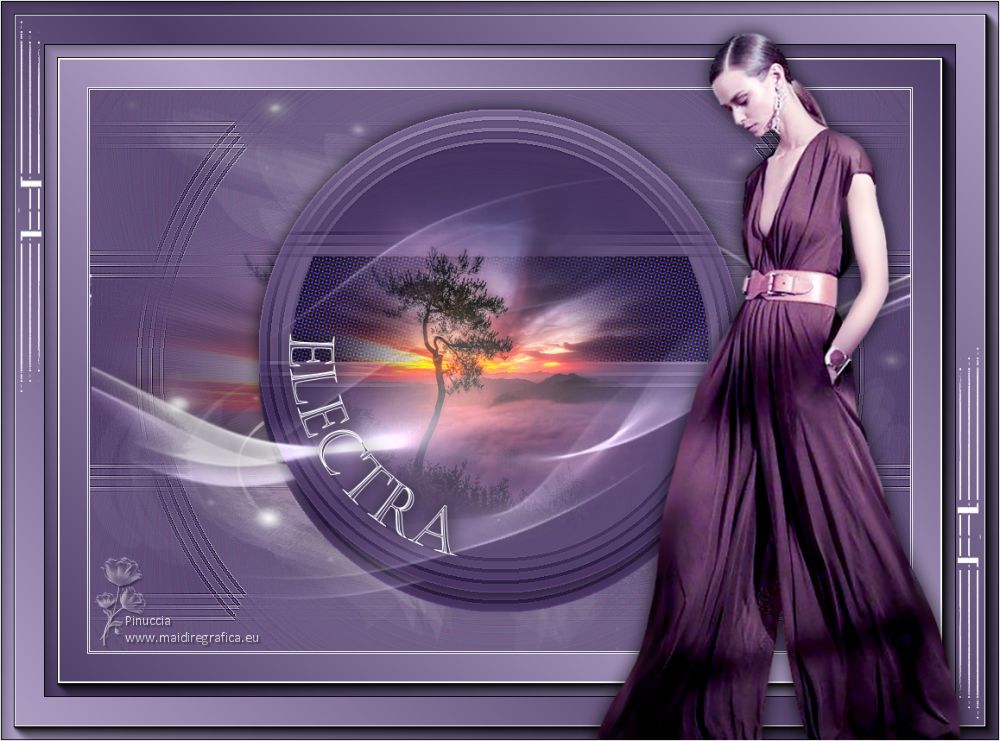
For the tube of these versions thanks
Isa; the landscape is mine
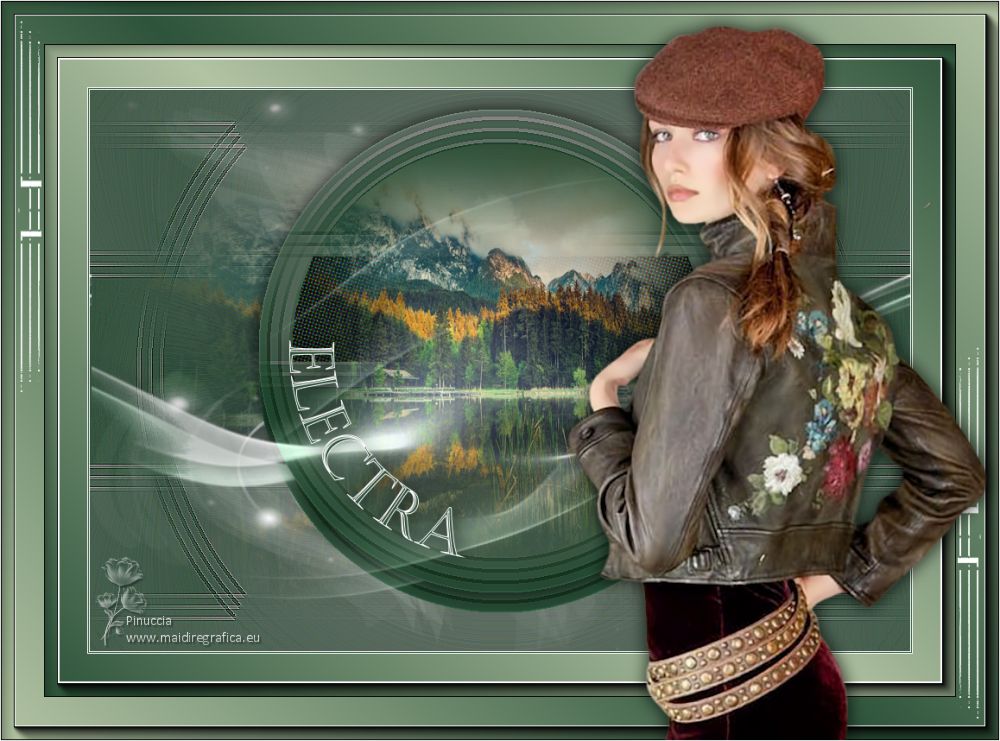
Suizabella and Yedralina

If you have problems or doubts, or you find a not worked link, or only for tell me that you enjoyed this tutorial, write to me.
17 January 2023

|

