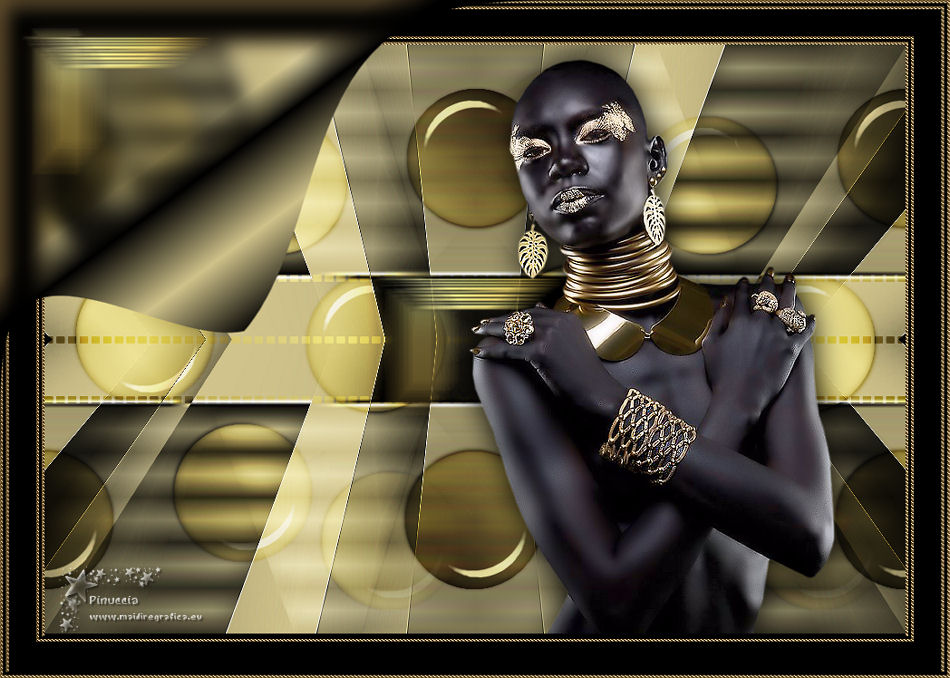
|
EBANO


Thanks Yedralina for your invitation to translate your tutorials into english

This tutorial was written with CorelX19 and translated with CorelX17, but it can also be made using other versions of PSP.
Since version PSP X4, Image>Mirror was replaced with Image>Flip Horizontal,
and Image>Flip with Image>Flip Vertical, there are some variables.
In versions X5 and X6, the functions have been improved by making available the Objects menu.
In the latest version X7 command Image>Mirror and Image>Flip returned, but with new differences.
See my schedule here
italian translation here
french translation here
your versions here
For this tutorial, you will need:
Tube at your choice.
The rest of the material qui
For the tube used and not supplied, thanks (Mina.4784goldblack_woman).
The rest of the material is by Yedralina.
(The links of the tubemakers here).
Plugins:
consult, if necessary, my filter section here
Mehdi - Wavy Lab 1.1 here
Mehdi - Sorting Tiles here
Alien Skin Eye Candy 5 Impact - Glass here

You can change Blend Modes according to your colors.
In the newest versions of PSP, you don't find the foreground/background gradient (Corel_06_029).
You can use the gradients of the older versions.
The Gradient of CorelX here
Copy the preset  in the folder of the plugins Alien Skin Eye Candy 5. in the folder of the plugins Alien Skin Eye Candy 5.
One or two clic on the file (it depends by your settings), automatically the preset will be copied in the right folder.
why one or two clic see here
Open the pattern according to your color in PSP, and minimize it with the rest of the material.
1. Set your foreground color to black #000000,
and your background color to #d0c38b.
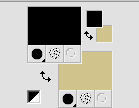
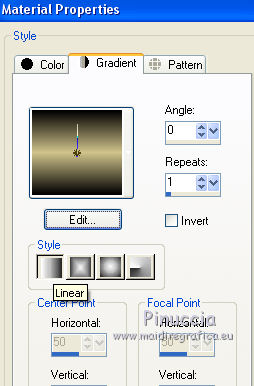
Set your foreground color to a Foreground/Background Gradient, style Linear.
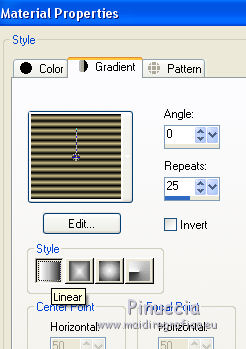
Set your background color to a Foreground/Background Gradient, style Linear, but with these settings.
Open EBANO_Canal Alpha.
Window>Duplicate or, on the keyboard, shift+D to make a copy.
Close the original.
The copy, that will be the basis of your work, is not empty,
but contains the selections saved on the alpha channel.
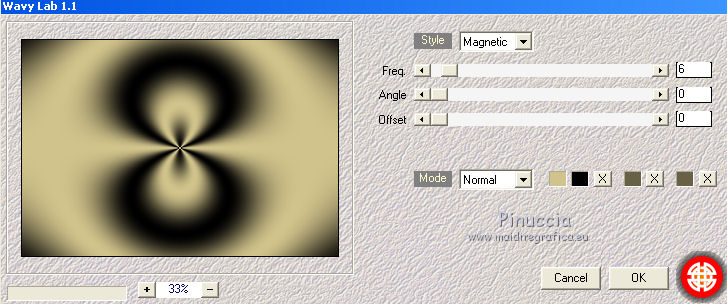
Effects>Plugins>Mehdi - Wavy Lab 1.1
This filters creates gradients with the colors of your Materials palette.
The first is your background color, the second is your foreground color.
Keep the other two color created by the filtre.
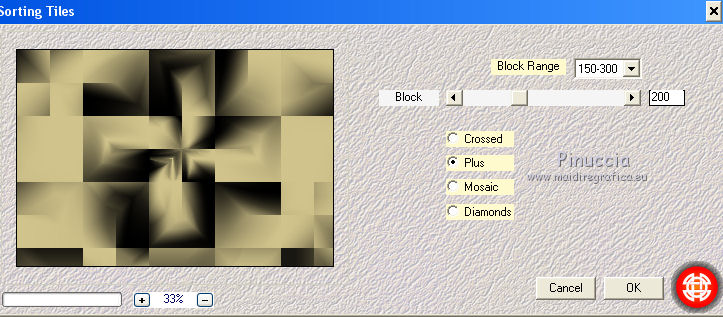
Effects>Plugins>Mehdi - Sorting Tiles
Effects>Edge Effects>Enhance More.
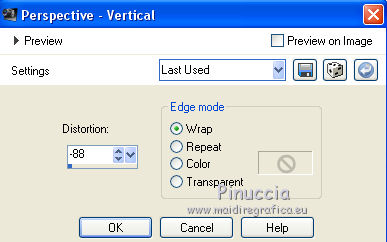
3. Effects>Geometric Effects>Perspective vertical.
4. Effects>Reflection Effects>Rotating Mirror.
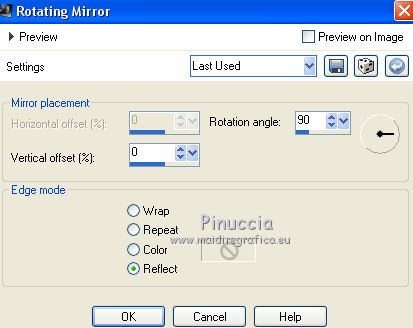
5. Effects>Reflection Effects>Rotating Mirror.

6. Layers>New Raster Layer.
Selections>Load/Save Selection>Load Selection from Alpha Channel.
The selection #1 is immediately available. You just have to click Load.
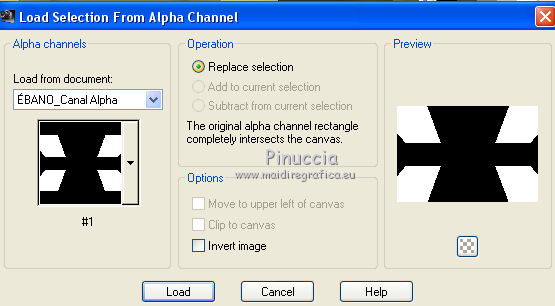
Flood Fill  the selection with your background gradient. the selection with your background gradient.
Selections>Invert.
Effects>3D Effects>Drop Shadow, color black.

Selections>Select None.
7. Effects>Image Effects>Seamless Tiling.

Change the Blend Mode of this layer to Screen.
8. Layers>New Raster Layer.
Selections>Load/Save Selection>Load Selection from Alpha Channel.
Open the selections menu and load the selection #2.
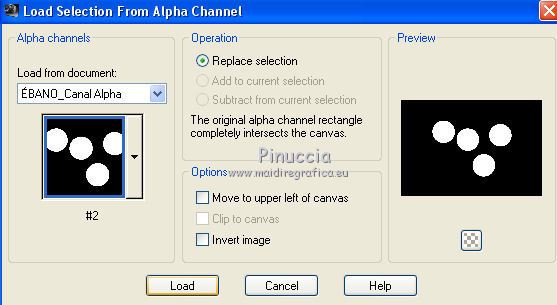
Remplir  the selection with your foreground Gradient. the selection with your foreground Gradient.
Keep selected.
9. Effects>Plugins>Alien Skin Eye Candy 5 Impact - Glass.
Select the preset Yedralina_Glass3 and ok.
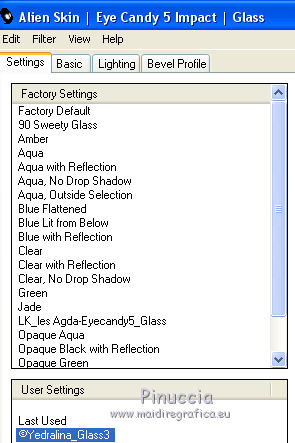
Selections>Select None.
10. Effects>Image Effects>Offset.
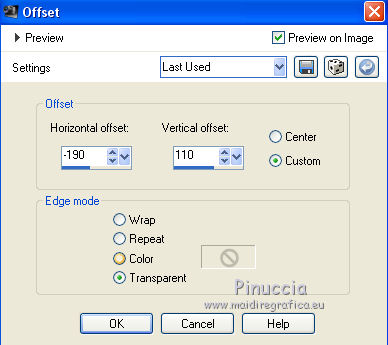
11. Layers>Duplicate.
Image>Flip.
Image>Mirror.
Layers>Merge>Merge Down.
12. Effects>Image Effects>Seamless Tiling, same settings.

Change the Blend Mode of this layer to Overlay, or other.
13. Activate your bottom layer.
Layers>New Raster Layer.
Selections>Load/Save Selection>Load Selection from Alpha Channel.
Open the selections menu and load the selection #3.
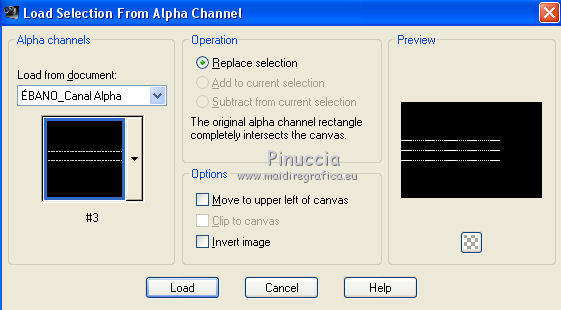
Flood Fill  the selection with your foreground Gradient. the selection with your foreground Gradient.
Selections>Select None.
Effects>Reflection Effects>Rotating Mirror.

Change the Blend Mode of this layer to Overlay, or other.
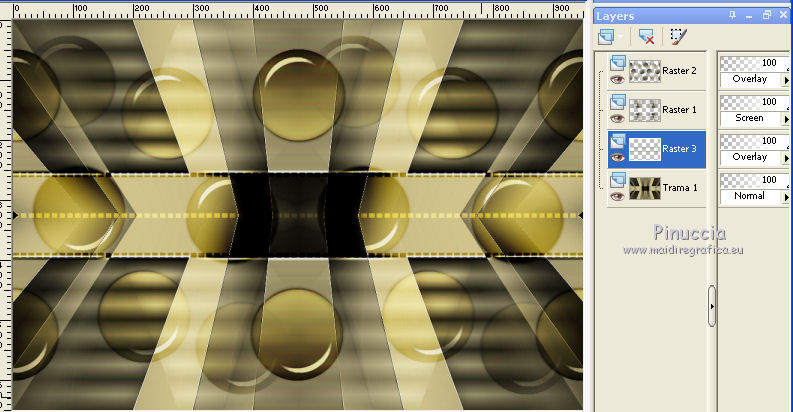
14. Activate your top layer.
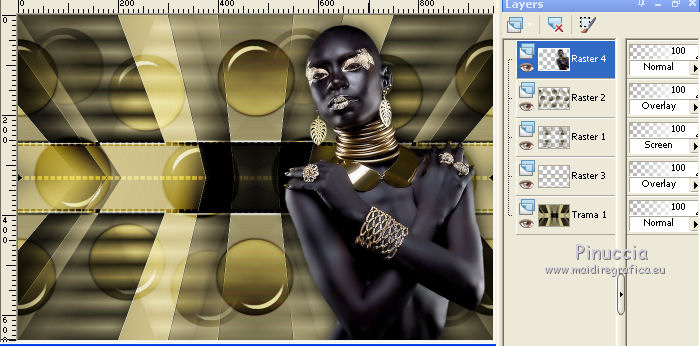
Open your woman tube and go to Edit>Copy.
Go back to your work and go to Edit>Paste as new layer.
Image>Resize, if necessary, resize all layers not checked.
If you resize: Adjust>Sharpness>Sharpen.
Move  the tube to the right side. the tube to the right side.
Effects>3D Effects>Drop Shadow, at your choice, or same settings.

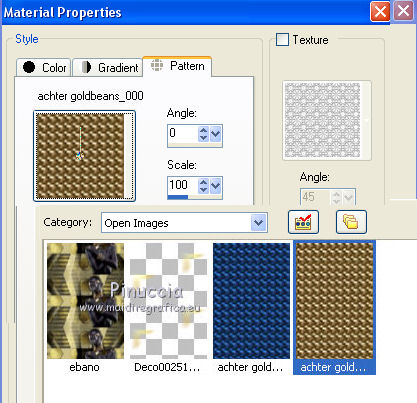
15. Set your foreground color to Pattern
and under the category Open Images, look for and select the supplied pattern.
in the material you find also the blue pattern, if you prefer.
If necessary, you can colorize it according to your colors
16. Selections>Select All.
Image>Add borders, 3 pixels, dark foreground color.
Selections>Invert.
Flood Fill  the selection with your pattern. the selection with your pattern.
Selections>Select None.
17. Image>Add borders, 3 pixels, symmetric, dark foreground color.
Selections>Select All.
Image>Add borders, 3 pixels, symmetric, again with your dark foreground color.
Selections>Invert.
Flood Fill  the selection with your pattern. the selection with your pattern.
18. Selections>Select All.
Selections>Modify>Contract - 9 pixels.
Selections>Invert.
Edit>Copy.
Selections>Select All.
Image>Add borders, 40 pixels, symmetric, dark foreground color.
Selections>Invert.
Edit>Paste into Selection.
Selections>Select None.
19.. Layers>Duplicate.
Activate your bottom layer.
Adjust>Blur>Gaussian Blur - radius 10.

20. Activate again your top layer.
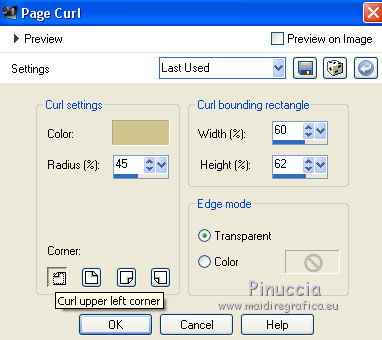
Effects>Image Effects>Page Curl, light background color #d0c38b.
21. Open the tube Deco00251©Yedralina and go to Edit>Copy.
Go back to your work and go to Edit>Paste as new layer.
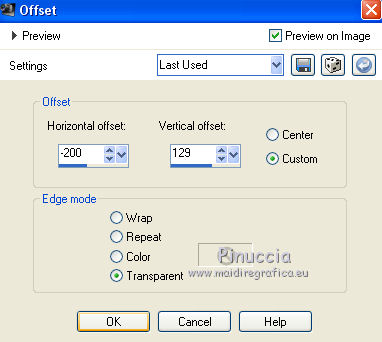
Effects>Image Effects>Offset.
22. Sign your work on a new layer.
Layers>Merge>Merge All.
23. Image>Resize, 1000 pixels width, resize all layers checked.
Save as jpg.
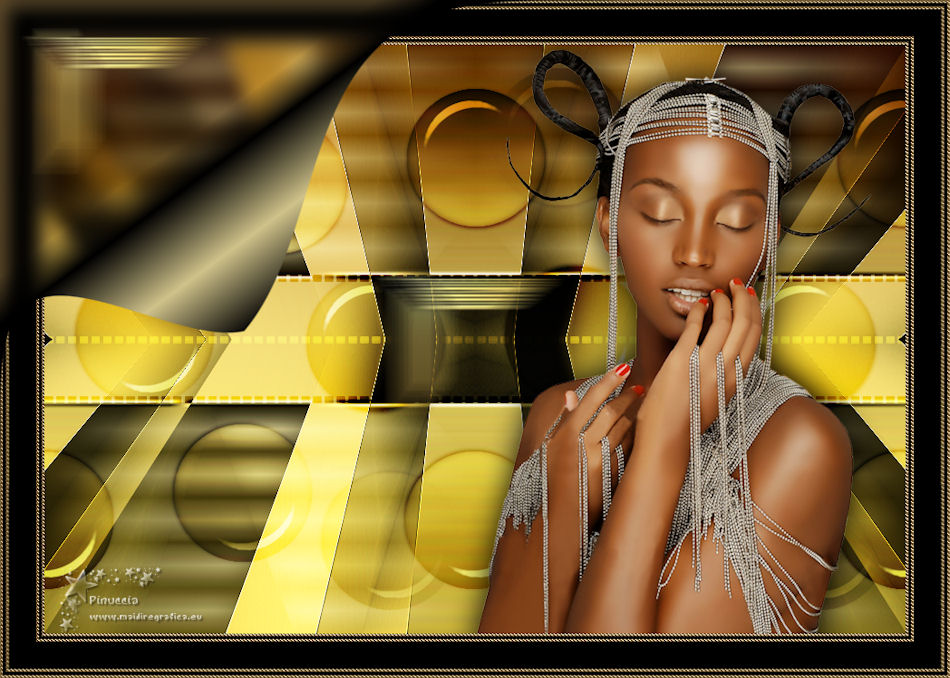
Version with tube by Mina
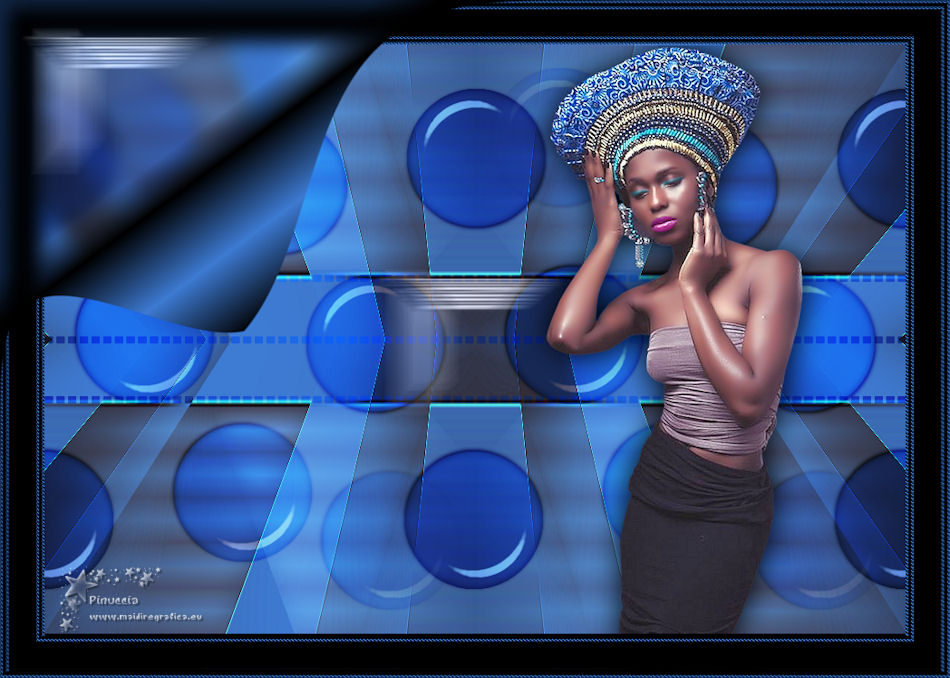
Version with tube by Katrina

If you have problems or doubts, or you find a not worked link, or only for tell me that you enjoyed this tutorial, write to me.
20 August 2019
|

