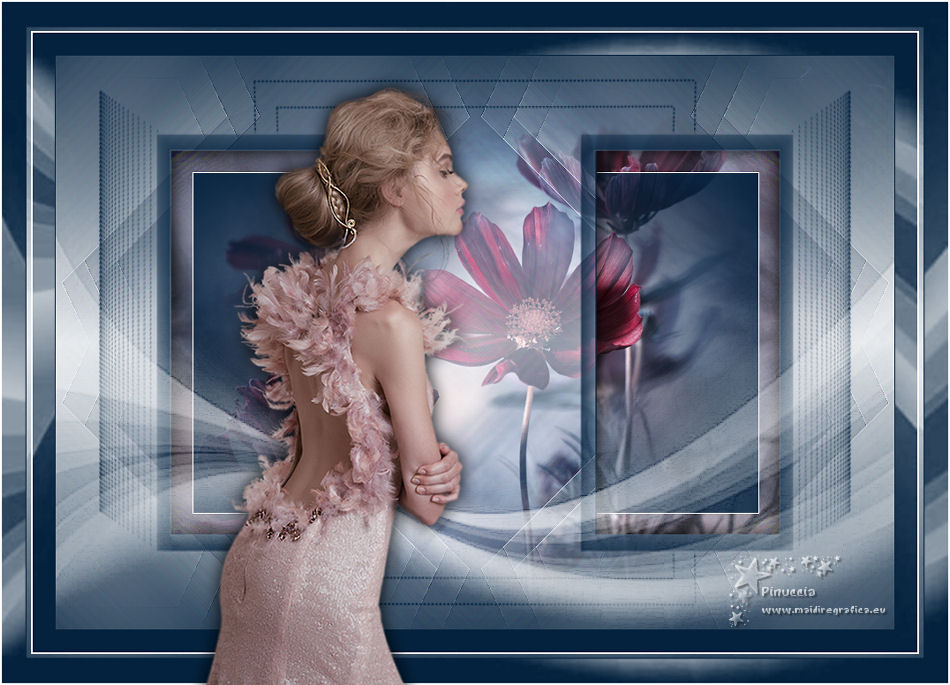
|
CLAUDINE


Thanks Yedralina for your invitation to translate your tutorials into english

This tutorial was written with CorelX19 and translated with CorelX17, but it can also be made using other versions of PSP.
Since version PSP X4, Image>Mirror was replaced with Image>Flip Horizontal,
and Image>Flip with Image>Flip Vertical, there are some variables.
In versions X5 and X6, the functions have been improved by making available the Objects menu.
In the latest version X7 command Image>Mirror and Image>Flip returned, but with new differences.
See my schedule here
italian translation here
french translation here
your versions here
For this tutorial, you will need:
Material qui
For the tubes thanks Beatriz (2732-woman-LB TUBES) and Yedralina (1955©©Yedralina)
For the masks thanks Narah (Narah_Mask_1326) and Valy (VSP238).
(The links of the tubemakers here).
Plugins:
consult, if necessary, my filter section here
Filters Unlimited 2.0 here
&<Bkg Designer sf10I> - Cruncher (da importare in Unlimited) here
VM Toolbox - Instant Tile here
Alf's Border FX - Mirror Bevel here
AAA Filters - A Framer here
Filters Alf's Border FX and VM Toolbox can be used alone or imported into Filters Unlimited.
(How do, you see here)
If a plugin supplied appears with this icon  it must necessarily be imported into Unlimited it must necessarily be imported into Unlimited

You can change Blend Modes according to your colors.
In the newest versions of PSP, you don't find the foreground/background gradient (Corel_06_029).
You can use the gradients of the older versions.
The Gradient of CorelX here
Copy the Selections in the Selections Folder.
Open the masks in PSP and minimize them with the rest of the material.
Set your foreground color to #ffffff,
and your background color to #04223e.
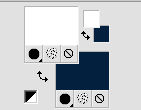
Set your foreground color to a Foreground/Background Gradient, style Linear.
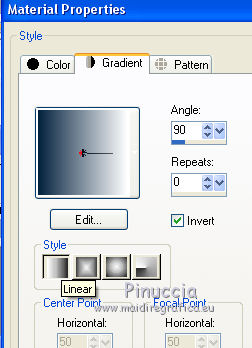
1. Open a new transparent image 950 x 650 pixels.
Flood Fill  the transparent image with your Gradient. the transparent image with your Gradient.
Effects>Plugins>Filters Unlimited 2.0 - Alf's Border FX - Mirror Bevel, default settings.
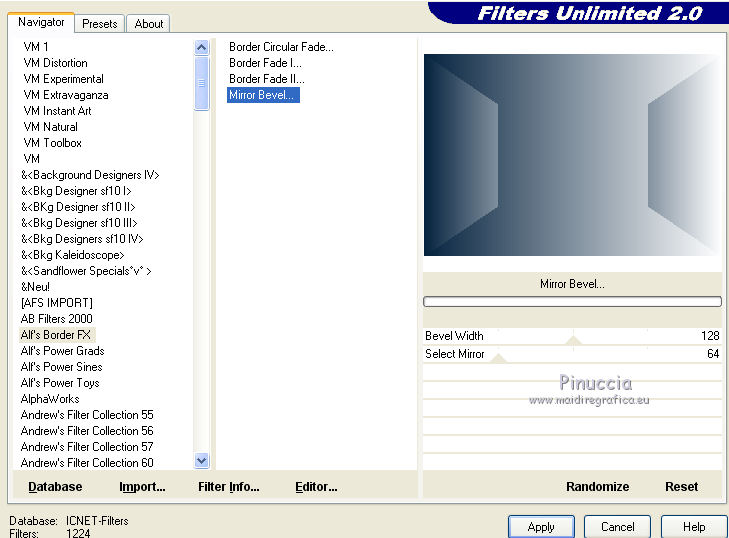
Effects>Plugins>Filters Unlimited 2.0 - &<Bkg Designer sf10I> - Cruncher, default settings.
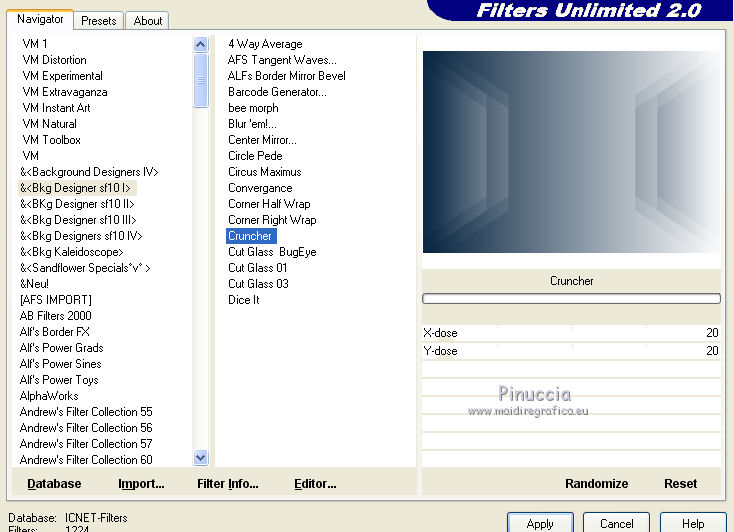
Effects>Edge Effects>Enhance More.
Effects>Geometric Effects>Skew.
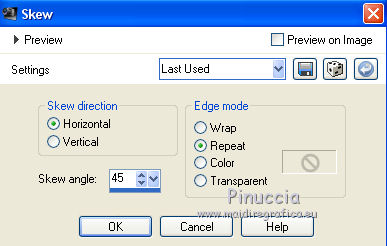
Effects>Image Effects>Seamless Tiling.

Effects>Plugins>VM Toolbox - Instant Tile, default settings.
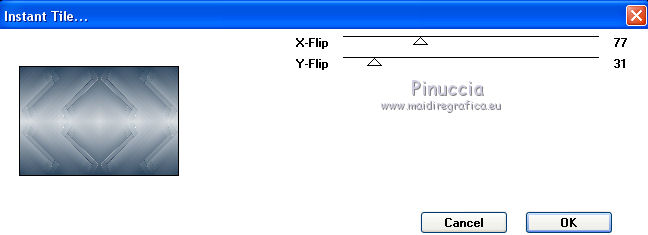
2. Layers>New Raster Layer.
Flood Fill  the layer with your dark background color. the layer with your dark background color.
Layers>New Mask layer>From image
Open the menu under the source window and you'll see all the files open.
Select the mask Narah_Mask_1326.
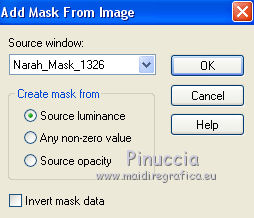
Layers>Merge>Merge Group.
3. Set your foreground color to Color.
Reduce the opacity of your Flood Fill Tool to 70.
Layers>New Raster Layer.
Flood Fill  the layer with the white foreground color. the layer with the white foreground color.
Layers>New Mask layer>From image
Open the menu under the source window
and select the mask VSP238.
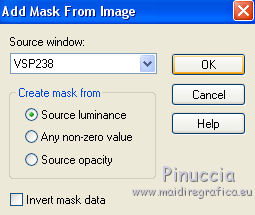
Layers>Merge>Merge Group.
Effects>Edge Effects>Enhance More.
Change the Blend mode of this layer to Screen.
4. Layers>New Raster Layer.
Selections>Select All.
Open the misted and go to Edit>Copy.
Go back to your work and go to Edit>Paste into Selection.
Selections>Select None.
Change the Blend Mode of this layer to Overlay.
Layers>Arrange>Move Down - 2 times.
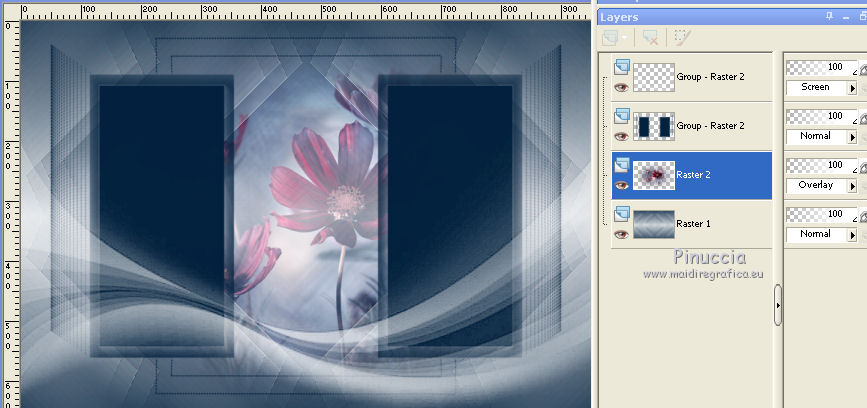
Stay on this layer.
5. Selections>Load/Save Selection>Load Selection from Disk.
Look for and load the selection ©yedralina_sel742.
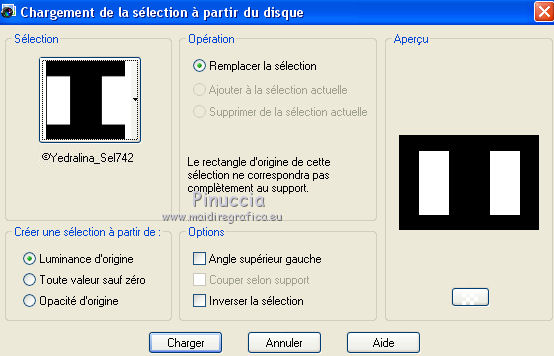
Selections>Promote Selection to layer.
Layers>Arrange>Move Up.
Effects>Plugins>AAA Filters - AAA Framer.
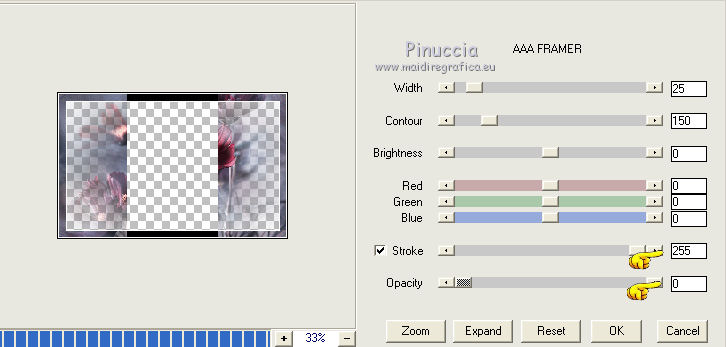
Selections>Invert.
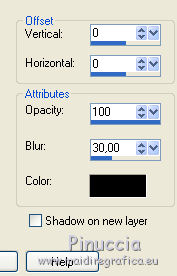
Effects>3D Effects>Drop Shadow, color black.
Selections>Select None.
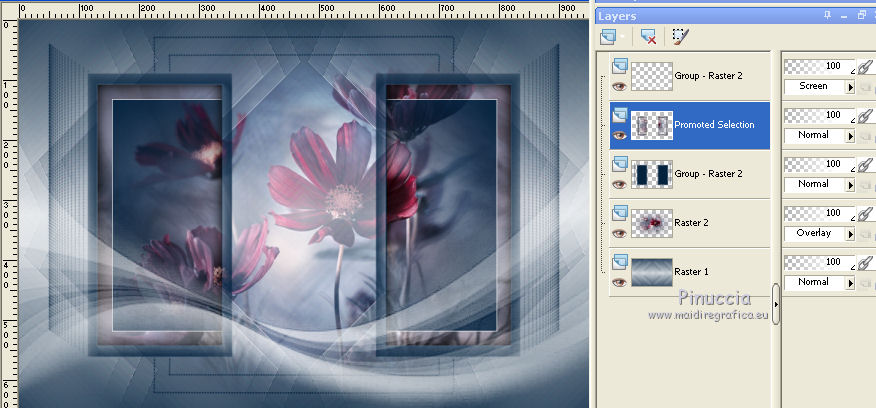
You should have this
Layers>Merge>Merge All.
8. Image>Add borders, 1 pixel, symmetric, background color.
Selections>Select All.
Image>Add borders, 25 pixels, symmetric, background color.
Selections>Invert.
Selections>Promote Selection to Layer.
Set again the opacity of your Flood Fill Tool to 100
Flood Fill  the selection with your foreground color. the selection with your foreground color.
Layers>New Mask layer>From image
Open the menu under the source window
and select again the mask VSP238.

Layers>Merge>Merge Groupe.
Selections>Select None.
Image>Flip.
Change the Blend Mode of this layer to Screen.
9. Image>Add borders, 2 pixels, symmetric, light foreground color.
Edit>Copy.
Selections>Select All.
Image>Add borders, 35 pixels, symmetric, dark background color.
Selections>Invert.
Edit>Paste into Selection.
Image>Flip.
Selections>Select None.
10. Open the woman tube and go to Edit>Copy.
Go back to your work and go to Edit>Paste as new layer.
Image>Resize, to 110%, resize all layers not checked.
Place  correctly the tube. correctly the tube.
Effects>3D Effects>Drop Shadow, at your choice.
11. Sign your work on a new layer.
Layers>Merge>Merge All.
Image>Resize, 950 pixels width, resize all layers checked.
Save as jpg.
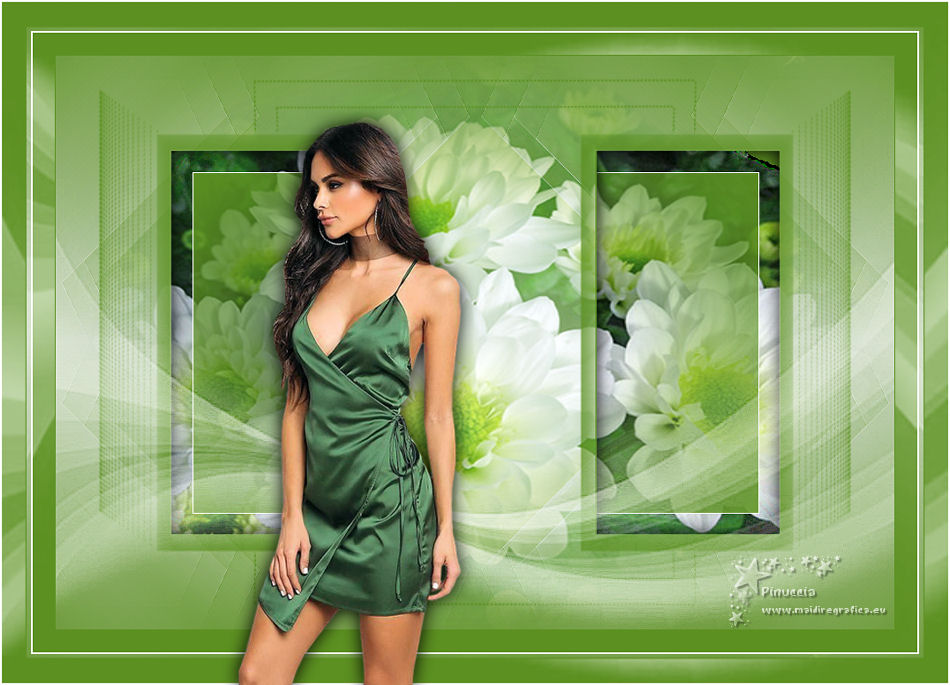
Version with tubes by OcchiBlu (OBG_1763) and Violette (violette03_806bb31f)

If you have problems or doubts, or you find a not worked link, or only for tell me that you enjoyed this tutorial, write to me.
14 Avril 2020
|

