|
CAMINO DE IDA Y VUELTA
 ROUND TRIP ROUND TRIP

Thanks Yedralina for your invitation to translate your tutorials into english


This tutorial was written with CorelX19 and translated with CorelX17, but it can also be made using other versions of PSP.
Since version PSP X4, Image>Mirror was replaced with Image>Flip Horizontal,
and Image>Flip with Image>Flip Vertical, there are some variables.
In versions X5 and X6, the functions have been improved by making available the Objects menu.
In the latest version X7 command Image>Mirror and Image>Flip returned, but with new differences.
See my schedule here
 italian translation here italian translation here
 french translation here french translation here
 your versions here your versions here

For this tutorial, you will need:
Tubes at your choice
The rest of the Material here
For the tubes not supplied thanks Luz Cristina (7404-Luz Cristina) and Gabry (Gabry paesaggio 27-2022).
For the mask thankis Narah (NarahsMasks_1705).
Some of the selections were created from a Narah's mask (NarahsMasks_1709).
(The links of the tubemakers here).
Plugins:
consult, if necessary, my filter section here
Filters Unlimited 2.0 here
Graphics Plus - Quick Tile I here
Filter Factory Gallery N - Diamond Glass here
Simple - Blintz here
Alien Skin Eye Candy 5 Impact - Glass here
Filters Graphics, Simple and Factory Gallery can be used alone or imported into Filters Unlimited.
(How do, you see here)
If a plugin supplied appears with this icon  it must necessarily be imported into Unlimited it must necessarily be imported into Unlimited

You can change Blend Modes according to your colors.
In the newest versions of PSP, you don't find the foreground/background gradient (Corel_06_029).
You can use the gradients of the older versions.
The Gradient of CorelX here
Copy the preset  in the folder of the plugin Alien Skin Eye Candy 5 Impact>Settings>Glass. in the folder of the plugin Alien Skin Eye Candy 5 Impact>Settings>Glass.
One or two clic on the file (it depends by your settings), automatically the preset will be copied in the right folder.
why one or two clic see here

Open the mask in PSP and minimize it with the rest of the material.
1. Set your foreground color to #131497,
and your background color to #abadf5.

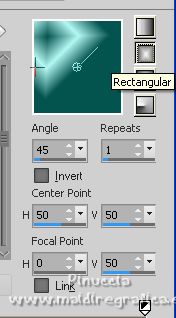
Set your foreground color to a Foreground/Background Gradient, style Rectangular.
Open CanalAlpha_CaminoIV
Window>Duplicate or, on the keyboard, shift+D to make a copy.

Close the original.
The copy, that will be the basis of your work, is not empty,
but contains the selections saved to alpha channel.
Flood Fill  tha transparent image with your Gradient. tha transparent image with your Gradient.
2. Effects>Plugins>Filters Unlimited 2.0 - Simple - Blintz.

Repeat this Effects another time.
3. Effects>Plugins>Filters Unlimited 2.0 - Graphics Plus - Quick Tile I, default settings.
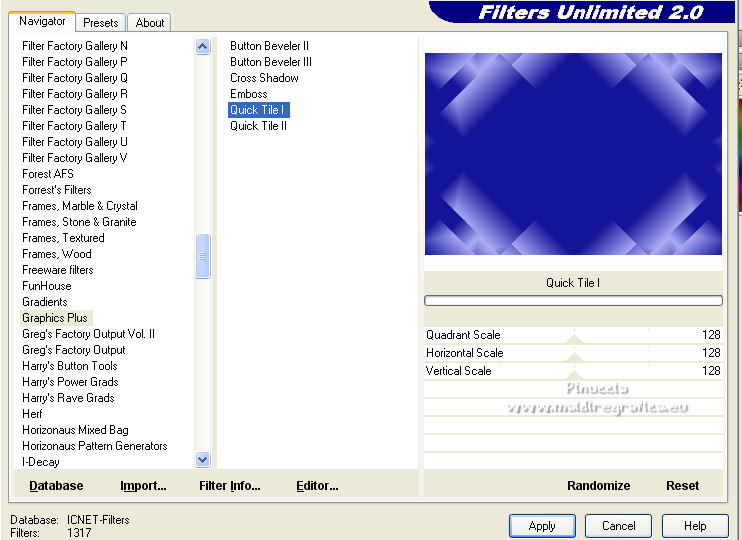
4. Effects>Plugins>Filters Unlimited 2.0 - Filter Factory Gallery N - Diamond Glass, default settings.

5. Layers>New Raster Layer.
Selections>Select All.
6. Open the misted and go to Edit>Copy.
Go back to your work and go to Edit>Paste into Selection.
Change the blend Mode of this layer to Soft Light.
7. Set your foreground color to white.
Layers>New Raster Layer.
Selections>Load/Save Selection>Load Selection from Alpha Channel.
The selection #1 is immediately available. You just have to click Load.
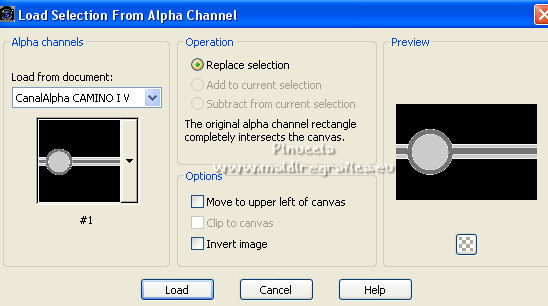
Flood Fill  the selection with color white. the selection with color white.
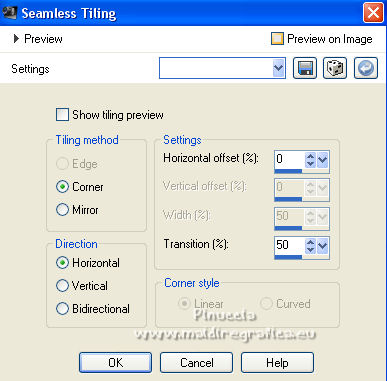
8. Effects>Image Effects>Seamless Tiling.
9. Effects>3D Effects>Drop Shadow, shadow on a new layer checked.
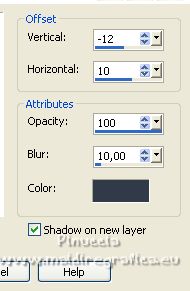
Stay on the shadow's layer.
10. Effects>Reflection Effects>Rotating Mirror.

11. Change the Blend Mode of this layer to Luminance (legacy).
Activate the top layer and change the Blend Mode to Soft Light.
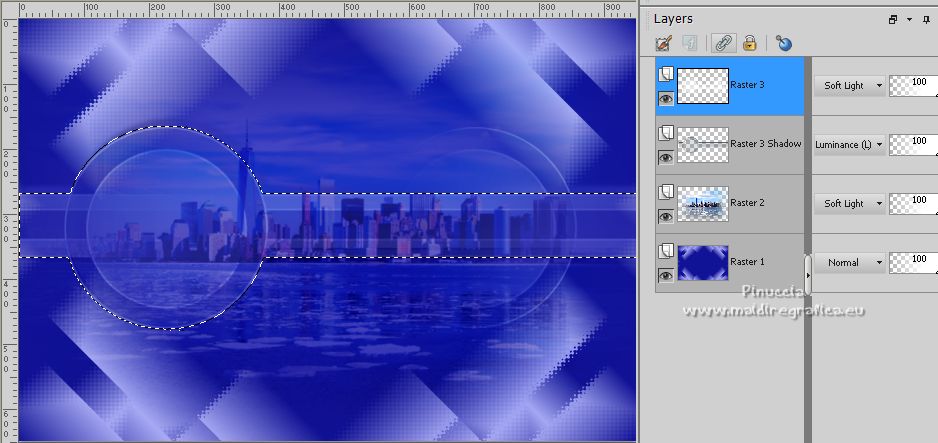
(it is not necessary to deselect, because the selection will be immediately replaced by the next one).
12. Layers>New Raster Layer.
Selections>Load/Save Selection>Load Selection from Alpha Channel.
Open the selections menu and load the selection #2.
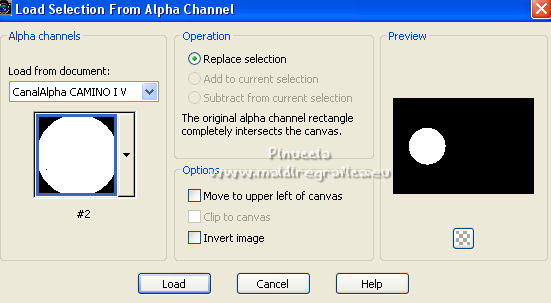
13. Edit>Paste into Selection (the misted is still in memory).
Effects>Plugins>Alien Skin Eye Candy 5 Impact - Glass.
Select the preset ©Yedralina_Glass11 and ok.

Selections>Select None.
14. Effects>Image Effects>Seamless Tiling, same settings.

15. Layers>Duplicate.
Layers>Merge>Merge Down.
Stay on the top layer.
16. Layers>New Raster Layer.
Flood Fill  the layer with color white. the layer with color white.
17. Layers>New Mask layer>From image
Open the menu under the source window and you'll see all the files open.
Select the mask NarahsMasks_1705.
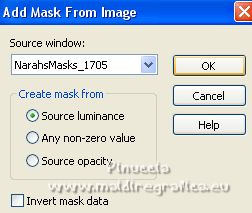
Layers>Duplicate.
Layers>Merge>Merge Down.
18. Selections>Load/Save Selection>Load Selection from Alpha Channel.
Open the selections menu and load the selection #4.
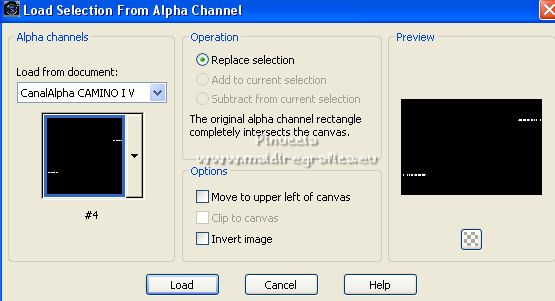
Flood Fill  the selection with color white. the selection with color white.
Selections>Select None.
19. Change the Blend Mode of this layer to Overlay.
20. Effects>3D Effects>Drop Shadow, shadow on a new layer checked.
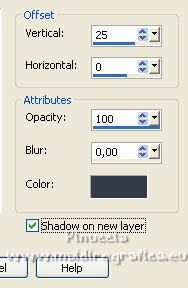
Change the Blend Mode of this shadow's layer to Overlay.
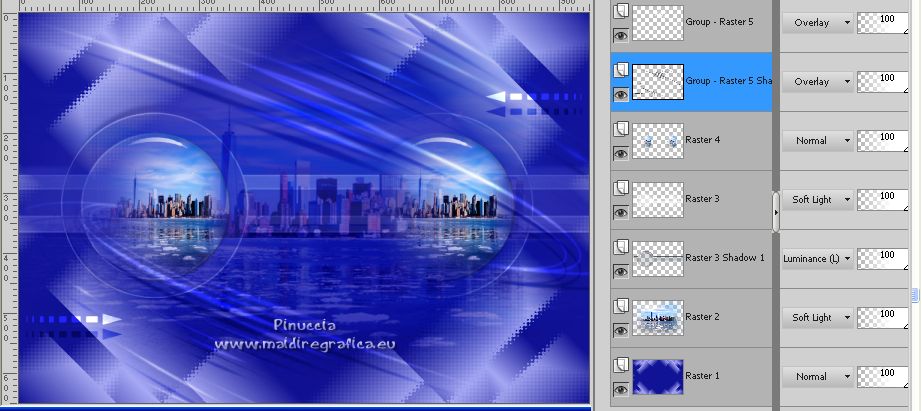
21. Activate your bottom layer.
Layers>Duplicate.
Effects>Geometric Effects>Perspective Vertical.
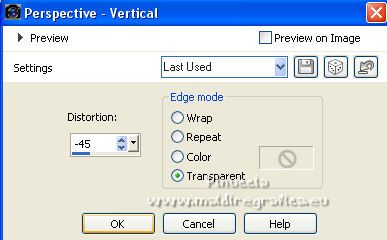
22. K key to activate your Pick Tool 
,
in mode Scale 
pull the central node down until 545 pixels.
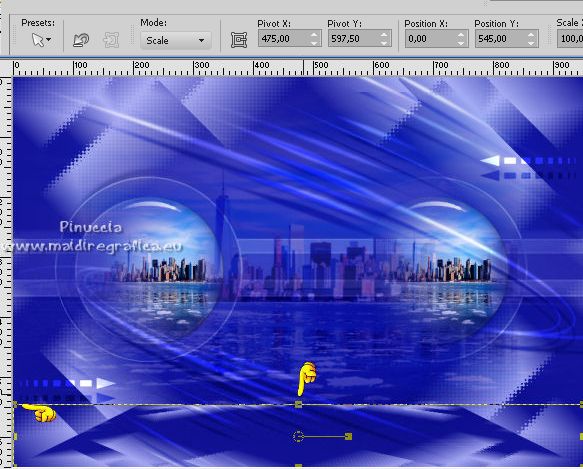
23. Selections>Load/Save Selection>Load Selection from Alpha Channel.
Open the selections menu and load the selection #3.
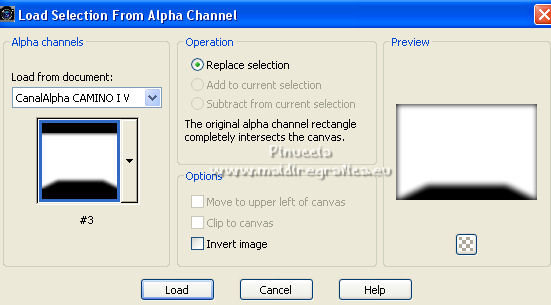
24. Press 5 fois CANC on the keyboard 
Selections>Select None.
25. Activate your top layer.
Open the woman tube and go to Edit>Copy.
Go back to your work and go to Edit>Paste as new layer.
Image>Resize, if necessary (for me 75%), resize all layers not checked.
Adjust>Sharpness>Sharpen.
Place  correctly the tube. correctly the tube.
Effects>3D Effects>Drop Shadow, at your choice.
26. Activate your bottom layer.
Edit>Copy.
Edit>Paste as new image and minimize this image.
27. For the borders, set again your foreground color to the dark color #131497.

Image>Add borders, 2 pixels, symmetric, light color.
Image>Add borders, 10 pixels, symmetric, dark color.
Image>Add borders, 2 pixels, symmetric, light color.
Image>Add borders, 20 pixels, symmetric, dark color.
Image>Add borders, 2 pixels, symmetric, light color.
Image>Add borders, 10 pixels, symmetric, dark color.
Image>Add borders, 2 pixels, symmetric, light color.
28. Activate your Magic Wand Tool  tolerance and feather 0, tolerance and feather 0,
and click on the central border of 20 pixels to select it.
29. Activate the image minimized at step 27.
Image>Rotate Left.
Edit>Copy.
Go back to your work and go to Edit>Paste into Selection.
30. Selections>Invert.
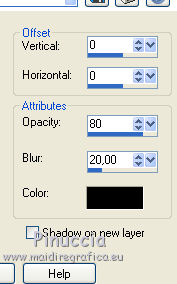
Effects>3D Effects>Drop Shadow, color black.
31. Image>Resize, 1000 pixels width, resize all layer checked.
32. Sign your work on a new layer.
Layers>Merge>Merge All and save as jpg.
For the tubes of this version thanks Luz Cristina and Grisi

For the tubes of this version thanks Gabry


If you have problems or doubts, or you find a not worked link, or only for tell me that you enjoyed this tutorial, write to me.
28 July 2022

|
 ROUND TRIP

