|
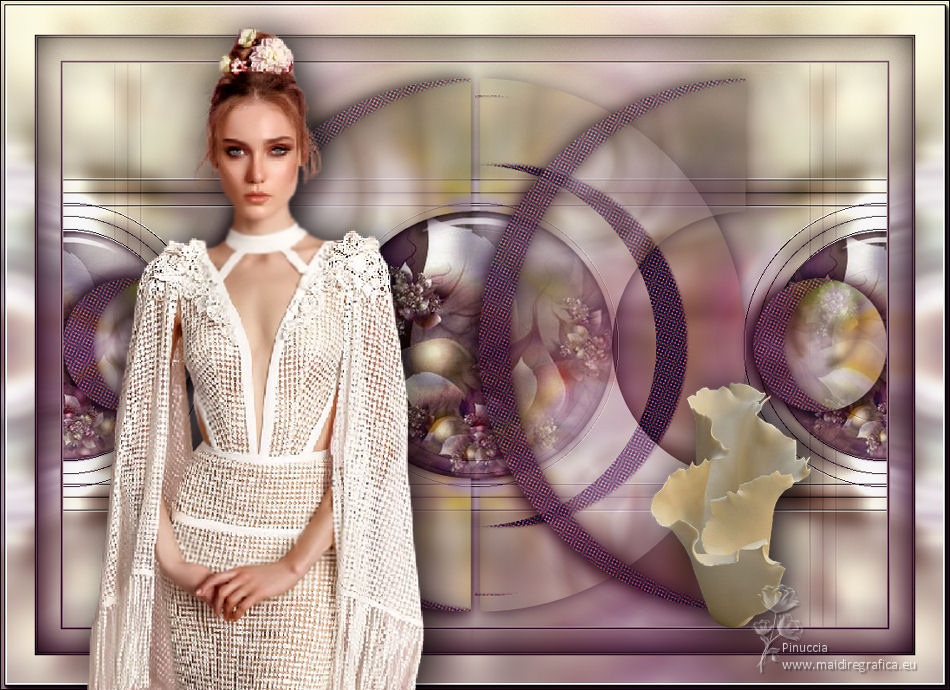
CAMILA


Thanks Yedralina for your invitation to translate your tutorials into english

This tutorial was written with CorelX19 and translated with CorelX17, but it can also be made using other versions of PSP.
Since version PSP X4, Image>Mirror was replaced with Image>Flip Horizontal,
and Image>Flip with Image>Flip Vertical, there are some variables.
In versions X5 and X6, the functions have been improved by making available the Objects menu.
In the latest version X7 command Image>Mirror and Image>Flip returned, but with new differences.
See my schedule here
 italian translation here italian translation here
 french translation here french translation here
 your versions here your versions here
For this tutorial, you will need:
At your choice: image en jpg, tube of a person and a deco.
The rest of the material qui
The rest of the material is by Yedralina
For the tubes used and not supplied, thanks Luz Cristina (6530-Luz Cristina) and Bea (deco296_beas_tube).
(The links of the tubemakers here).
Plugins:
consult, if necessary, my filter section here
Filters Unlimited 2.0 here
Simple - Pizza Slice Mirror, Top Left Mirror here
Sybia - POPERV here
Graphics Plus - Cross Shadow here
Alien Skin Eye Candy 5 Impact - Perspective Shadow, Glass here
Flaming Pear - Flexify 2 here
AAA Frames - Foto Frame here
Optional: Adjust - Variations here
Optional: Nik Software - Color Efex Pro here
Filtres Simple, Factory Gallery and Mura's Seamless can be used alone or imported into Filters Unlimited.
(How do, you see here)
If a plugin supplied appears with this icon  it must necessarily be imported into Unlimited it must necessarily be imported into Unlimited

You can change Blend Modes according to your colors.
Copy the presets  in the folders of the plugin Alien Skin Eye Candy 5 Impact>Settings>Glass/Shadow. in the folders of the plugin Alien Skin Eye Candy 5 Impact>Settings>Glass/Shadow.
One or two clic on the file (it depends by your settings), automatically the preset will be copied in the right folder.
why one or two clic see here
Copy the preset for Flexify in a folder of your choice.
You'll import it from this folder when you need it.

Copy the mask in the Masks Folder.
*** To determine the colors of your work, before starting,
colorize the fractal you have chosen to your liking.
For the example I chose the Adjust-Variations filter.
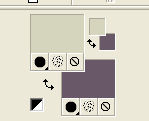
Foreground color #d5d4bc,
background color #695868.
*** To begin, open your fractal image.
Layers>Duplicate.
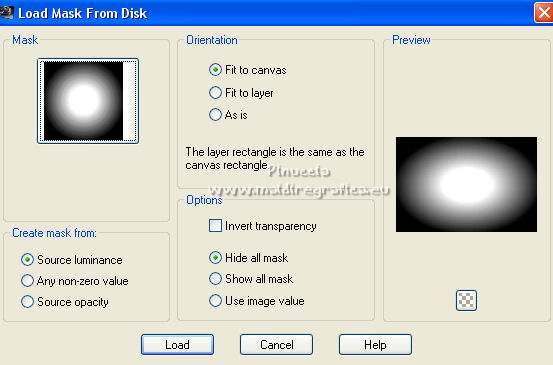
Layers>Load/Save Mask>Load Mask from Disk.
Look for and load the mask 20-20
Layers>Merge>Merge Group.
And so you will have two layers: the first with the jpg image,
and the second with the misted.
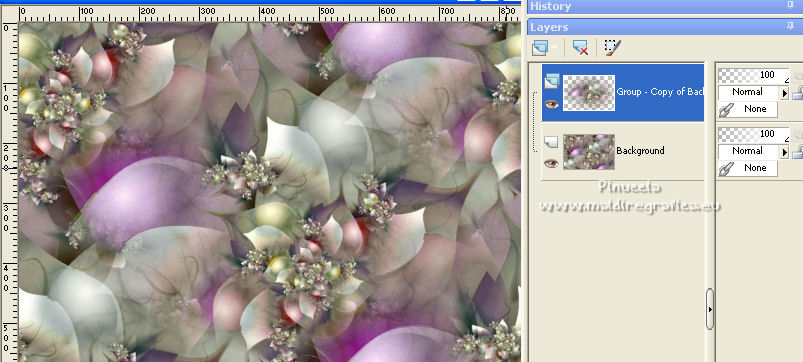
Activate the bottom layer with the jpg image.
Edit>Copy.
1. Open Camila_CanalAlpha (950 x 650 pixels).
Window>Duplicate or, on the keyboard, shift+D to make a copy.

Close the original.
The copy, that will be the basis of your work, is not empty,
but contains the selections saved to alpha channel.
Rename the layer Raster 1.
2. Selections>Select All.
Edit>Paste into Selection.
Selections>Select None.
3. Effects>Plugins>Filters Unlimited 2.0 - Simple - Pizza Slice Mirror.
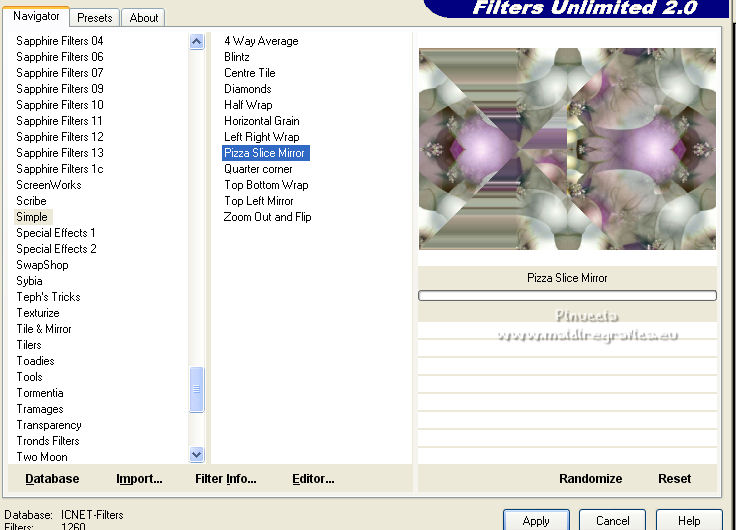
4. Effects>Image Effects>Seamless Tiling.

5. Effects>Reflection Effects>Rotating Mirror.

6. Adjust>Blur>Gaussian Blur - radius 10.

7. Effects>Plugins>AAA Frames - Foto Frame.
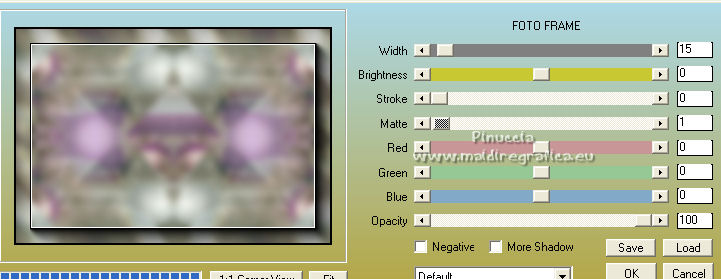
8. Effects>Plugins>Sybia - POPERV.
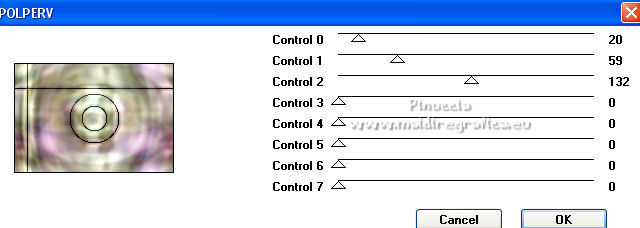
9. Effects>Image Effects>Seamless Tiling, same settings.

10. Effects>Plugins>Simple - Top Left Mirror.
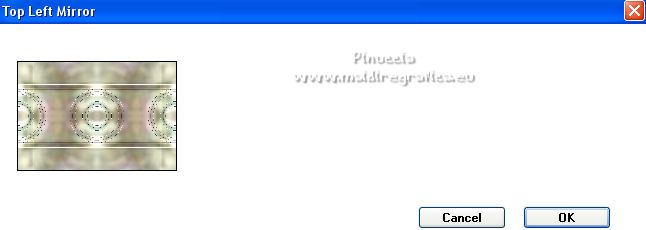
11. Effects>Reflection Effects>Rotating Mirror.

12. Layers>Duplicate.
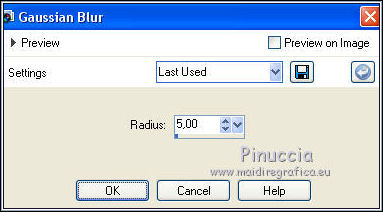
Adjust>Blur>Gaussian Blur - radius 5.
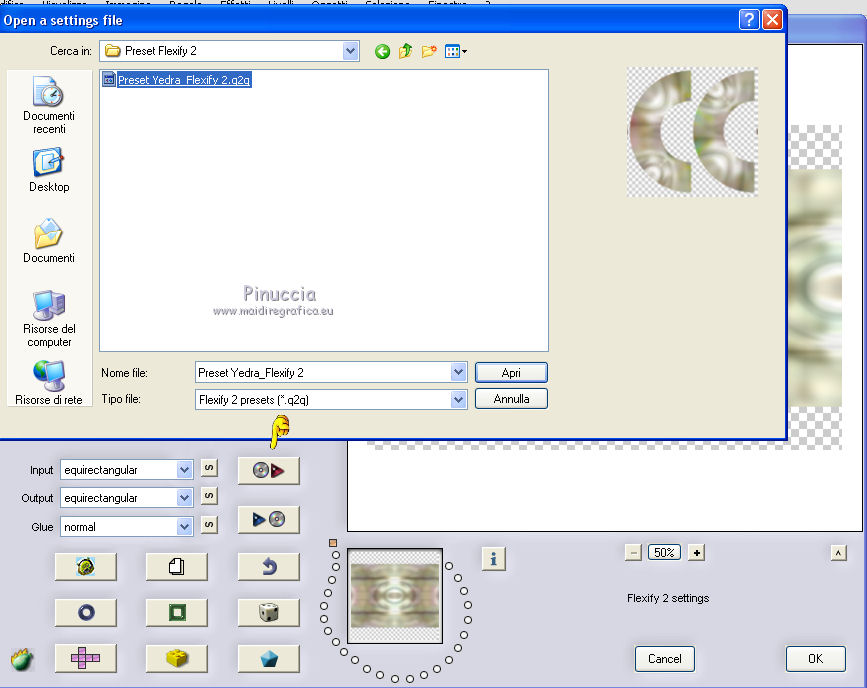
13. Effects>Plugins>Flaming Pear - Flexify 2
click on the red button and look for the preset Yedra_Flexify 2.q2q in the folder where you copied it
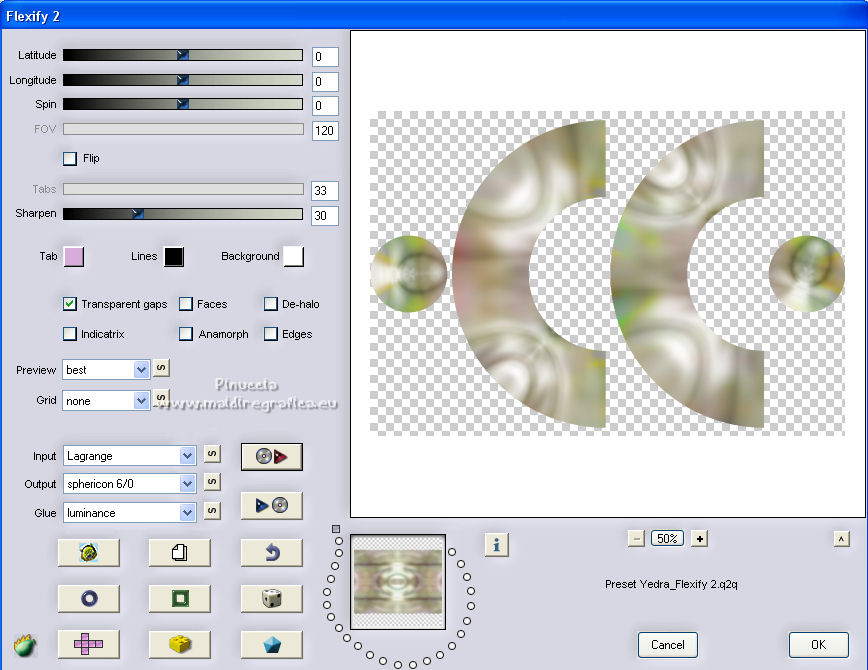
Here below the settings; click ok to close
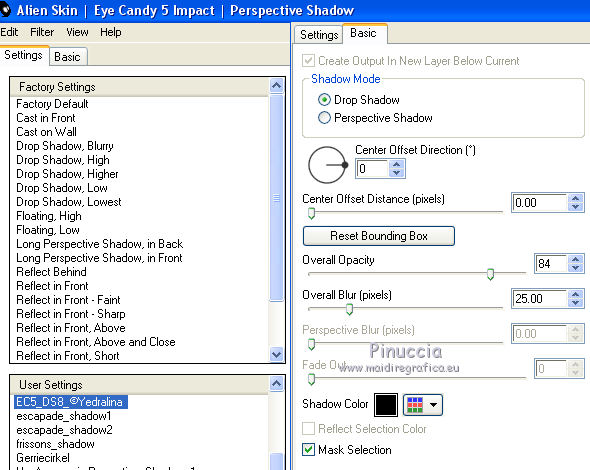
14. Effects>Plugins>Alien Skin Eye Candy 5 Impact - Perspective Shadow.
Select the preset EC5_DS8_©Yedralina and ok.
15. Reduce the opacity of this layer +/-54%.
Layers>Duplicate.
16. Effects>Reflection Effects>Rotating Mirror.

Layers>Arrange>Move down.
Activate again the top layer, Copy of Raster 1.
17. Layers>New Raster Layer.
Selections>Load/Save Selection>Load Selection from Alpha Channel.
The selection #1 is immediately available. You just have to click Load.
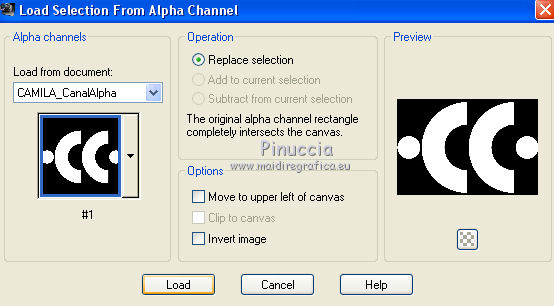
18. Effects>3D Effects>Cutout, dark background color.

19. Effects>Artistic Effects>Halftone.

Selections>Select None.
20. Effects>Plugins>Alien Skin Eye Candy 5 Impact - Perspective Shadow, same settings.
Reduce the opacity of this layer +/-60%.
Activate again the layer below, Copy of Raster 1.
21. Effects>Plugins>Graphics Plus - Cross Shadow.
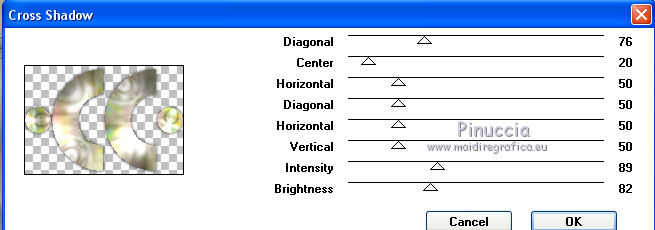
22. Activate your botttom layer.
Selections>Load/Save Selection>Load Selection from Alpha Channel.
Open the selections menu and load the selection #2.

23. Activate your fractal and activate the top layer of the misted created with the mask.
Edit>Copy.
Go back to your work and go to Edit>Paste as a new layer.
Place  the misted on the selection. the misted on the selection.
Selections>Invert.
Press CANC on the keyboard 
Selections>Invert.
Effects>Plugins>Alien Skin Eye Candy 5 Impact - Glass.
Select the preset glass 4 and ok.
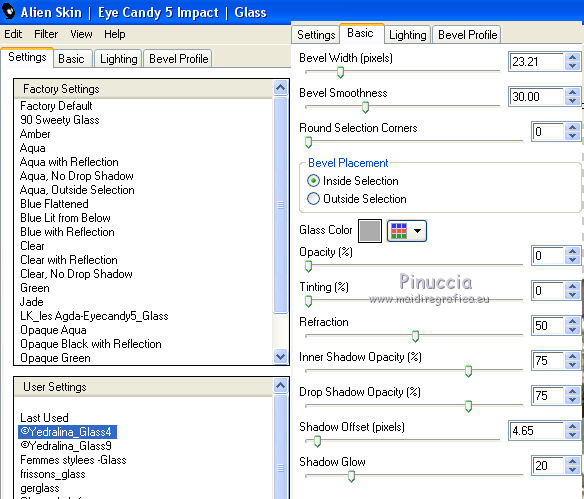
Selections>Select None.
24. Layers>Duplicate.
Image>Resize, to 85%, resize all layers not checked.
25. Effects>Image Effects>Seamless Tiling, same settings.

Layers>Arrange>Move Down.
26. Layers>New Raster Layer.
Selections>Load/Save Selection>Load Selection from Alpha Channel.
Open the selections menu and load the selection #3.
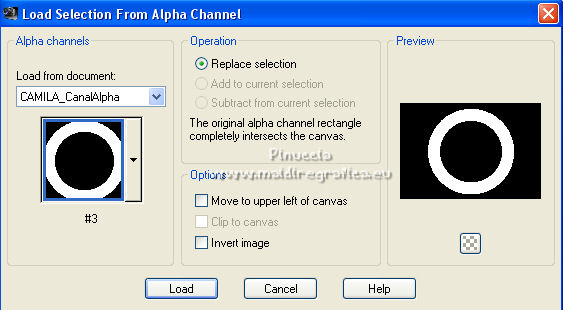
27. Effects>3D Effects>Cutout, same settings.

Selections>Select None.
28. Effects>Artistic Effects>Halftone, same settings.

29. Selection Tool 
(no matter the type of selection, because with the custom selection your always get a rectangle)
clic on the Custom Selection 
and set the following settings.

30. Press CANC on the keyboard.
Selections>Select None.
Layers>Arrange>Move up - 2 times.
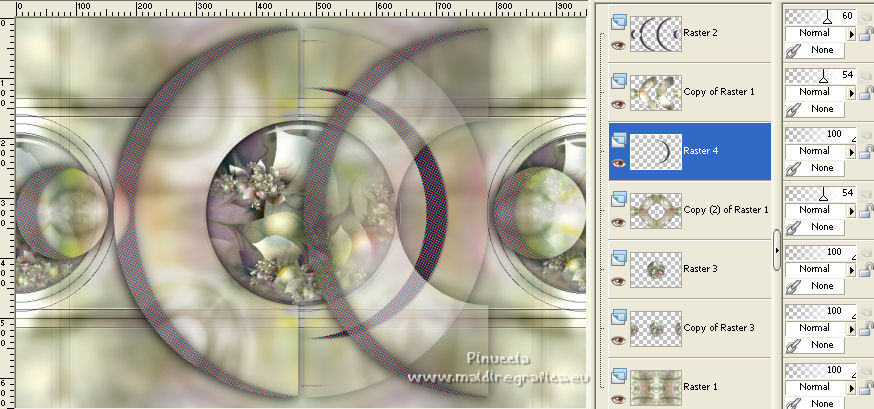
31. Activate again your bottom layer.
Edit>Copy.
Edit>Paste as new image.
Stay on this image.
32. Adjust>Blur>Gaussian Blur - radius 5.

Edit>Copy.
33. Go back to your work.
Image>Add borders, 1 pixel, symmetric, foreground color.
Image>Add borders, 2 pixels, symmetric, background color.
Image>Add borders, 1 pixel, symmetric, foreground color.
34. Selections>Select All.
Image>Add borders, 25 pixels, symmetric, whatever color.
35. Selections>Invert.
Edit>Paste into Selection.
36. Réglage>Flou>Flou radial.

37.
Image>Add borders, 1 pixel, symmetric, background color.
Image>Add borders, 2 pixels, symmetric, foreground color.
Image>Add borders, 1 pixel, symmetric, background color.
38. Selections>Select All.
Image>Add borders, 40 pixels, symmetric, whatever color.
39. Selections>Invert.
Edit>Paste into Selection (the image is still in memory).
Effects>3D Effects>Drop Shadow, color black.
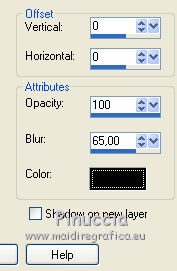
40. Effects>Plugins>AAA Frames - Foto Frame.
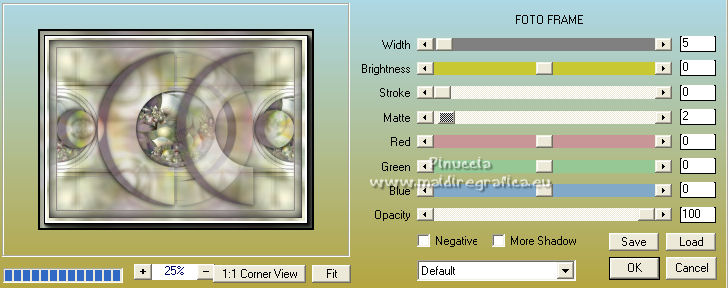
Selections>Select None.
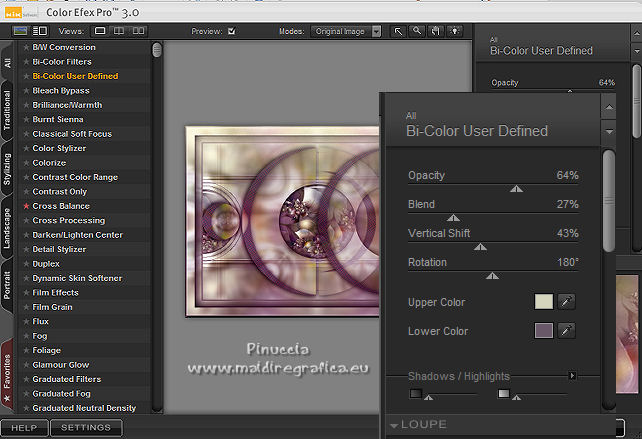
41. Optional:
Effects>Plugins>Nik Software - Color Efex Pro;
I used these settings, but you can adapt them to your liking, according to your colors.
(in my second example I didn't use this filter).
42. Open your main tube and go to Edit>Copy.
Go back to your work and go to Edit>Paste as new layer.
Image>Resize, if necessary (for me 87%), resize all layers not checked.
Move  the tube to the left side, or to your liking. the tube to the left side, or to your liking.
Effects>3D Effects>Drop Shadow, color black.
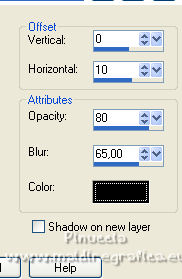
43. Open your deco tube and go to Edit>Copy.
Go back to your work and go to Edit>Paste as new layer.
Image>Resize, if necessary (for me 65%), resize all layers not checked.
Move  the tube to the right side, or to your liking. the tube to the right side, or to your liking.
Effects>3D Effects>Drop Shadow, same settings.
44. Image>Resize, 1000 pixels width, resize all layers checked.
45. Sign your work on a new layer.
Layers>Merge>Merge All and save as jpg.
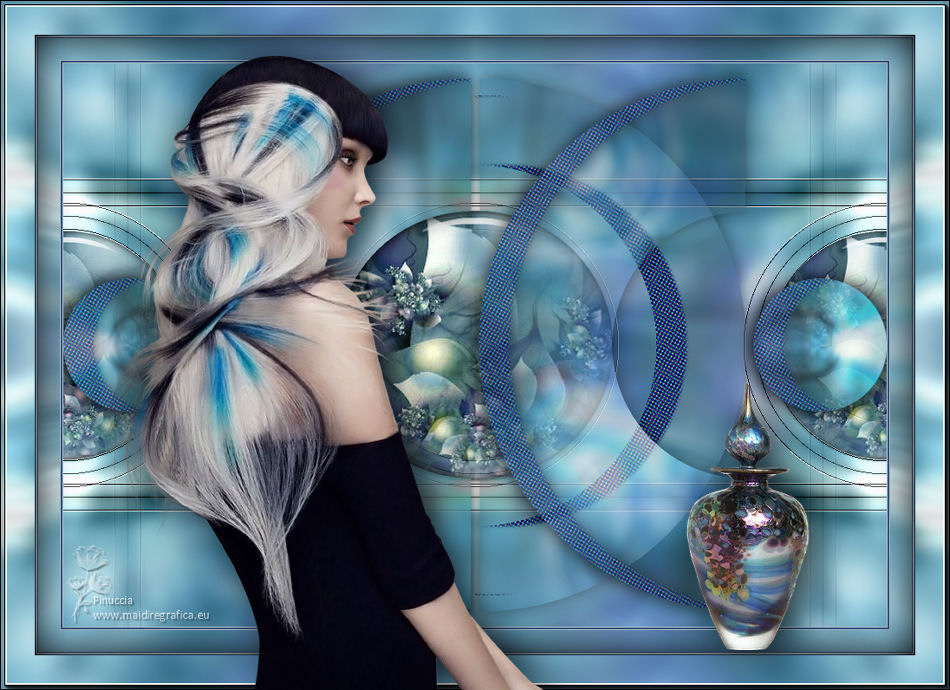
For the tubes of this version thanks Valy (femmeVSP60) and Bea (deco256_beas_tube).

If you have problems or doubts, or you find a not worked link, or only for tell me that you enjoyed this tutorial, write to me.
30 March 2022

|

