|
CAJITA DE MUSÍCA
 CARILLON CARILLON

Thanks Yedralina for your invitation to translate your tutorials into english

This tutorial was written with CorelX19 and translated with CorelX17, but it can also be made using other versions of PSP.
Since version PSP X4, Image>Mirror was replaced with Image>Flip Horizontal,
and Image>Flip with Image>Flip Vertical, there are some variables.
In versions X5 and X6, the functions have been improved by making available the Objects menu.
In the latest version X7 command Image>Mirror and Image>Flip returned, but with new differences.
See my schedule here
 italian translation here italian translation here
 french translation here french translation here
 your versions here your versions here
For this tutorial, you will need:
Material here
For the tubes thanks Luz Cristina and Sonia; for the brush thanks Agi.
The rest of the material is by Yedralina.
(The links of the tubemakers here).
Plugins:
consult, if necessary, my filter section here
Filters Unlimited 2.0 here
Mehdi - Sorting tiles here
Simple - Pizza Slice Mirror here
Filter Factory Gallery D - Vertigo here
AAA Frames - Foto Frame here
Filtres Simple and Factory Gallery can be used alone or imported into Filters Unlimited.
(How do, you see here)
If a plugin supplied appears with this icon  it must necessarily be imported into Unlimited it must necessarily be imported into Unlimited

You can change Blend Modes according to your colors.
In the newest versions of PSP, you don't find the foreground/background gradient (Corel_06_029).
You can use the gradients of the older versions.
The Gradient of CorelX here

Place the brushes in Brush folder. Attention, please, every brush is composed by two files, you must place both the files in the folder.
See my notes about Brushes here
Copy the Selections in the Selections Folder.
Set your foreground color to #030038,
and your background color to #d7a188.
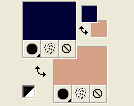
Set your foreground color to a Foreground/Background Gradient, style Rectangular.
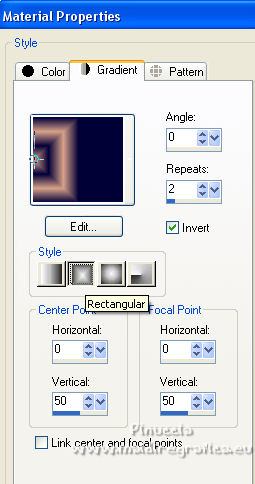
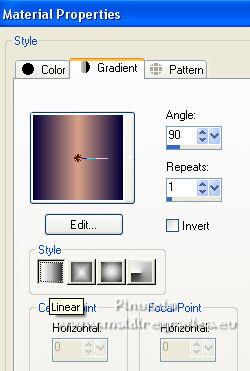
Set your background color to a Foreground/Background Gradient, style Rectangular.
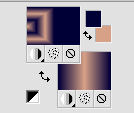
1. Open a new transparent image 950 x 650 pixels.
Flood Fill  the transparent image with your Rectangular foreground Gradient. the transparent image with your Rectangular foreground Gradient.
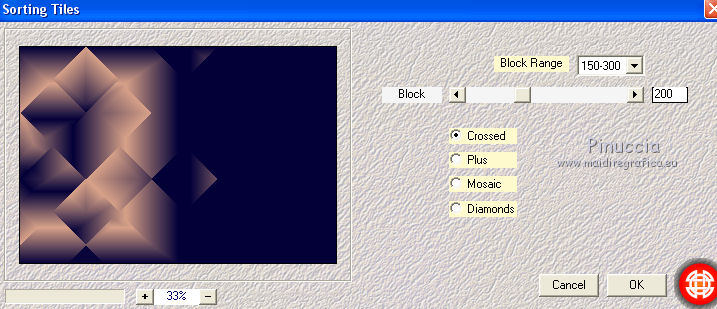
2. Effects>Plugins>Mehdi - Sorting Tiles.
3. Effects>Plugins>Simple - Pizza Slice Mirror.
4. Effects>Reflections Effects>Rotating Mirror.

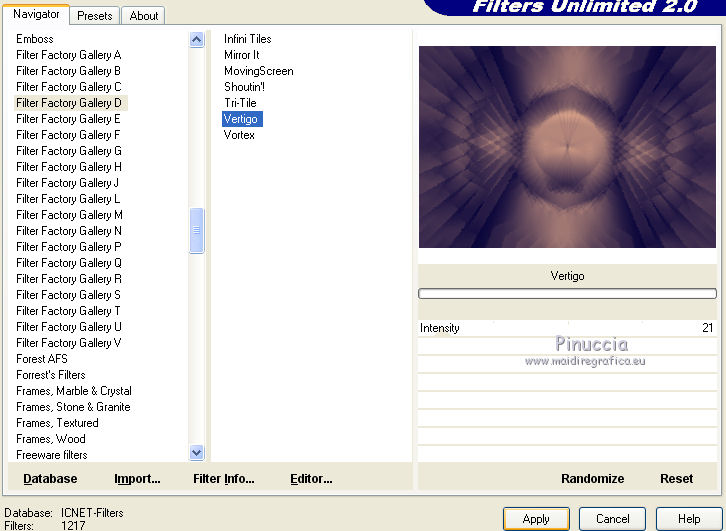
5. Effects>Plugins>Filters Unlimited 2.0 - Filter Factory Gallery D - Vertigo, default settings.
6. Effects>Edge Effects>Enhance.
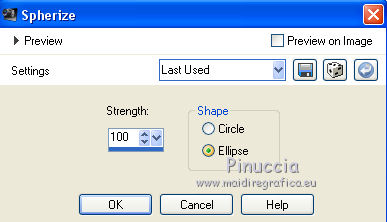
Effects>Geometric Effects>Spherize.
7. Effects>Reflections Effects>Rotating Mirror, same settings.

8. Layers>Duplicate.
Image>Free Rotate - 90 degrees to left.

9. Effects>Reflections Effects>Rotating Mirror, same settings.

Change the Blend Mode of this layer to Luminance (legacy).
10. Activate your bottom layer.
Selections>Select All.
Activate the top layer.
Image>Crop to selection.
Layers>Merge>Merge Down.
Layers>Duplicate.
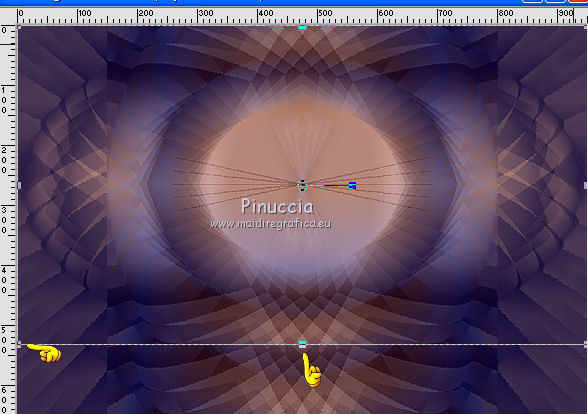
11. K key on the keyboard to activate your Pick Tool 
mode Scale 
pull the bottom central node up, until 530 pixels.
(if you don't see the rules, go to View>Rules)
12. Activate again the bottom layer.
Layers>Duplicate.
Effects>Geometric Effects>Perspective vertical.
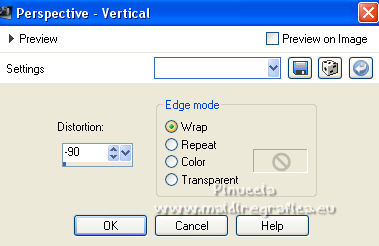
Pull the top central node down, until 530 pixels,
because it coincides with the previous layer.
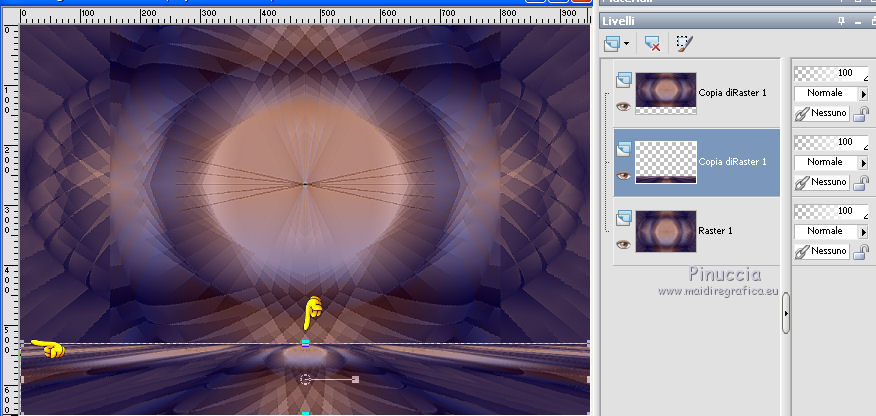
M key to deselect the tool.
13. Activate the top layer.
Selections>Load/Save Selection>Load Selection from Disk.
Look for and load the selection ©Yedralina_Sel944.
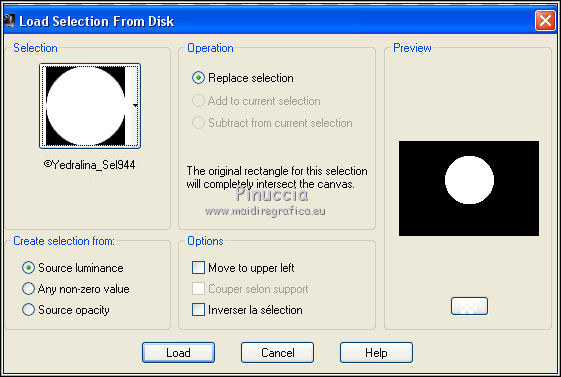
Selections>Promote Selection to Layer.
Adjust>Blur>Gaussian Blur - radius 20.

Keep selected.
14. Layers>New Raster Layer.
Open the misted and go to Edit>Copy.
Go back to your work and go to Edit>Paste into Selection.
Selections>Invert.
Effects>3D Effects>Drop shadow, color black.
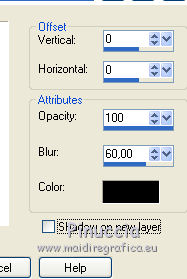
Selections>Select None.
15. Layers>New Raster Layer.
Activate your Brush Tool 
look for and select the brush agiBrush0222_swirls, size 317.

if your prefer, you can use the brush Nota musicales_Yedra, size 314).

Set your foreground color to white,
and apply the brush on the misted, clicking with your left mouse button,
to use the foreground white color.
Effects>3D Effects>Drop shadow, color black.
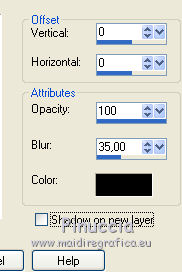
Change the Blend Mode of this layer to Screen.
16. Open the main tube and go to Edit>Copy.
Go back to your work and go to Edit>Paste as new layer.
Image>Resize, if necessary (for my tube to 75%), resize all layers not checked.
Move  the tube to the left side. the tube to the left side.
Effects>3D Effects>Drop Shadow, to your liking.
17. Open the deco tube and go to Edit>Copy.
Go back to your work and go to Edit>Paste as new layer.
Image>Resize, if necessary (for my tube to 25%), resize all layers not checked.
Move  the tube at the bottom right. the tube at the bottom right.
Effects>3D Effects>Drop Shadow, same settings.
18. Open the wordart DecoW050©Yedralina and go to Edit>Copy.
Go back to your work and go to Edit>Paste as new layer.
Move  the wordart at the upper right. the wordart at the upper right.
Effects>3D Effects>Drop Shadow, to your liking, for me:

Change the Blend Mode of this layer to Overlay, or to your liking.
19. Set again your foreground color to #030038,

Image>Add borders, 1 pixel, symmetric, dark color.
Image>Add borders, 1 pixel, symmetric, light color.
Image>Add borders, 1 pixel, symmetric, dark color.
Selections>Select all.
20. Image>Add borders, 20 pixels, symmetric, whatever color.
Selections>Invert.
Flood Fill  the selection with your Linear background Gradient. the selection with your Linear background Gradient.
Selections>Select None.
21. Image>Add borders, 1 pixel, symmetric, dark color.
Image>Add borders, 1 pixel, symmetric, light color.
Image>Add borders, 1 pixel, symmetric, dark color.
Selections>Select All.
22. Image>Add borders, 30 pixels, symmetric, whatever color.
Selections>Invert.
Change the settings of your Linear Gradient, Invert checked.
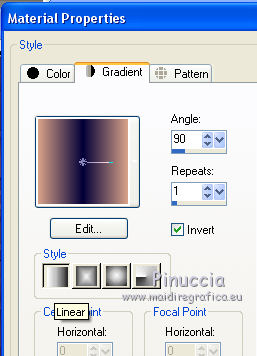
Flood Fill  the selection with your background Gradient. the selection with your background Gradient.
Effects>3D Effects>Drop Shadow, color black.

23. Effects>Plugins>AAA Frames - Foto Frame.
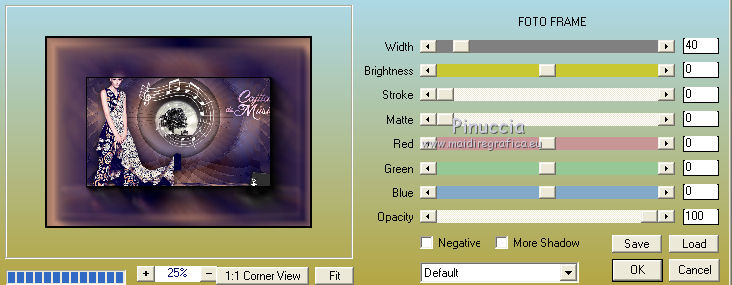
Selections>Select None.
24. Image>Resize, 1000 pixels width, resize all layers checked.
Sign your work on a new layer.
Layers>Merge>Merge All and save as jpg.
For the tubes of this version thanks Silvie e Nikita


If you have problems or doubts, or you find a not worked link, or only for tell me that you enjoyed this tutorial, write to me.
8 January 2022

|
 CARILLON
