|
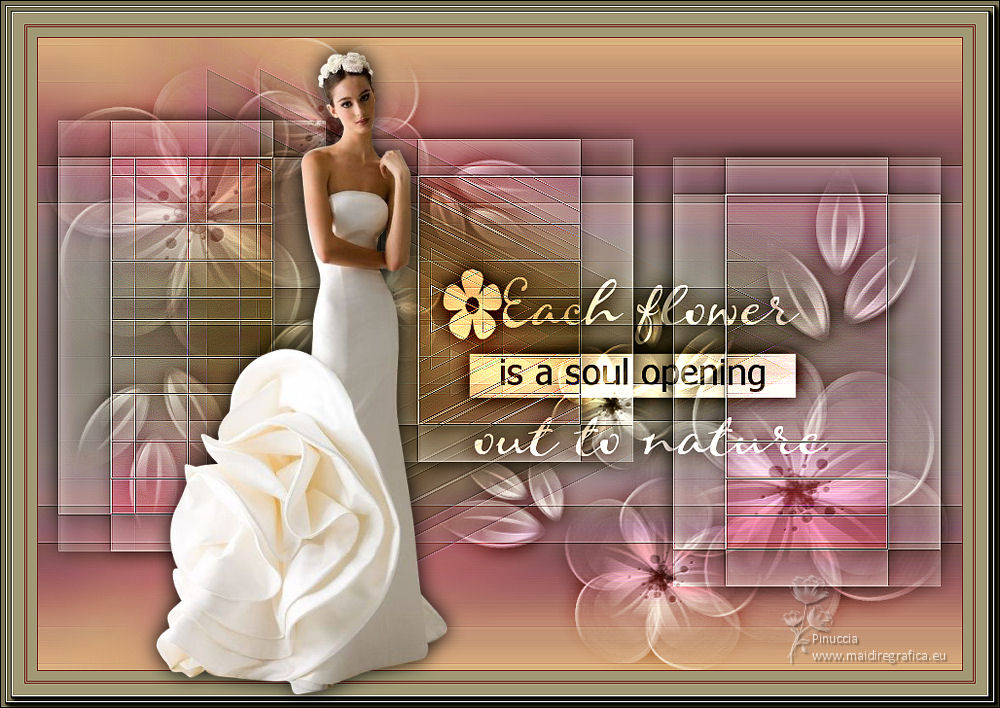
CADA FLOR


Thanks Yedralina for your invitation to translate your tutorials into english

This tutorial was written with CorelX19 and translated with CorelX17, but it can also be made using other versions of PSP.
Since version PSP X4, Image>Mirror was replaced with Image>Flip Horizontal,
and Image>Flip with Image>Flip Vertical, there are some variables.
In versions X5 and X6, the functions have been improved by making available the Objects menu.
In the latest version X7 command Image>Mirror and Image>Flip returned, but with new differences.
See my schedule here
 italian translation here italian translation here
 french translation here french translation here
 your versions here your versions here
For this tutorial, you will need:
Tube to your liking.
The rest of the material qui
For the tube used thanks Nikita .
Fractal by Pinterest.
The mask is by Yedralina.
(The links of the tubemakers here).
Plugins:
consult, if necessary, my filter section here
Filters Unlimited 2.0 - versione software here
Filters Unlimited 2.0 - versione in files 8bf here
Mura's Seamless - Emboss at Alpha here
Mehdi - Sorting Tiles here
Filter Factory Gallery J - Drink To Me here
Filter Factory Gallery D - Shoutin' here
AAA Frames - Foto Frame / AAA Filters - Custom (facoltativo) here
Optional: Graphics Plus - Cross Shadow here
Filters Mura's Seamless, Factory Gallery and Graphics Plus can be used alone or imported into Filters Unlimited.
(How do, you see here)
If a plugin supplied appears with this icon  it must necessarily be imported into Unlimited it must necessarily be imported into Unlimited

You can change Blend Modes according to your colors.

Place the brush in Brush folder. Attention, please, the brush is composed by two files, you must place both the files in the folder.
See my notes about Brushes here
Copy the Preset_Pick_303-©Yedralina.PspScript in the Presets Folder.
Open the mask in PSP and minimize it with the rest of the material.
1. Open a new transparent image 950 x 650 pixels.
Selections>Select All.
Choose an image with the colors you prefer, which will be decisive for the result of your work.
In the material you will find a folder in which you can choose a fractal.
Open your jpg image and go to Edit>Copy.
Go back to your work and go to Edit>Paste into Selection.
Selections>Select None.
2. Effects>Image Effects>Seamless Tiling.

Adjust>Blur>Gaussian Blur - radius 15.

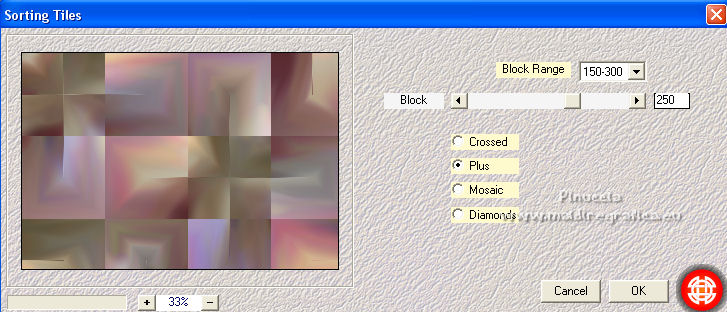
3. Effects>Plugins>Mehdi - Sorting Tiles.
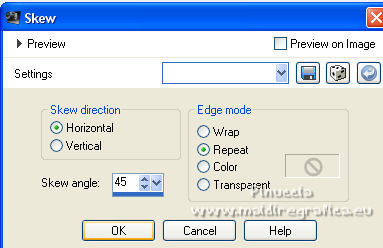
Effects>Geometric Effects>Skew.
Effects>Reflection Effects>Rotating Mirror.

Effects>Reflection Effects>Rotating Mirror, default settings.

4. Repeat Effects>Geometric Effects>Skew, same settings.

Repeat Effects>Reflection Effects>Rotating Mirror.

Effects>Edge Effects>Enhance More.
Optional:
Effects>Plugins>Filters Unlimited 2.0 - Filter Factory Gallery J - Drink to Me, default settings.
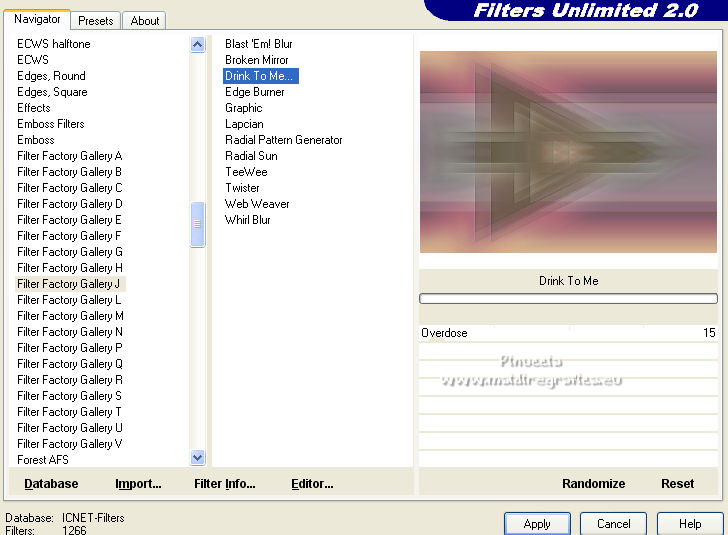
Note: Factory Gallery Filters may give a different result depending on the version of Unlimited used.
For my translation I used both version,
but the screenshots and the result are thos obtained with the version that does not need installation,
because it consists of file in 8bf format.
5. Layers>Duplicate.
Effects>Plugins>Filters Unlimited 2.0 - Filter Factory Gallery D - Shoutin', Transparency 0.
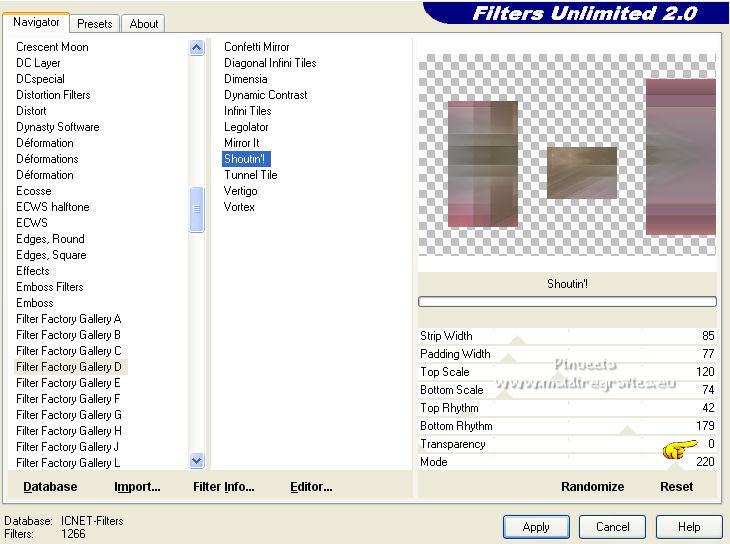
K key on the keyboard to activate your Pick Tool 
Open the presets menu and select the preset Preset_Pick_303-©Yedralina.PspScript
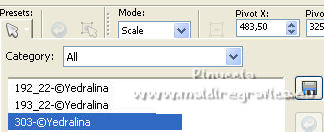
Here below the settings, in case of problems with the preset.

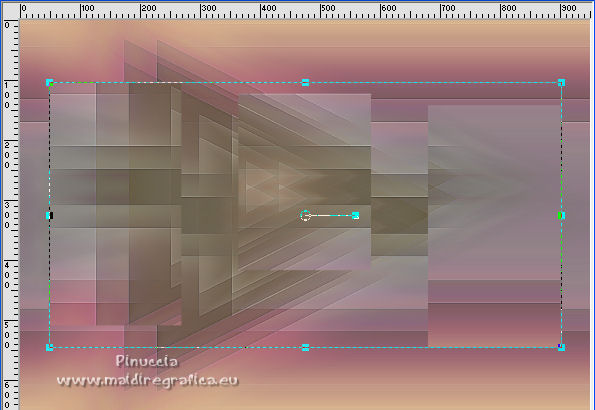
M key to deselect the Tool.
6. Effects>Plugins>Filters Unlimited 2.0 - Filter Factory Gallery J - Drink to Me, default settings.
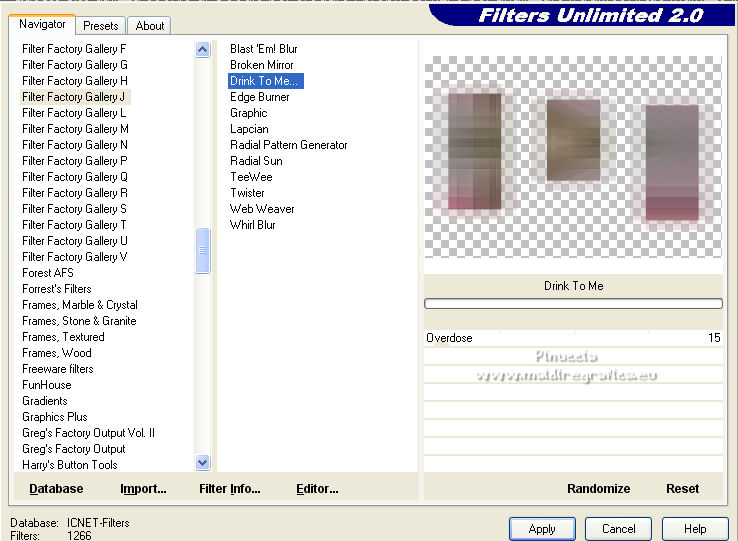
Repeat this Effect two times (in total 3 times).
Effects>Plugins>Mura's Seamless - Emboss at Alpha, default settings.

Effects>Edge Effect>Enhance.
Effects>3D Effects>Drop Shadow, color black.
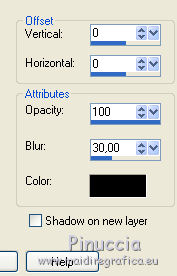
Change the Blend Mode of this layer to Hard Light.
7. Layers>New Raster Layer.
Set your foreground color to white.
Flood Fill  the layer with color white. the layer with color white.
Layers>New Mask layer>From image
Open the menu under the source window and you'll see all the files open.
Select the mask Masc131©Yedralina.
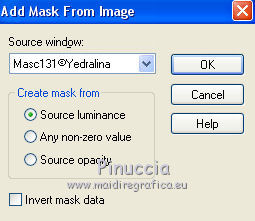
Layers>Merge>Merge Group.
Effetti>Plugins>Mura's Seamless - Emboss at Alpha, default settings.
Effetti>Effetti 3D>Sfalsa ombra, same settings.

Change the Blend Mode of this layer to Overlay.
8. Layers>New Raster Layer.
Activate your Brush Tool 
Look for and select the brush 5flowerwa.

Apply the brush with color white.
Change the Blend Mode of this layer to Screen, or other.
Move  the brush to the right side, as in my example. the brush to the right side, as in my example.
Effects>3D Effects>Drop Shadow, same settings.
9. For the borders, choose from your work a dark and a light color.
For my example
dark color: #7d3339; light color #a39e86
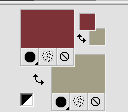
Image>Add borders, 1 pixel, symmetric, dark color.
Image>Add borders, 10 pixels, symmetric, light color.
Image>Add borders, 1 pixel, symmetric, dark color.
Image>Add borders, 1 pixel, symmetric, light color.
Image>Add borders, 1 pixel, symmetric, dark color.
Image>add borders, 25 pixels, symmetric, light color.
Selections>Select All.
Selections>Modify>Contract - 6 pixels.
Effects>Plugins>AAA Frames - Foto Frame.
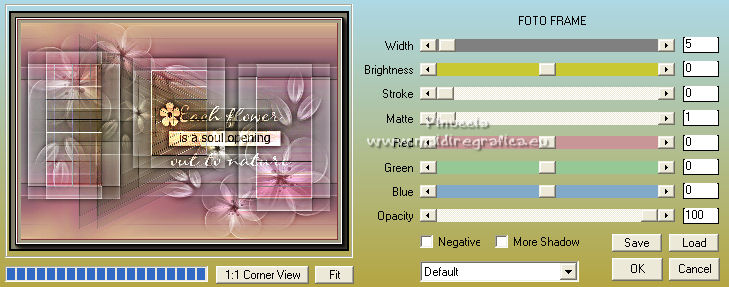
Selections>Select All.
Selections>Modify>Contract - 38 pixels.
Selections>Invert.
Repeat the Effect Foto Frame, with the same settings.
Selections>Select None.
10. Optional:
Effects>Plugins>AAA Filters - Custom - click on Landscape, Brightness -5 and ok.
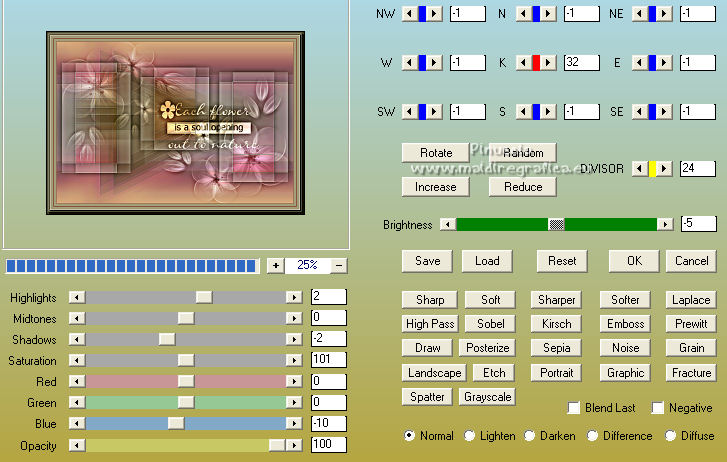
Image>Resize, 1000 pixels width, resize all layers checked.
****
Coming here, my third work was too dark for my taste,
then I applied the Graphics Plus>Cross Shadow Filter, with the standard settings,
to give a little more clarity.
For this reason you may find my work slightly different from yours.
You can do the same, if necessary.
****
11. Open your main tube and go to Edit>Copy.
Go back to your work and go to Edit>Paste as new layer.
Image>Resize, if necessary, for my tube to 85%, resize all layers not checked.
Move  the tube to the left side, or where you want. the tube to the left side, or where you want.
Effects>3D Effects>Drop Shadow, at your choice.
12. Sign your work on a new layer.
Layers>Merge>Merge All and save as jpg.
For the tube of this version thanks Beatriz
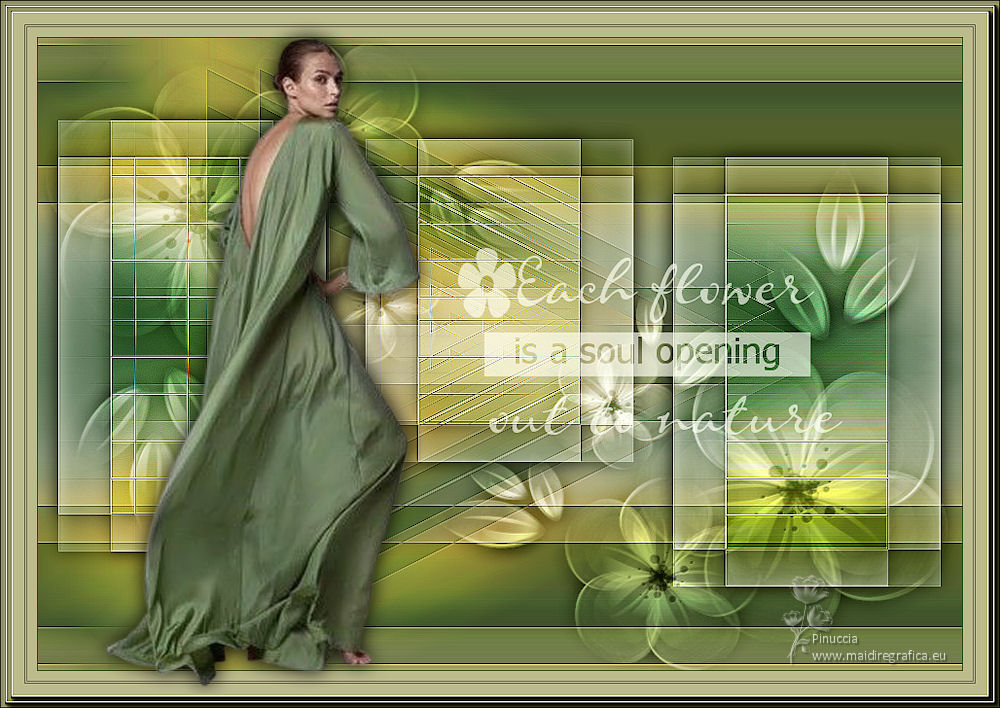
For the tube of this version thanks Sonia
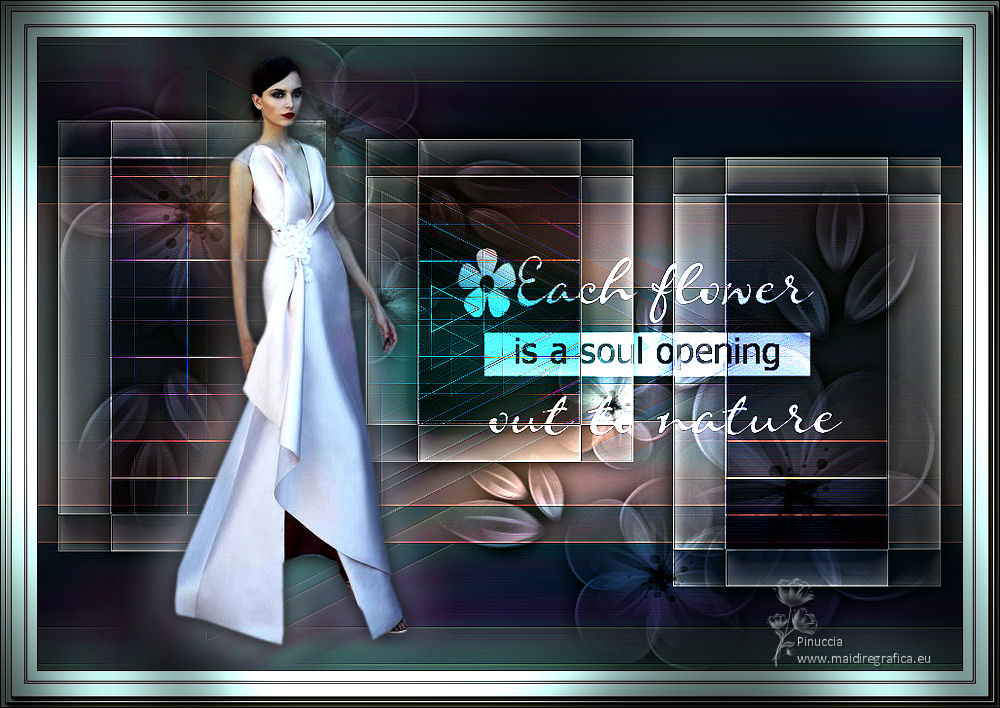

If you have problems or doubts, or you find a not worked link, or only for tell me that you enjoyed this tutorial, write to me.
8 May 2022

|

