|
BONSAI


Thanks Yedralina for your invitation to translate your tutorials into english

This tutorial was written with CorelX19 and translated with CorelX17, but it can also be made using other versions of PSP.
Since version PSP X4, Image>Mirror was replaced with Image>Flip Horizontal,
and Image>Flip with Image>Flip Vertical, there are some variables.
In versions X5 and X6, the functions have been improved by making available the Objects menu.
In the latest version X7 command Image>Mirror and Image>Flip returned, but with new differences.
See my schedule here
italian translation here
french translation here
your versions here
For this tutorial, you will need:
Material qui
For the tubes thanks Franie Margot (vector_190_franiemargot)
and Yedralina (1994©Yedralina)
(The links of the tubemakers here).
Plugins:
consult, if necessary, my filter section here
Filters Unlimited 2.0 here
Mehdi - Wavy Lab 1.1. here
L&&K's - L&K's Zitah here
L&&K's - L&K's Adonis here
Filter Factory Gallery T - Random Art here
Simple - 4Way Average here
Toadies - Weaver here
AAA Frames - Foto Frame here
Filters Toadies, Factory Gallery and Simple can be used alone or imported into Filters Unlimited.
(How do, you see here)
If a plugin supplied appears with this icon  it must necessarily be imported into Unlimited it must necessarily be imported into Unlimited

Copy the presets in the Presets Folder.
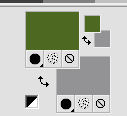
Set your foreground color to #4d6821,
and your background color to #939395.
1. Open BONSAI_Canal Alpha.
Window>Duplicate or, on the keyboard, shift+D to make a copy.

Close the original.
The copy, that will be the basis of your work, is not empty,
but contains the selections saved on the alpha channel.
Effects>Plugins>Mehdi - Wavy Lab 1.1.
This filter creates gradients with the colors of your Materials palette:
the first is your background color, the second is your foreground color.
Keep the last two colors created by the filter (both #707d5b)

2. Layers>New Raster Layer.
Selections>Select All.
Open the misted, erase the watermark and go to Edit>Copy.
Go back to your work and go to Edit>Paste into Selection.
Selections>Select None.
Layers>Duplicate.
Close this layer and activate the layer below of the original.
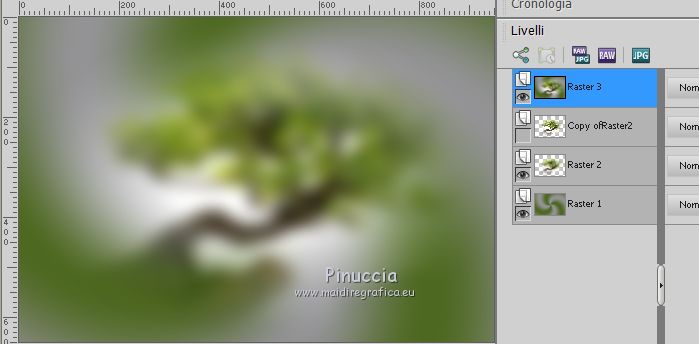
Adjust>Blur>Gaussian Blur - radius 15.

Edit>Copy Special>Copy Merged.
Edit>Paste as new layer.
3. Layers>Arrange>Move Up.
Image>Resize, to 60%, resize all layers not checked.
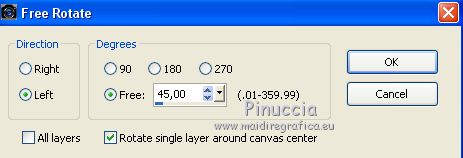
Image>Rotation libre - 45 degrees to left.
Effects>Plugins>Toadies - Weaver, default settings.

Effects>Edge Effects>Enhance More.
Effects>Plugins>L&K's - L&K's Zitah, default settings.
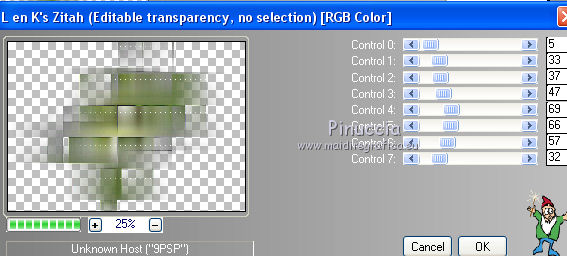
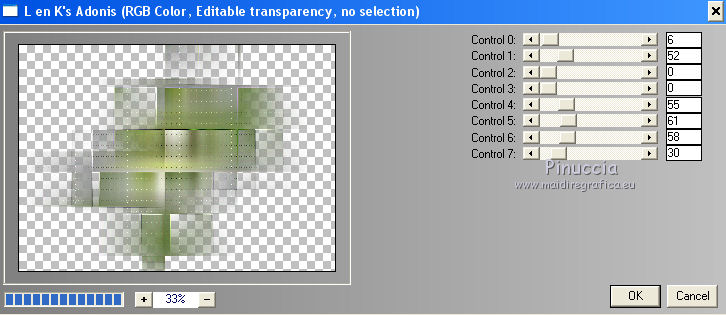
Effects>Plugins>L&&K's - L&K's Adonis, default settings.
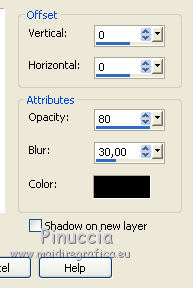
Effects>3D Effects>Drop Shadow, color black.
Change the Blend Mode of this layer to Hard Light.
Open again the layer below Copy of Raster 2.
Reduce the opacity of this layer between 50 and 60%.
4. Edit>Paste as new layer (the misted is always in memory).
K key on the keyboard to activate your Pick Tool 
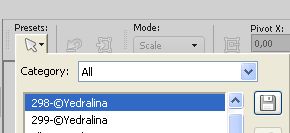
open the presets menu and select the preset 298-©Yedralina.
M key to deselect the Tool.
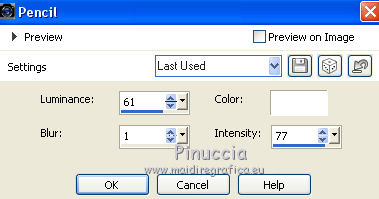
Effects>Art Media Effects>Pencil.
Image>Flip>Flip Horizontal
if you are working with an older version:
Image>Miroir and with your Pick Tool 
select again the preset 298-©Yedralina

Layers>Arrange>Move Down - 2 times.
Open again the bottom layer.
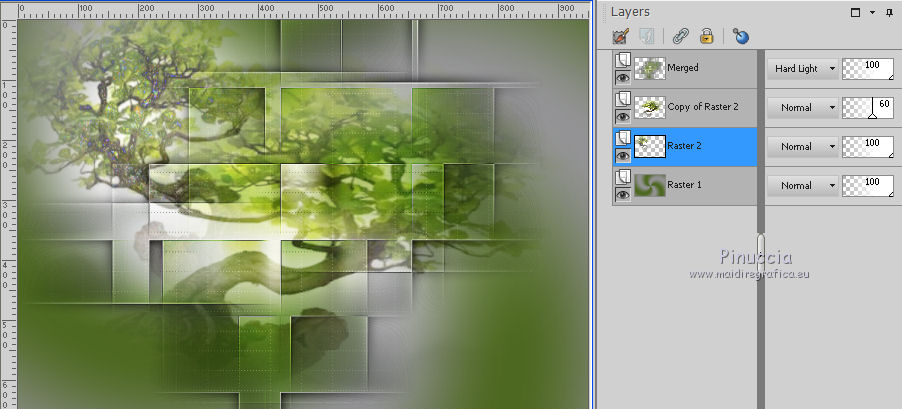
Edit>Copy Special>Copy Merged.
Edit>Paste as new image and minimize this image.
Go back to your work.
5. Layers>New Raster Layer.
Layers>Arrange>Bring to Top.
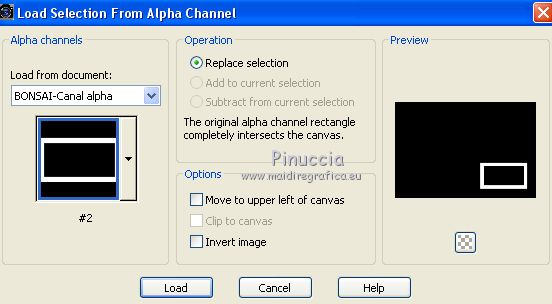
Selections>Load/Save Selection>Load Selection from Alpha Channel.
The selection #1 is immediately available. You just have to click Load.
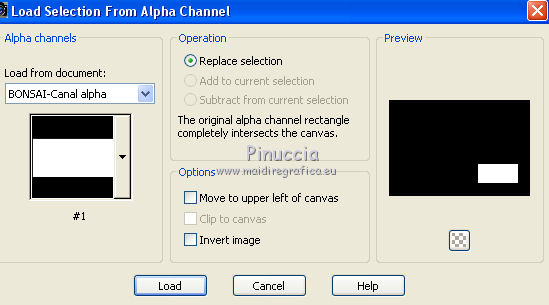
Edit>Paste into Selection (the image minimized is still in memory).
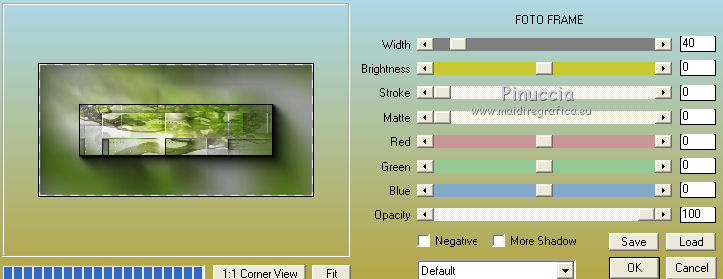
Effects>Plugins>AAA Frames - Foto Frame.
6. Activate your bottom layer.
Selections>Load/Save Selection>Load Selection from Disk.
Open the Selections menu and load the selection #3.
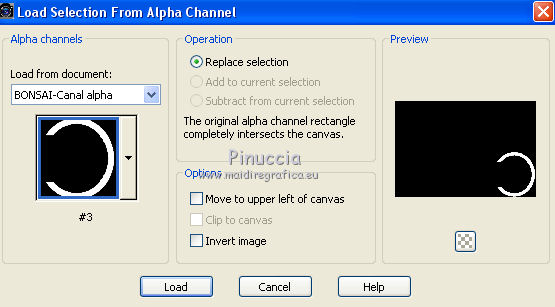
Selections>Promote Selection to Layer.
Layers>Arrange>Bring to Top.
Effects>Plugins>Filters Unlimited 2.0 - Filter Factory Gallery T - Random Art, con i settaggi standard.

Selections>Select None.
7. Activate your bottom layer.
Selections>Load/Save Selection>Load Selection from Disk.
Open the Selections menu and load the selection #3.
Selections>Promote Selection to Layer.
Layers>Arrange>Bring to Top.
Effects>Edge Effects>Ehnance.
Selections>Select None.
8. Layers>Merge>Merge Down - 2 times.
Edit>Cut.
Edit>Paste as new image and minimize this image.
9. Image>Add borders, 2 pixels, symmetric, foreground color.
Image>Add borders, 2 pixels, symmetric, background color.
Image>Add borders, 2 pixels, symmetric, foreground color.
Selections>Select All.
Image>Add borders, 40 pixels, symmetric, whatever color.
Selections>Invert.
Edit>Paste into Selection (the image minimized at step 4).
Effects>Plugins>Simple - 4Way Average.
Effects>Edge Effects>Enhance More.
Effects>3D Effects>Drop Shadow, color black.

Selections>Select None.
10. Activate the image minimized at step 8 and go to Edit>Copy.
Go back to your work and go to Edit>Paste as new layer.
Image>Mirror.
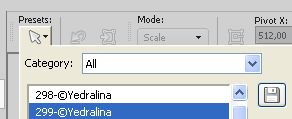
K key on the keyboard to activate your Pick Tool 
open the presets menu and select the preset 299-©Yedralina.

M key to deselect the tool.
Effects>3D Effects>Drop Shadow, color black.

10. Open your main tube and go to Edit>Copy.
Go back to your work and go to Edit>Paste as new layer.
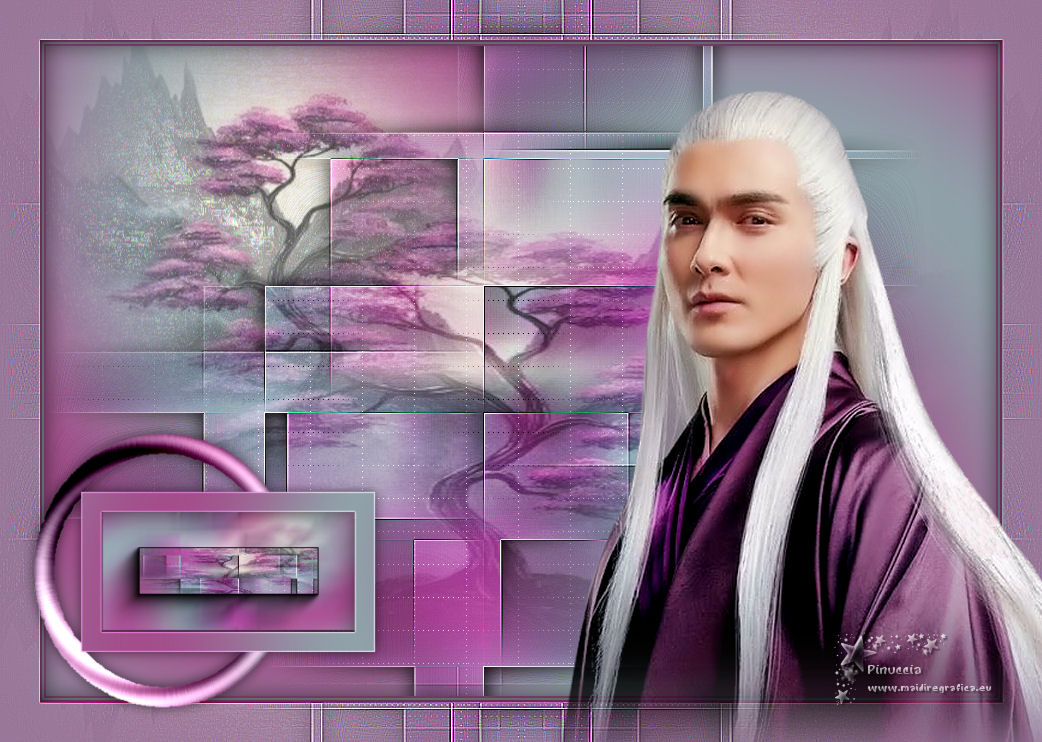
Move  the tube to the right side, see my example. the tube to the right side, see my example.
Effects>3D Effects>Drop shadow, at your choice.
12. Image>Resize, 1000 pixels width, resize all layers checked.
Sign your work on a new layer.
Layers>Merge>Merge All and save as jpg.
Version with tubes by Nena Silva (nena-men-5022) and Yedralina (1978©Yedralina)

If you have problems or doubts, or you find a not worked link, or only for tell me that you enjoyed this tutorial, write to me.
14 July 2020
|


