|
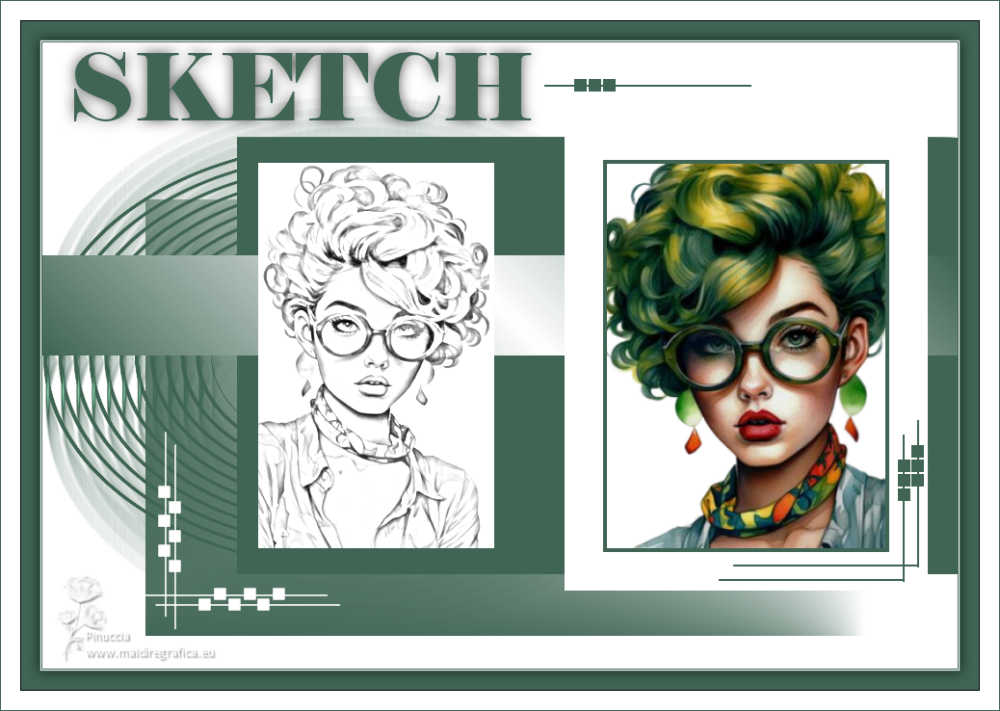
BOCETO
 SKETCH SKETCH


Thanks Yedralina for your invitation to translate your tutorials into english

This tutorial was written with PSP2020 and translated with CorelX17, but it can also be made using other versions of PSP.
Since version PSP X4, Image>Mirror was replaced with Image>Flip Horizontal,
and Image>Flip with Image>Flip Vertical, there are some variables.
In versions X5 and X6, the functions have been improved by making available the Objects menu.
In the latest version X7 command Image>Mirror and Image>Flip returned, but with new differences.
See my schedule here
 italian translation here italian translation here
 french translation here french translation here
 your versions here your versions here

For this tutorial, you will need:

Thanks for the tube Yvonne.
The rest of the material is by Yedralina.
(The links of the tubemakers here).

consult, if necessary, my filter section here
AAA Frames - Foto Frame here

You can change Blend Modes according to your colors.
In the newest versions of PSP, you don't find the foreground/background gradient (Corel_06_029).
You can use the gradients of the older versions.
The Gradient of CorelX here

Copy the preset in the Presets Folder.
Set your foreground color to #406554,
and your background color to #ffffff.

Set your foreground color to a Foreground/Background Gradient, style Linear.
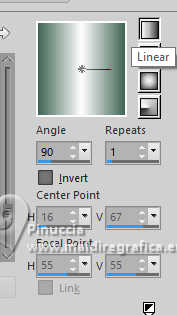
Set your background color to a Foreground/Background Gradient, style Linear.
 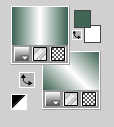
Set again your material palette to the Colors.

1. Open CanalAlpha_boceto.
Window>Duplicate or, on the keyboard, shift+D to make a copy.

Close the original.
The copy, that will be the basis of your work, is not empty,
but contains the selections saved to alpha channel.
Flood Fill  the transparent image with the color white. the transparent image with the color white.
3. Layers>New Raster Layer.
Selections>Load/Save Selection>Load Selection from Alpha Channel.
The selection #1 is immediately available. You just have to click Load.
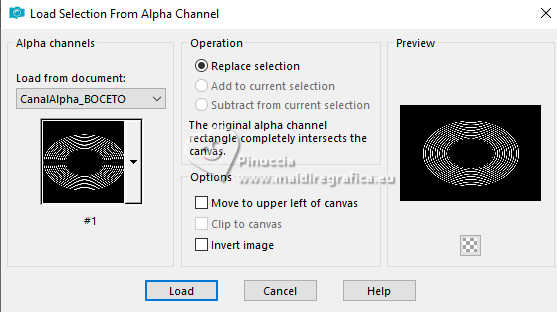
Flood Fill  the selection with your foreground color. the selection with your foreground color.
Selections>Select None.
4. Objects>Align>Left
or K key to activate your Pick Tool 
and set Position X: 0,00 and Position Y: 103,00.

5. Layers>Duplicate.
Adjust>Blur>Motion Blur.
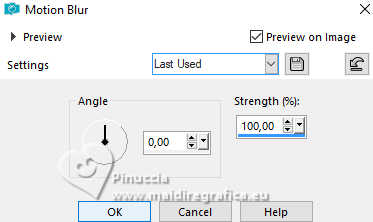
6. Effects>Reflection Effects>Rotating Mirror.
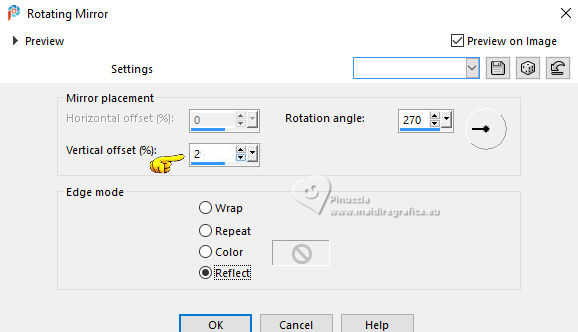
7. Effects>User Defined Filter - select the preset Emboss 3 and ok.

8. Layers>New Raster Layer.
Selections>Load/Save Selection>Load Selection from Alpha Channel.
Open the selections menu and load the selection #2
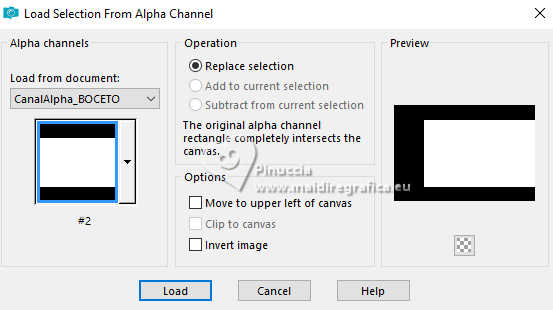
Flood Fill  the selection with your foreground color. the selection with your foreground color.
Selections>Select None.
9. Layers>Duplicate.
Effects>Image Effects>Seamless Tiling - Stutter diagonal

Image>Flip.
10. Layers>New Raster Layer.
Selections>Load/Save Selection>Load Selection from Alpha Channel.
Open the selections menu and load the selection #3
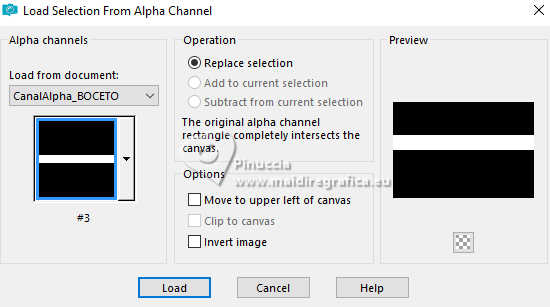
Set your background color to Gradient.

Flood Fill  the selection with your background gradient. the selection with your background gradient.
Selections>Select None.
11. Layers>New Raster Layer.
Selections>Load/Save Selection>Load Selection from Alpha Channel.
Open the selections menu and load the selection #4
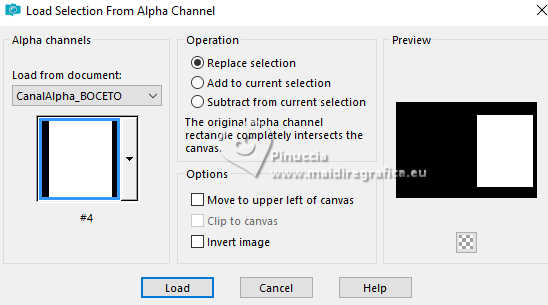
Set again your background color to Color.
Flood Fill  the selection with color white. the selection with color white.
12. Selections>Modify>Contract - 40 pixels.
Flood Fill  the selection with your foreground color. the selection with your foreground color.
13. Selections>Modify>Contract - 4 pixels.
Flood Fill  the selection with color white. the selection with color white.
Keep selected.
14. Open the tube yld-Tube-75-24082023 
Erase the watermark and go to Edit>Copy.
Go back to your work and go to Edit>Paste as new layer.
Image>Resize, if necessary, for me to 115%, resize all layers not checked.
Place  correctly the tube on the selection correctly the tube on the selection

15. Selections>Invert.
Press CANC on the keyboard 
Selections>Select None.
16. Minimize your work for a moment.
17. Open a new transparent image 245 x 400 pixels.
Flood Fill  with your color white. with your color white.
Selections>Select All.
18. Layers>New Raster Layer.
Edit>Paste into Selection (the woman's tube is still in memory).
Selections>Select None
Image>Mirror.
Layers>Merge>Merge All.
19. Layers>Duplicate.
Image>Negative image.
Image>Greyscale
Result
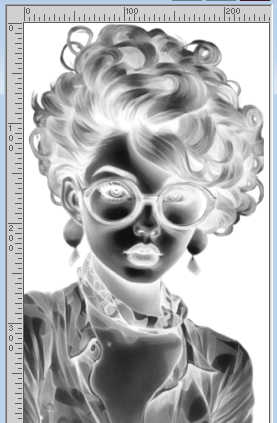
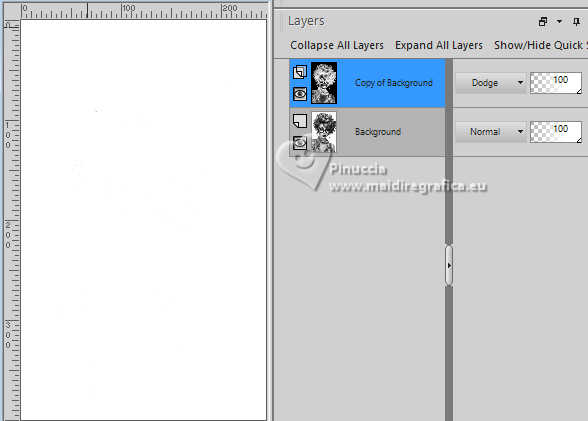
20. Image>Increase Color Depth> RGB-16 bits/channel)

Change the Blend Mode of this layer to Dodge
It is possible that your image will disappear completely;
don't worry, the image is there: look at the layers
21. Adjust>Blur>Gaussian Blur - choose from 4 to 20, to your liking
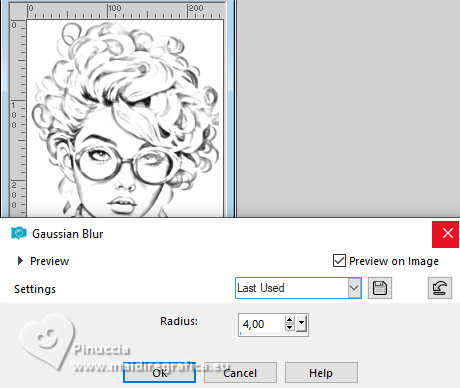

For my example I used 4.
22. Layers>Merge>Merge All.
23. Edit>Copy.
Go back to your work and go to Edit>Paste as new layer.
24. Effects>Image Effects>Offset.
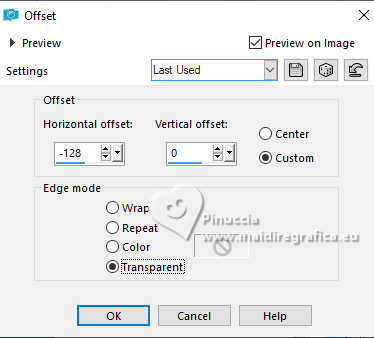
Optional: you can change the Blend Mode of the layer to Luminance or Luminance (legacy).
For my example I kept Normal; I changed on my second version.
25. Open the text Text_BOCETO 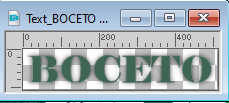
Edit>Copy.
Go back to your work and go to Edit>Paste as new layer.
If you want to write your text, the used font is Elephant,
size 96 pixels, to adapt according to your text and your PSP version

Invert the color of your materials palette:
foreground color: linear gradient; background color color 1.

Write the text BOCETO
Effects>3D Effects>Drop Shadow, color black.
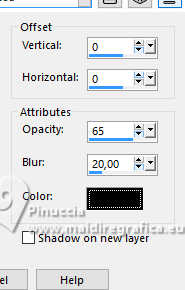
26. Open Deco00328 
Edit>Copy.
Go back to your work and go to Edit>Paste as new layer.
Move  the tube at the bottom right. the tube at the bottom right.
27. Open Deco00329 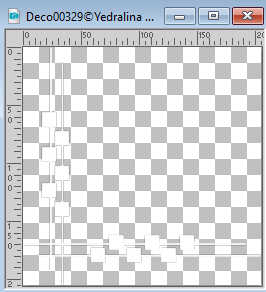
Edit>Copy.
Go back to your work and go to Edit>Paste as new layer.
Move  the tube at the bottom left. the tube at the bottom left.
28. Open Deco00330 
Edit>Copy.
Go back to your work and go to Edit>Paste as new layer.
Move  the tube up. the tube up.
29. Image>Add borders, 1 pixel, symmetric, foreground color.
Image>Add borders, 1 pixel, symmetric, color white.
Image>Add borders, 1 pixel, symmetric, foreground color.
30. Selections>Select All.
Image>Add borders, 40 pixels, symmetric, color white.
31. Effects>3D Effects>Drop Shadow, color black.

Selections>Invert.
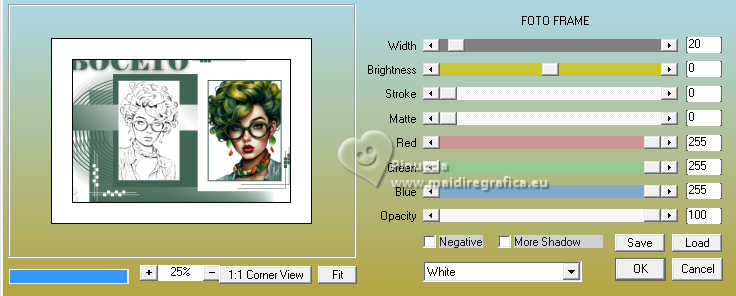
32. Effects>Plugins>AAA Frames - Foto Frame.
33. Image>Add borders, 1 pixel, symmetric, foreground color.
Selections>Select None.
34. Image>Resize, 1000 pixels width, resize all layers checked.
Sign your work and save as jpg.
For the tubes of this version thanks Colybrix


If you have problems or doubts, or you find a not worked link, or only for tell me that you enjoyed this tutorial, write to me.
13 November 2023

|
 SKETCH


 SKETCH
