|
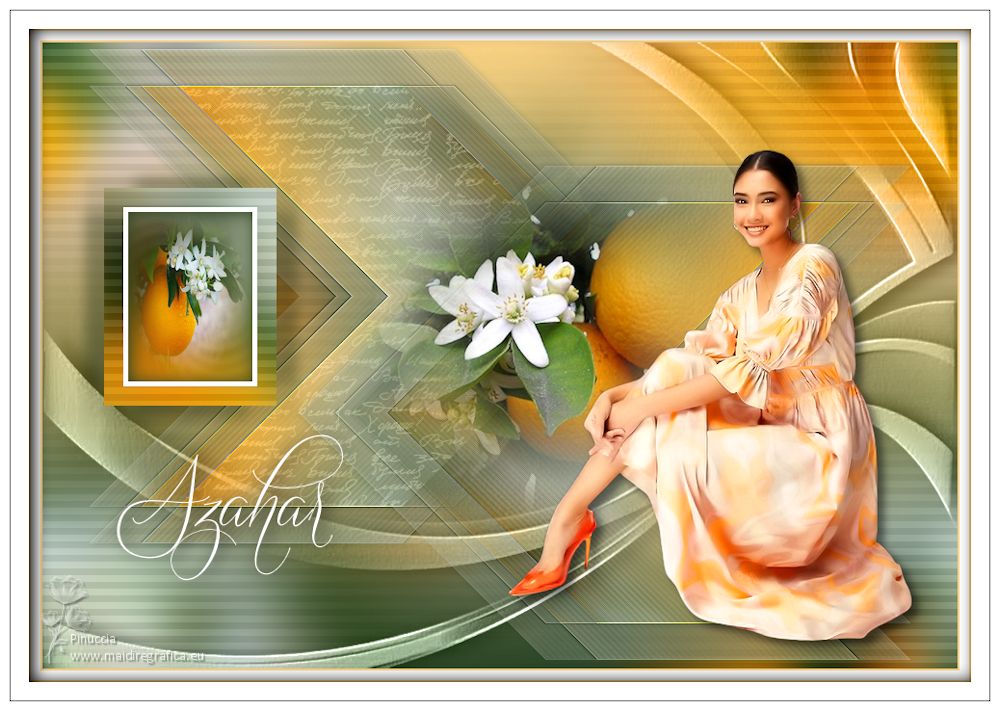
AZAHAR
 ORANGE BLOSSOMS ORANGE BLOSSOMS

Thanks Yedralina for your invitation to translate your tutorials into english

This tutorial was written with CorelX19 and translated with CorelX17, but it can also be made using other versions of PSP.
Since version PSP X4, Image>Mirror was replaced with Image>Flip Horizontal,
and Image>Flip with Image>Flip Vertical, there are some variables.
In versions X5 and X6, the functions have been improved by making available the Objects menu.
In the latest version X7 command Image>Mirror and Image>Flip returned, but with new differences.
See my schedule here
 italian translation here italian translation here
 french translation here french translation here
 your versions here your versions here
For this tutorial, you will need:
Tubes at your choice: a person and a misted
The rest of the material

Thanks for the mask Narah.
Thanks for the tube LadyValella.
The rest of the material is by Yedralina.
(The links of the tubemakers here).

consult, if necessary, my filter section here
Filters Unlimited 2.0 here
Carolaine and Sensibility - CS-HLines here
Filter Factory Gallery J - Drink To Me here
Alien Skin Eye Candy 5 Impact - Perspective Shadow here
AAA Frames - Foto Frame here
Filters Factory Gallery can be used alone or imported into Filters Unlimited.
(How do, you see here)
If a plugin supplied appears with this icon  it must necessarily be imported into Unlimited it must necessarily be imported into Unlimited

You can change Blend Modes according to your colors.
In the newest versions of PSP, you don't find the foreground/background gradient (Corel_06_029).
You can use the gradients of the older versions.
The Gradient of CorelX here
Copy the preset  in the folder of the plugin Alien Skin Eye Candy 5 Impact>Settings>Shadow. in the folder of the plugin Alien Skin Eye Candy 5 Impact>Settings>Shadow.
One or two clic on the file (it depends by your settings), automatically the preset will be copied in the right folder.
why one or two clic see here

Place the brush in Brush folder.
Attention, please, the brush is composed by two files, you must place both the files in the folder.
See my notes about Brushes here
Copy the preset Emboss 4 in the Presets Folder.
Open the mask and minimize it with the rest of the material.
Set your foreground color to #294424,
and your background color to #ffd585.
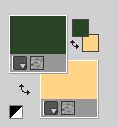
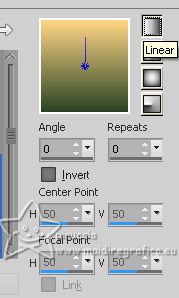
Set your foreground color to a Foreground/Background Gradient, style Linear.
1. Open CanalAlpha_ AZAHAR
Window>Duplicate or, on the keyboard, shift+D to make a copy.

Close the original.
The copy, that will be the basis of your work, is not empty,
but contains the selections saved to alpha channel.
or if you prefer, you can minimize the original,
and open a new transparent image 950 x 650 pixels.
The selections saved on the alpha channel will still be available on you new image,
until it is minimized on your workspace
Selections>Select All.
Open your mist - for me 2328©Yedralina 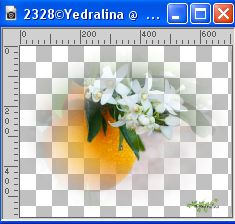
Edit>Copy.
Go back to your work and go to Edit>Paste into Selection.
Selections>Select None.
2. Effects>Image Effects>Seamless Tiling, default settings.

Adjust>Blur>Gaussian Blur - Radius 25.

3. Effects>Plugins>Carolaine and Sensibility - CS-HLines.
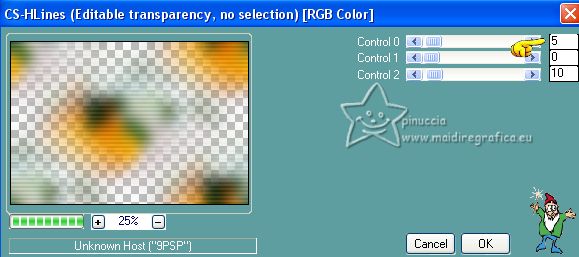
4. Layers>New Raster Layer.
Flood Fill  the layer with your Gradient. the layer with your Gradient.
Layers>Arrange>Send to Bottom.
Layers>Merge>Merge visible.
5. Layers>Duplicate.
Image>Resize, to 50%, resize all layers not checked.
Image>Free Rotate - 90 degrees to left.

6. Effects>Geometric Effects>Skew.
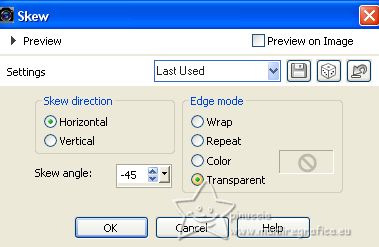
7. Effects>Plugins>Filters Unlimited 2.0 - Filter Factory Gallery J - Drink To Me, default settings.
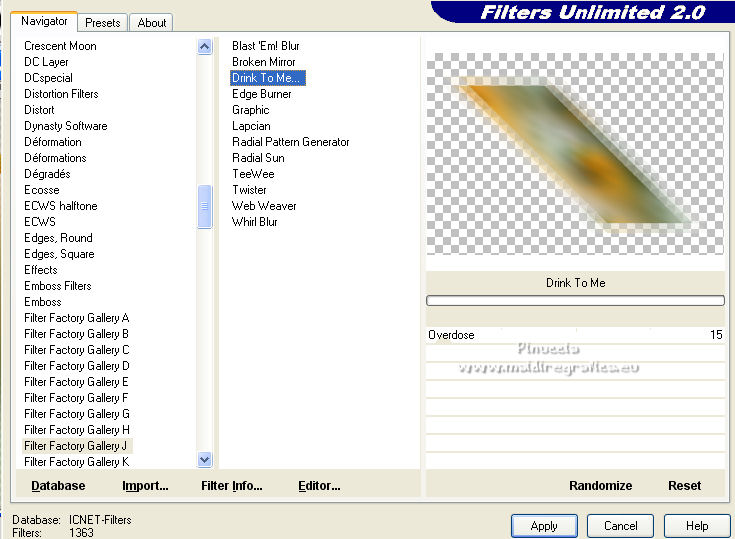
Effects>Edge Effects>Enhance More.
8. Effects>Reflection Effects>Rotating Mirror.

9. Effects>3D Effects>Drop Shadow, foreground color #294424.
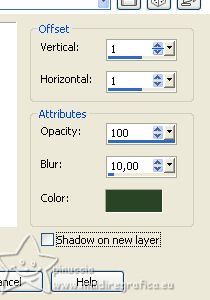
Objects>Align>Top,
or K key to activate your Pick Tool 
and set Position Y to 0,00 (Position X is already to 46,00).

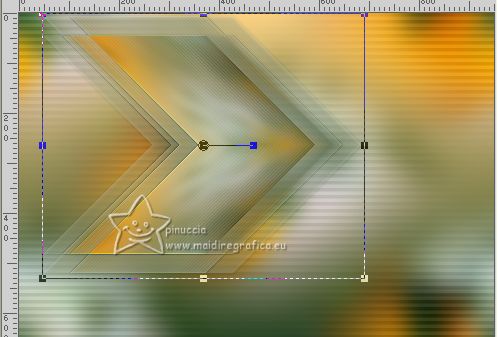
10. Layers>Duplicate.
Image>Mirror.
Objects>Align>Bottom,
or set Position Y: 121,00 (Position X is alredy to 260,00)

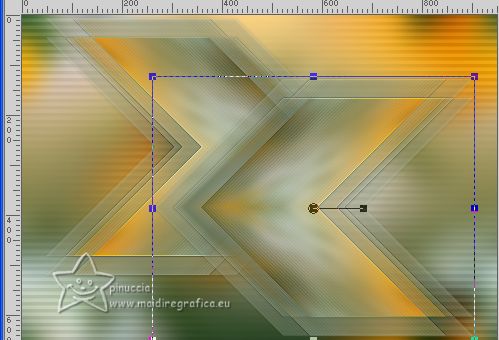
11. Layers>Merge>Merge Down.
Activate your bottom layer, Merged.
12. Selections>Load/Save Selection>Load Selection from Alpha Channel.
The selection #1 is immediately available. You just have to click Load.
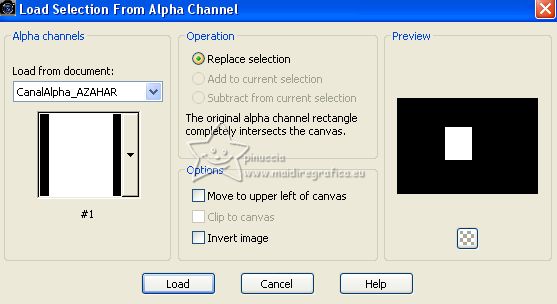
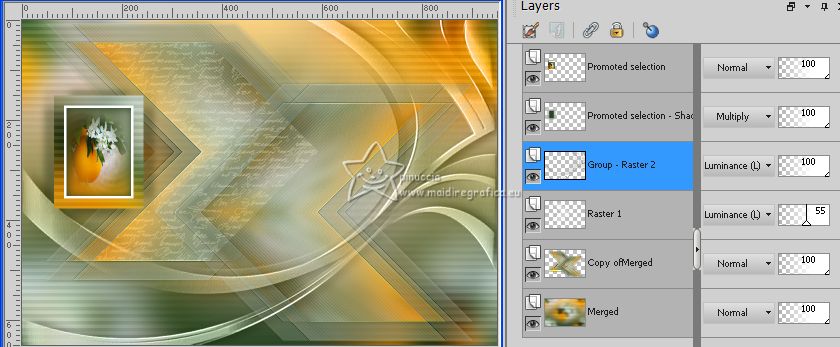
Selections>Promote Selection to layer.
Layers>Arrange>Move up.
13. Selections>Modify>Contract - 20 pixels.
Edit>Copy
Set your foreground color to white.
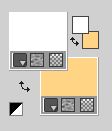
Flood Fill  the selection with color white. the selection with color white.
14. Selections>Modify>Contract - 5 pixels.
Edit>Paste into Selection (the image you just copied).
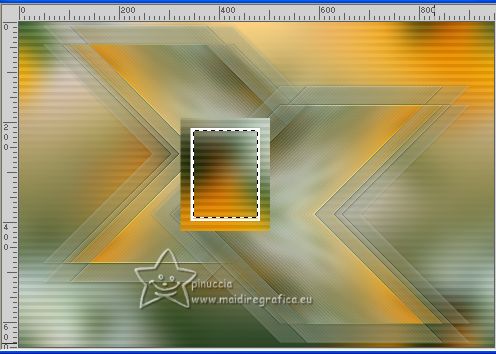
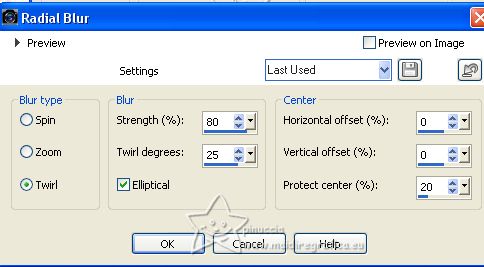
Adjust>Blur>Radial Blur.
15. Layers>New Raster Layer.
Activate again your misted and go to Edit>Copy.
Go back to your work and go to Edit>Paste into Selection.
Adjust>Sharpness>Sharpen.
Keep selected.
16. Layers>Duplicate.
Layers>Merge>Merge Down.
17. Selections>Invert.
Effects>3D Effects>Drop Shadow, foreground color #294424.
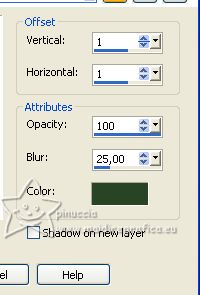
Selections>Select None.
18. Layers>Merge>Merge Down.
Move  the image to the left. the image to the left.
Or K key to activate your Pick Tool 
and set Position X: 64,00 and Position Y: 151,00.

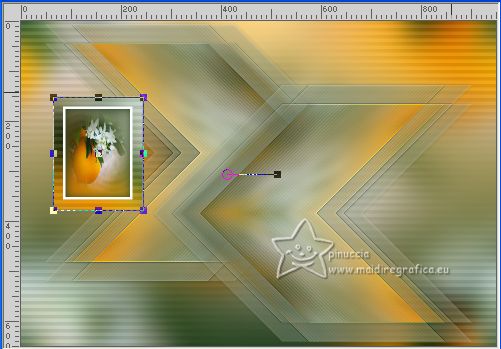
M key to deselect the Tool.
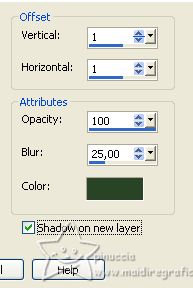
19. Effects>3D Effects>Drop Shadow, same settings,
but Shadow on a new layer checked.
20. Stay on the shadow's layer.
Effects>Plugins>Filters Unlimited 2.0 - Filter Factory Gallery J - Drink To Me, default settings.
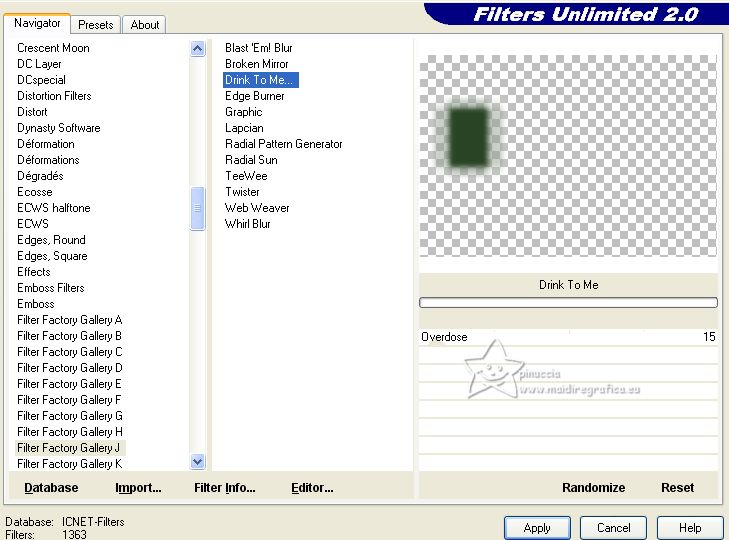
Change the Blend Mode of this layer to Multiply.
21. Activate the layer below, Copy of Merged.
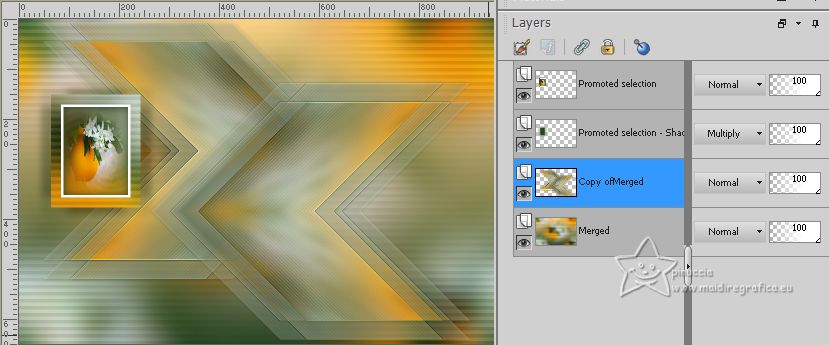
Layers>New Raster Layer.
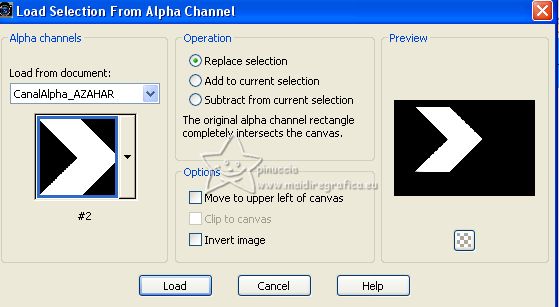
Selections>Load/Save Selection>Load Selection from Alpha Channel.
Open the selections menu and load the selection Sel #2
22. Activate your Brush Tool 
look for and select the brush Pergamino-Yedra

Apply the brush in the selection, clicking with your left mouse button,
to use your foreground white color.
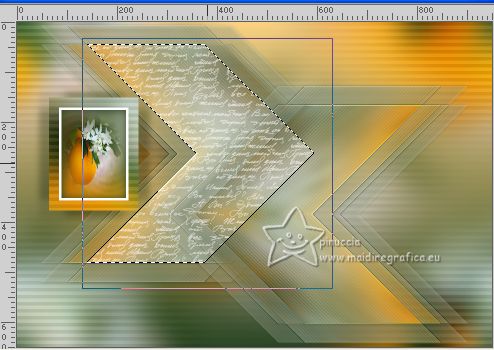
23. Change the Blend Mode of this layer to Luminance (legacy) and reduce the opacity +/-55%.
Selections>Select None.
24. Layers>New Raster Layer.
Flood Fill  the layer with color white. the layer with color white.
25. Layers>New Mask layer>From image
Open the menu under the source window and you'll see all the files open.
Select the mask NarahsMasks_1773
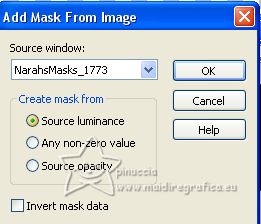
Layers>Merge>Merge Group.
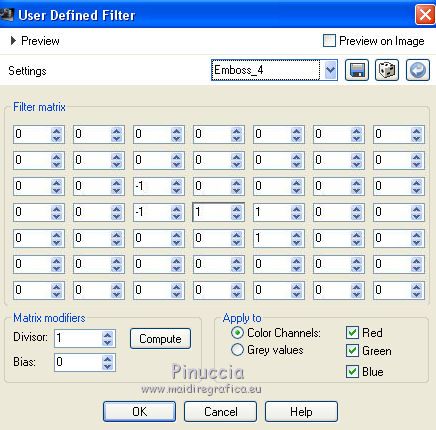
26. Image>Mirror.
Image>Flip.
Effects>User Defined Filter, select the preset Emboss 4 and ok.
27. Effects>3D Effects>Drop Shadow, color black,
shadow on a new layer not checked.
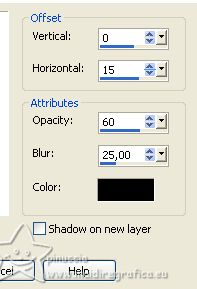
Change the Blend Mode of this layer to Luminance (legacy).
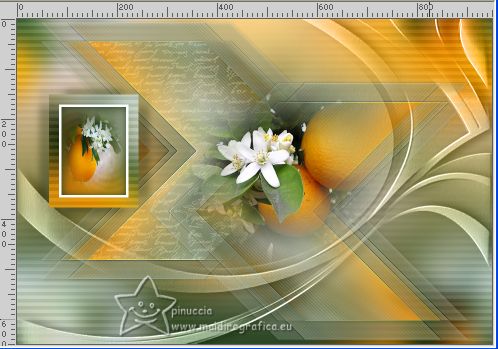
28. Edit>Paste as new layer.
if you use the same misted, this is still in memory.
For my example I changed tube: 2328©Yedralina 
Image>Resize, if necessary (for me to 80%).
Move  the tube to the right. the tube to the right.
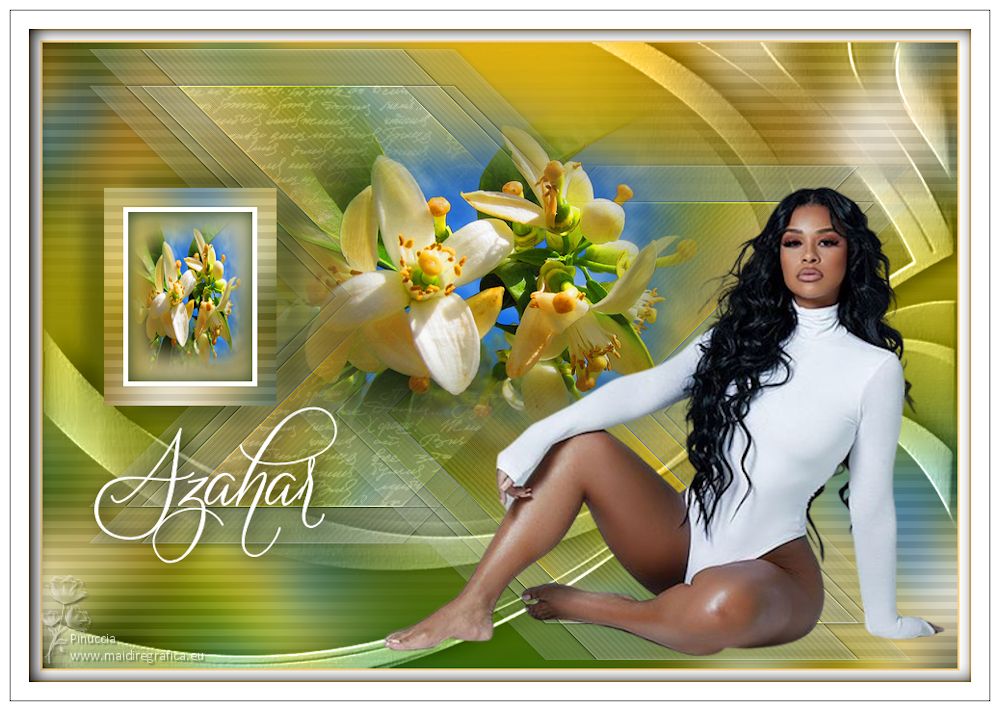
29. Open your main tube, for me LValellaTD2022-0307 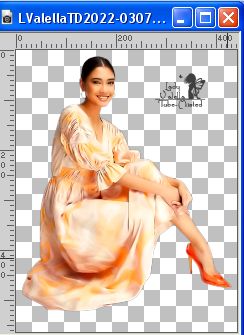
Edit>Copy.
Go back to your work and go to Edit>Paste as new layer.
Image>Resize, if necessary (for me 90%).
Move  the tube to the right. the tube to the right.
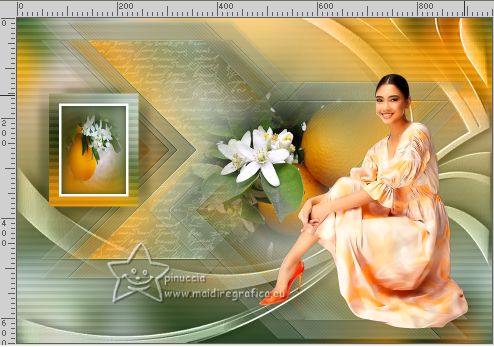
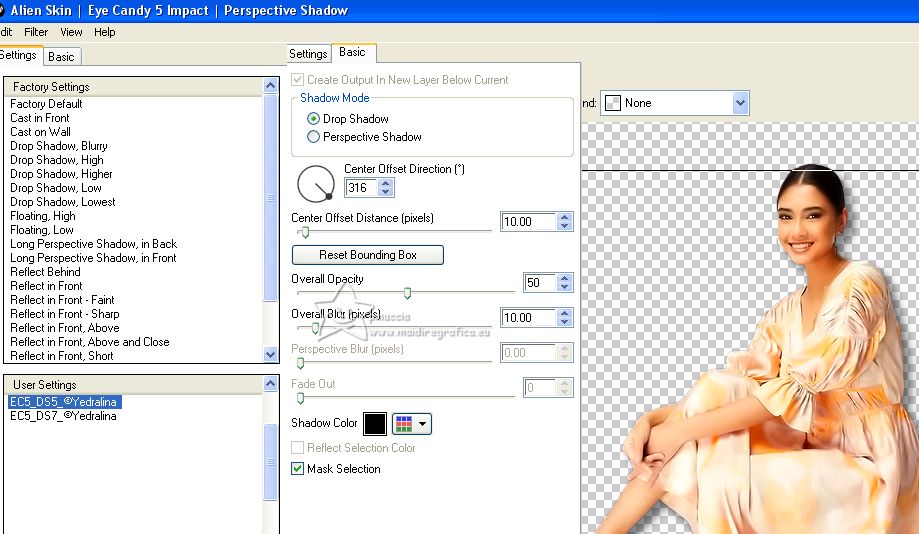
30. Effects>Plugins>Alien Skin Eye Candy 5 Impact - Perspective Shadow.
Select the preset EC5_DS5_©Yedralina e ok
Here below the settings, in case of problems with the preset.
31. Activate your Text Tool 
font Quickier_Demo

Set your background color to white, write Azahar and place it
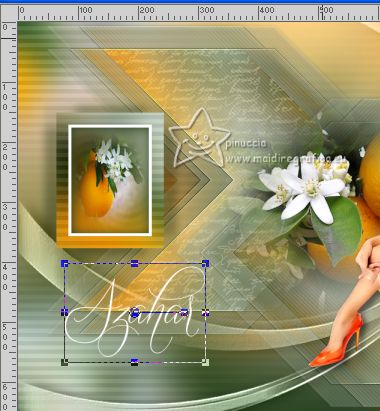
if you prefer, copy/paste as new layer the text 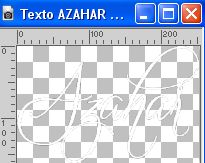 , ,
that you find in the material
Layers>Convert in calque raster.
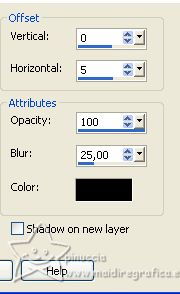
Effects>3D Effects>Drop Shadow, color black.
32. Image>Add borders, 2 pixels, symmetri, background color.
Image>Add borders, 10 pixels, symmetric, color white.
Image>Add borders, 2 pixels, symmetric, background color.
Selections>Select All.
Image>Add borders, 30 pixels, symmetric, color white.
Selections>Invert.
33. Effects>Plugins>AAA Frames - Foto Frame.
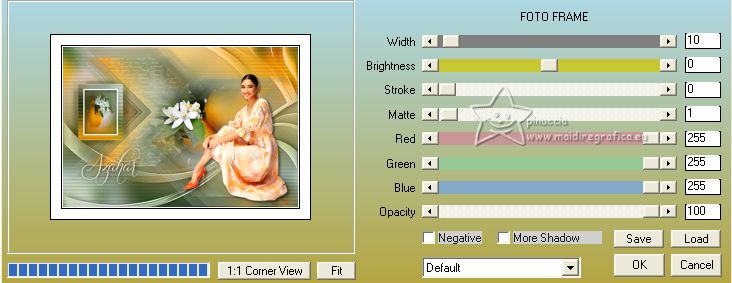
Effects>3D Effects>Drop Shadow, same settings.

Selections>Select None.
34. Image>Resize, 1000 pixels width, resize all layers checked.
35. Sign your work on a new layer.
Layers>Merge>Merge All and save as jpg.
For the tube of this version thanks Mina 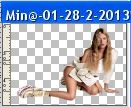 , the misted is mine , the misted is mine 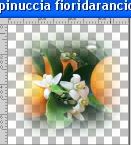
(I added it in the material)
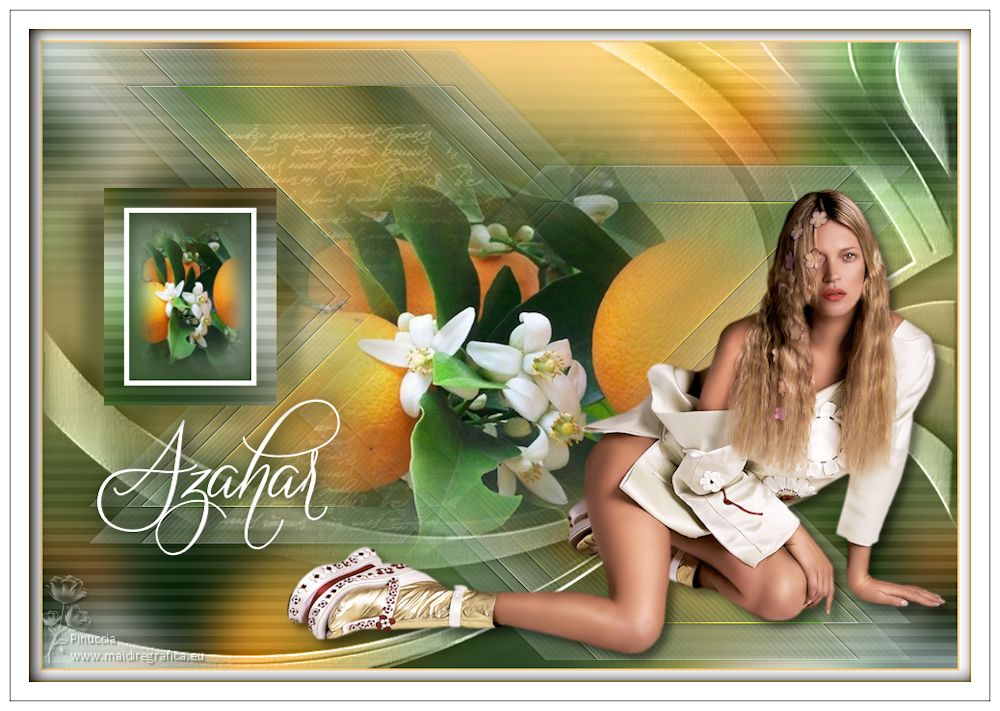
For the tube of this version thanks Beatriz  , the misted is mine , the misted is mine 
(added in the material).

If you have problems or doubts, or you find a not worked link, or only for tell me that you enjoyed this tutorial, write to me.
4 May 2023

|
 ORANGE BLOSSOMS