|
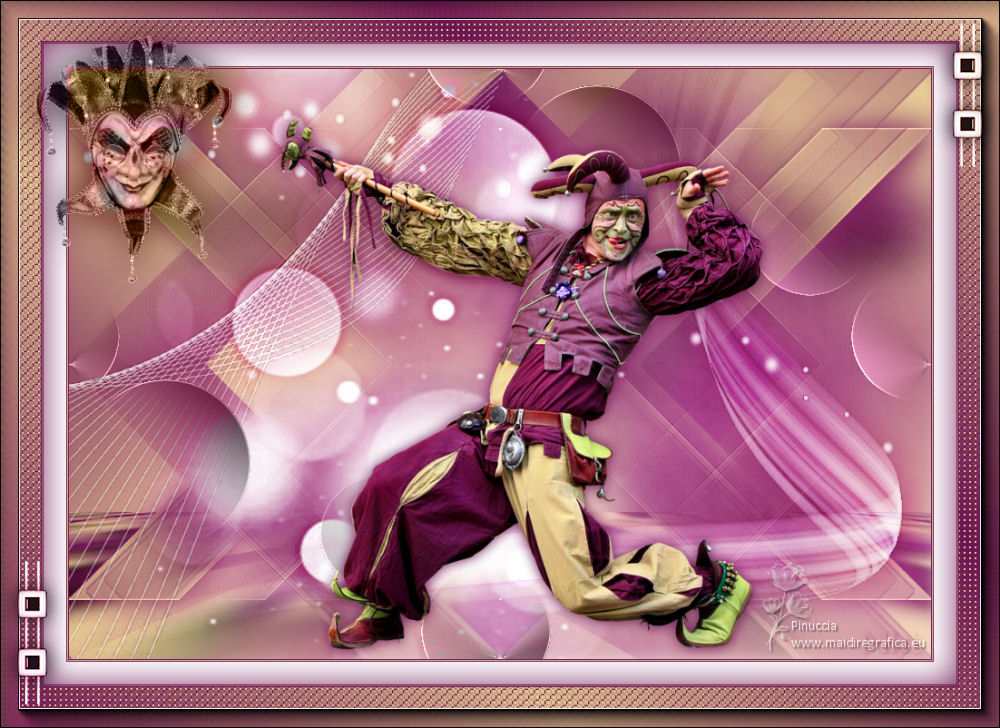
ARLEQUIN


Thanks Yedralina for your invitation to translate your tutorials into english

This tutorial was written with CorelX19 and translated with CorelX17, but it can also be made using other versions of PSP.
Since version PSP X4, Image>Mirror was replaced with Image>Flip Horizontal,
and Image>Flip with Image>Flip Vertical, there are some variables.
In versions X5 and X6, the functions have been improved by making available the Objects menu.
In the latest version X7 command Image>Mirror and Image>Flip returned, but with new differences.
See my schedule here
 italian translation here italian translation here
 french translation here french translation here
 your versions here your versions here
For this tutorial, you will need:
Tubes of yours
The rest of the material here
For the mask thanks Nikita and Alina.
The rest of the material is by Yedralina.
(The links of the tubemakers here).
Plugins:
consult, if necessary, my filter section here
Filters Unlimited 2.0 here
Simple - Blintz here
Simple - Left Right Wrap (bonus) here
&<Bkg Designer sf10III> - SE Shiver (da importare in Unlimited) here
Mura's Meister - Perspective Tiling here
AAA Frames - Foto Frame here
Filtres Simple can be used alone or imported into Filters Unlimited.
(How do, you see here)
If a plugin supplied appears with this icon  it must necessarily be imported into Unlimited it must necessarily be imported into Unlimited

You can change Blend Modes according to your colors.
In the newest versions of PSP, you don't find the foreground/background gradient (Corel_06_029).
You can use the gradients of the older versions.
The Gradient of CorelX here

Open the masks in PSP and minimize them with the rest of the material.
Set your foreground color to #6c1552,
and your background color to #e7cd93.
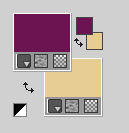
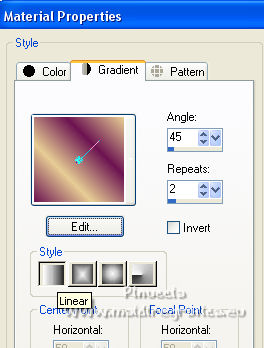
Set your foreground color to a Foreground/Background Gradient, style Linear.
1. Open CanalAlpha_Arlequin.
Window>Duplicate or, on the keyboard, shift+D to make a copy.

Close the original.
The copy, that will be the basis of your work, is not empty,
but contains the selections saved to alpha channel.
Flood Fill  the transparent image with your Gradient. the transparent image with your Gradient.
2. Effects>Plugins>Simple - Blintz.
Edit>Repeat Blintz.
3. Effects>Reflection Effects>Rotating Mirror.

4. Layers>New Raster Layer.
Selections>Select All.
Open your main tube and go to Edit>Copy.
Go back to your work and go to Edit>Paste into Selection.
Selections>Select None.
Adjust>Blur>Gaussian Blur - radius 25.

Layers>Merge>Merge visible.
5. Selections>Load/Save Selection>Load Selection from Alpha Channel.
The selection #1 is immediately available. You just have to click Load.
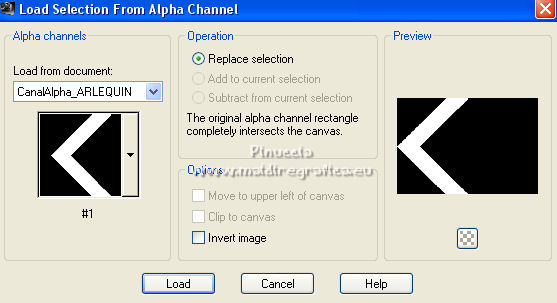
Selections>Promote Selection to Layer.
Selections>Select None.
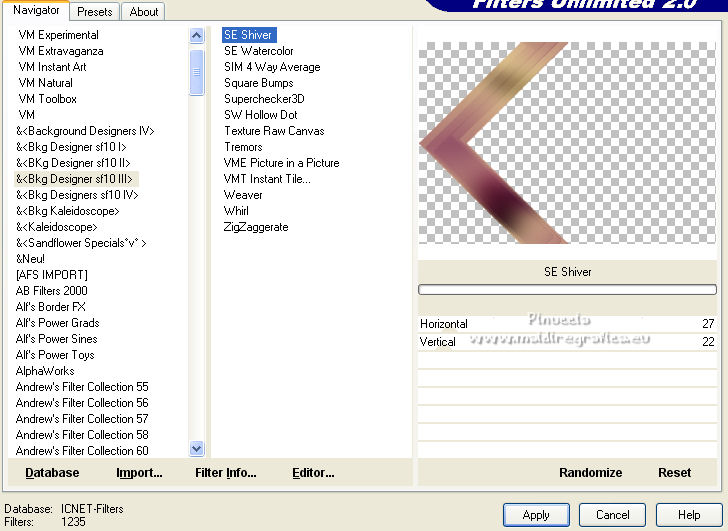
6. Effects>Plugins>Filters Unlimited 2.0 - &<Bkg Designer sf10III> - SE Shiver, default settings.
7. Effects>Image Effects>Seamless Tiling.

8. Layers>Duplicate.
Image>Resize, to 80%, resize all layers not checked.
9. Effects>Image Effects>Seamless Tiling, same settings.

10. Effects>Reflection Effects>Rotating Mirror, default settings.

11. Adjust>Sharpness>Sharpen More.
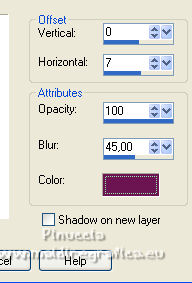
Effects>3D Effects>Drop Shadow, dark color.
Layers>Duplicate.
12. Effects>Image Effects>Seamless Tiling, same settings.

Effects>Edge Effects>Enhance.
13. Set your background color to white.
Layers>New Raster Layer.
Flood Fill  the layer with color white. the layer with color white.
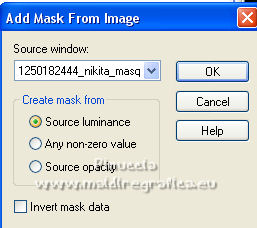
14 Layers>New Mask layer>From image
Open the menu under the source window and you'll see all the files open.
Select the mask 1250182444_nikita_masque.
Layers>Duplicate.
Layers>Merge>Merge Group.
15. K key on the keyboard to activate your Pick Tool 
and pull the central left node
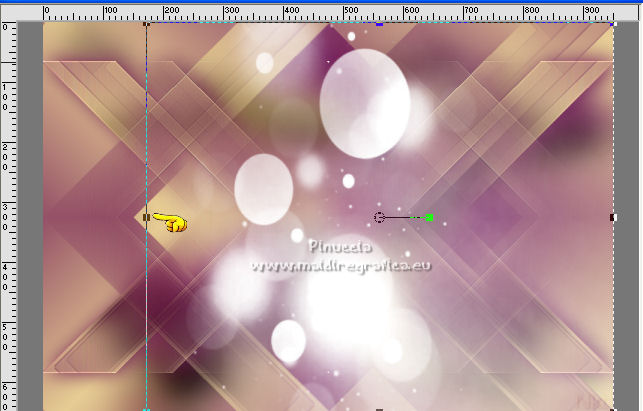
to the left until the border
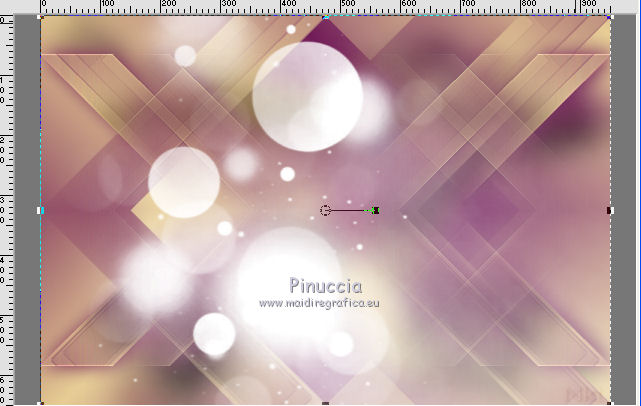
M key to deselect the tool.
16. Effects>3D Effects>Drop Shadow, foreground color.
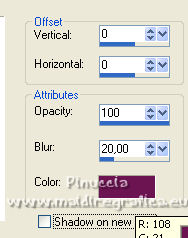
Change the Blend Mode of this layer to Hard Light, or to your liking.
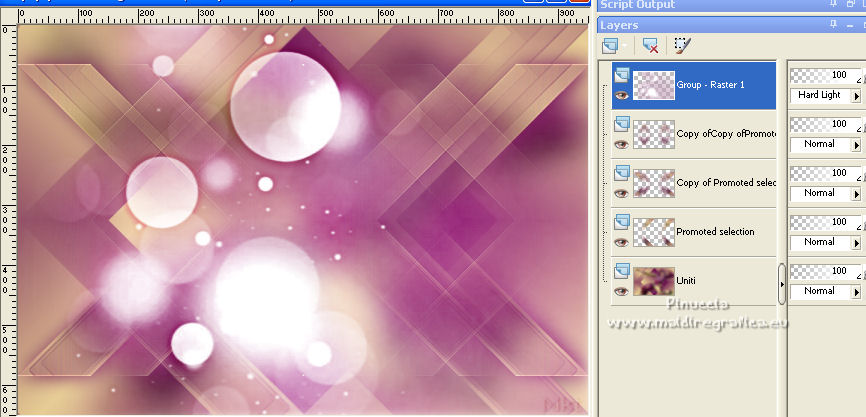
17. Layers>New Raster Layer.
Flood Fill  the layer with color white. the layer with color white.
Layers>New Mask layer>From image
Open the menu under the source window
and select the mask Alina Mask 2.
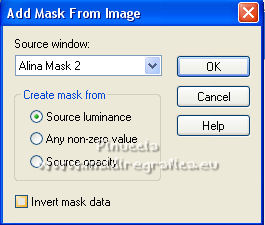
Layers>Merge>Merge Group.
Effects>Edge Effects>Enhance.
Effects>3D Effects>Drop Shadow, foreground color.
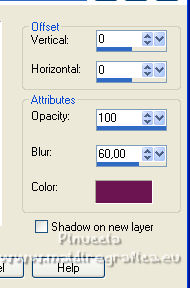
Change the Blend Mode of this layer to Hard Light.
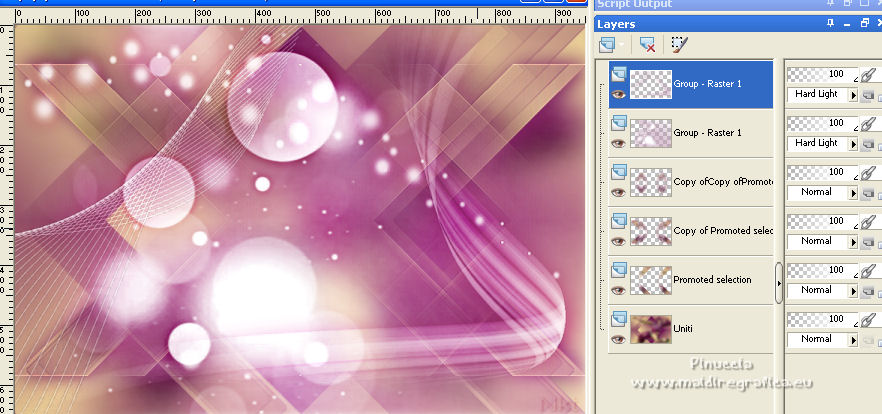
18. Layers>New Raster Layer.
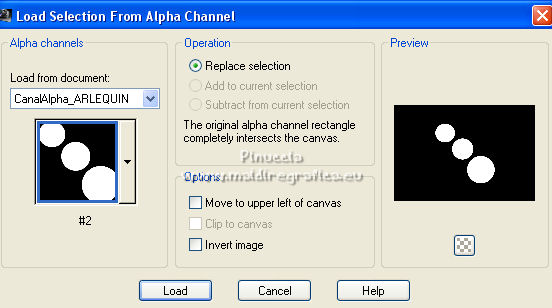
Selections>Load/Save Selection>Load Selection from Alpha Channel.
Open the selections menu and load the selection #2.
Set again your background color to #e7cd93
to get the Gradient Linear.
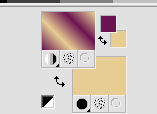
Flood Fill  the selection with your gradient. the selection with your gradient.
Selections>Select None.
19. Effects>Plugins>Simple - Left Right Wrap.
20. Effects>Image Effects>Seamless Tiling, default settings.

21. Change the Blend Mode of this layer to Luminance (legacy), or to your liking.
Effects>Edge Effects>Enhance More.
22. Activate your bottom layer.
Layers>Duplicate.
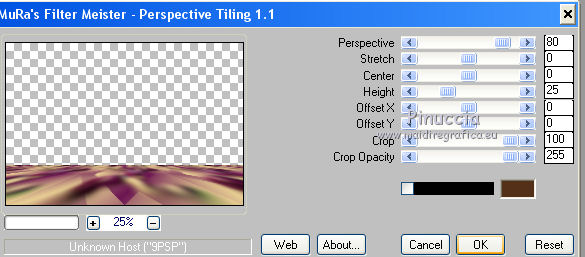
23. Effects>Plugins>Mura's Meister - Perspective Tiling.
Effects>Reflection Effects>Rotating Mirror, default settings.

24. Activate the top layer.
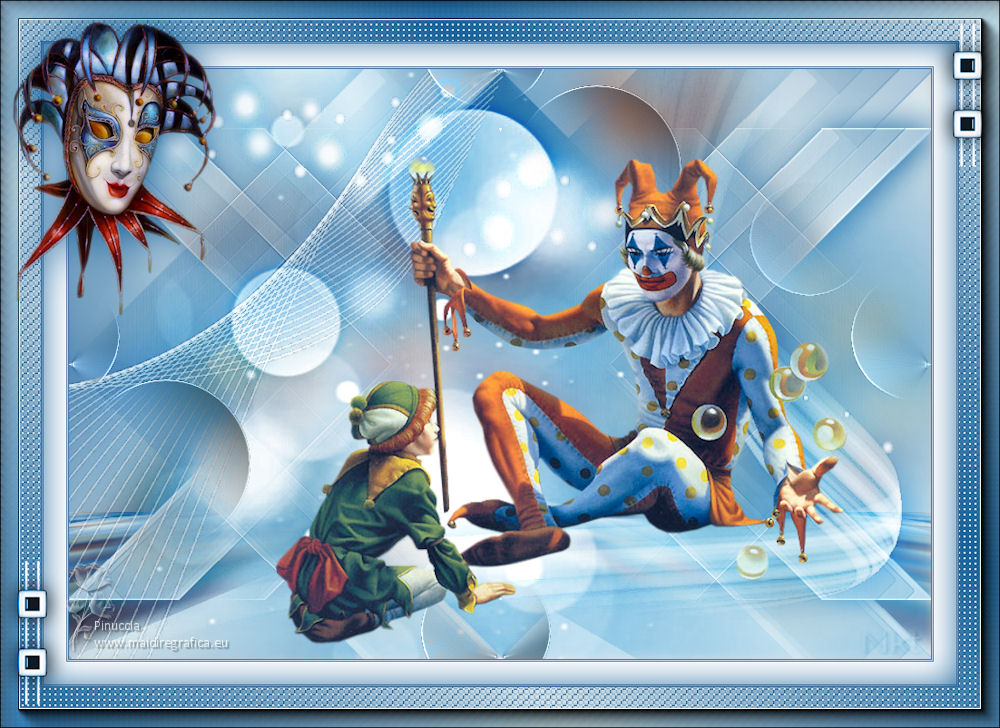
Activate again your main tube (for me pngwing.com - 2022-02-07T172322.468), and go to Edit>Copy.
Go back to your work and go to Edit>Paste as new layer.
Image>Resize, if necessary (for me 90%), resize all layers not checked.
Place  correctly the tube. correctly the tube.
Effects>3D Effects>Drop Shadow, at your choice; for me last settings.

25. Image>Add borders, 1 pixel, symmetric, foreground color.
Image>Add borders, 1 pixel, symmetric, background color.
Image>Add borders, 1 pixel, symmetric, foreground color.
Image>Add borders, 25 pixels, symmetric, color white.
Image>Add borders, 1 pixel, symmetric, foreground color.
Image>Add borders, 1 pixel, symmetric, background color.
Image>Add borders, 1 pixel, symmetric, foreground color.
Selections>Select All.
Image>Add borders, 45 pixels, symmetric, whatever color.
Selections>Invert.
26. Flood Fill  the selection with your Gradient. the selection with your Gradient.
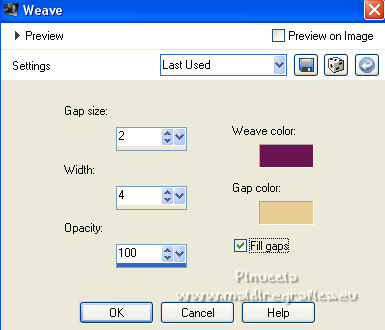
Effects>Texture Effects>Weave
weave color: foreground color,
gap color: background color.
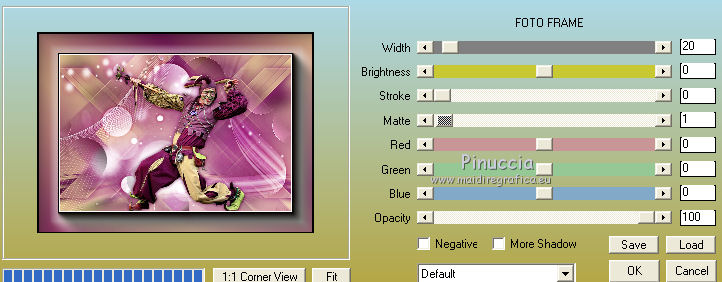
27. Effects>Plugins>AAA Frames - Foto Frame.
28. Effects>3D Effects>Drop Shadow, foreground color.

Selections>Select None.
29. Open your deco tube and go to Edit>Copy.
Go back to your work and go to Edit>Paste as new layer.
Image>Resize, if necessary (for me 35%), resize all layers not checked.
Move  the tube at the upper left, or to your liking. the tube at the upper left, or to your liking.
Effects>3D Effects>Drop Shadow, at your choice.
Change the Blend Mode of this layer to Luminance (legacy).
30. Image>Resize, 1000 pixels width, resize all layers checked.
Open the tube Deco00288©Yedralina and go to Edit>Copy.
Go back to your work and go to Edit>Paste as new layer.
Don't move it.
Change the Blend mode of this layer to Luminance.
31. Sign your work on a new layer.
Layers>Merge>Merge All and save as jpg.
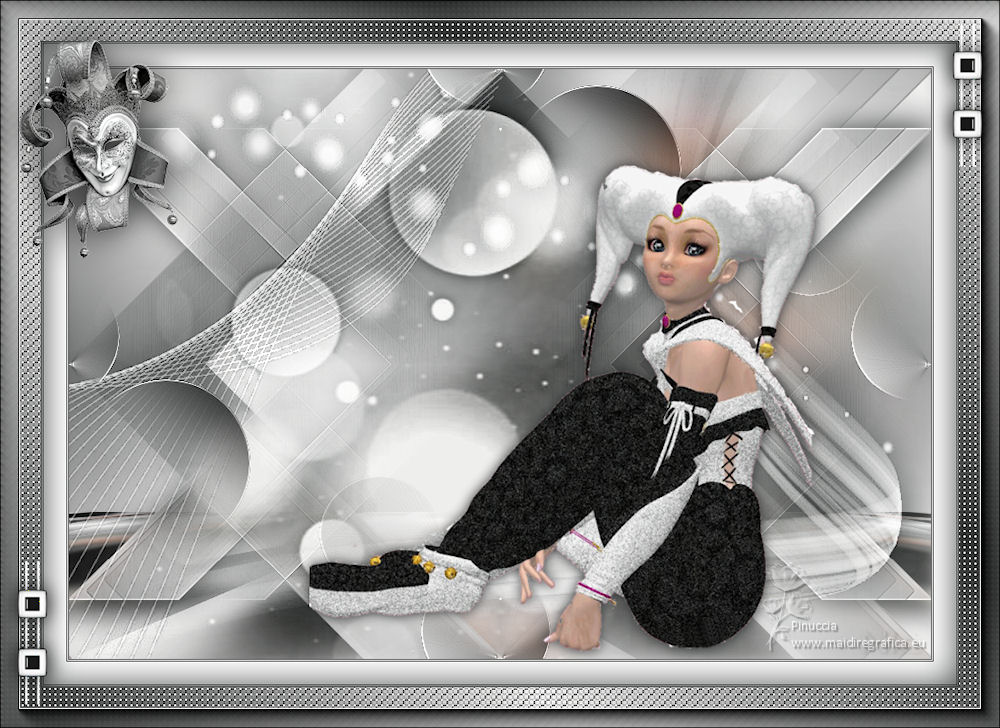
For the tube of this version thanks Moonchild.

If you have problems or doubts, or you find a not worked link, or only for tell me that you enjoyed this tutorial, write to me.
14 February 2022

|

