|
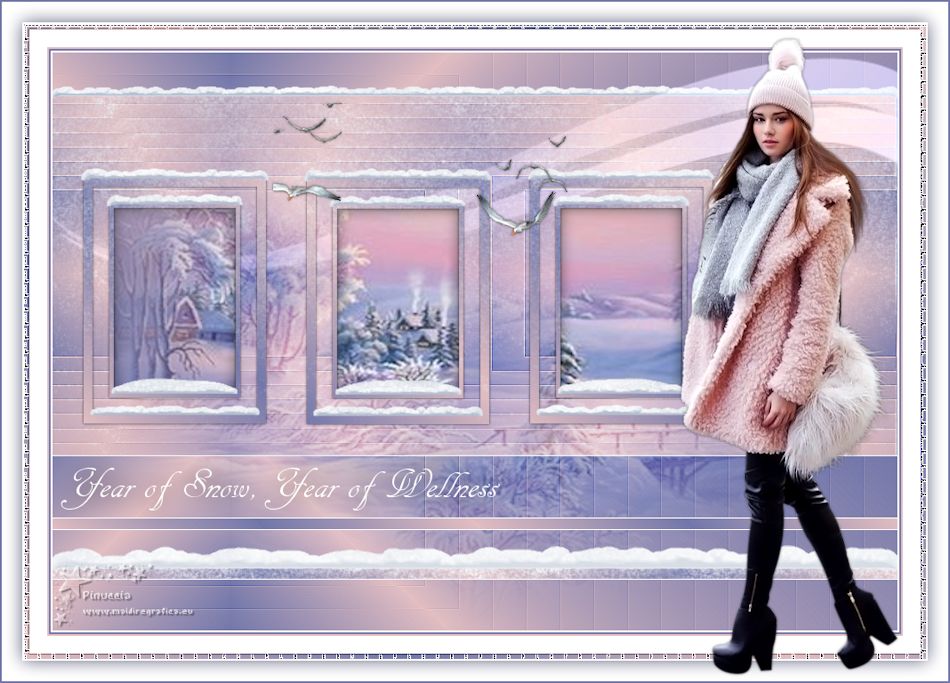
AÑO DE NIEVES


Thanks Yedralina for your invitation to translate your tutorials into english

This tutorial was written with CorelX19 and translated with CorelX17, but it can also be made using other versions of PSP.
Since version PSP X4, Image>Mirror was replaced with Image>Flip Horizontal,
and Image>Flip with Image>Flip Vertical, there are some variables.
In versions X5 and X6, the functions have been improved by making available the Objects menu.
In the latest version X7 command Image>Mirror and Image>Flip returned, but with new differences.
See my schedule here
 italian translation here italian translation here
 french translation here french translation here
 your versions here your versions here
For this tutorial, you will need:
Tubes at your choice
The rest du material here
For the tubes used and not supplied thanks Valy (femmeVSP191) e Alenza (alenza_tube_848).
For the mask thanks Smart (smArt_maszk_69)
The decos tubes are by Yedralina.
(The links of the tubemakers here).
Plugins:
consult, if necessary, my filter section here
Filters Unlimited 2.0 here
Mura's Seamless - Emboss at Alpha here
Alien Skin Eye Candy 5 Nature - Snow Drift here
Screenworks - Point Array here
AP [Utility] - Repeats 4 here
Filters Mura's Seamless and Screenworks can be used alone or imported into Filters Unlimited.
(How do, you see here)
If a plugin supplied appears with this icon  it must necessarily be imported into Unlimited it must necessarily be imported into Unlimited

You can change Blend Modes according to your colors.
In the newest versions of PSP, you don't find the foreground/background gradient (Corel_06_029).
You can use the gradients of the older versions.
The Gradient of CorelX here
Copy the presets  in the folder of the plugin Alien Skin Eye Candy 5 Nature>Settings>Snow Drift. in the folder of the plugin Alien Skin Eye Candy 5 Nature>Settings>Snow Drift.
One or two clic on the file (it depends by your settings), automatically the preset will be copied in the right folder.
why one or two clic see here
Open the mask in PSP and minimize it with the rest of the material.
Choose two color from your landscape misted, the darker for your foreground color,
the color 4 for the Drop Shadow

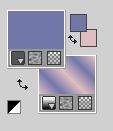
Set your foreground color to dark color #7277aa
and your background color to light color #e1bdc1.
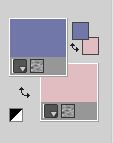
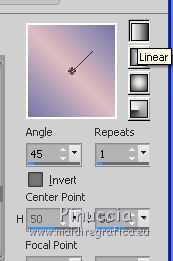
Set your Foreground color to a Foreground/Background Gradient, style Linear
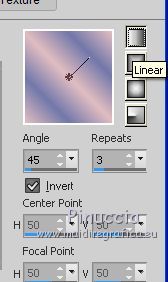
Set your background color to a Foreground/Background Gradient, style Linear.
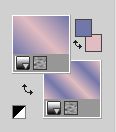
1. Open Alpha_AñnoDNieves.
Window>Duplicate or, on the keyboard, shift+D to make a copy.

Close the original.
The copy, that will be the basis of your work, is not empty,
but contains the selections saved on the alpha channel.
Flood Fill  the transparent image with your Foreground Gradient. the transparent image with your Foreground Gradient.
2. Layers>New Raster Layer
Selections>Load/Save Selection>Load Selection from Alpha Channel.
The selection #1 is immediately available.
You just have to click Load.
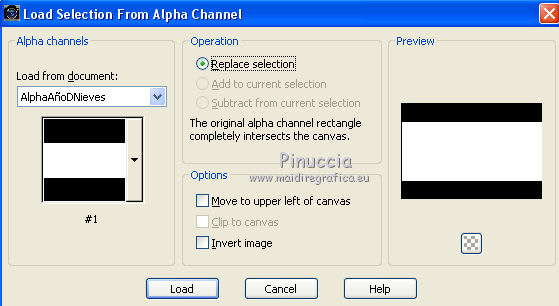
Flood Fill  the selection with your Foreground Gradient. the selection with your Foreground Gradient.
Keep selected.
Image>Mirror.
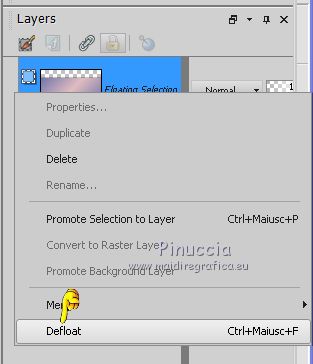
In the Layer palette, click with the right mouse button on the layer and select Defloat
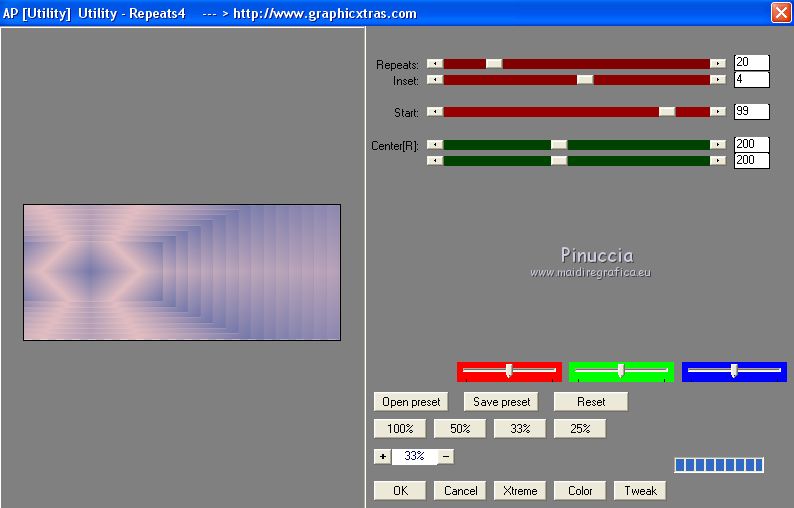
Effects>Plugins>AP [Utility] - Repeats4, default settings.
Effects>Reflection Effects>Rotating Mirror.

Effects>Plugins>Mura's Seamless - Emboss at Alpha, default settings.
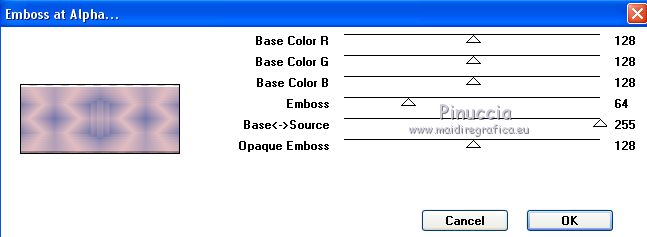
Selections>Select None.
Effects>Image Effects>Offset.
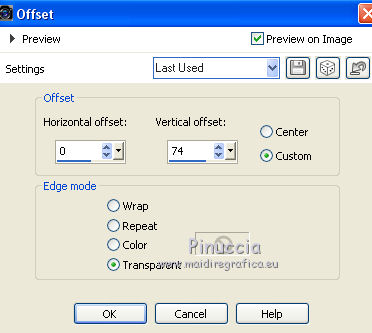
Effects>Edge Effects>Enhance more.
Activate your bottom layer.
Repeat Effects>Plugins>AP [Utility] - Repeats4, default settings.
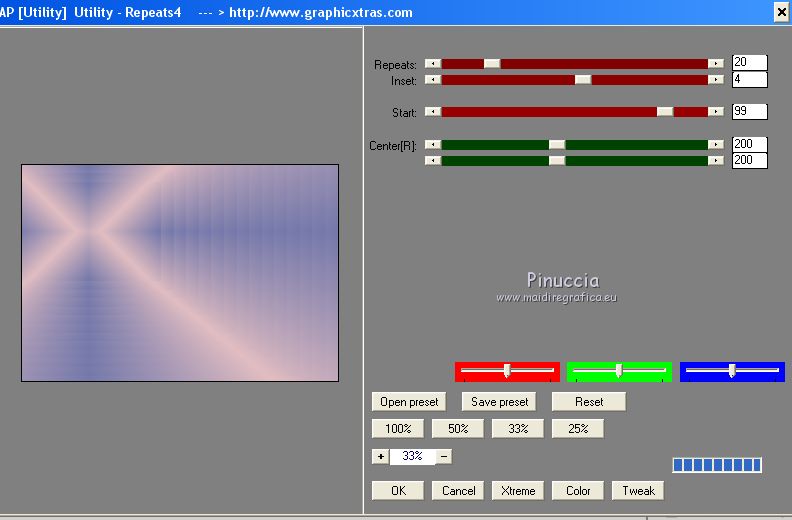
Effects>Reflection Effects>Rotating Mirror.
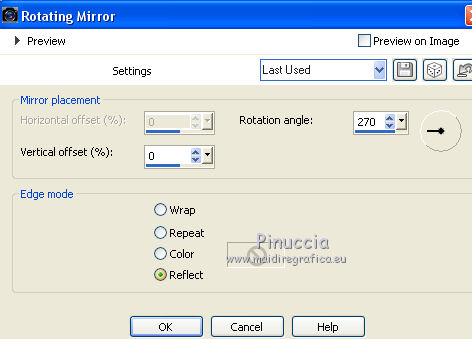
Effects>Edge Effects>Enhance more.
3. Layers>New Raster Layer.
Layers>Arrange>Bring to Top.
Selections>Load/Save Selection>Load Selection from Alpha Channel.
Open the Selections menu and load the selection #2.
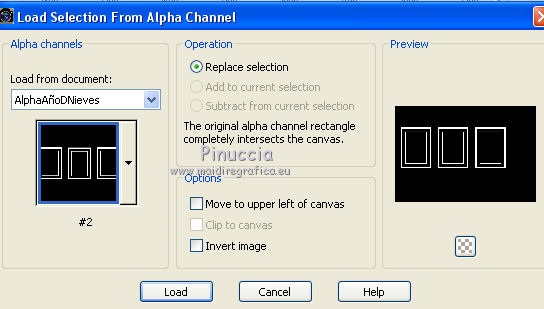
Flood Fill  the selection with your background gradient. the selection with your background gradient.
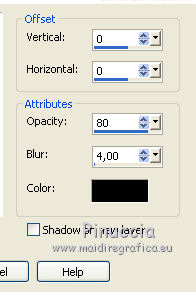
Effects>3D Effects>Drop Shadow, color black.
Selections>Select None.
4. Layers>New Raster Layer.
Selections>Select All.
Open the misted of the landscape and go to Edit>Copy.
Go back to your work and go to Edit>Paste into Selection.
Layers>Arrange>Move Down.
Change the Blend Mode of this layer to Soft Light.
you can leave the layer in Normal mode, and lower the opacity,
according to the colors of your misted.
For example, in my second version, I only lowered the opacity to 65%.
5. Layers>New Raster Layer.
Selections>Load/Save Selection>Load Selection from Alpha Channel.
Open the Selections menu and load the selection #3.
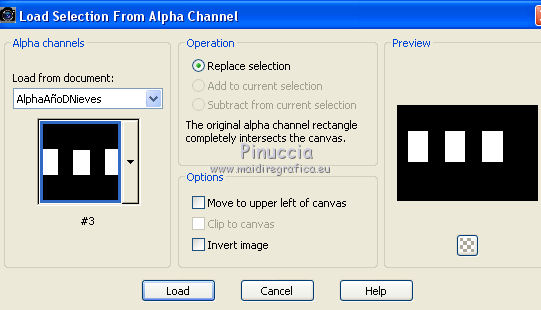
Flood Fill  the selection with the foreground gradient. the selection with the foreground gradient.
Keep selected.
Activate the layer of the misted.
Selections>Promote Selection to layer.
Layers>Arrange>Move Up
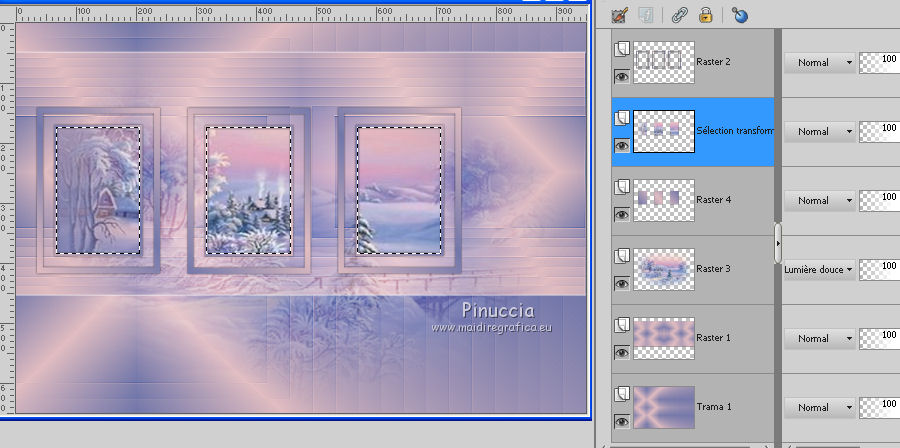
Layers>Merge>Merge Down.
Selections>Invert.
Effects>3D Effects>Drop Shadow, color black.
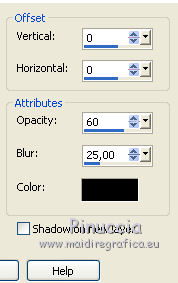
Selections>Select None.
6. Layers>New Raster Layer.
Set your foreground color to white .
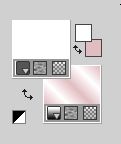
Flood Fill  the layer with color white. the layer with color white.
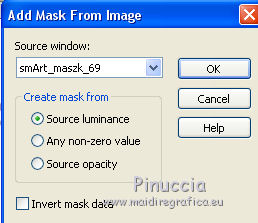
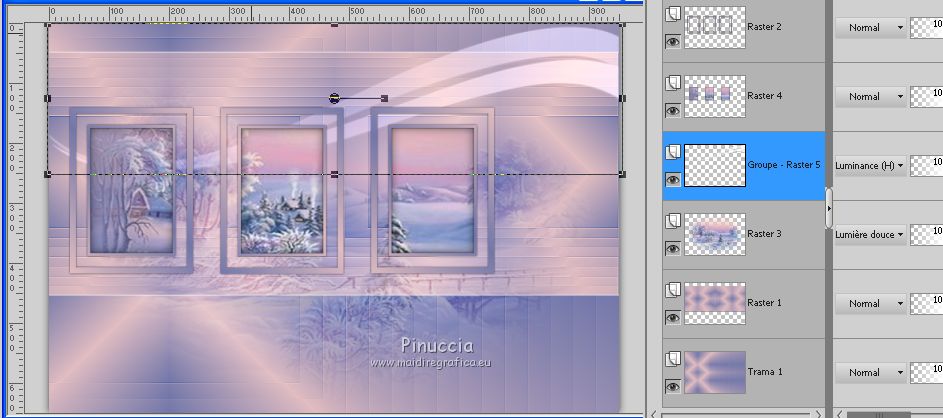
Layers>New Mask layer>From image
Open the menu under the source window and you'll see all the files open.
Select the mask smArt_maszk_69.
Layers>Merge>Merge group.
Image>Flip.
K key on the keyboard to activate your Pick Tool 
and adjust the settings to move the mask up, slightly pulled at the sides.
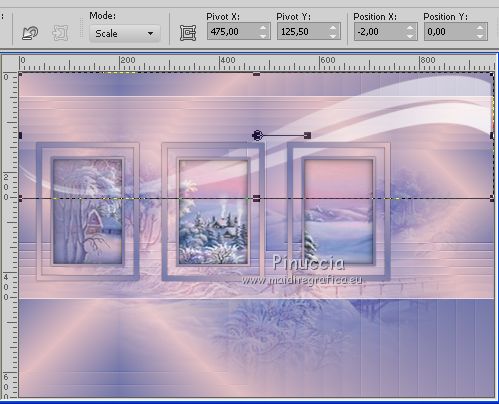
M key to deselect the Tool.
Effects>Plugins>Mura's Seamless - Emboss at alpha, default settings.

Layers>Arrange>Move Down.
Change the Blend mode of this layer to Luminance (legacy)
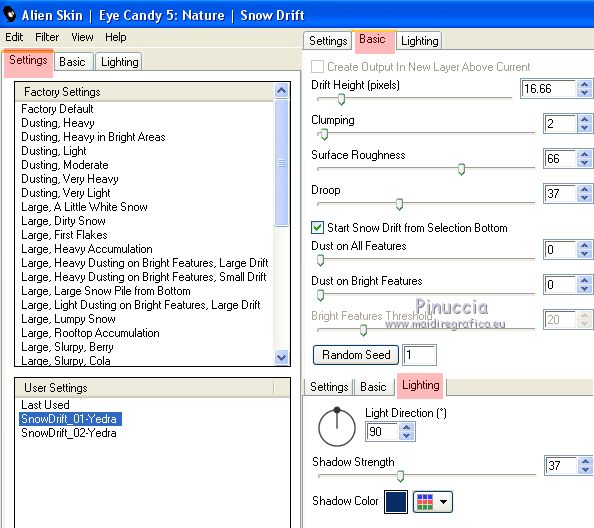
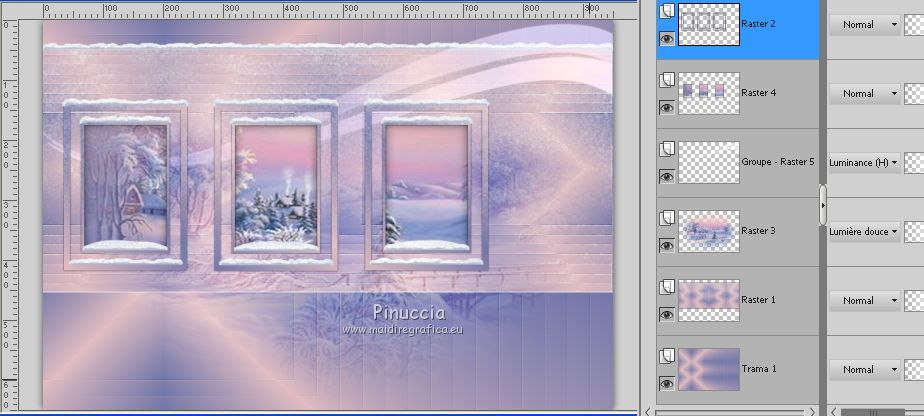
7. Activate the layer above of the pictures, Raster 4.
Effects>Plugins>Alien Skin Eye Candy 5 Nature - Snow Drift
select the preset SnowDrift_01-Yedra and ok.
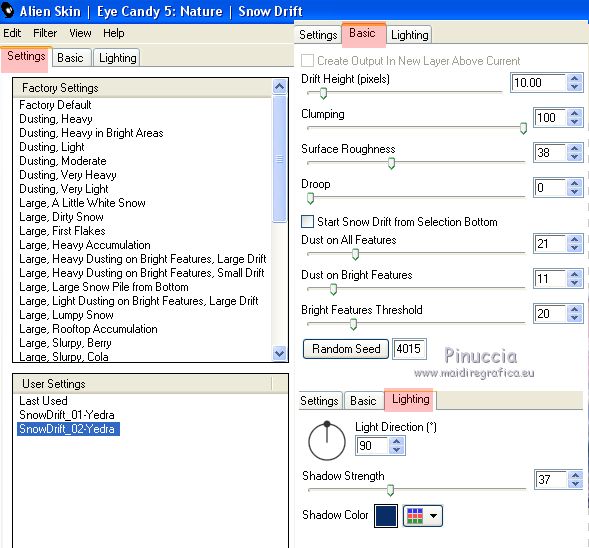
Activate the layer above of the frames, Raster 2.
Effects>Plugins>Alien Skin Eye Candy 5 Nature - Snow Drift
select the preset SnowDrift_02-Yedra and ok.
Activate the layer Raster 1.
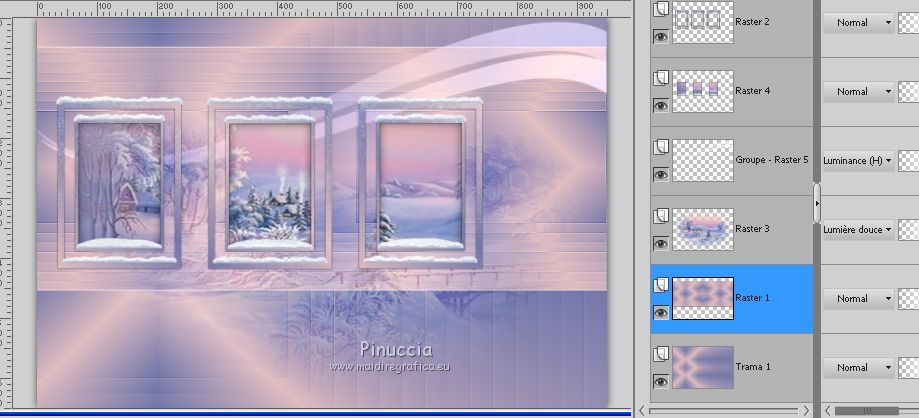
Repeat Effects>Plugins>Alien Skin Eye Candy 5 Nature - Snow Drift, same settings (preset SnowDrift_02-Yedra)
8. Activate the top layer.
Layers>New Raster Layer.
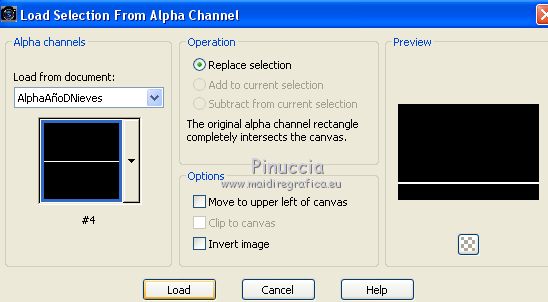
Selections>Load/Save Selection>Load Selection from Alpha Channel.
Open the Selections menu and load the selection #4.
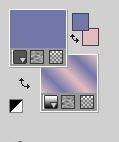
Set your foreground color with the starting color #7277aa,
to get the background gradient back
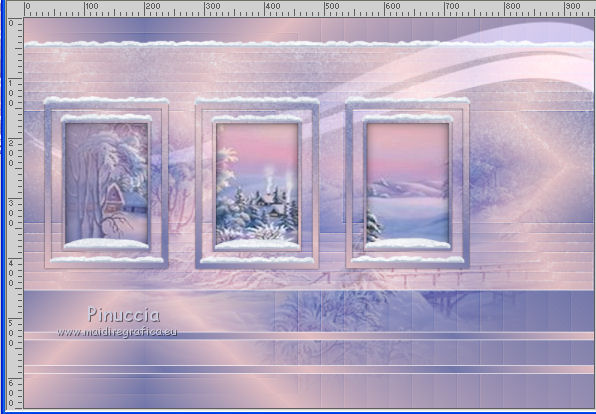
Flood Fill  the selection with your background gradient. the selection with your background gradient.
Selections>Select None.
Effects>Edge Effects>Enhance more.
Layers>Duplicate.
K key to activate your Pick Tool 
and set Position vert. to 579,00

M key to deselect the tool.
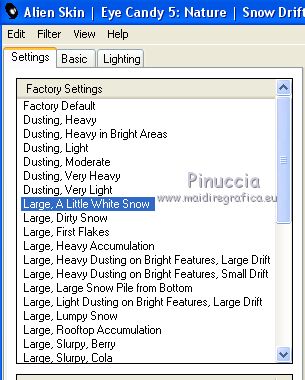
Effects>Plugins>Alien Skin Eye Candy 5 Nature - Snow Drift
select the preset Large,A Little White Snow and ok.
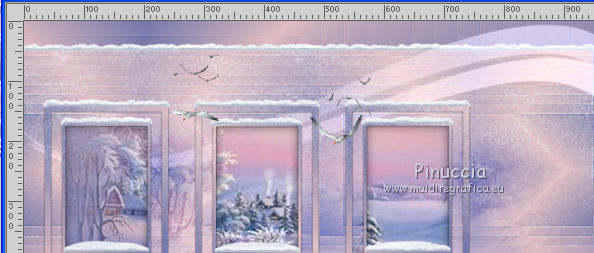
9. Add your deco tubes.
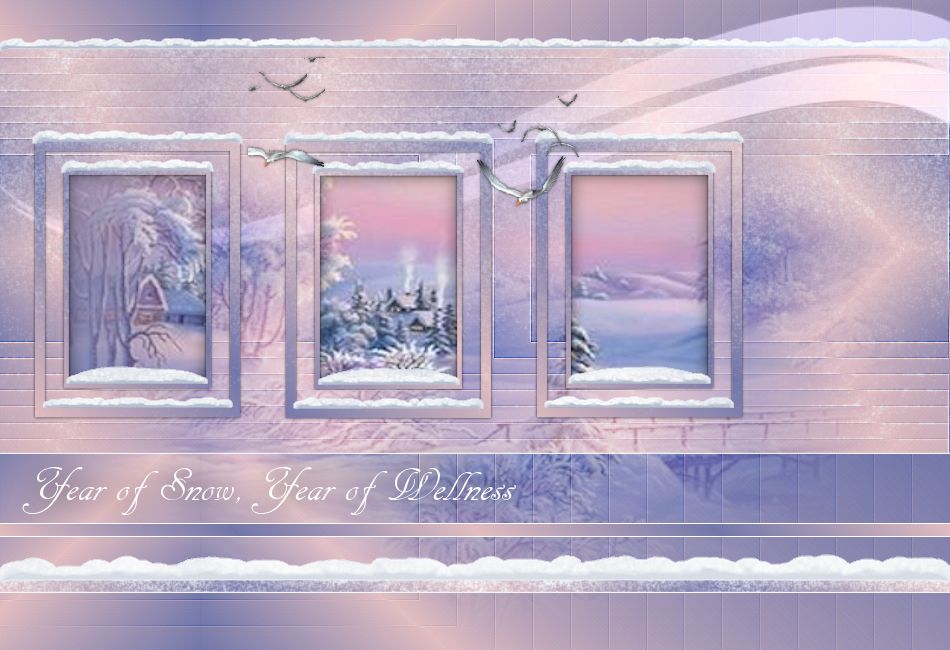
For my example I used the birds tubes, which you find in the material.
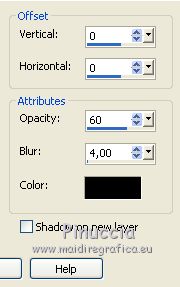
Effects>3D Effects>Drop Shadow, of your choice; for me
10. Activate the Text Tool  , ,
font AR Decode (or whatever you prefer), foreground color closed, background color white.
size according to your text and your PSP version;
for me (with PSPX7): 48 pixels.
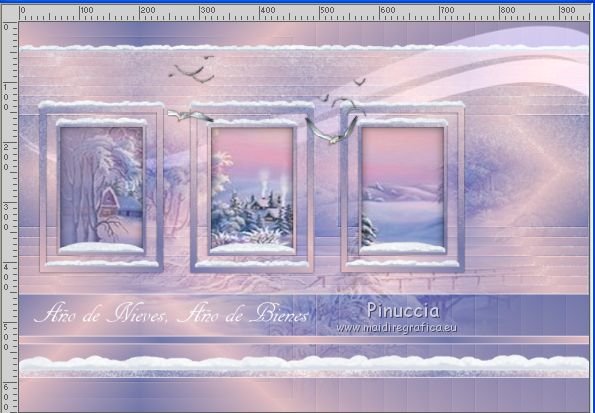
Write Año de nieves, año de Bienes, or your text,
(to write the letter "ñ", hold down the ALT key and type 0241)
and place  the text as in my example, or where you prefer. the text as in my example, or where you prefer.
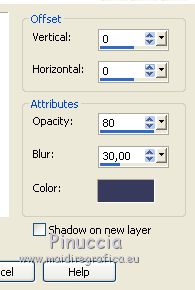
Effects>3D Effects>Drop Shadow, of your choice; for me

11. Set the background color again to the starting color #e1bdc1, to get the background gradient back.
11. Image>Add borders, 2 pixels, symmetric, color white.
Image>Add borders, 2 pixels, symmetric, foreground color.
Image>Add borders, 2 pixels, symmetric, background color.
Image>Add borders, 20 pixels, symmetric, color white.
Selections>Select All.
Image>Add borders, 6 pixels, symmetric, whatever color.
Selections>Invert.
Flood Fill  the selection with your background gradient. the selection with your background gradient.
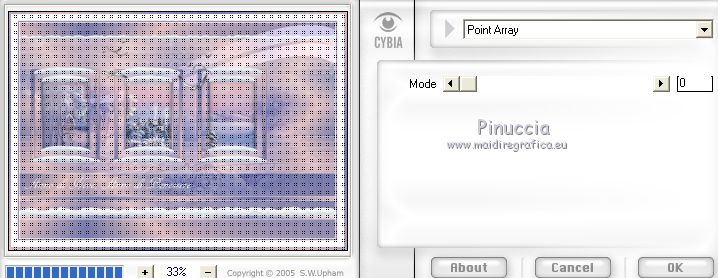
Effects>Plugins>Screenworks - Point Array.
Effects>Edge Effects>Enhance more.
Selections>Select None.
Image>Add borders, 25 pixels, symmetric, color white.
Image>Add borders, 2 pixels, symmetric, foreground color.
Selections>Select All.
Selections>Modify>Contract - 25 pixels.
Effects>3D Effects>Drop Shadow, color 4 #383b5c (for my second version I used #3c2b27).
12. Open your tube and go to Edit>Copy.
Go back to your work and go to Edit>Paste as new layer.
Image>Resize, if it is necessary, resize all layers not checked.
For the tube by Valy 85%, for the tube by Maryse of my second version 60%.
Adjust>Sharpness>Sharpen.
Move  the tube to the right side. the tube to the right side.
Effects>3D Effects>Drop Shadow, same settings of the deco tube

13. Image>Resize, 1000 pixels width, resize all layers checked.
Sign your work on a new layer.
Layers>Merge>Merge All and save as jpg.
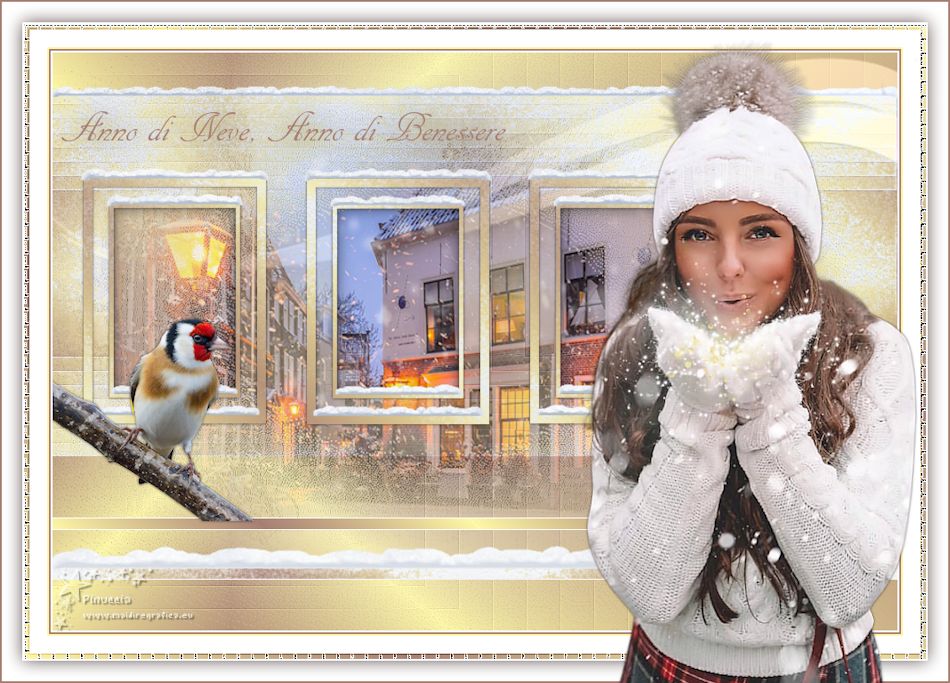
For this version I used a tube by Maryse (MR_Krystabel),
the other tubes are by Yedralina (2068©Yedralina/2060©Yedralina)

If you have problems or doubts, or you find a not worked link, or only for tell me that you enjoyed this tutorial, write to me.
25 January 2021
|

