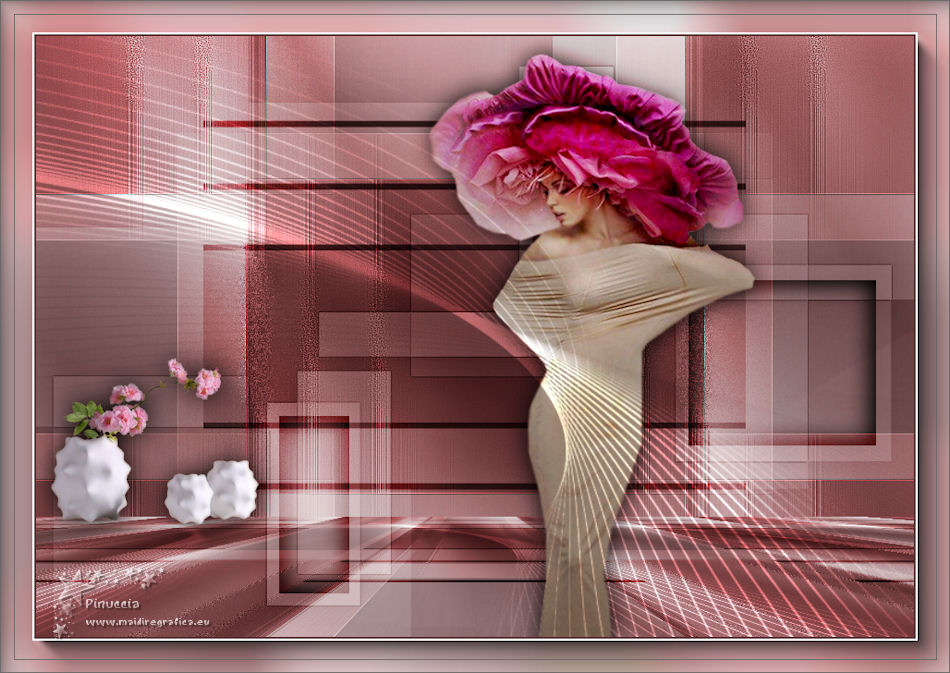
|
AIRE


Thanks Yedralina for your invitation to translate your tutorials into english

This tutorial was written with CorelX19 and translated with CorelX17, but it can also be made using other versions of PSP.
Since version PSP X4, Image>Mirror was replaced with Image>Flip Horizontal,
and Image>Flip with Image>Flip Vertical, there are some variables.
In versions X5 and X6, the functions have been improved by making available the Objects menu.
In the latest version X7 command Image>Mirror and Image>Flip returned, but with new differences.
See my schedule here
italian translation here
french translation here
your versions here
For this tutorial, you will need:
A landscape and a tube
The rest of the material qui
For the tubes used and not supplied, thanks Luz Cristina (5163-luzcristina) and Nena Silva (vvs-floral0435).
For the mask thanks Narah.
The rest of the material is by Yedralina.
(The links of the tubemakers here).
Plugins:
consult, if necessary, my filter section here
Filters Unlimited 2.0 here
&<Bkg Designer sf10IV> - @THE BLAST, @Instant Tile (to import in Unlimited) here
Toadies - What are you here
Mura's Meister - Perspective Tiling here
AAA Frames - Foto Frame here
AAA Filters - AAA Framer here
Filters Toadies can be used alone or imported into Filters Unlimited.
(How do, you see here)
If a plugin supplied appears with this icon  it must necessarily be imported into Unlimited it must necessarily be imported into Unlimited

You can change Blend Modes according to your colors.
In the newest versions of PSP, you don't find the foreground/background gradient (Corel_06_029).
You can use the gradients of the older versions.
The Gradient of CorelX here
Copy the Selection in the Selections Folder.
Open the mask in PSP and minimize it with the rest of the material.
Set your foreground color to #bea4a6,
and your background color to #593738.
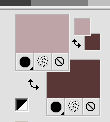
Set your foreground color to a Foreground/Background Gradient, style Radial.
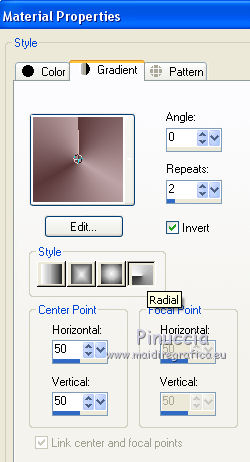
1. Open a new transparent image 950 x 650 pixels.
Flood Fill  the transparent image with your Gradient. the transparent image with your Gradient.
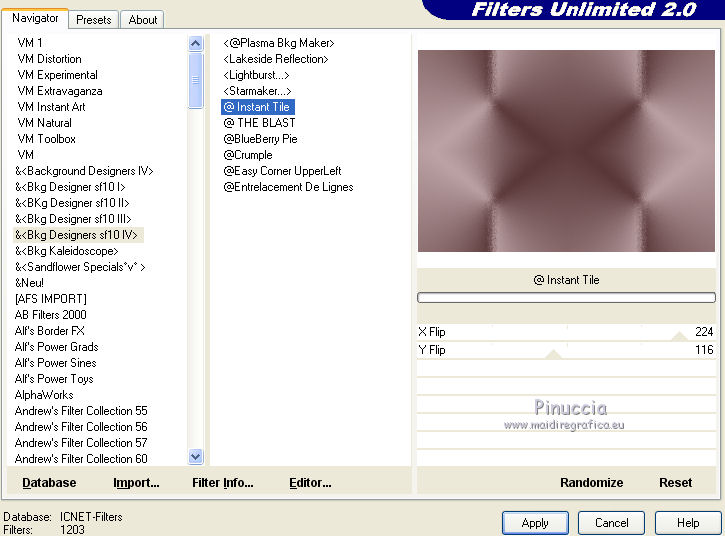
Effects>Plugins>Filters Unlimited 2.0 - &<Bkg Designer sf10IV> - @THE BLAST, default settings
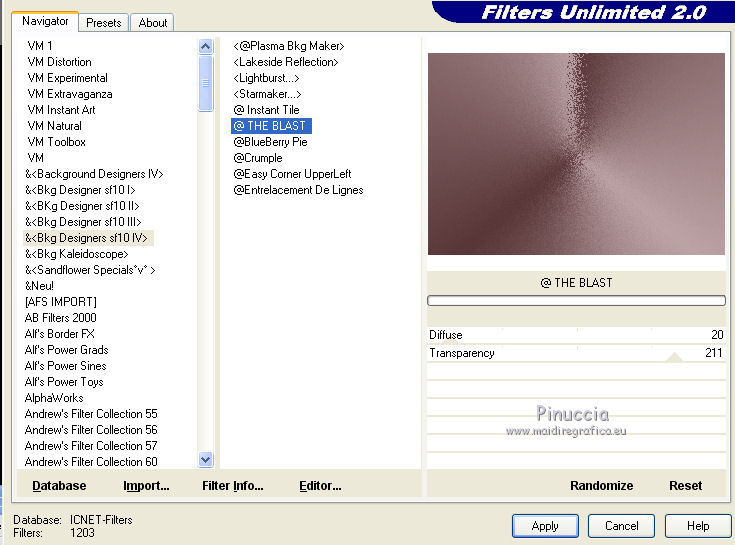
Effects>Plugins>Filters Unlimited 2.0 - &<Bkg Designer sf10IV> - @Instant Tile, default settings.
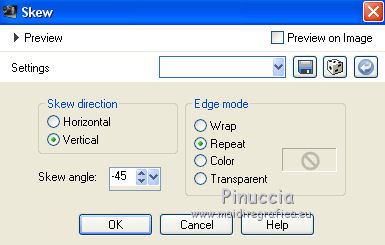
Effects>Geometric Effects>Skew.
Effects>Image Effects>Seamless Tiling.

2. Layers>Duplicate.
Image>Resize, to 60%, resize all layers not checked.
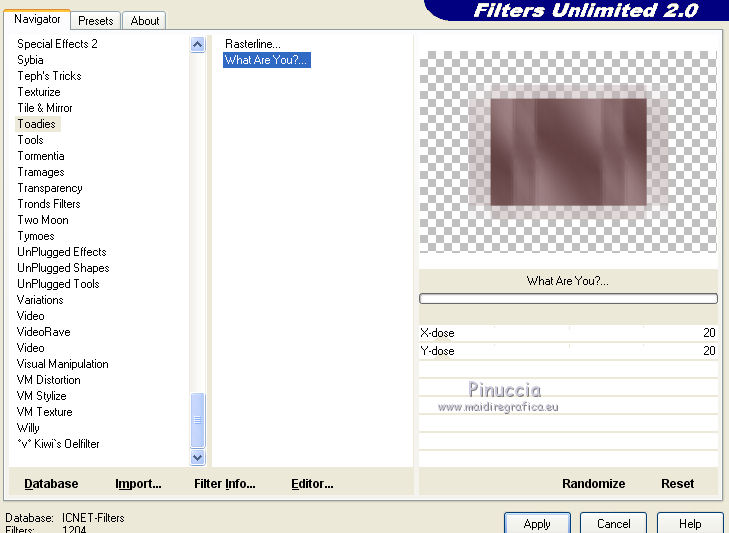
Effects>Plugins>Filters Unlimited 2.0 - Toadies - What are you
the result of this effect can be different according to the Unlimited version used,
and also it can change if you use the effect not in Unlimited
Effects>Edge Effects>Enhance More.
Effects>Image Effects>Seamless Tiling.

Change the Blend Mode of this layer to Overlay.
3. Open the tube Deco00255©Yedralina and go to Edit>Copy.
Go back to your work and go to Edit>Paste as new layer.
Don't move it.
Change the Blend Mode of this layer to Overlay.
4. Set your foreground color to color white.
Layers>New Raster Layer.
Flood Fill  the layer with color white. the layer with color white.
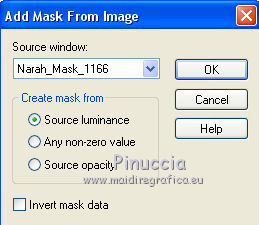
Layers>New Mask layer>From image
Open the menu under the source window and you'll see all the files open.
Select the mask Narah_Mask_1166.
Layers>Merge>Merge Group.
Change the Blend Mode of this layer to Overlay.
Image>Mirror.
5. Activate the layer below.
Edit>Copy Special>Copy Merged.
Edit>Paste as new layer.
Effects>Plugins>Mura's Meister - Perspective Tiling.
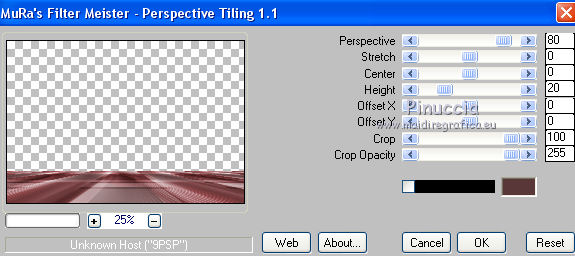
6. Open the tube deco_00239 and go to Edit>Copy.
Go back to your work and go to Edit>Paste as new layer.
Image>Mirror.
Effects>Edge Effects>Enhance More.
Effects>3D Effects>Drop Shadow, color black.
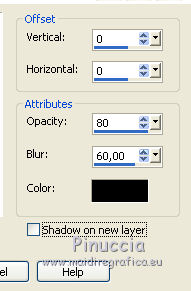
Change the Blend Mode of this layer to Soft Light.
7. Layers>New Raster Layer.
Selections>Load/Save Selection>Load Selection from Disk.
Look for and load the selection ©Yedralina_sel716,
Invert checked.
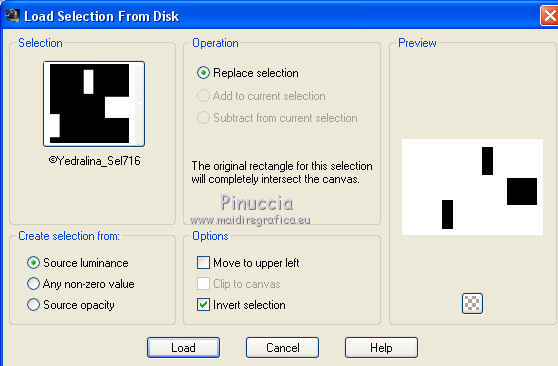
don't forget, next time you'll use the selection, to leave off the selection on Invert
Effects>3D Effects>Drop Shadow, color black.
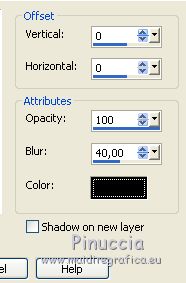
Change the Blend Mode of this layer to Overlay.
Selections>Select None.
8. Open your main tube and go to Edit>Copy.
Go back to your work and go to Edit>Paste as new layer.
Image>Resize, if necessary, resize all layers not checked.
Place  rightly the tube. rightly the tube.
Effects>3D Effects>Drop Shadow, at your choice.
9. Open your deco tube and go to Edit>Copy.
Go back to your work and go to Edit>Paste as new layer.
Image>Resize, if necessary, resize all layers not checked.
Place  rightly the tube. rightly the tube.
Effects>3D Effects>Drop Shadow, at your choice.
10. You should have this
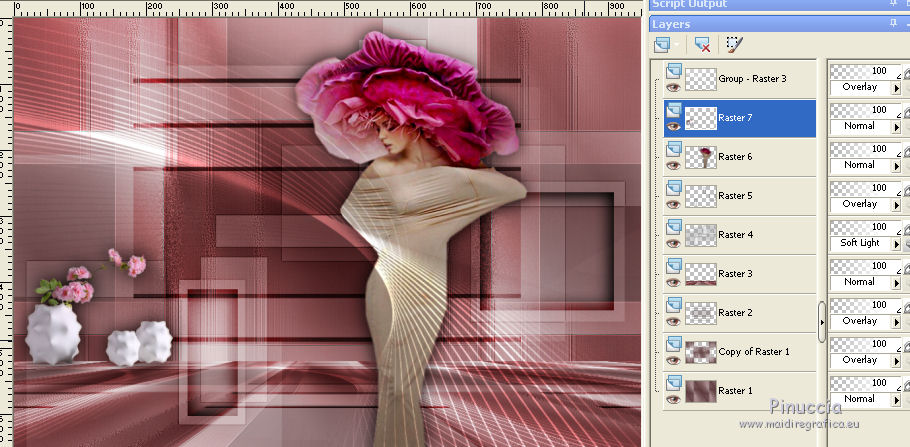
Layers>Merge>Merge All.
11. Image>Add borders, 2 pixels, symmetric, dark color.
Image>Add borders, 2 pixels, symmetric, color white.
Selections>Select All.
Edit>Copy.
Image>Add borders, 35 pixels, symmetric, dark color.
Selections>Invert.
Edit>Paste into Selection.
Adjust>Blur>Gaussian Blur - radius 30

Effects>Plugins>AAA Frames - Foto Frame.
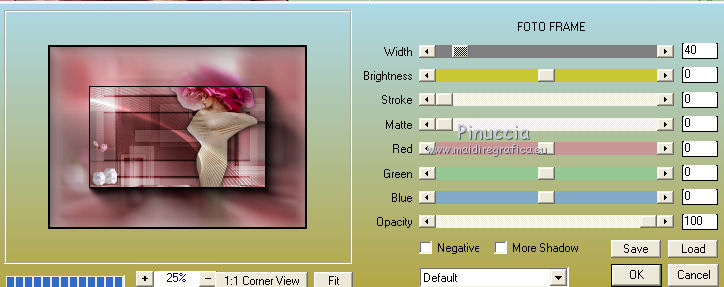
Selections>Select None.
Effects>Plugins>AAA Filters - AAA Framer
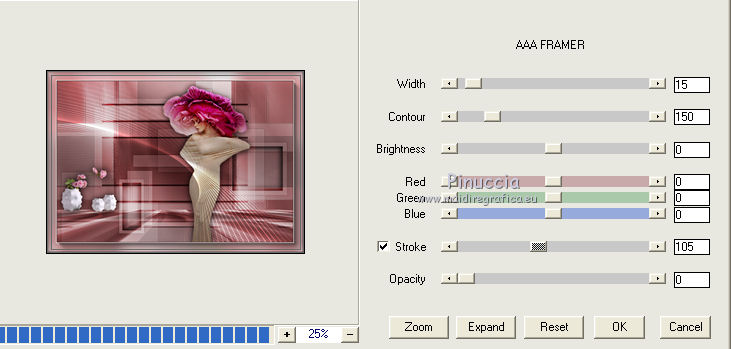
Image>Resize, 1000 pixels width, resize all layers checked.
Sign your work on a new layer.
Layers>Merge>Merge All and save as jpg.
Versione with tubes by Luz Cristina and Nena Silva
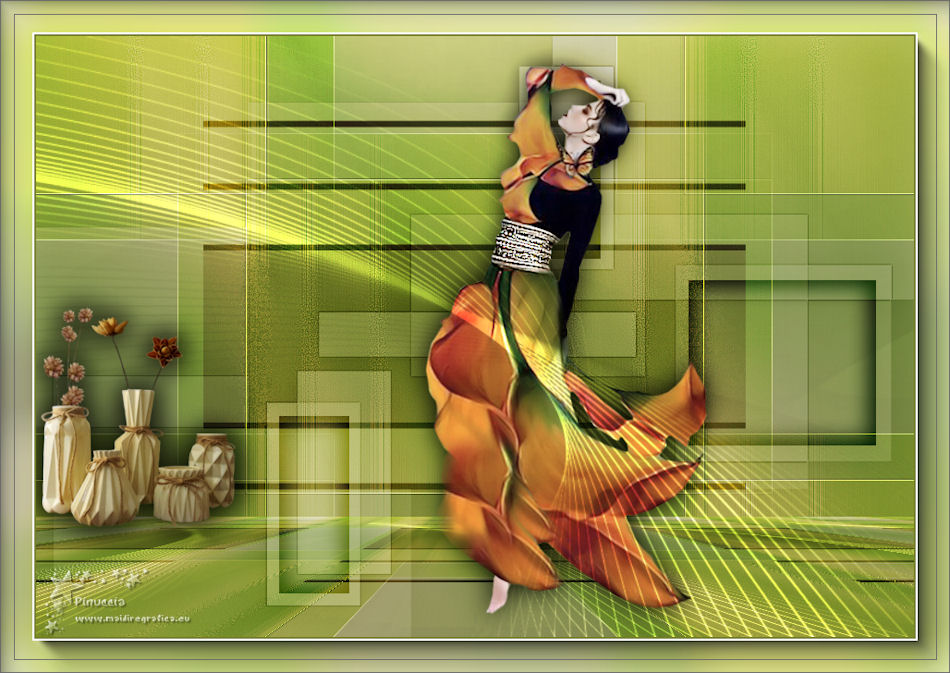

If you have problems or doubts, or you find a not worked link, or only for tell me that you enjoyed this tutorial, write to me.
5 November 2019
|

