|
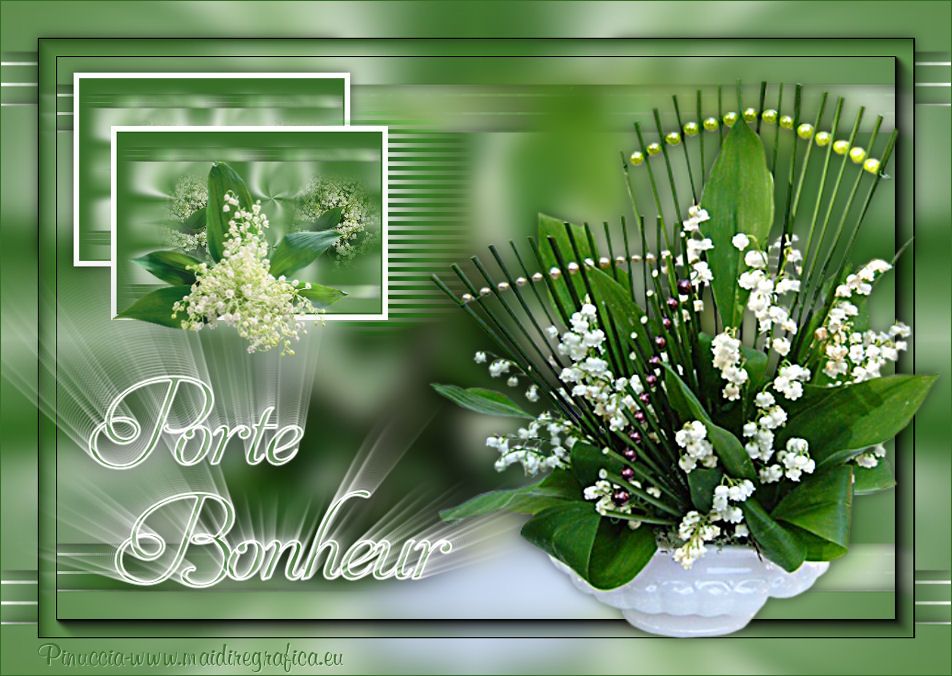
PORTE BONHEUR

english version

Here you find the original of this tutorial:

This tutorial was written with CorelX19 and translated with CorelX17, but it can also be made using other versions of PSP.
Since version PSP X4, Image>Mirror was replaced with Image>Flip Horizontal,
and Image>Flip with Image>Flip Vertical, there are some variables.
In versions X5 and X6, the functions have been improved by making available the Objects menu.
In the latest version X7 command Image>Mirror and Image>Flip returned, but with new differences.
See my schedule here
italian translation here
french tanslation here
your versions here
For this tutorial, you will need:
Material here
Main tube from Google image (lilyvalley (8))
Misted muguet (1724©Yedralina)
tube deco from Google image (lilyvalley (22))
Text (Text_PorteBonheur-©Yedralina)
Plugins:
consult, if necessary, my filter section here
Filters Unlimited 2.0 here
Graphics Plus - Quick Tile 1 here
Mehdi - Wavy lab 1.1 here
AP 01 Innovations - Lines SilverLining here
AAA Frames - Foto Frame here
Visual Manipulation - Transmission here
Alien Skin Eye Candy 5 Impact - Backlight here
Filters Graphics Plus and Visual Manipulation can be used alone or imported into Filters Unlimited.
(How do, you see here)
If a plugin supplied appears with this icon  it must necessarily be imported into Unlimited it must necessarily be imported into Unlimited

You can change Blend Modes according to your colors.
Copy the preset  in the folder of the plugins Alien Skin Eye Candy 5. in the folder of the plugins Alien Skin Eye Candy 5.
One or two clic on the file (it depends by your settings), automatically the preset will be copied in the right folder.
why one or two clic see here
Copy the selection (©Yedralina_Sel499) in the Selection Folder.
Copy the presets (237-ŠYedralina/ 236-ŠYedralina,/ 235-ŠYedralina/ 238-ŠYedralina) in the Presets Folder.
Choose 3 colors of your misted.
For the example:
Set your foreground color to #6e9e56
and your background color to #386d28.
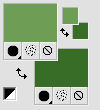
Third color #ffffff.
1. Open a new transparent image 950 x 650 pixels.
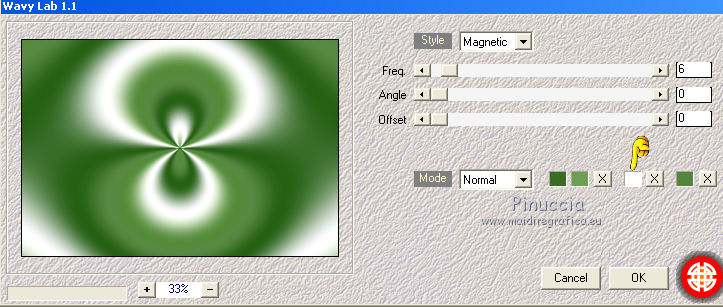
2. Effects>Plugins>Mehdi - Wavy Lab 1.1.
This plugin works with the colors of your Palette:
the first is your background color, the second is the foreground color;
of the other 2 colors created by the plugin, change the 3th with color white #ffffff
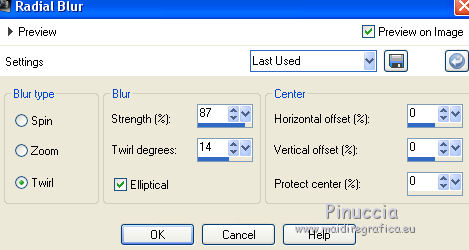
3. Adjust>Blur>Radial Blur.
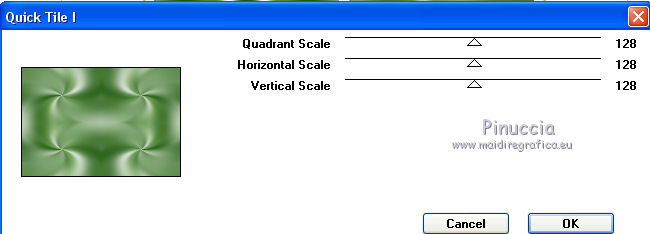
4. Effects>Plugins>Graphic Plus - Quick Tile I, default settings.
5. Layers>Duplicate.
6. Image>Resize, to 85%, resize all layers not checked.
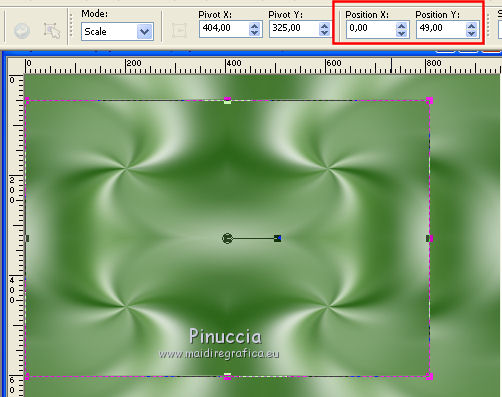
7. Objects>Align>Left
if you are working with a previous version that has not available the menu Objects,
use the Move Tool 
or the Pick Tool 
and set Position X: 0,00 and Position Y: 49,00
8. Effects>Image Effects>Seamless Tiling.

9. Image>Mirror.
10. Layers>Duplicate.
11. Effects>Distortion Effects>Pinch.

12. Image>Mirror.
13. Effects>3D Effects>Drop Shadow, color black.

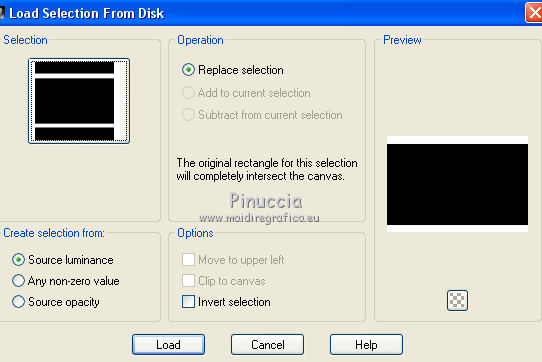
14. Selections>Load/Save Selection>Load Selection from Disk.
Look for and load the selection ©Yedralina_Sel499.
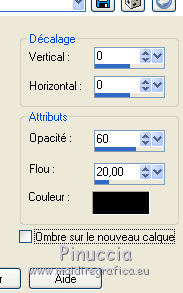
15. Effects>3D Effects>Drop Shadow, color black.
16. Selections>Select None.
Activate the layer below, Copy of Raster 1.
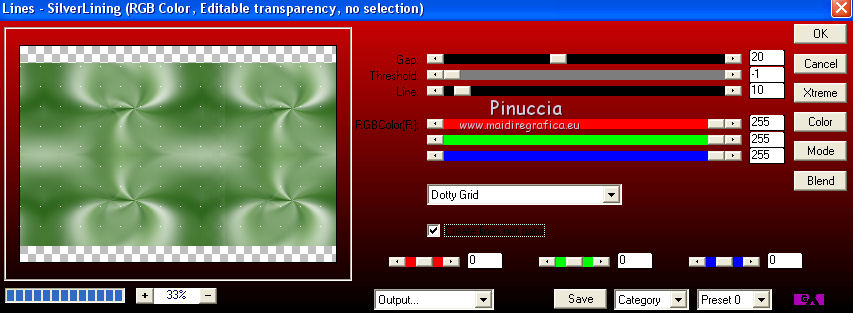
17. Effects>Plugins>AP 01 [Innovations] - Lines SilverLining.
18. Effects>Edge Effects>Dilate.
19. Effects>Distortion Effects>Wind, from the left, intensity 100

20. Edit>Copy Special>Copy Merged.
Edit>Paste as new image.
On this image:
21. Open your misted and go to Edit>Copy.
Go back to your work and go to Edit>Paste as new layer.
Image>Resize, to 70%, resize all layers not checked.
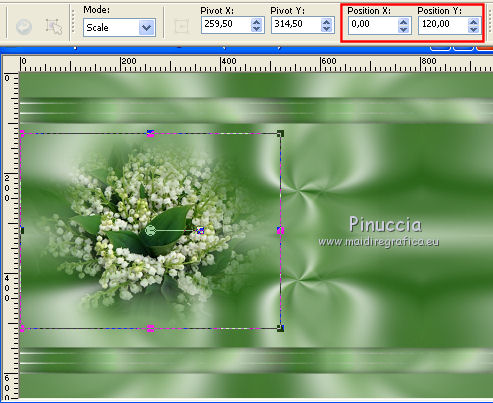
22. Objects>Align>Left
if you are working with a previous version that has not available the menu Objects,
use the Move Tool 
or the Pick Tool 
and set Position X: 0,00 and Position Y: 120,00
23. Effects>Image Effects>Seamless Tiling, same settings.
24. Image>Resize, to 30%, resize all layers checked.
25. Image>Add borders, 2 pixels, symmetric, dark color.
Selections>Select All.
Image>Add borders, 6 pixels, symmetric, color white.
26. Layers>New Raster Layer.
Effects>3D Effects>Cutout, background color.

Selections>Select None.
27. Layers>Merge>Merge visible.
Edit>Copy, and minimize the image that you'll use again.
Go back to your work and activate the top layer.
Edit>Paste as new layer.
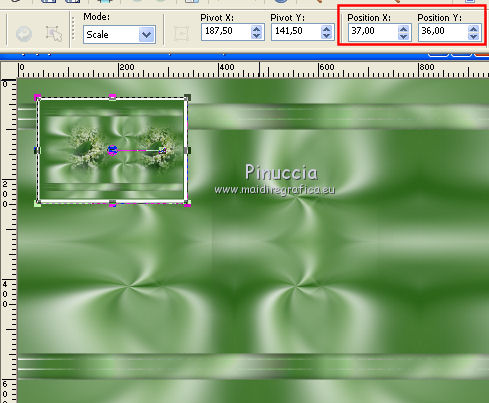
28. K key to activate the Pick Tool 
open the presets menu and select the preset 237-©Yedralina
M Key to deselect the tool.
29. Effects>3D Effects>Drop Shadow, color black.

30. Selections>Select All.
Layers>New Raster Layer.
31. Open your main tube and go to Edit>Copy.
Go back to your work and go to Edit>Paste into Selection.
Selections>Select None.
32. Adjust>Blur>Gaussian Blur - radius 15.

Layers>Arrange>Move Down.
33. Edit>Copy Special>Copy Merged
(if you want, to caution, Edit>Paste as new image and minimize it)
34. Image>Add borders, 2 pixels, symmetric, background color.
Selections>Select All.
Image>Add borders, 40 pixels, symmetric, color white.
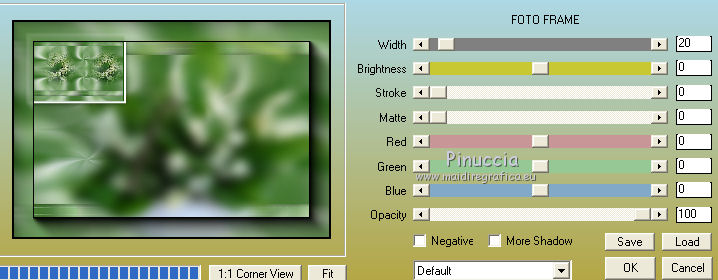
35. Effects>Plugins>AAA Frames - Foto Frame.
36. Selections>Invert.
Edit>Paste into Selection (the image copied at step 33)
37. Effects>Reflection Effects>Rotating Mirror.

Selections>Select None.
38. Activate the little frame used at step 27.
Edit>Copy.
Go back to your work and go to Edit>Paste as new layer.
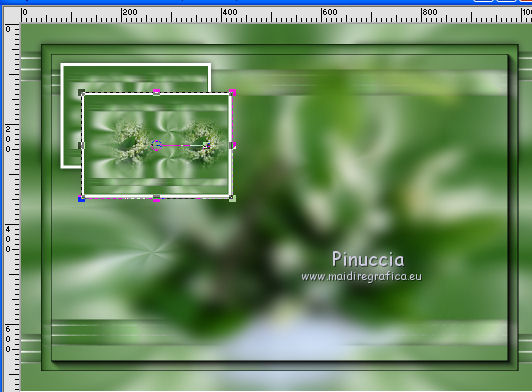
39. Place  the image as in my example. the image as in my example.
you can use the Pick Tool 
preset 236-©Yedralina
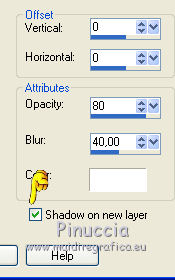
40. Effects>3D Effects>Drop Shadow, color white,
shadow on new layer checked
41. Keep the shadow layer selected.
Effects>Plugins>VM Manipulation - Transmission
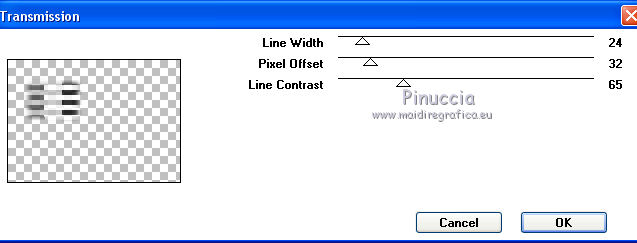
attention please, this effest is also in other Plugins, as - for example - VM Extravaganza.
The first Plugins added to File Locations can prevent the use of the effect contained in the Plugins added later.
Eventually, you can use the effect in Unlimited
42. Effects>Distorsion Effects>Wind, same settings.

43. Open again your main tube and go to Edit>Copy.
Go back to your work and go to Edit>Paste as new layer.
Layers>Arrange>Bring to Top.
44. Move  the tube at bottom left. the tube at bottom left.
You can use your Pick Tool 
preset 235-©Yedralina
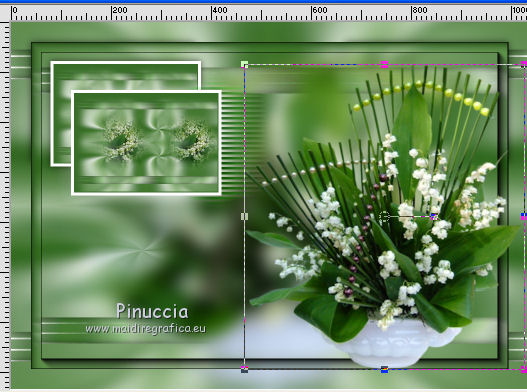
45. Adjust>Sharpness>Unsharp Mask.
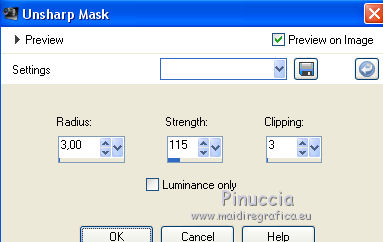
46. Effects>3D Effects>Drop Shadow, color black.

47. Open the text and go to Edit>Copy.
Go back to your work and go to Edit>Paste as new layer.
48. Effects>Plugins>Alien Skin Eye Candy 5 Impact - Backlight.
Select the preset EC5_Backl_FF02- ŠYedralina and ok.
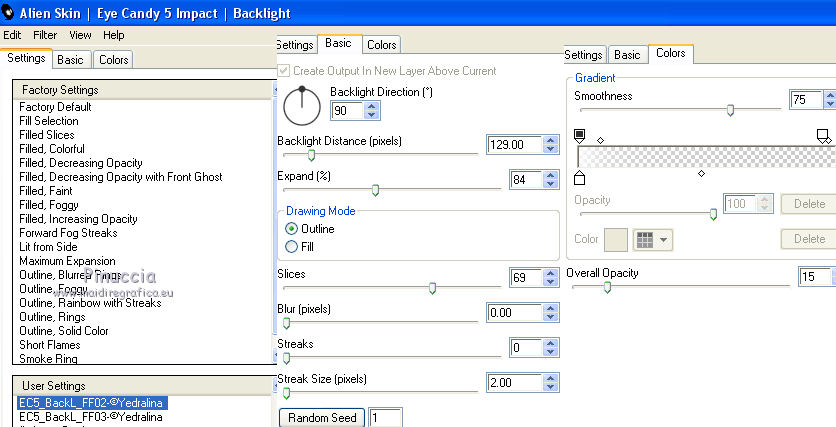
Move  the text at bottom left. the text at bottom left.
49. Effects>3D Effects>Drop Shadow, color black.

50. Open your deco and go to Edit>Copy.
Go back to your work and go to Edit>Paste as new layer.
(I resize it 1 time to 50%, 1 time to 90%, resize all layers not checked).
Placer  the tube over the frames. the tube over the frames.
you can use your Pick Tool 
preset 238-©Yedralina
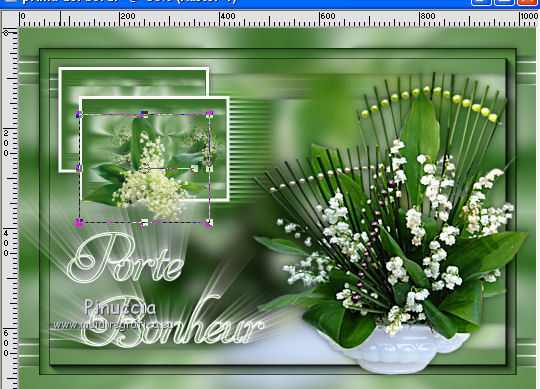
Adjust>Sharpness>Unsharp Mask, same settings.
51. Effects>3D Effects>Drop Shadow, same settings.

52. Sign your work on a new layer.
53. Layers>Merge>Merge All.
54. Image>Add borders, 1 pixel, symmetric, with your darker color.
55. Image>Resize, 950 pixels width, resize all layers checked.
Save as jpg.

If you have problems or doubts, or you find a not worked link, or only for tell me that you enjoyed this tutorial, write to me.
4 May 2018
|

