Thanks Talanat for your permission to traslate your tutorials

This tutorial was created using PSP X5 but it may be esecuted using other versions of PSP.
In PSP X4 and X5, there are some variables.
An important difference concerne the options Image>Miroir and Image>Flip.
See my schedule here
I translated this tutorial using PSP X and PSP X2.
I created also a french version here
The original italian here
Your versions here
For this tutorial, you will need:
Material here
All the material is by TalaNat.
Filtres:
Filters Unlimited 2.0 qui
Alien Skin Eye Candy 5 Nature - Snow Drift qui
X-Xtras - Elemental qui
Xero - Sparkles qui
VM Natural - Sparkle qui
Nik Software - Color Efex Pro qui
Filters VM Natural can be used alone or imported into Filters Unlimited.
(How do, you see here)
If a plugin supplied appears with this icon  it must necessarily be imported into Unlimited

Open the font and minimize. You'll find it in the list of fonts available when you need it.
With the most recent o.s., this is no longer possible.
To use a font, you must copy it into the Fonts folder in Windows.
Copy the pattern gold(70) in the Patterns folder.
Copy the selections in the Selections folder.
These are the used colors.
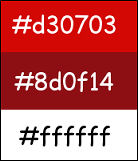
1. Set the Foreground color on #d30703,
and the Background color on #8d0f14.

Set the foreground color on Gradient, style Linear.

2. Open a new transparent image 900 x 600 pixels.

Flood Fill  with the gradient.
Layers>Duplicate.
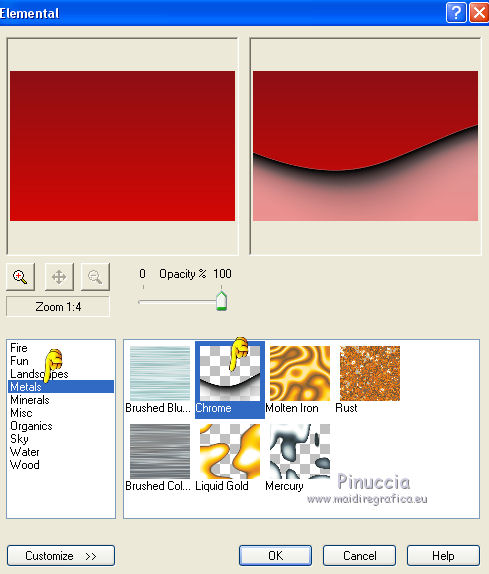
2. Effects>Plugins>XE Xtras - Elemental.
On the left menu select Metals, Chrome on the right et ok.
3. Selections>Load/Save selection>Load Selection from disk.
Look for and load the selection MC1.

Selections>Promote selection to layer.
Selections>Invert.
Activate the under layer - copy of Raster 1.

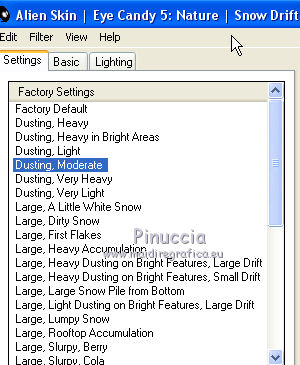
4. Effects>Plugins>Alien Skin Eye Candy 5 Nature - Snow Drift.
Seleziona il preset Dusting, Moderate e ok.
Set the blend mode to Hard Light.
Selections>Select None.
Activate the top layer - Promoted selection

Effects>Plugins>Xero - Sparkles.
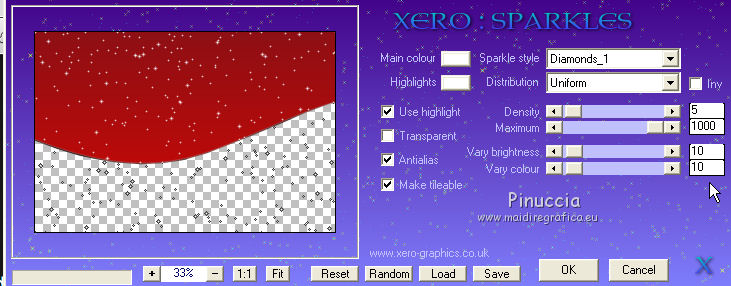
On the same layer:
Effects>Plugins>Filters Unlimited 2.0 - VM Natural - Sparkle.
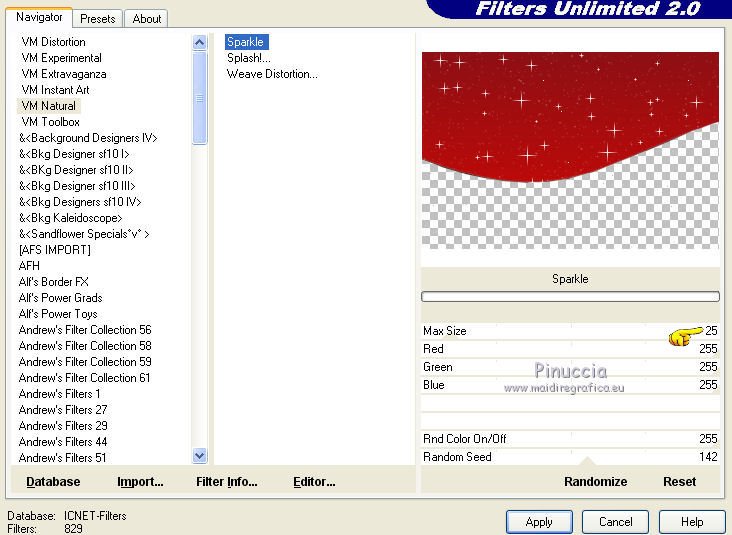
Set the blend mode to Hard Light, or according your colors.
7. Layers>New Raster Layers.
Selections>Load/Save selection>Load Selection from disk.
Look for and load the selection MC2.

Set the foreground color on white #ffffff,
Flood Fill  the selection with this color.
Selections>Select None.
Effects>Plugins>Alien Skin Eye Candy 5 Nature - Snow Drift
Select Large, First Flakes and change Drift Height with 16,46
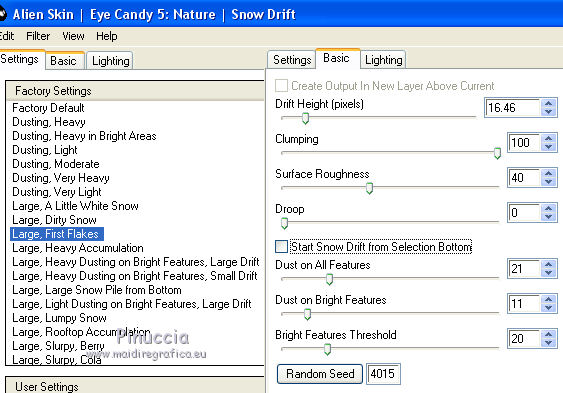
Now your work looks like this.
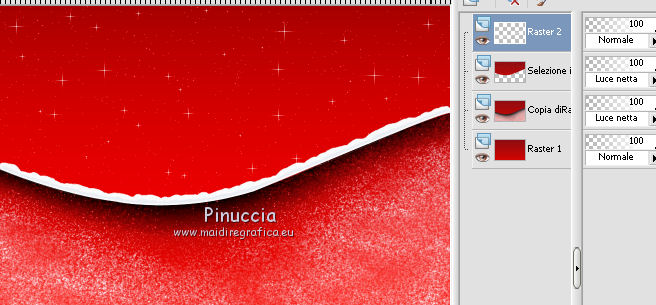
Layers>Merge>Merge visible.
8. In the next steps, we will realize a tree.
If you cannot get the same effect, in the material, you'll find the final result (TalaNat MC).
Layers>New Raster Layers - raster 1.
Selections>Load/Save selection>Load Selection from disk.
Look for and load the selection MC3.

Flood Fill  the selection with the white color.
Selections>Select None.
9. Effects>Distortion Effects>Wave.

10. Effects>Image Effects>Seamless Tiling.

11. Layers>Duplicate.
Image>Mirror.
Effets>Image Effects>Offset.

Layers>Merge>Merge down.
Image>Flip.
12. Effects>Reflection Effects>Feedback.

13. Image>Resize - 80%, resize all layers not checked.

14. Effets>Reflection Effects>Feedback.

15. Selections>Load/Save selection>Load Selection from disk.
Look for and load the selection MC4.

Clic 2-3 times CANC on the keyboard 
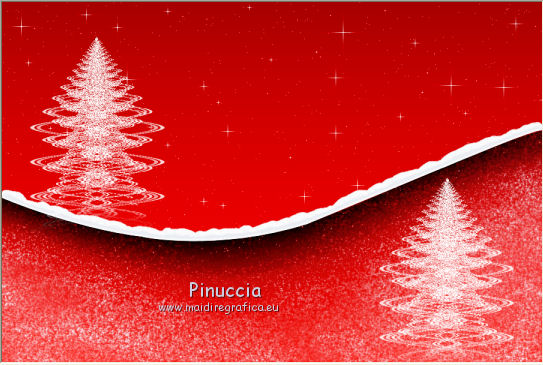
Now your work looks like this.
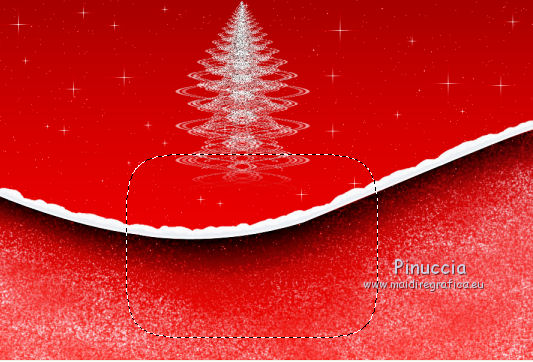
Selections>Select None.
16. Effets>Image Effects>Offset.

Set the blend mode to Screen, or as you like.
17. Calques>Duplicate.
Image>Mirror.
Effets>Image Effects>Offset.

Result
18. Activate TalaNat_dekor1 and go to Edit>Copy.
Back to your tag and go to Edit>Paste as new layer.
Effets>Image Effects>Offset.

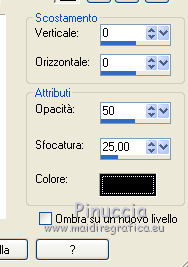
Effects>3D Effects>Drop Shadow, color black.
19. Activate TalaNat_dekor2 and go to Edit>Copy.
Back to your tag and go to Edit>Paste as new layer.
Move  the star on the top of the first tree.
20. Layers>Duplicate.
Move  this star on the top of the second tree.

21. Activate TalaNat_dekor3 and go to Edit>Copy.
Back to your tag and go to Edit>Paste as new layer.
Move  the tube on the top right.

Layers>Duplicate.
Activate the under layer of the original tube.
Effects>Distortion Effects>Wind - from left, wind strength 100.

Edit>Repeat Wind.
22. Image>Free Rotate - 9 degrees left.

Effets>Image Effects>Offset.

Effects>Edge Effects>Enhance more.
Set the blend mode to Luminance, or as you like.
23. Activate the top layer of the copy.
Effects>3D Effects>Drop Shadow, color black.

Adjust>Sharpness>Sharpen more.
24. Activate Text tool  font Carmen
you'll must adapt the size, according your text and the Psp version you'are using

Set the foreground color on Pattern, et selec gold(70).

Set the background color on white #ffffff.

Write Merry Christmas or what you want.
Layers>Convert to raster Layer.
25. Image>Free Rotate - 23 degrees left.

Adjust>Sharpness>Sharpen.
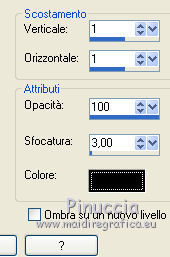
26. Effects>3D Effects>Drop Shadow, color black.
Move  the text over the little santa claus.

27. Activate TalaNat_childrens 29 and go to Edit>Copy.
Back to your tag and go to Edit>Paste as new layer.
Image>Resize - 70%, resize all layers not checked.
Move  the tube on the left side.
28. Effects>3D Effects>Drop Shadow, color black.
.
29. Image>Add borders - 1 pixel, symmetric, the first background color #8d0f14.
Image>Add borders - 3 pixels, symmetric, color white.
Select the white border with Magic Wand Tool 
Flood Fill  the selection with the gold pattern.
Selections>Select None.
Image>Add borders - 1 pixel, symmetric, color #8d0f14.
30. Selections>Select All.
Image>Add borders - 10 pixels, symmetric, color white.
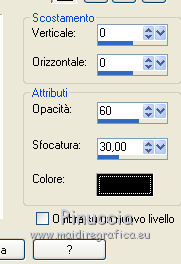
Effects>3D Effects>Drop Shadow, color black.

Selections>Select None.
31. Image>Add borders - 1 pixel, symmetric, color #8d0f14.
Image>Add borders - 3 pixels, symmetric, color white.
Select the white border with Magic Wand Tool 
Flood Fill  the selection with the gold pattern.
Selections>Select None.
32. Sign your work.
Image>Add borders - 1 pixel, symmetric, color #8d0f14.
33. Image>Resize - 900 pixels width, resize all layers checked.
Adjust>Sharpness>Sharpen.
Effects>Plugins>Nik Software - Color Efex Pro
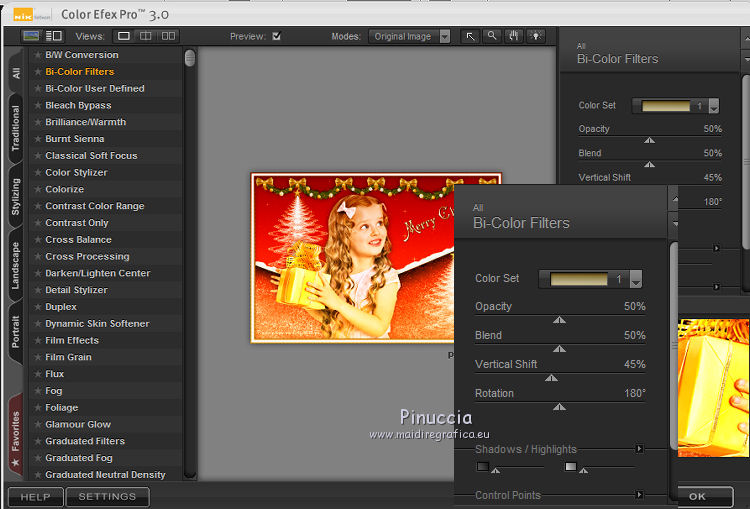
Save as jpg.
The tube of this version is by Creanneke.


If you have problems or doubt, or you find a not worked link, or only for tell me that you enjoyed this tutorial, write to me.
28 November 2013

