|
TUTORIAL 98
english version

Thank you Sweety for your invitation to translate your tutorial.
Here you find the original of this tutorial:

This tutorial is a personal creation of Sweety and it is prohibited to copy or distribute it on the net (forums, groupes.. etc), or to use it on commercials sites.
This tutorial was created and translated with Corel12, but it can also be made using other versions of PSP.
Since version PSP X4, Image>Mirror was replaced with Image>Flip Horizontal,
and Image>Flip with Image>Flip Vertical, there are some variables.
In versions X5 and X6, the functions have been improved by making available the Objects menu.
In the latest version X7 command Image>Mirror and Image>Flip returned, but with new differences.
See my schedule here
For this tutorial, you will need:
images and tubes of yours
The rest of material here
Tubes used and not applied:
Images landscape and fractal (found by google image)
tube femme (Isa FA00052)
tube dog (Gabry-animali25)
Plugins
consult, if necessary, my filter section here
Filters Unlimited 2.0 here
Mura's Meister - Perspective Tiling here
VM Stylize - Zoom Blur here
Alien Skin Eye Candy 5 Impact - Glass here
Plugin Galaxy - Instant Mirror here
VanDerLee - Unplugged-X here
Variations - Beveler Edge Blender (to import in Unlimited) here
Filterst VM Stylize can be used alone or imported into Filters Unlimited.
(How do, you see here)
If a plugin supplied appears with this icon  it must necessarily be imported into Unlimited it must necessarily be imported into Unlimited

You can change Blend Modes according to your colors.
Copy the preset  in the folder of the plugins Alien Skin Eye Candy 5. in the folder of the plugins Alien Skin Eye Candy 5.
One or two clic on the file (it depends by your settings), automatically the preset will be copied in the right folder.
why one or two clic see here
Copy the selection in the Selection Folder.
Open the mask in PSP and minimize it with the rest of the material.
Choose a image type fractale and a landscape image.
From one of these images choose a dark color for your foreground color and a light color for your background color.
For me:
foreground color #9d67b3,
background color #dfd0fc.
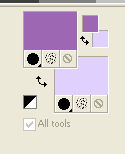
1. Open a new transparent image 900 x 600 pixels.
Selections>Select All.
Open your fractal image - Edit>Copy.
Go back to your work and go to Edit>Paste into Selection.
Selections>Selections None.
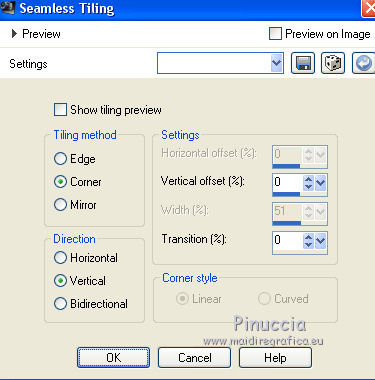
Effects>Image Effects>Seamless Tiling.
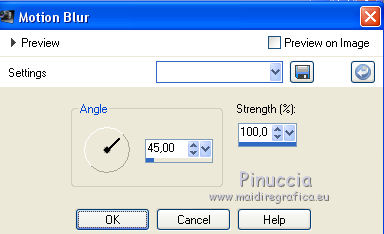
Adjust>Blur>Motion Blur.
2. Layers>Duplicate.
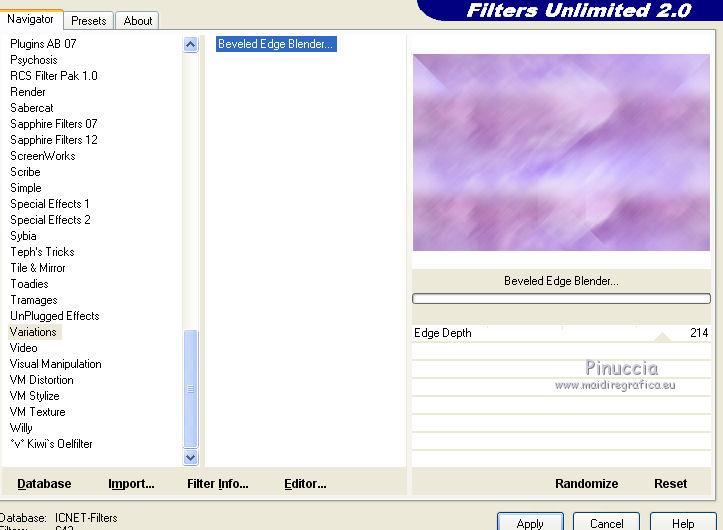
Effects>Plugins>Filters Unlimited 2.0 - Variations - Beveler Edge Blender.
Layers>Duplicate.
Image>Mirror.
Image>Flip.
Change the opacity of this layer to 50%.
Layers>Merge>Merge visible.
Layers>Duplicate.
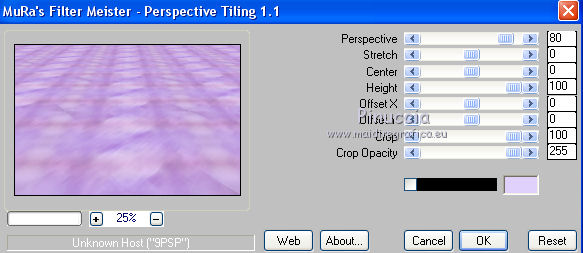
Effects>Plugins>Mura's Meister - Perspective Tiling.
K key to activate the Pick Tool 
with PSP 9 D key to activate Deformation Tool 
mode Scale  , ,
push the central node at the top, down to 420 pixels
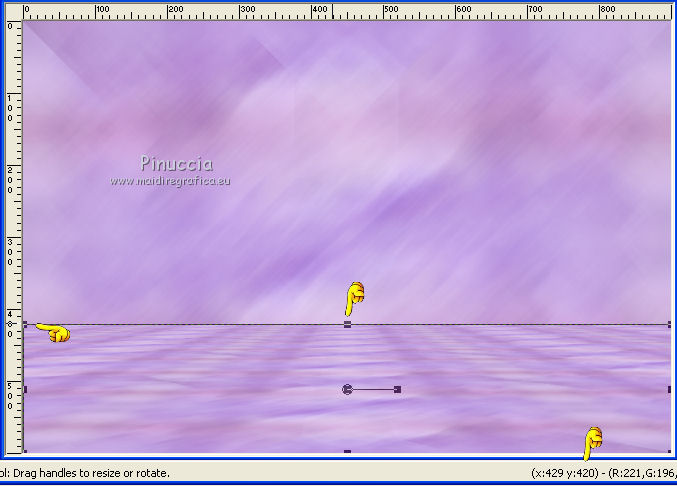
M key to deselect the tool.
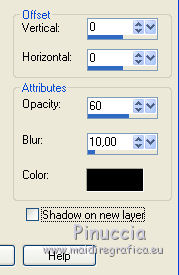
Effects>3D Effects>Drop Shadow, color black.
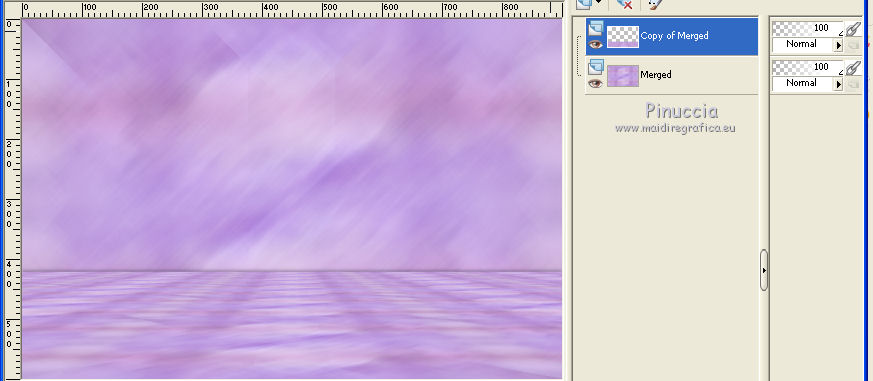
3. You should have this
Layers>New Raster Layer.
Flood Fill  with white color or with your background color. with white color or with your background color.
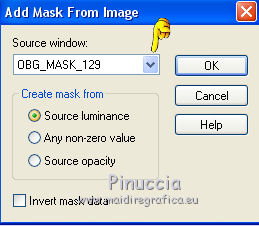
Layers>New Mask layer>From image
Open the menu under the source window and you'll see all the files open.
Select the mask OBG MASK_129:
Effects>Edge Effects>Enhance.
Layers>Merge>Merge group.
Image>Mirror.
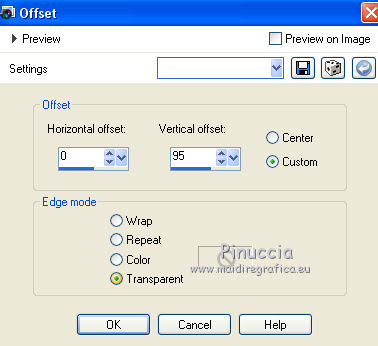
Effects>Image Effects>Offset.
Layers>Duplicate.
Layers>Merge>Merge down.
4. Selection Tool 
(no matter the type of selection, because with the custom selection your always get a rectangle)
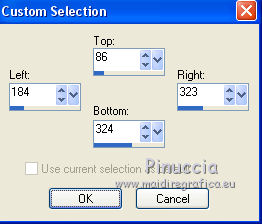
clic on the Custom Selection 
and set the following settings.
Layers>New Raster Layer.
Layers>Arrange>Move Down.
Open your landscape image - Edit>Copy.
Go back to your work and go to Edit>Paste as new layer.
Selections>Invert.
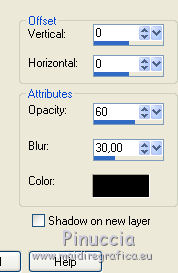
Effects>3D Effects>Drop Shadow, color black.
Again Selections>Invert.
Effects>Plugins>Alien Skin Eye Candy 5 Impact - Glass.
Select the preset and ok
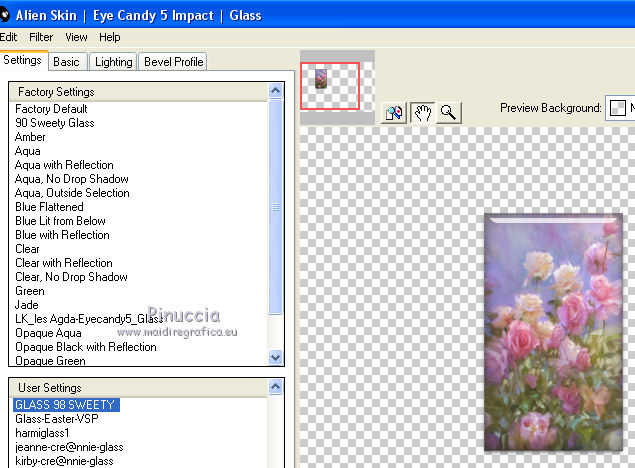
Here are the settings, in case of problems with the preset
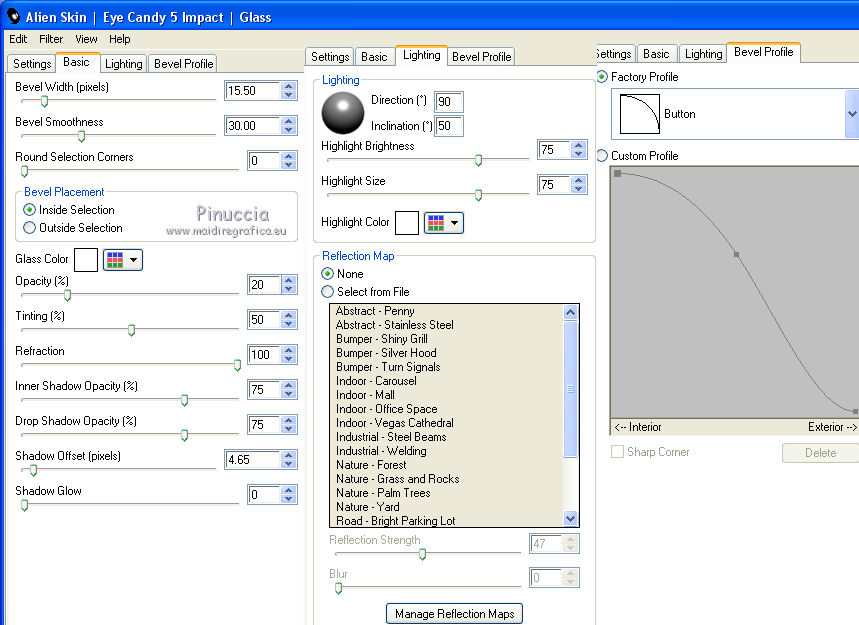
Selections>Select None.
5. You should have this
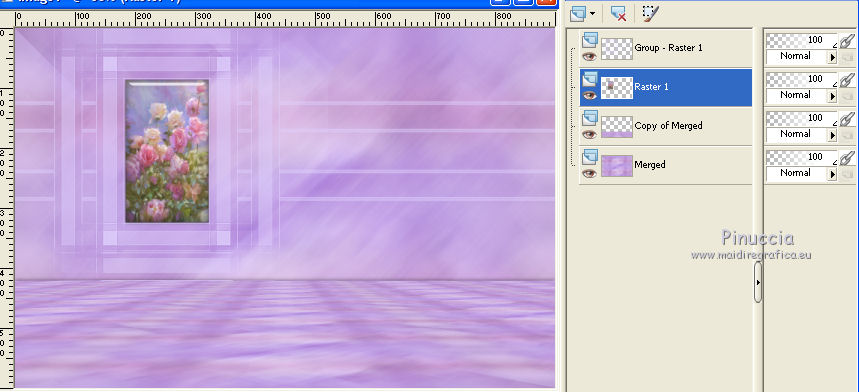
Activate the top layer - Group Raster 1.
Layers>Duplicate.
Layers>Merge>Merge down.
Effects>Texture Effects>Blinds, foreground color
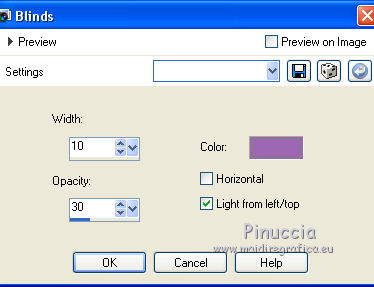
Effects>3D Effects>Drop Shadow, foreground color.
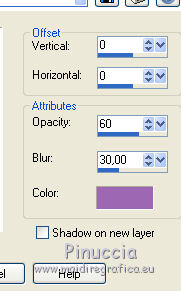
Layers>Merge>Merge down.
Layers>Duplicate (optionnel, at your choice).
6. Activate the bottom layer.
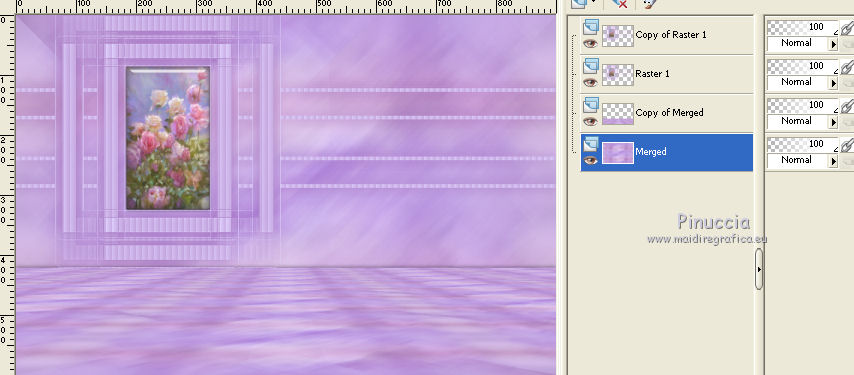
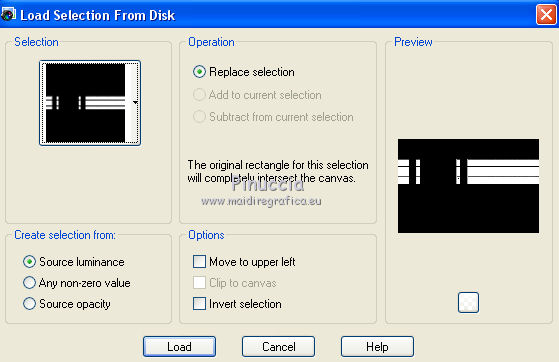
Selections>Load/Save Selection>Load Selection from Disk.
Look for and load sélection#1.
Layers>New Raster Layer.
Edit>Paste into Selection (your landscape is still in memory)
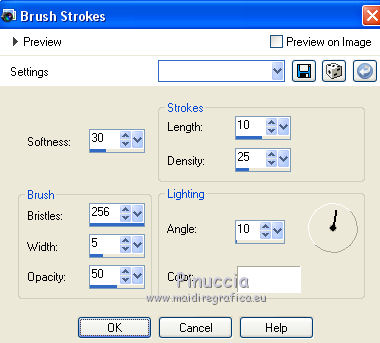
Effects>Art Media Effects>Brush Strokes.
Selections>Invert.
Effects>3D Effects>Drop Shadow, color black.

Selections>Select None.
7. You should have this.
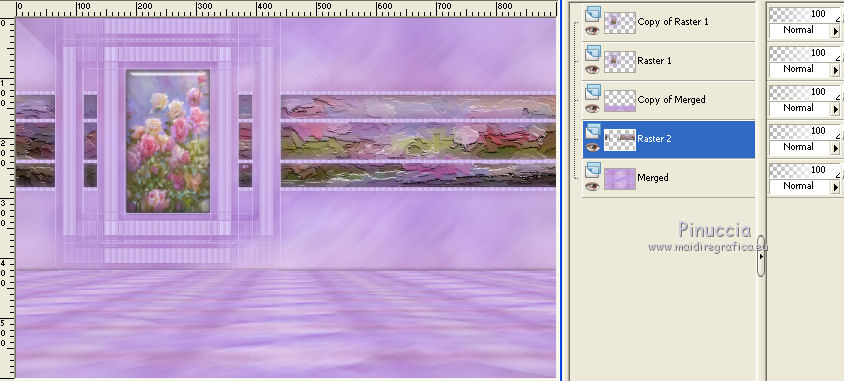
Keep selected the second layer from the bottom (Raster 2).
Layers>New Raster Layer.
Layers>Arrange>Move down.
Sélections>Select All.
Edit>Paste into Selection (your landscape image is still in memory).
Selections>Select None.
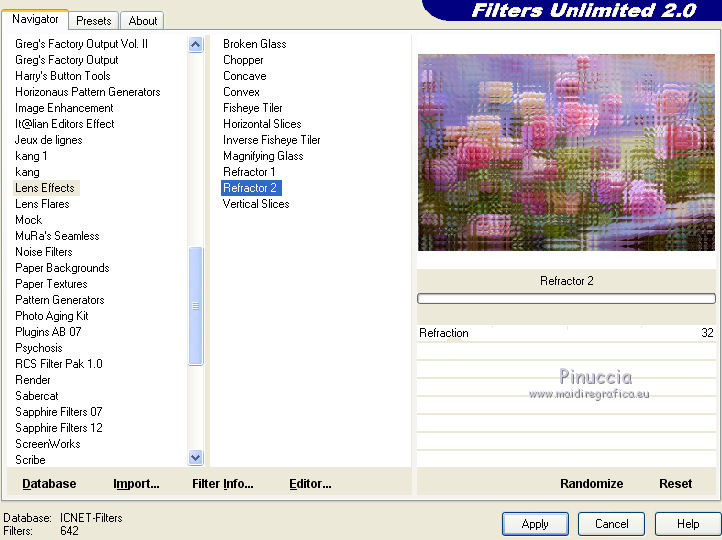
Effects>Plugins>Filters Unlimited 2.0 - Lens Effects - Refractor 2.
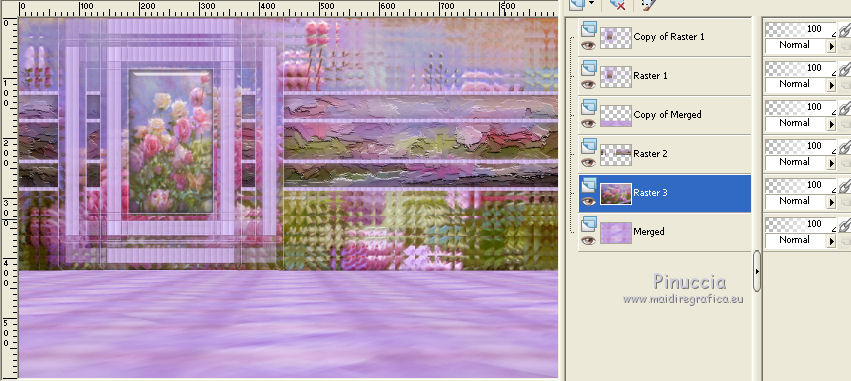
8. Your tag and your layers look like as below
Image>Add borders, 2 pixels, symmetric, background color.
Selections>Select All.
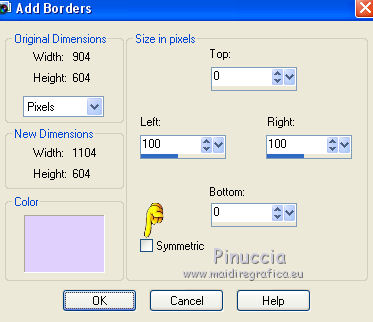
Image>Add borders, symmetric not checked, any color
Edit>Copy.
Selections>Invert.
Edit>Paste into Selection.
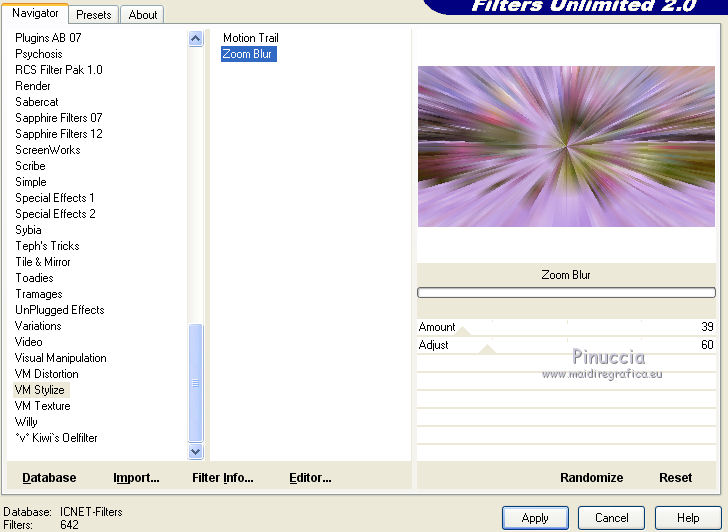
Effects>Plugins>Filters Unlimited 2.0 - VM Stylize - Zoom Blur, default settings.
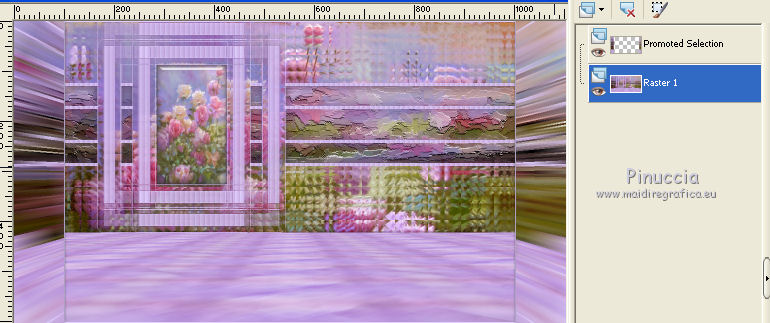
Effects>3D Effects>Drop Shadow, color black.

Selections>Promote Selection to Layer.
Selections>Select None.
9. Activate the layer below (Raster 1)
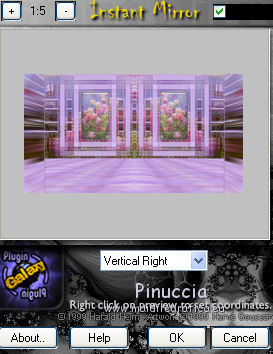
Effects>Plugins>Plugin Galaxy - Instant Mirror.
Activate the top layer.
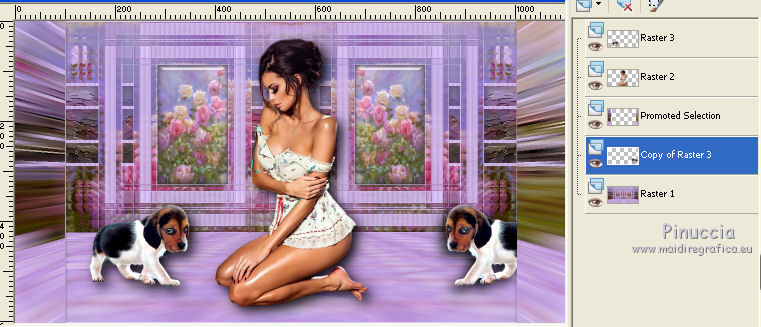
Open your person tube - Edit>Copy.
Go back to your work and go to Edit>Paste as new layer.
Image>Resize, if it is necessary, resize all layers not checked (for me 1 time to 70% and 1 time to 90%).
Place  the tube where you prefer. the tube where you prefer.
Effects>3D Effects>Drop Shadow, at your choice.
Open your deco tube - Edit>Copy.
Go back to your work and go to Edit>Paste as new layer.
Image>Resize, if it is necessary, resize all layers not checked.
(for me I have resized to 40% and after I made Image>Mirror).
Place  the tube where you like. the tube where you like.
Effects>3D Effects>Drop Shadow, at your choice.
For my exemple I have duplicated the tube and after Image>Mirror.
Layers>Arrange>Move Down - 3 times (but this is for my example; you can do as you prefer).
10. Image>Add borders, 3 pixels, symmetric, foreground color.
Selections>Select All.
Image>Add borders, 30 pixels, symmetric, any color.
Edit>Copy.
Selections>Invert.
Edit>Paste into Selection.
Adjust>Blur>Radial Blur.
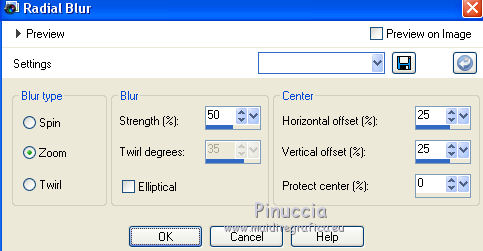
Keep selected.
Effects>Plugins>VanDerLee - Unplugged-X.
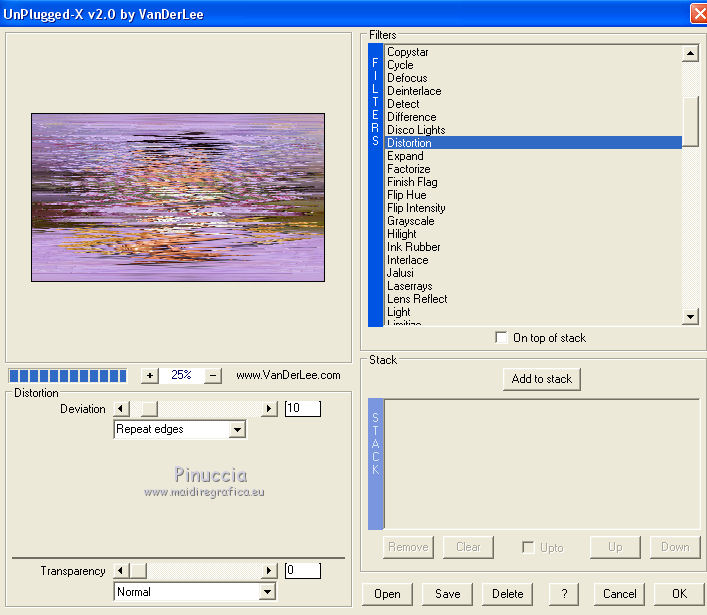
Effects>Edge Effects>Enhance.
Effects>3D Effects>Drop Shadow, color black.
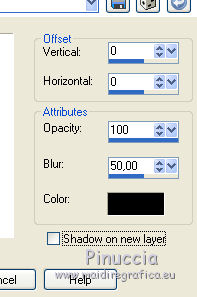
Selections>Select None.
Sign your work.
Layers>Merge>Merge All.
Image>Resize, 950 pixels width, resize all layer checked.
Save as jpg.
The tubes of this version are by Gabry
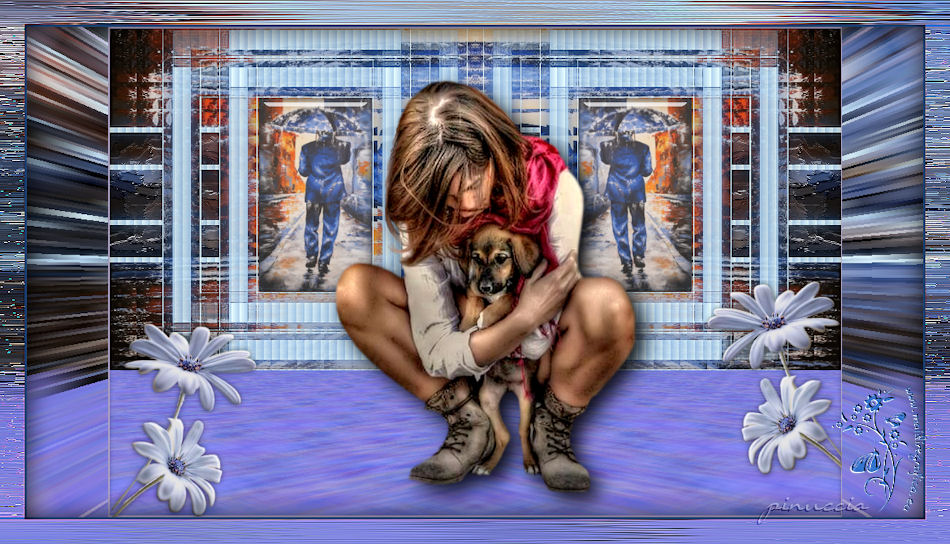

Le vostre versioni. Grazie
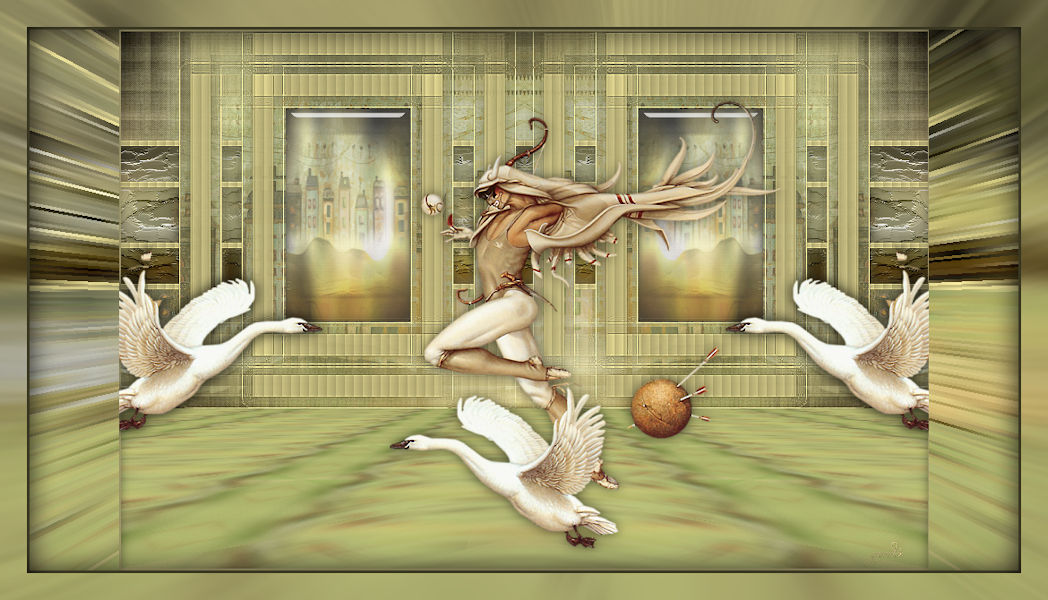
Gerda
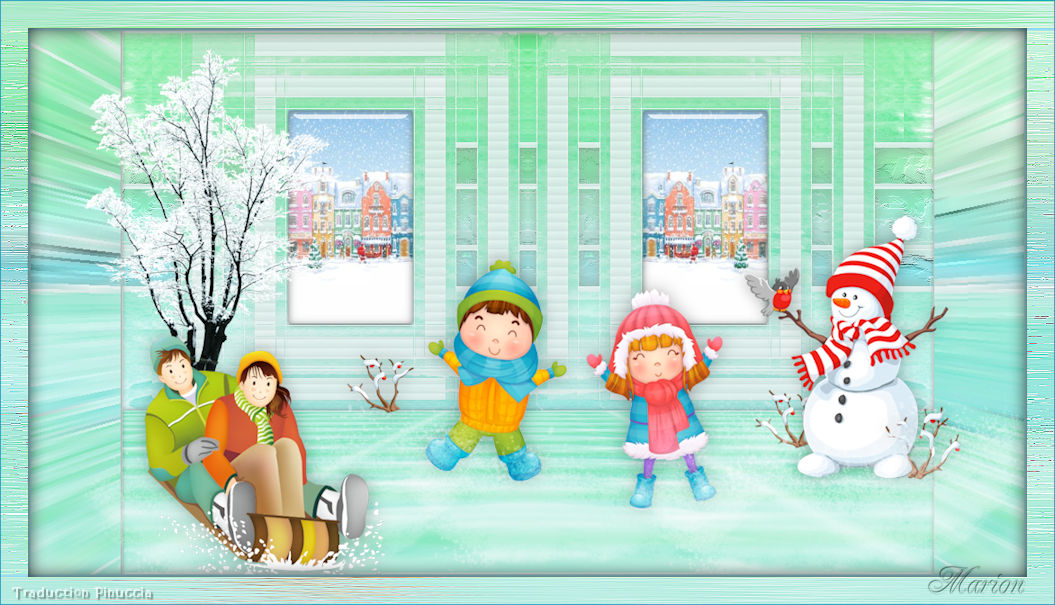
Marion

Irene

If you have problems or doubts, or you find a not worked link, or only for tell me that you enjoyed this tutorial, write to me.
22 June 2017
|


