|
BLANCA NAVIDAD  english version english version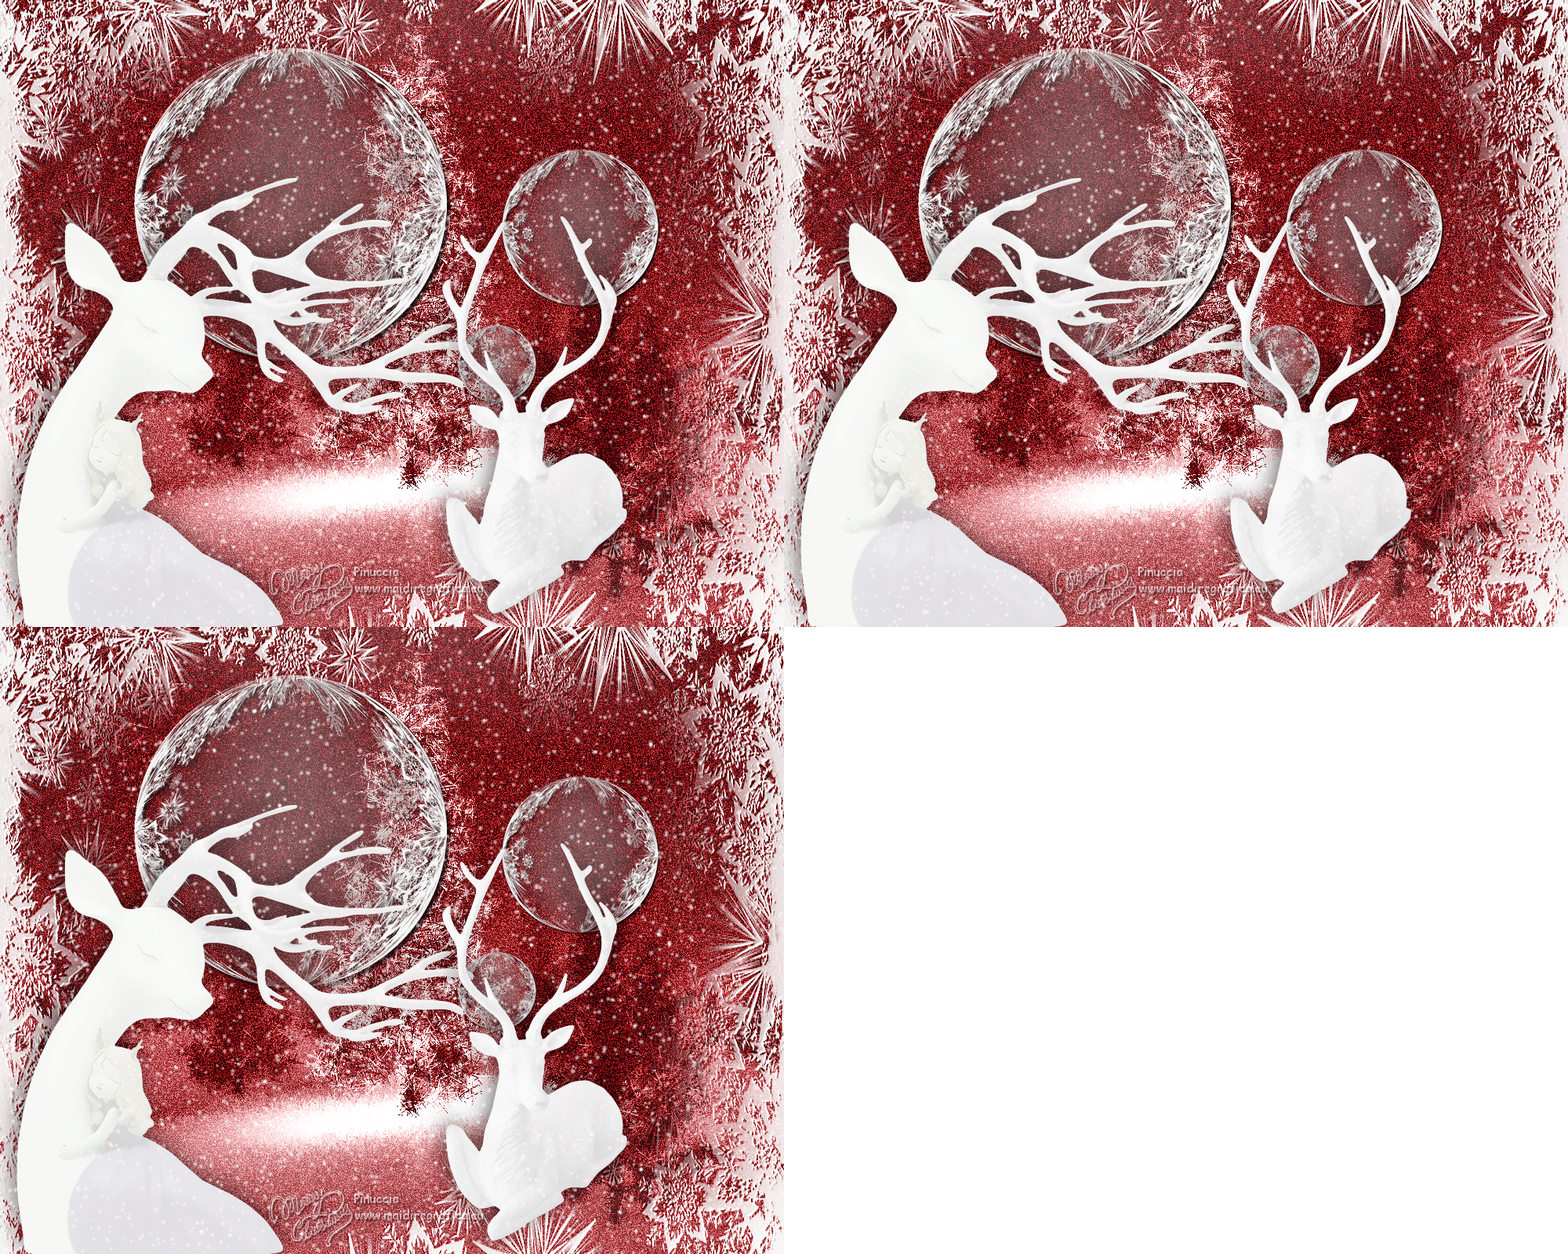

This tutorial was created with PSP2020 and translated with Corel PSPX7, PSPX2, PSPXe, PSPX but it can also be made using other versions of PSP. Since version PSP X4, Image>Mirror was replaced with Image>Flip Horizontal, and Image>Flip with Image>Flip Vertical, there are some variables. In versions X5 and X6, the functions have been improved by making available the Objects menu. In the latest version X7 command Image>Mirror and Image>Flip returned, but with new differences. See my schedule here  Italian translation here Italian translation here French translation here French translation here Your versions here Your versions here
For this tutorial, you will need: Material here SuizaBella_Ref_AG-002900.pspimage SuizaBella_Ref_AG-002900-1 .pspimage MASKSUIZA-0072.jpg MASKSUIZA-0079.jpg @nn_180412_mask_087_tdstudio.jpg (The links of the tubemakers sites here). Plugins consult, if necessary, my filter section here Alien Skin Eye Candy 5 Impact - Perspective Shadow here Mehdi here Nik Software - Color Efex Pro here VanDerLee - Snowflakes here Animation Shop here   You can change Blend Modes and opacity of the layer, according to your colors. Copy the preset Emboss 3 in the Presets Folder. Copy the Masks in the Masks Folder. 1. Set your foreground color to #810106, and your background color to #f9f9f9. 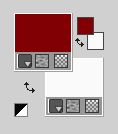 2. Open a new transparent image 1000 x 800 pixels, Flood Fill  the transparent image with your foreground color #810106. the transparent image with your foreground color #810106.3. Adjust>Add/Remove Noise>Add Noise.  4. Layers>New Raster Layer. Flood Fill  the layer with your background color #f9f9f9. the layer with your background color #f9f9f9.Layers>Load/Save Mask>Load Mask from Disk. Look for and load the mask MASKSUIZA-0072.  Layers>Merge>Merge Group. 5. Effects>Plugins>Mehdi - Fur 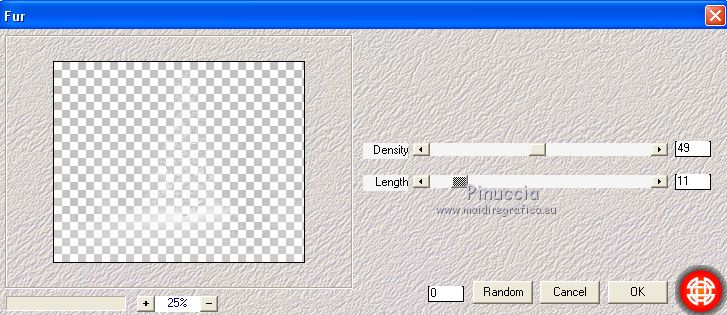 Layers>Merge>Merge Down. 6. Effects>Plugins>Nik Software - Color Efex Pro - Bleach Bypass. 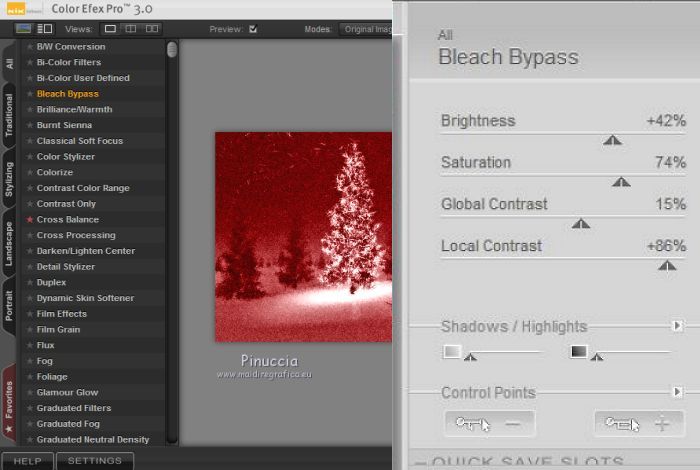 7. Layers>New Raster Layer. Flood Fill  with your background color #f9f9f9. with your background color #f9f9f9.Layers>Load/Save Mask>Load Mask from Disk. Look for and load the mask MASKSUIZA-0079.  Layers>Merge>Merge Group. 8. On the same layer: Layers>Load/Save Mask>Load Mask from Disk. Look for and load the mask @nn_180412_mask_08-tdstudio.  Layers>Merge>Merge Group. 9. Effects>User Defined Filter - select the preset Emboss 3 and ok.  10. Layers>New Raster Layer. Flood Fill  with your background color #f9f9f9. with your background color #f9f9f9.Layers>Load/Save Mask>Load Mask from Disk. Load again the mask MASKSUIZA-0079.  Layers>Merge>Merge Group. 11. Effects>Geometric Effects>Circle.  Image>Resize, to 50%, resize all layer not checked. 12. Effects>Image Effects>Offset.  13. Effects>Plugins>Alien Skin Eye Candy 5 Impact - Perspective Shadow Shadow color #000000. 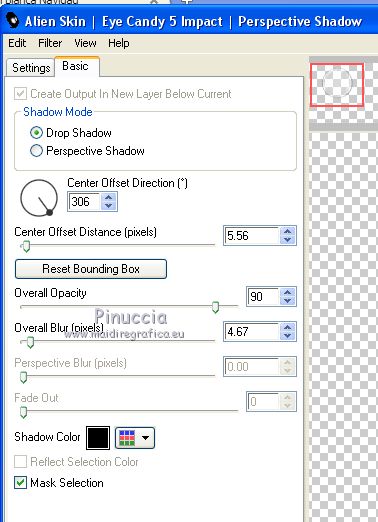 14. Layers>Duplicate. Image>Resize, to 50%, resize all layer not checked. Effects>Image Effects>Offset.  15. Layers>Duplicate. Image>Resize, to 50%, resize all layer not checked. Effects>Image Effects>Offset.  16. Layres>Merge>Merge Down - 2 times. 17. Open the tube Suizabella_Ref_AG-002900 and go to Edit>Copy. Go back to your work and go to Edit>Paste as new layer. Effects>Image Effects>Offset.  18. Adjust>Hue and Saturation>Hue/Saturation/Lightness.  19. Effects>Plugins>Alien Skin Eye Candy 5 Impact - Perspective Shadow Shadow Color #000000. 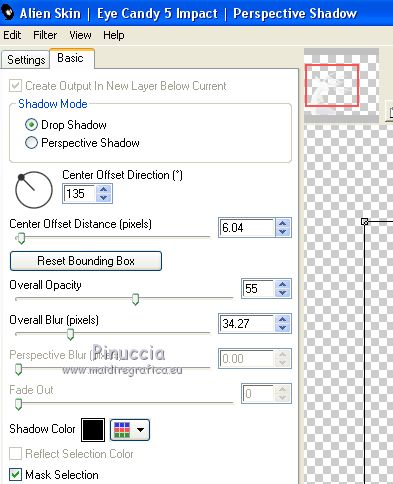 20. Open the tube SuizaBella_ref_AG-002900-1, and go to Edit>Copy. Go back to your work and go to Edit>Paste as new layer. Effects>Image Effects>Offset.  21. Adjust>Hue and Saturation>Hue/Saturation/Lightness.  22. Effects>Plugins>Alien Skin Eye Candy 5 Impact - Perspective Shadow Shadow Color #000000. 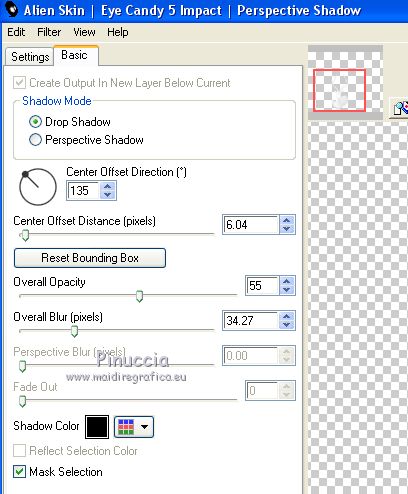 23. Sign your work on a new layer. Layers>Merge>Merge visible. If you want to add a border before making the animation: Selections>Select All. Image>Canvas Size - 1020 x 820 pixels  Selections>Invert. Flood Fill  the selection with your foreground color. the selection with your foreground color.Selections>Invert 24. Layers>Duplicate - 2 times to get 3 layers. Stay on the top layer of the second copy.  25. Effects>Plugins>VanDerLee - Snowflakes if you are using the previous version of the filtre, the result doesn't change: Effects>Plugins>VDL Adrenaline - Snowflakes 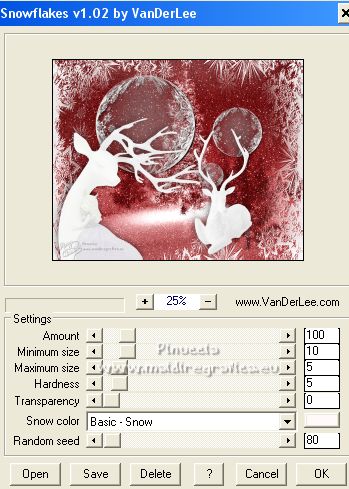 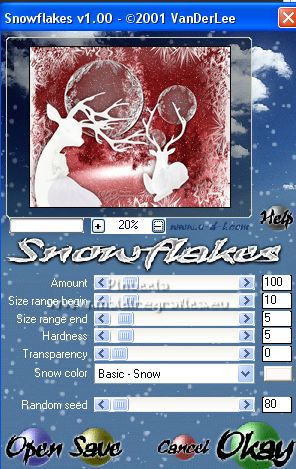 26. Activate the layer below of the first copy. Repet Snowflakes Effect, Random 110. 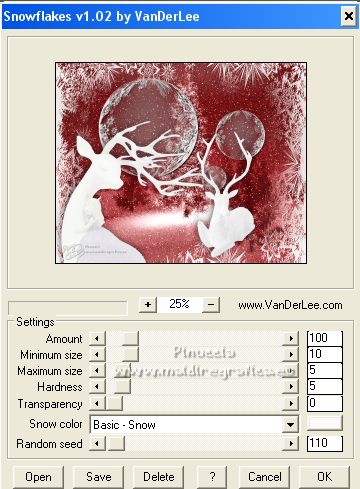 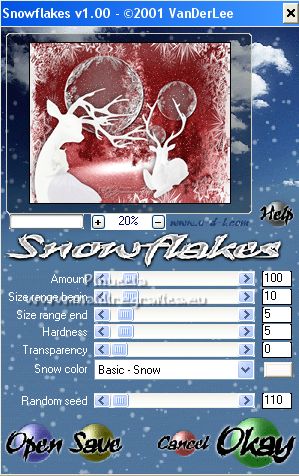 27. Activate the bottom layer of the original. Repeat Snowflakes Effects, Random 140. 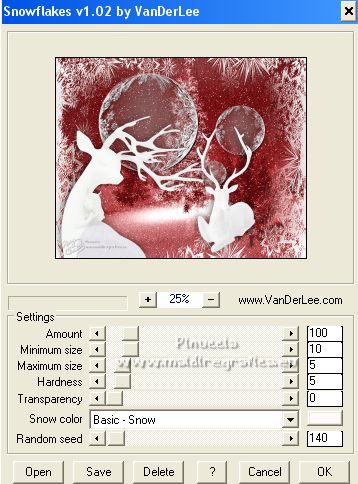 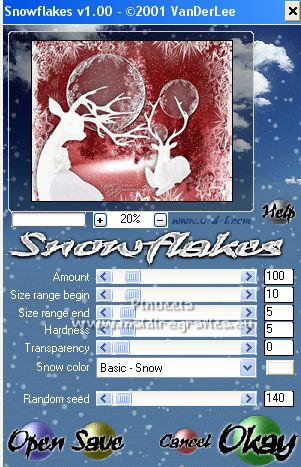 if you've done the border, don't forget: Selections>Select None 28. Save your work as PSP Animation Shop (psp).  29. Open Animation Shop and open the work just saved. Keep frame to 10.  Check the result clicking on View Animation  and save as gif. Version with a little border. 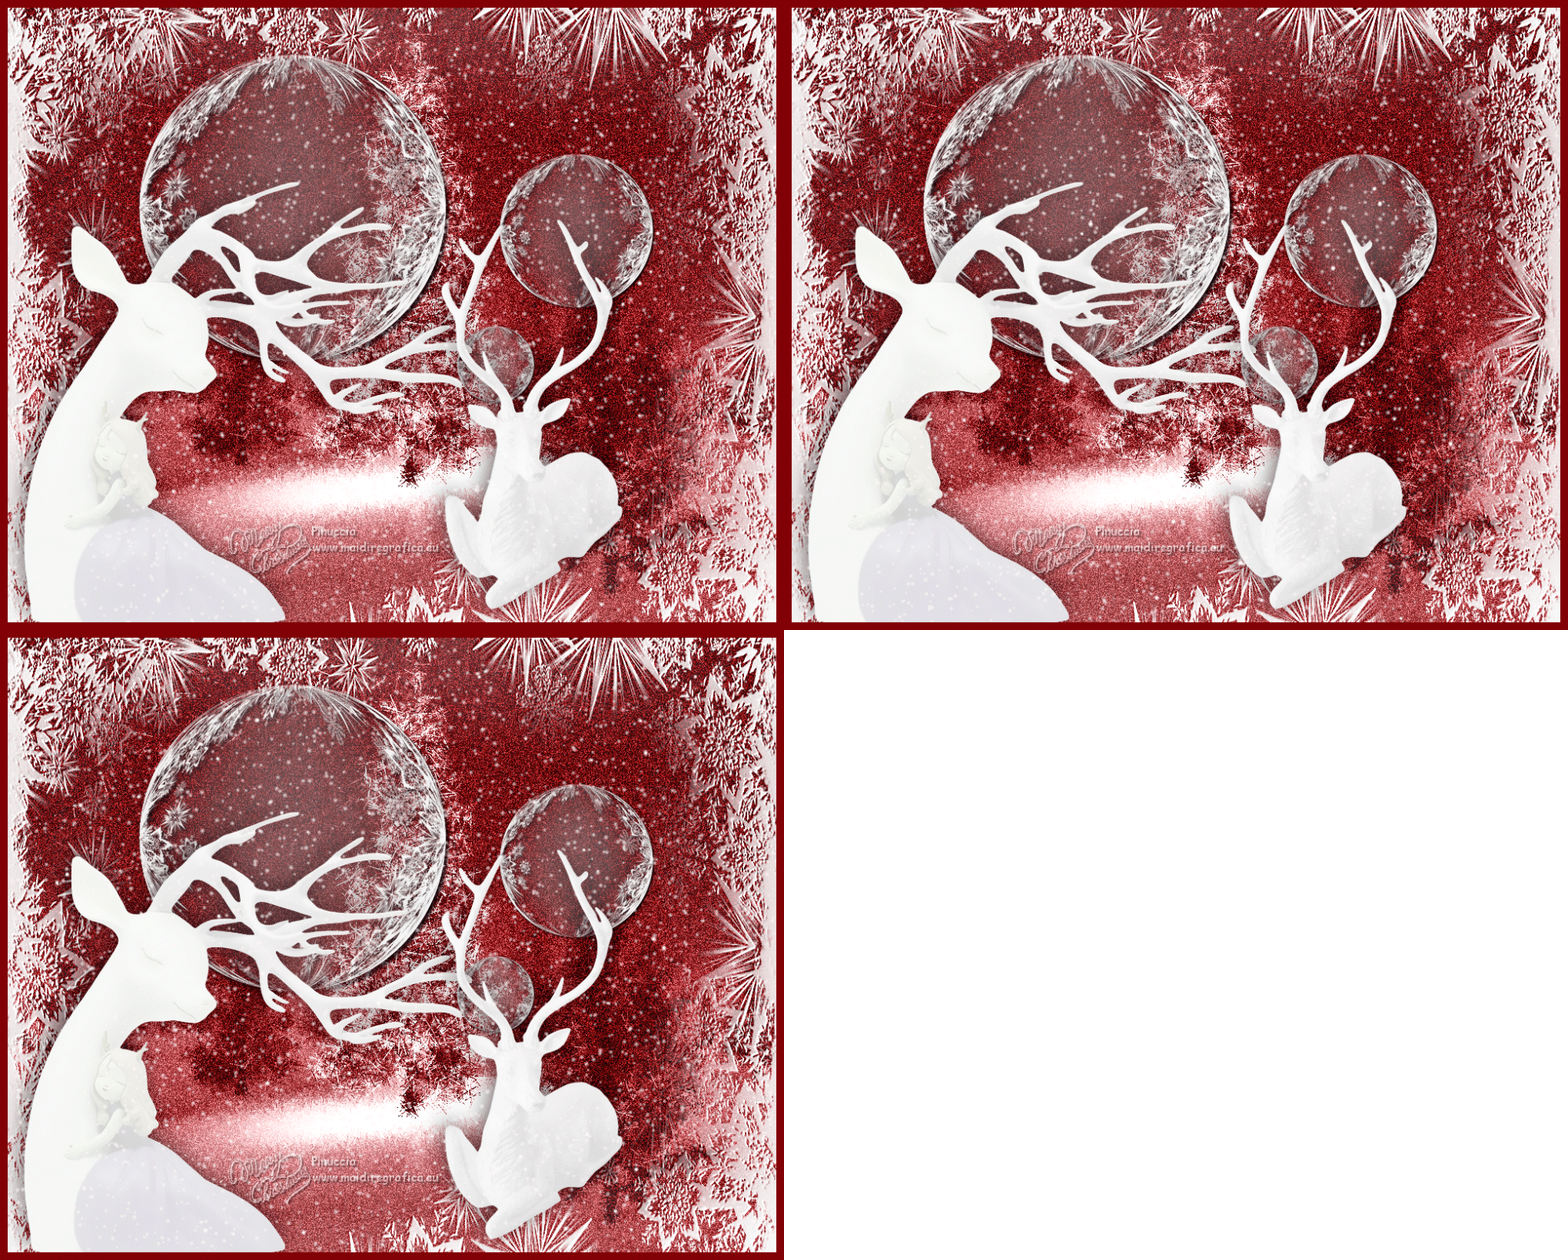 Version with tube by Isa 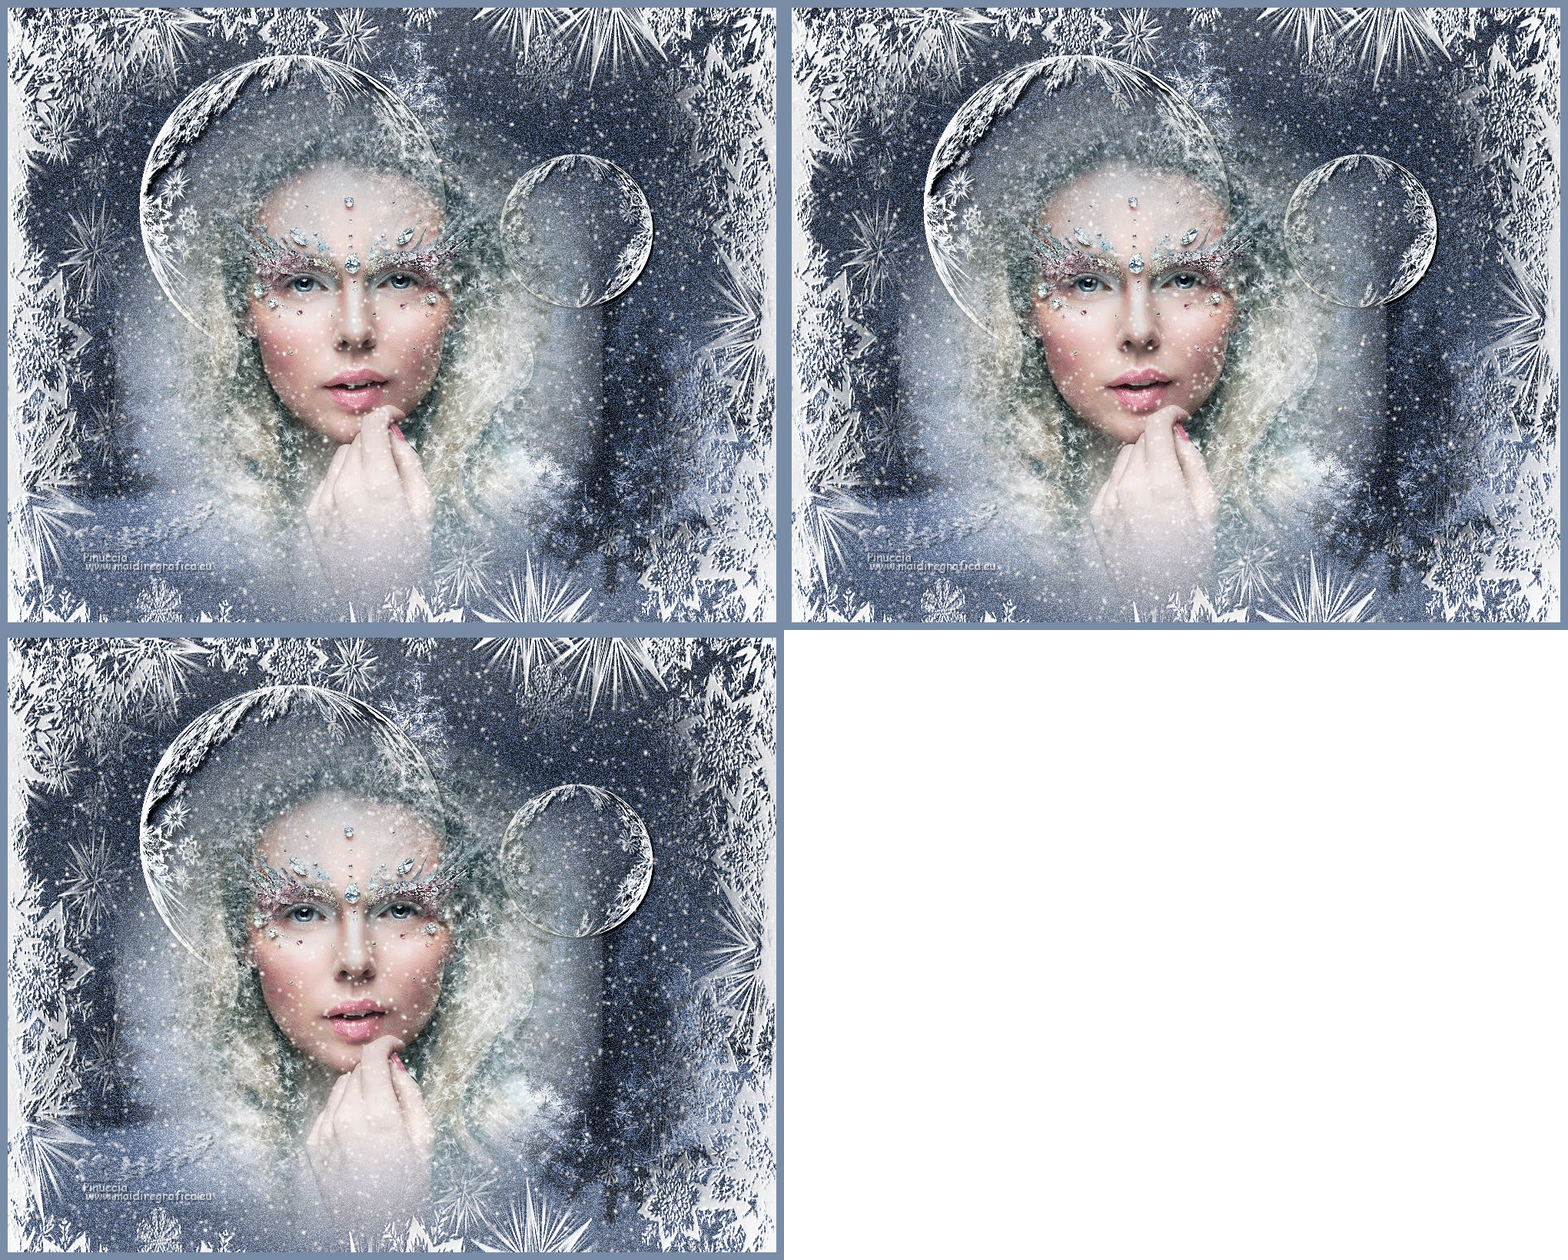 Version with tube by Valérie 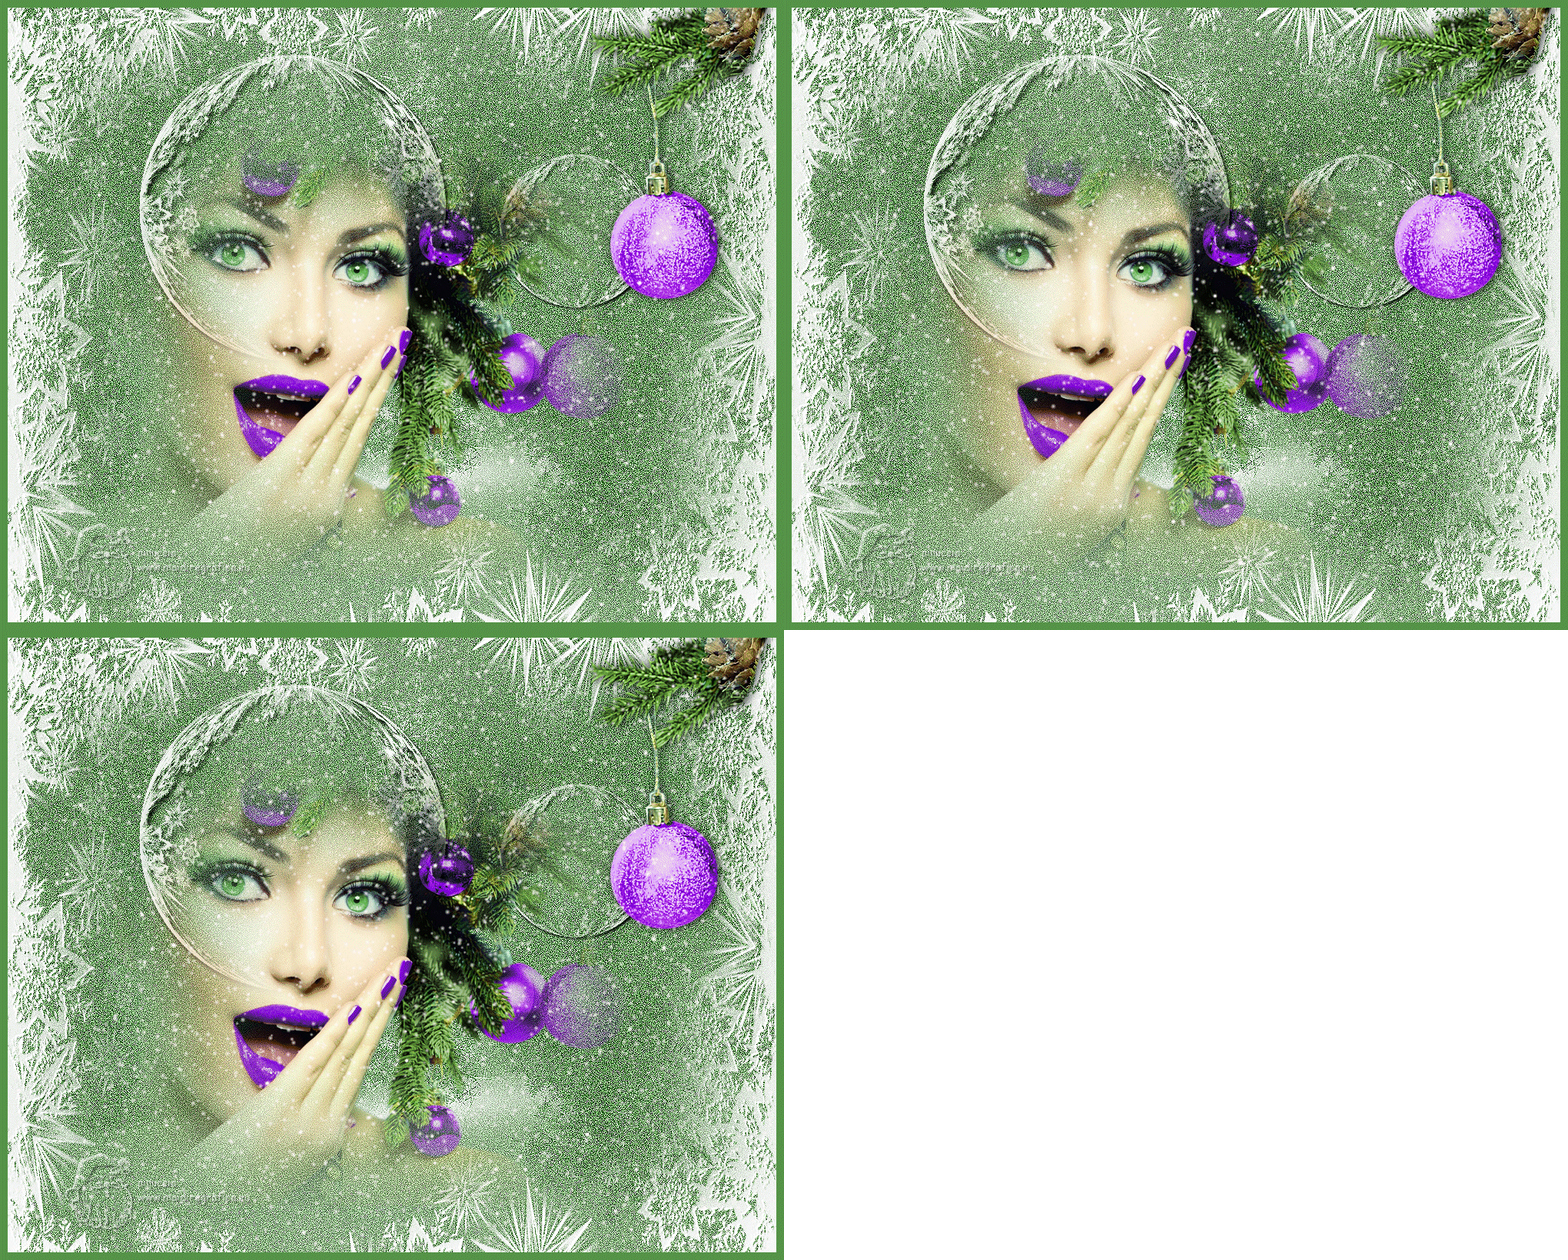  If you have problems or doubt, or you find a not worked link, or only for tell me that you enjoyed this tutorial, write to me. 1 December 2021 |
